
1 / 10
Infinity Fidget Cube Ultra
Order a print of this model
We calculate the final price from your selected file. You review and accept it before payment.
Saved on this device.

My take on the very popular fidget infinity cube
- Rating
- 4.704 / 5
- Likes
- 811
- Downloads
- 2,986
- Makes
- 30
- Views
- 18,310
- Reviews
- 27
Updated at source:
Model information
- Source
- Printables
- Category
- Puzzles & Brain-teasers
- License
- Creative Commons — Attribution — Noncommercial — NoDerivatives
Here is my take on the very popular "Infinity Cube" with a twist !
Features
- Easy to print in single or multiple colors
- Model can be printed in one or more colors with or without a MMU
- Easy to assemble
- Templates are provided for easy assembly
- Follows you everywhere
- Box allows storage and transport
Be advised, this model is not that « easy » to print
- Consider this model as a torture test for you printer, filament profile and your skills
- This model can be “Print-In-Place” with a MMU
- Everything must be very fine tuned to be printed successfully
- Please, try to print the “mmu_test” first
- Everything must be very fine tuned to be printed successfully
- The tolerances between parts are very tight
- You may need to resize the links to make them snap into place
- This model can be “Print-In-Place” with a MMU
Print instructions
- Filament
- PLA (recommended)
- Print settings
- Default Prusa Slicer 0.20mm STRUCTURAL
- Supports : None
- Fidget parts
- Perimeters : 2
- Infill : 100% Rectilinear (the heavier the fidget, the better the feeling)
- Seam position : Rear (recommended)
- Paint-on-seam (for aesthetic reasons)
- Make sure the seams are on the edge of the fidget parts
- Paint-on-seam (for aesthetic reasons)
- Fidget Links
- Be advised
- Not all 3D Printers and print profiles produce the same results
- You may need to resize the links to make them snap into place
- Please, post a make to let us know
- Infill : 25% Grid ~ Zig Zag
- Perimeters : 3
- Be advised
- Fidget Templates & Box
- Infill : 15% Grid ~ Zig Zag
- Perimeters : 2~3
Change Log
- 2024-12-17 Split the MMU Plate into two
- One plate for the fidget and one plate for the test
Assembly
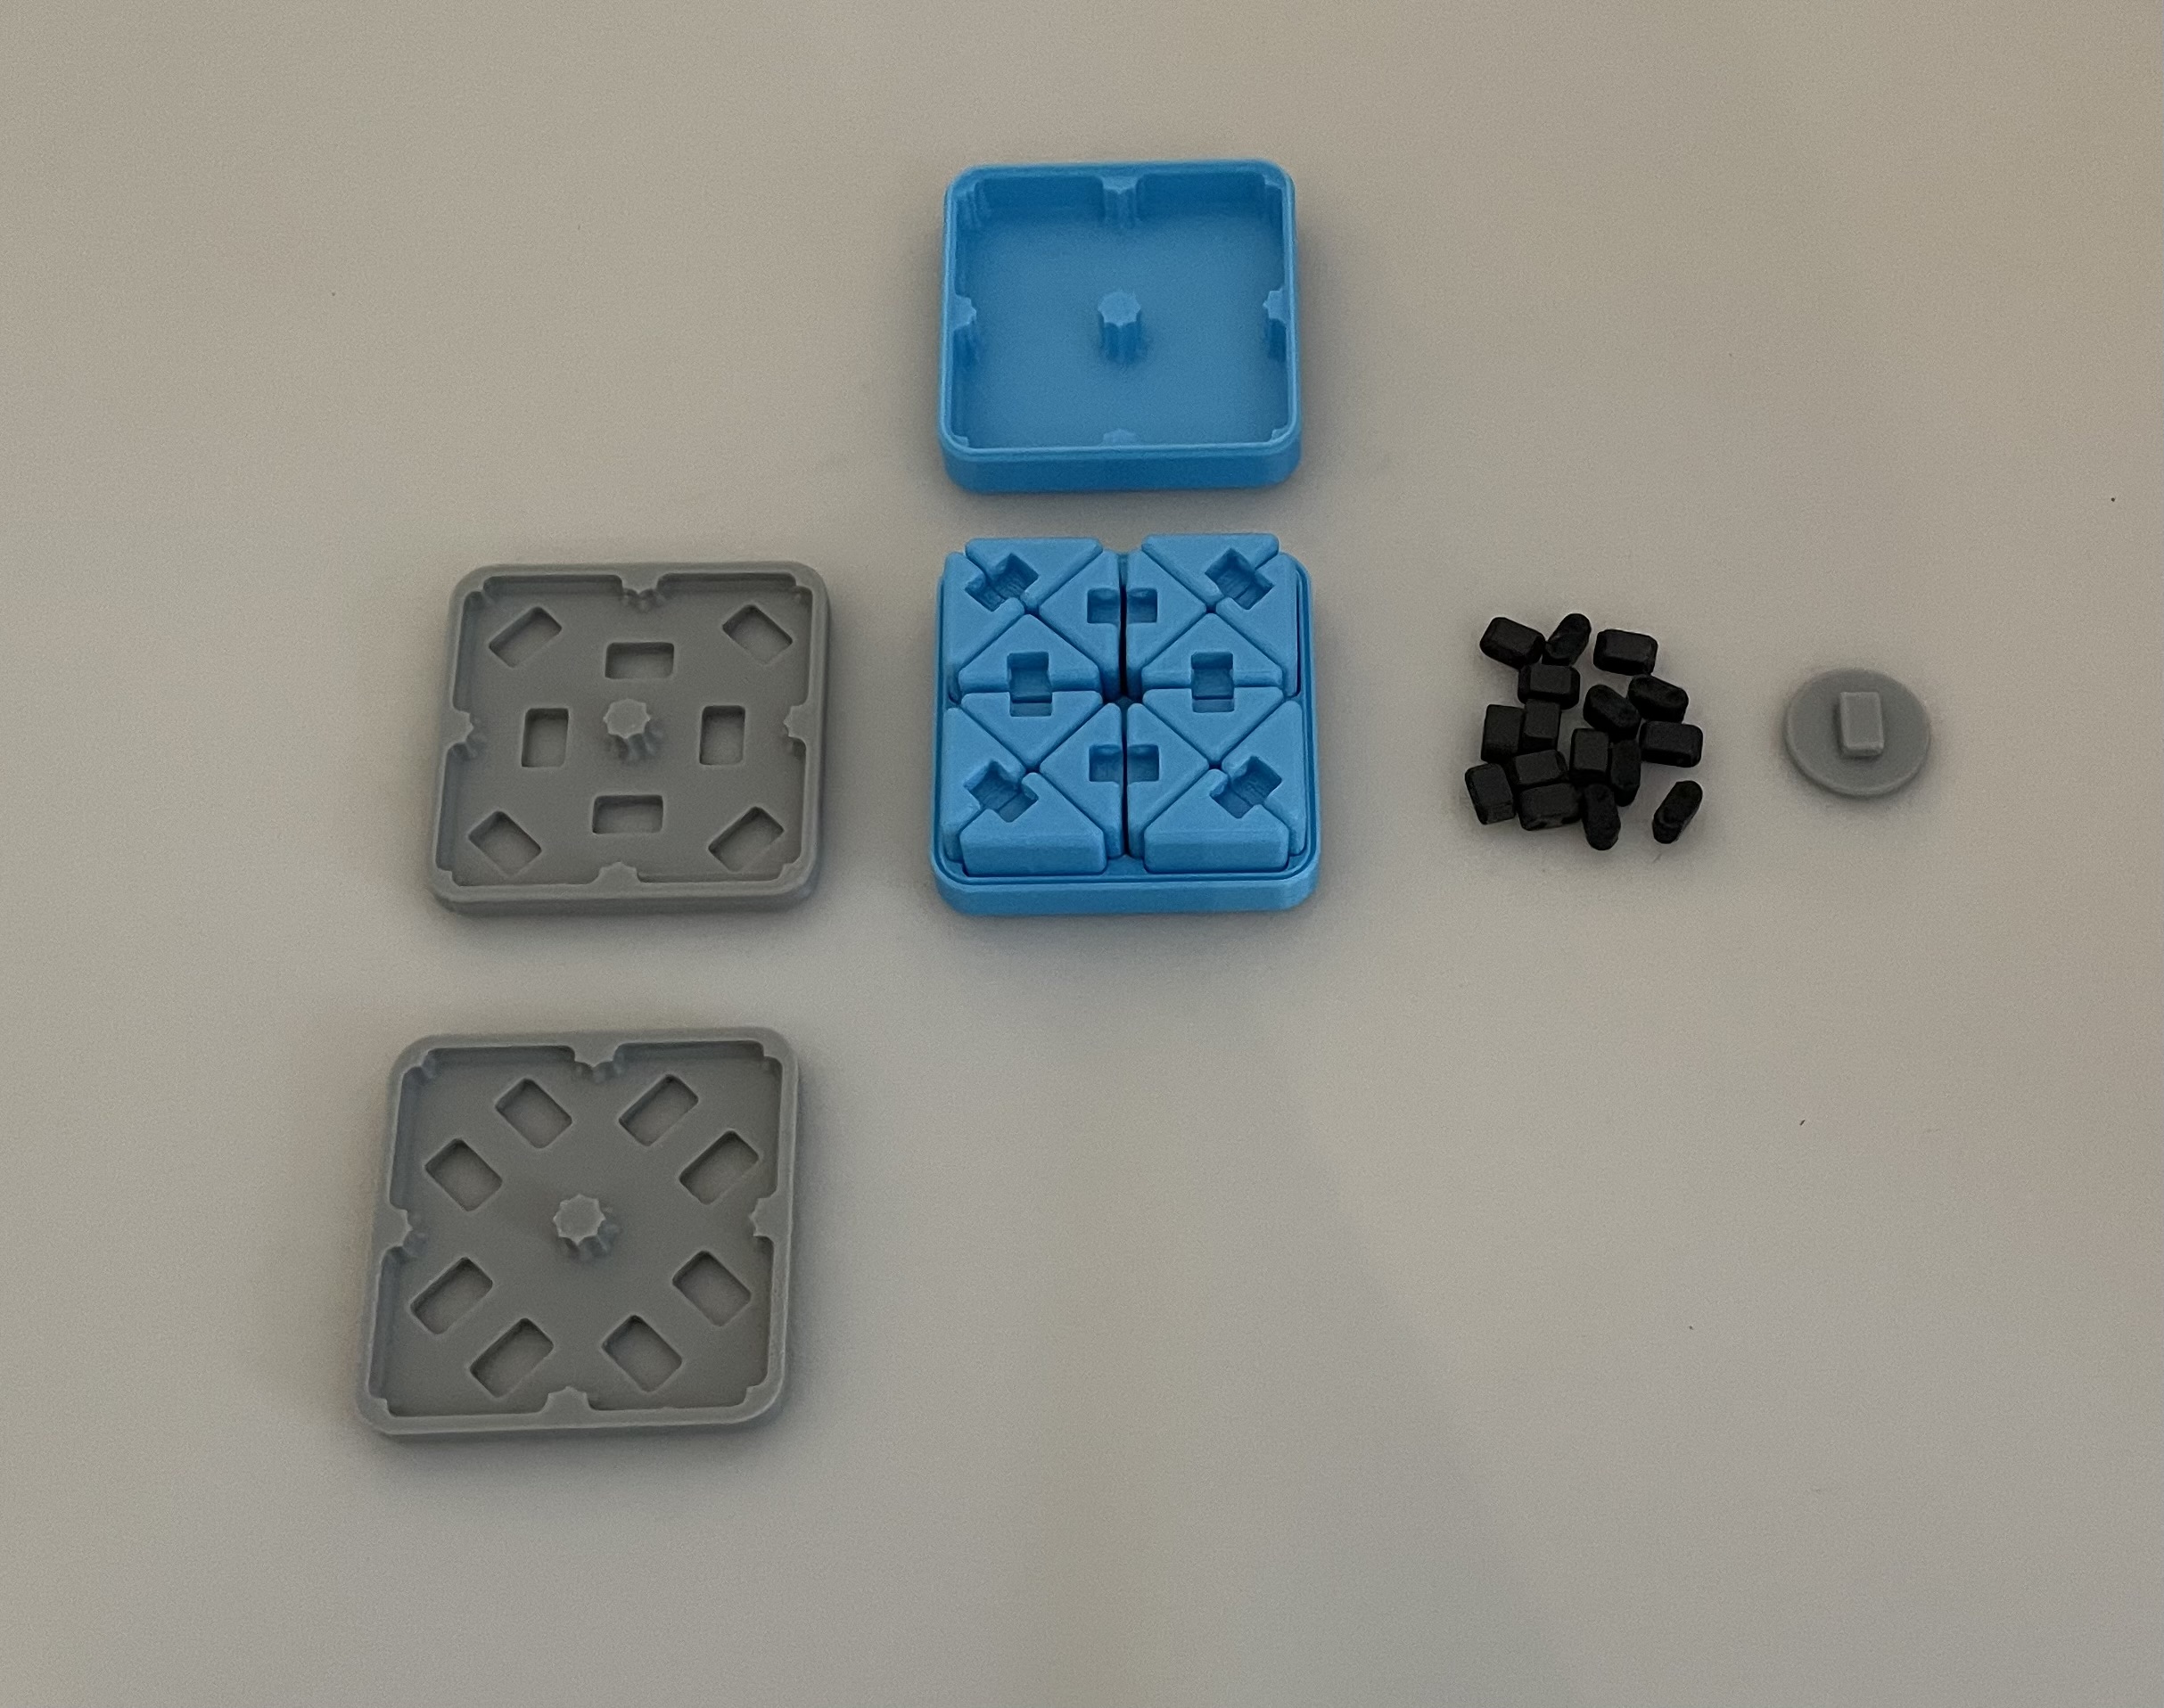
- Place the fidget parts in the storage box and make sure the top parts are aligned correctly
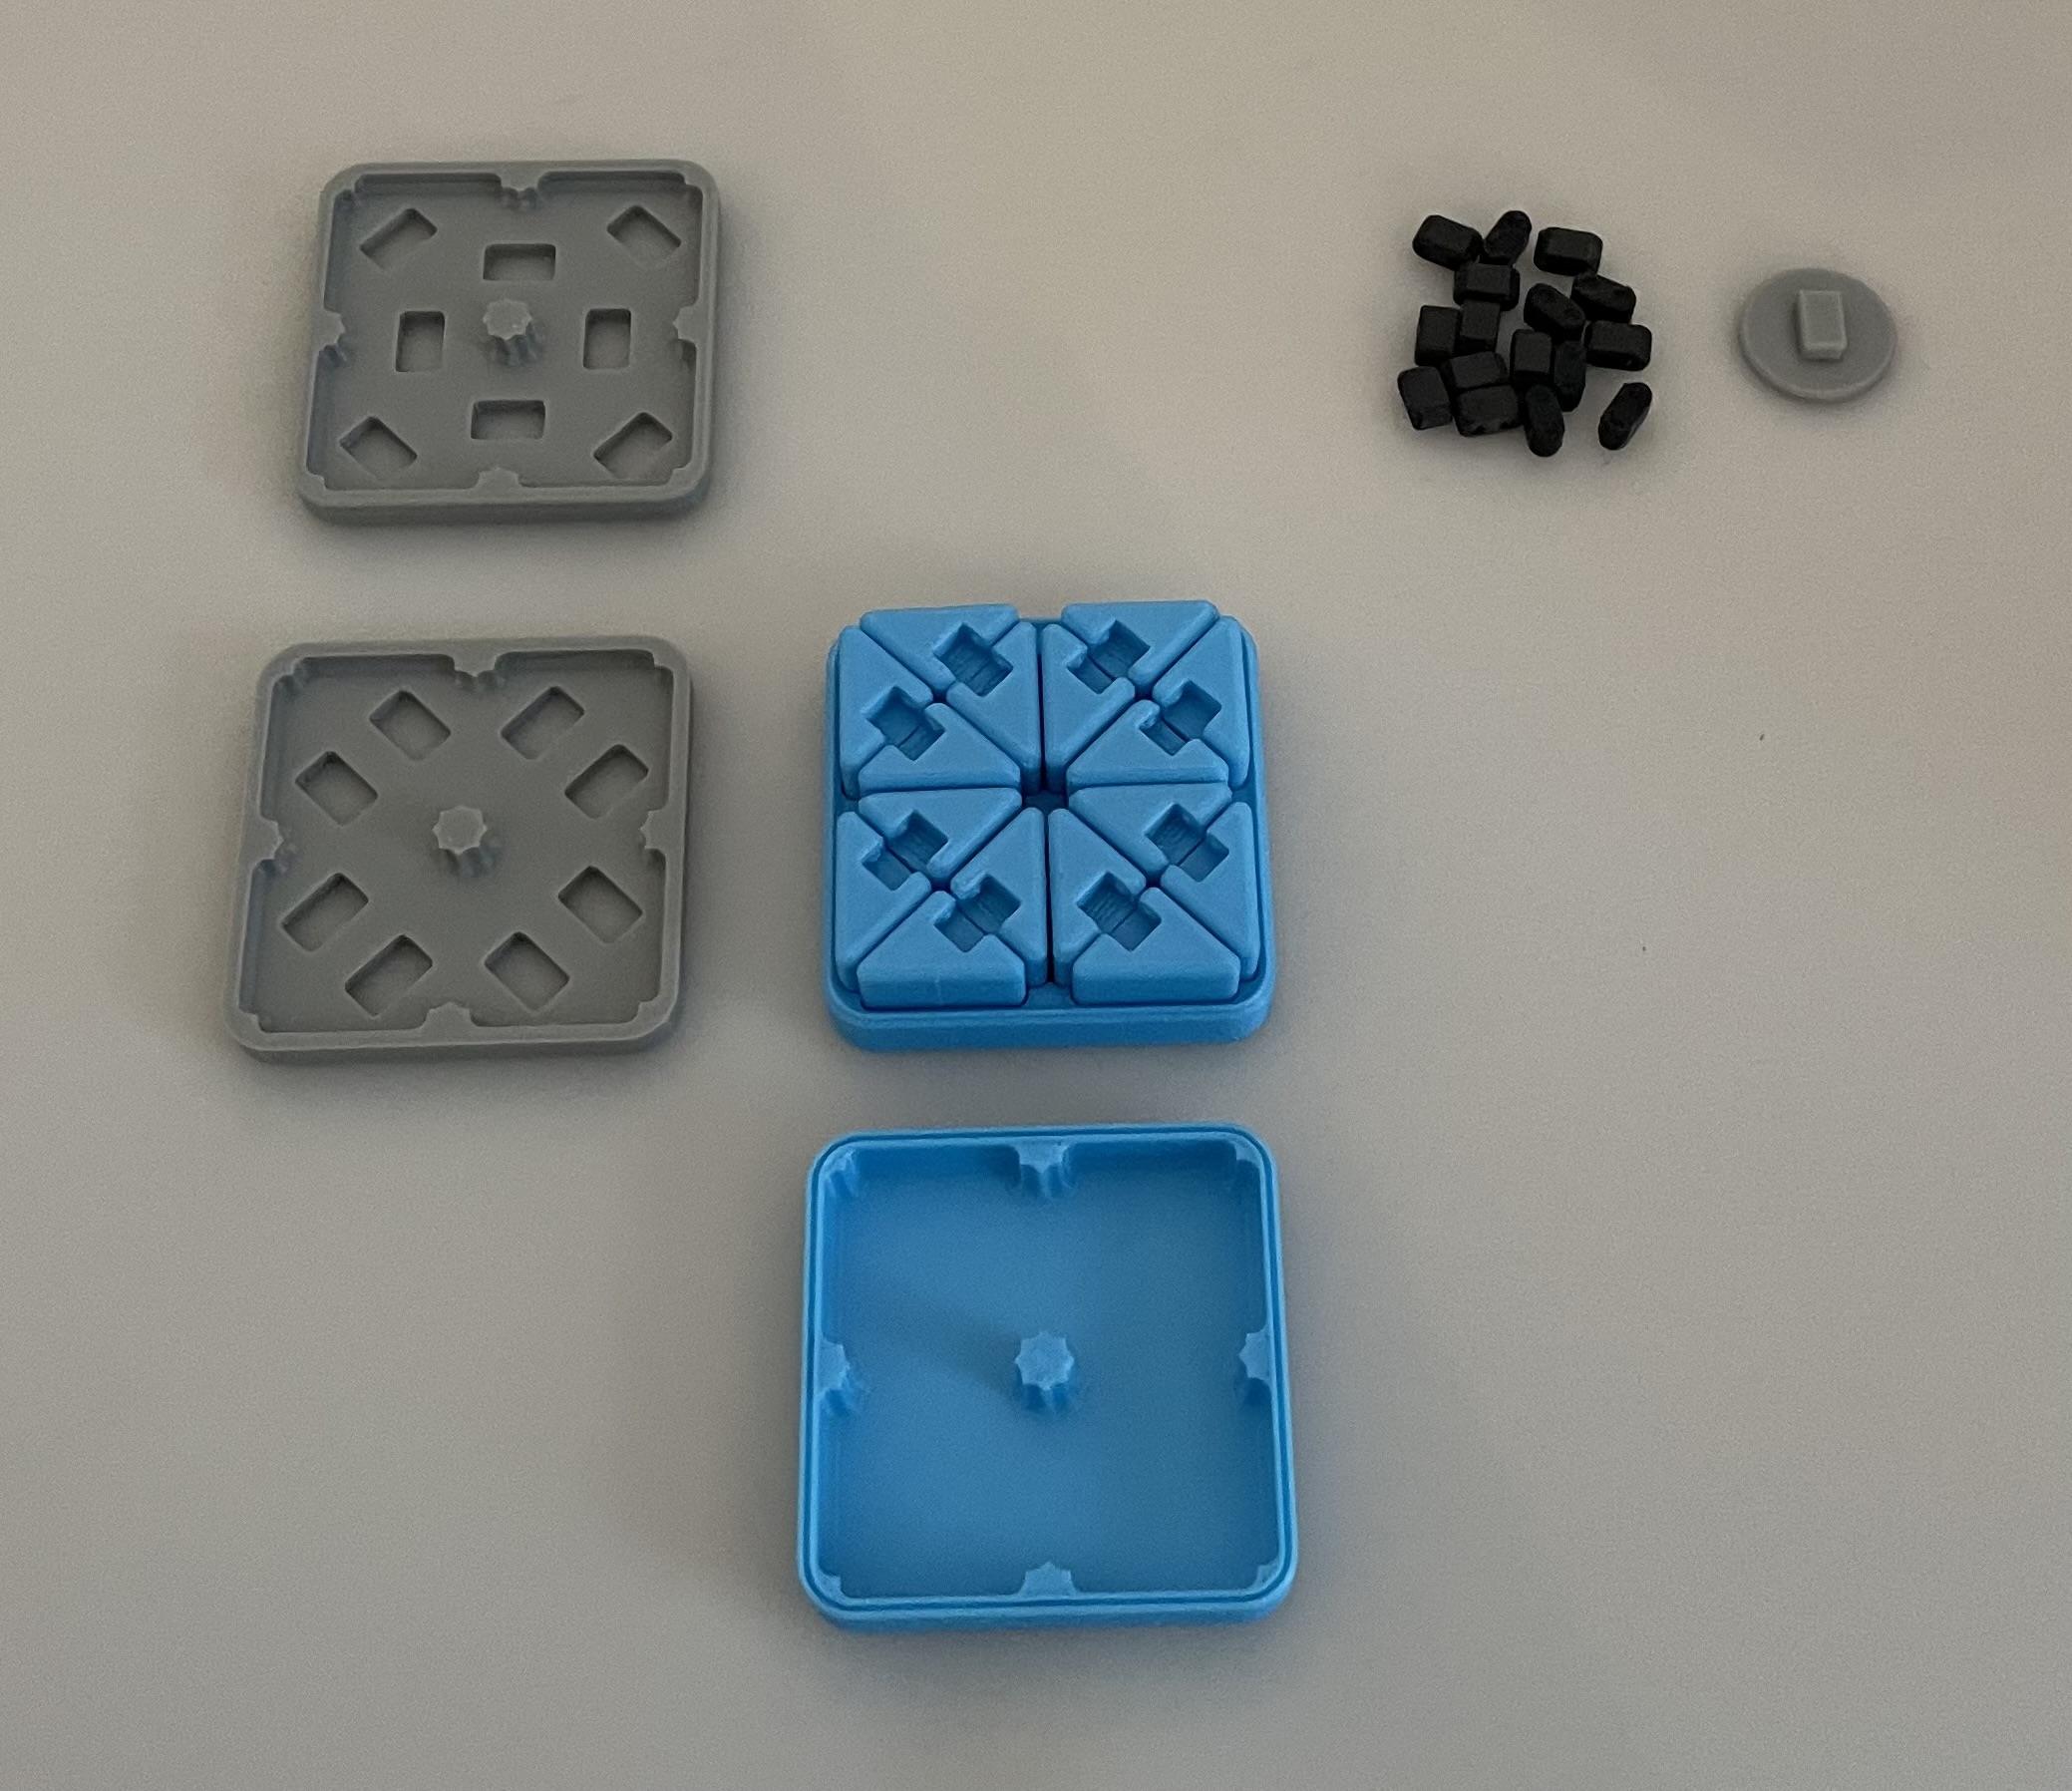
- Flip the box and make sure the bottom parts are also aligned correctly
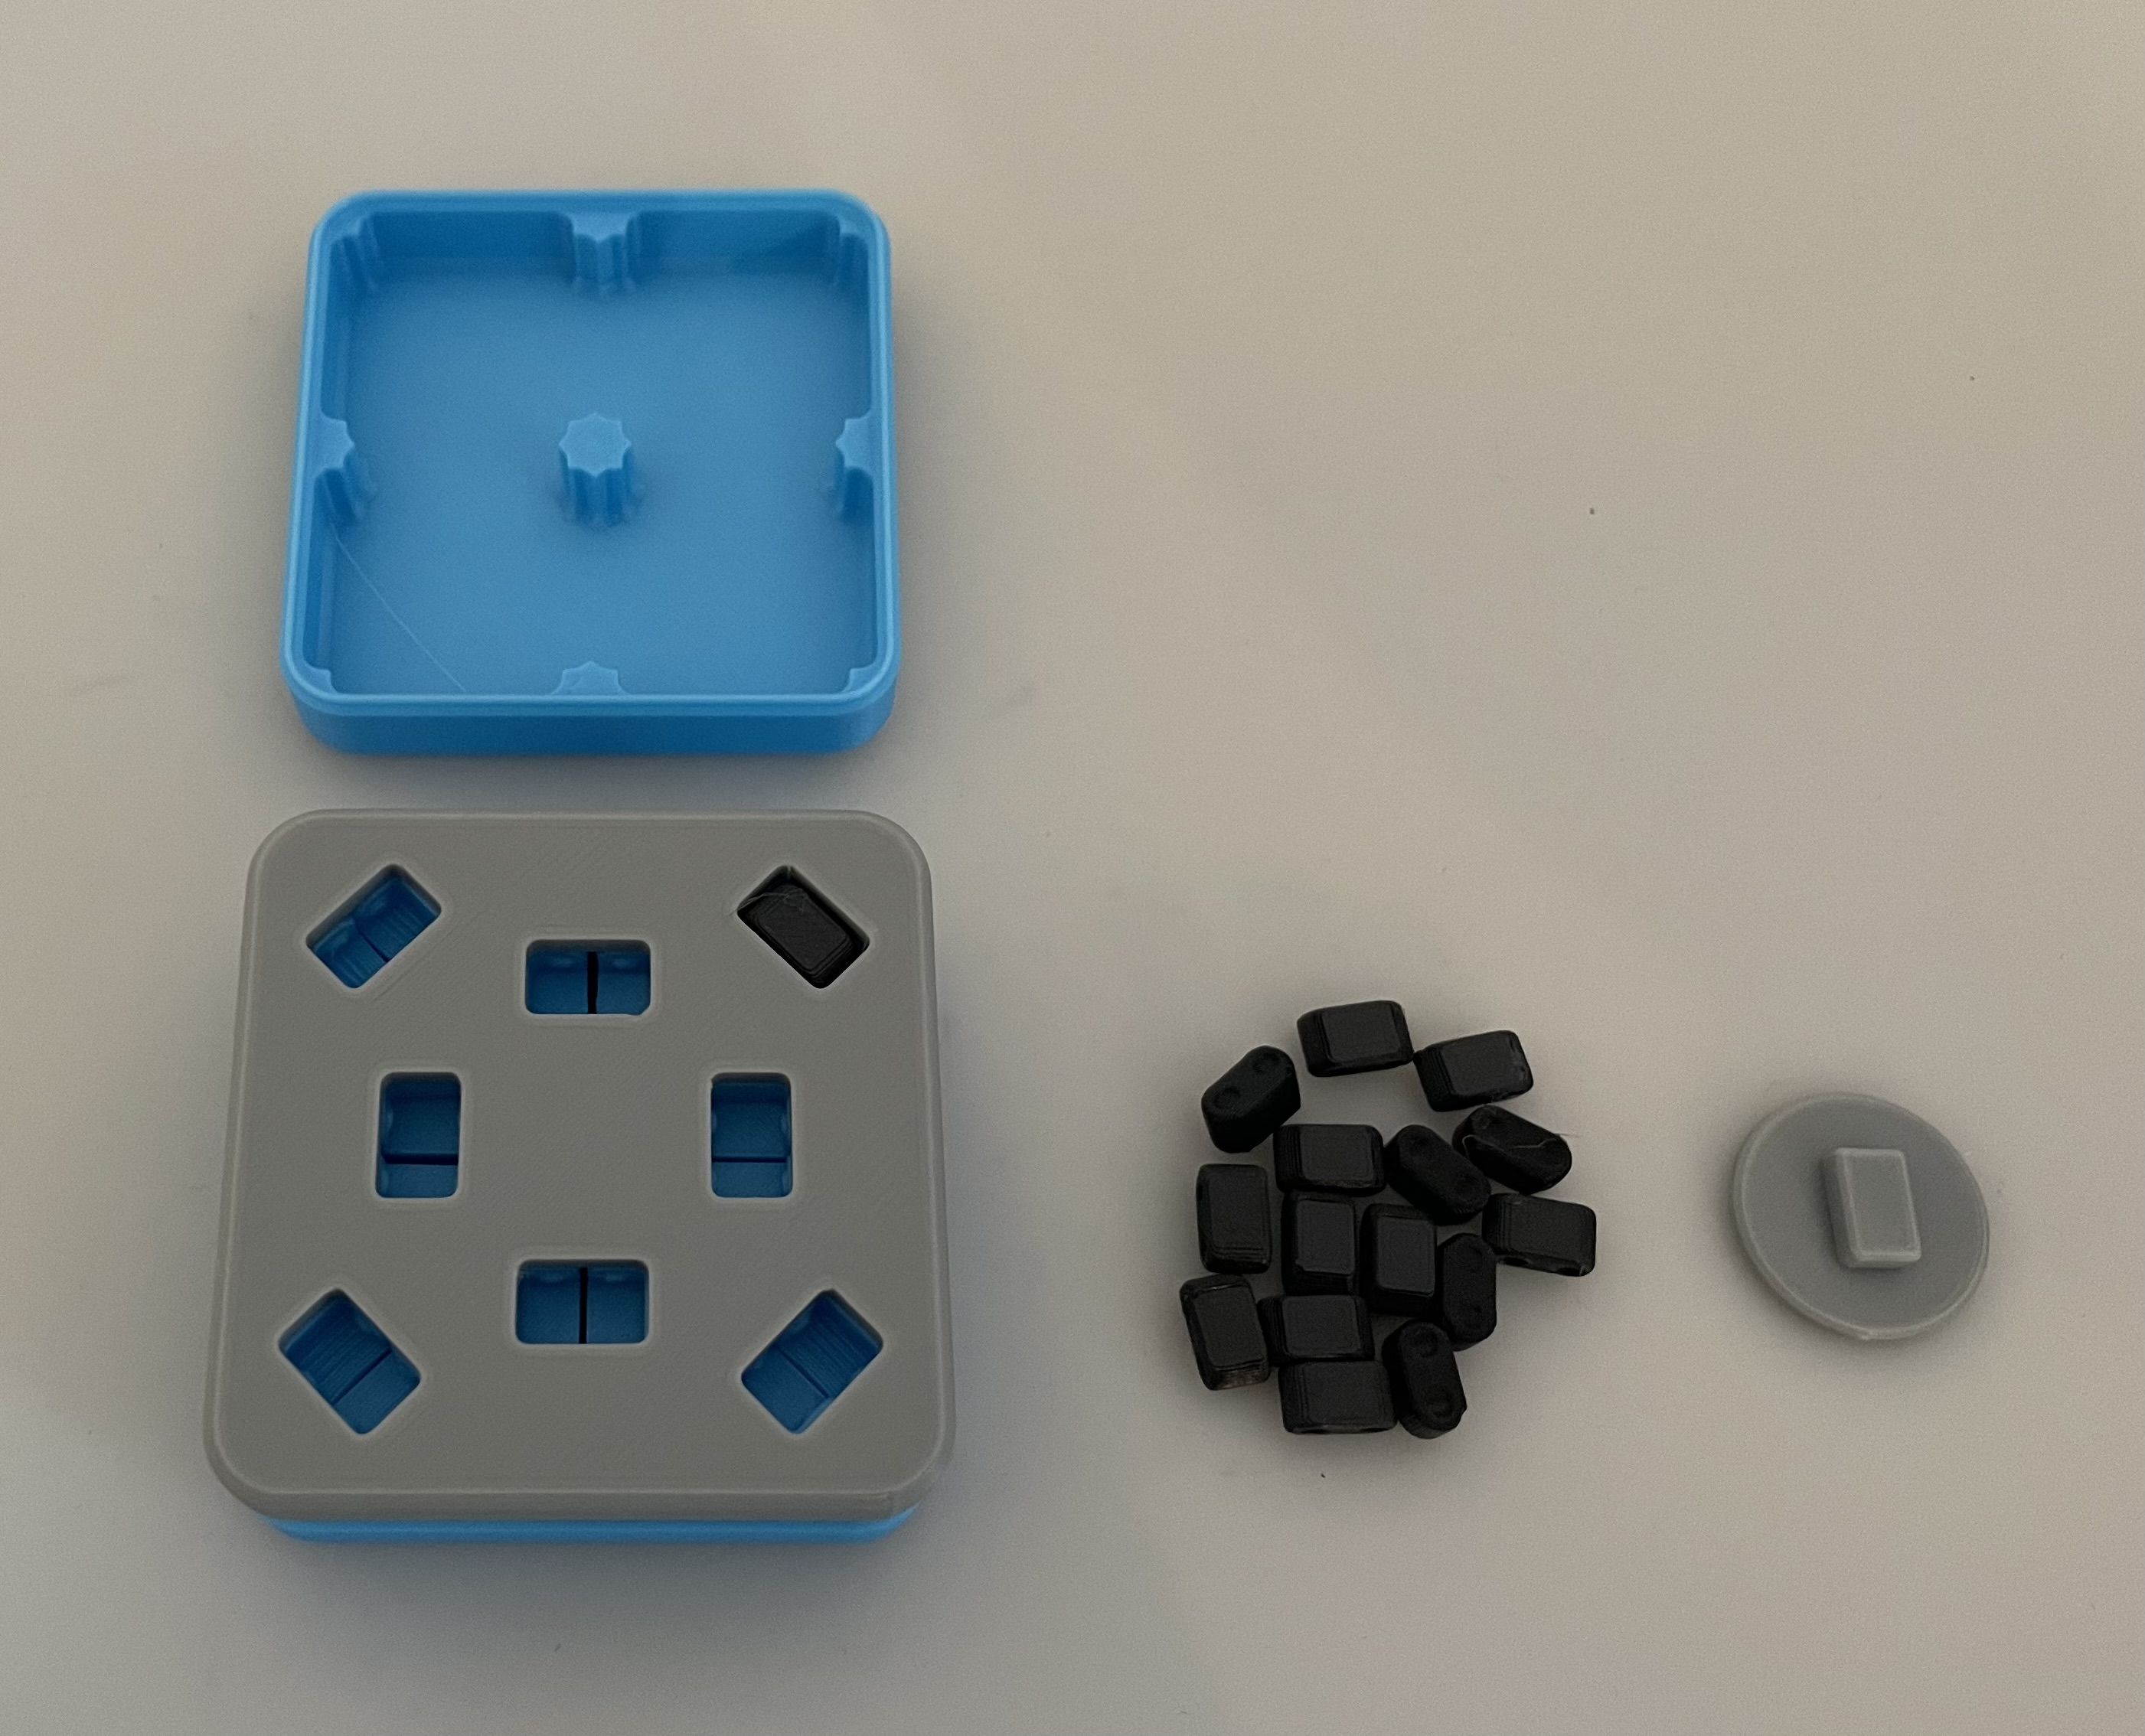
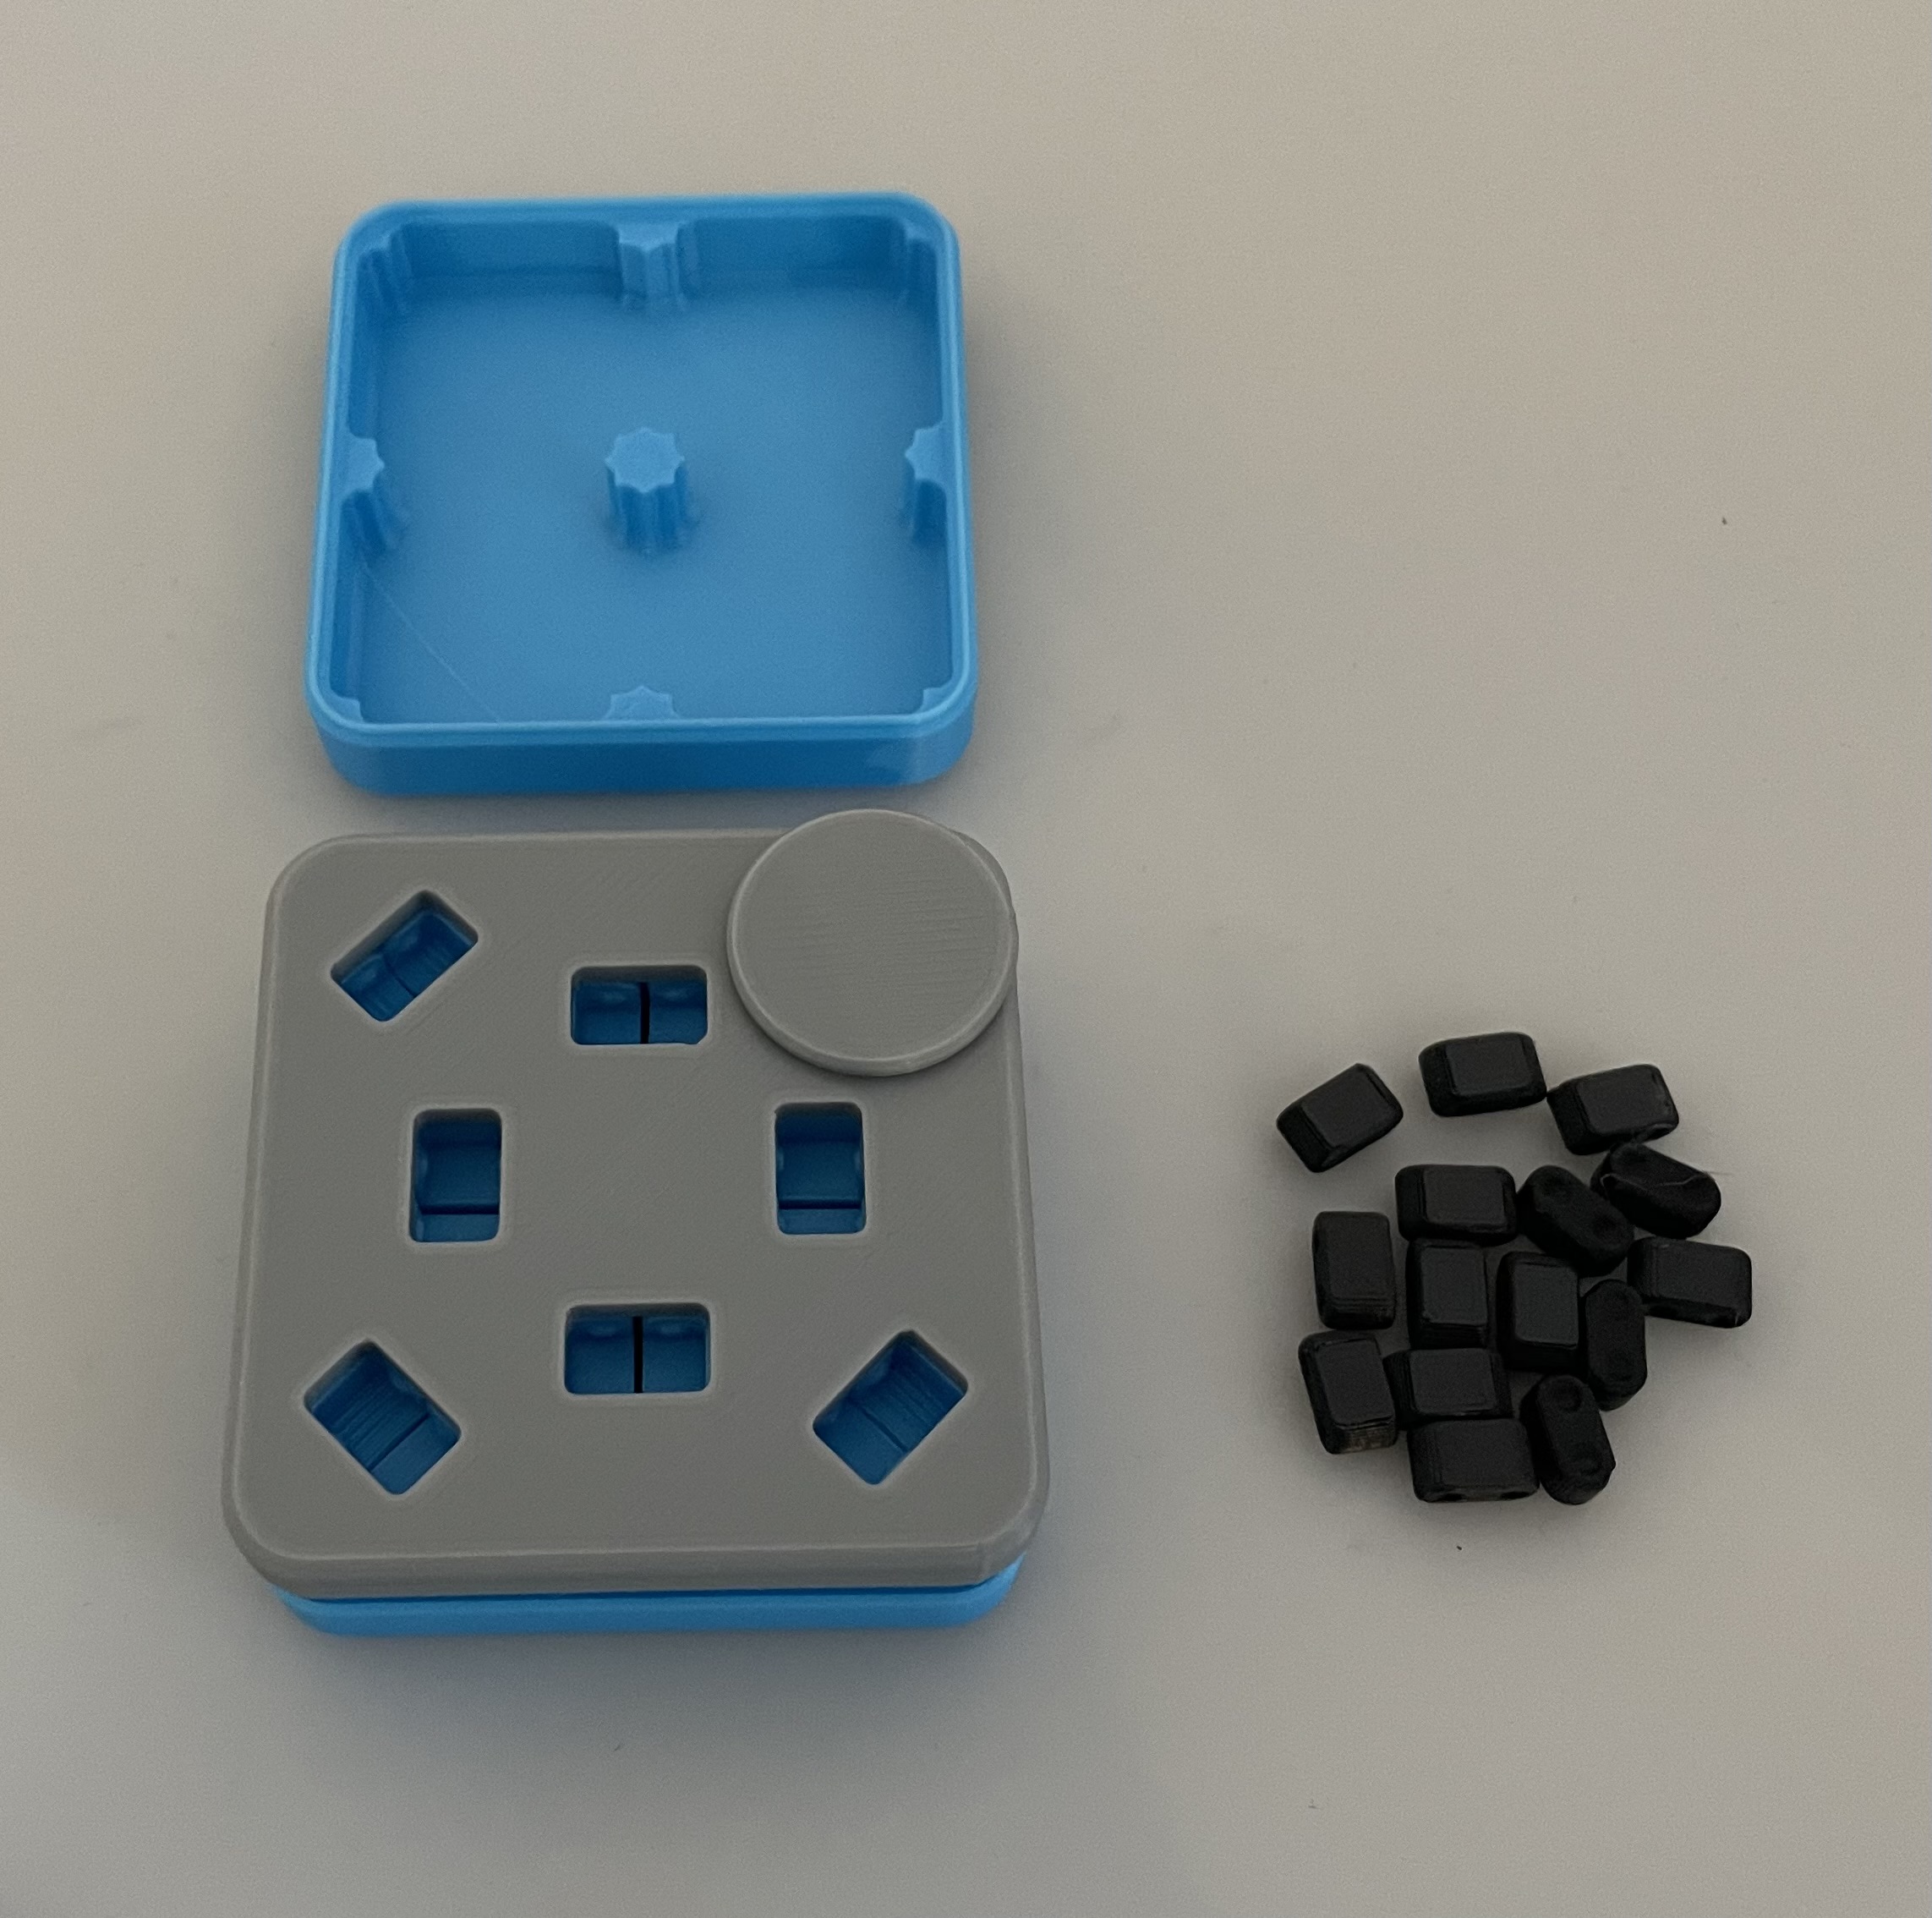
- Place the template on top of the parts
- Place the links into the slots
- Press all the links into place
- If the links are to hard to press in by hand, use a small hammer ;-)
- Flip and repeat