
Retractable WDT Tool With Twist Mechanism
We calculate the final price from your selected file. You review and accept it before payment.
Estimated printing price per file
€2.15 – €2.62 net (excluding VAT)
For file: prusa code V1.bgcode
This is an estimate for one file. You’ll confirm the exact price before ordering.
File and estimate settings
File used for this estimate
Average indicative estimate: €2.38 excluding VAT (range midpoint).
- Weight reported by the author
- 27 g
- Print time reported by the author
- 2.52 hr
- Source material
- PLA
- Estimate material
- PLA
- Estimate printer
- Bambu Lab P1S - 0.4 nozzle
- Estimate process
- 0.20mm Standard
Indicative estimate for the selected file only, based on the author’s weight and print time. File variants are not added together. The final price is calculated after file analysis.
Saved on this device.
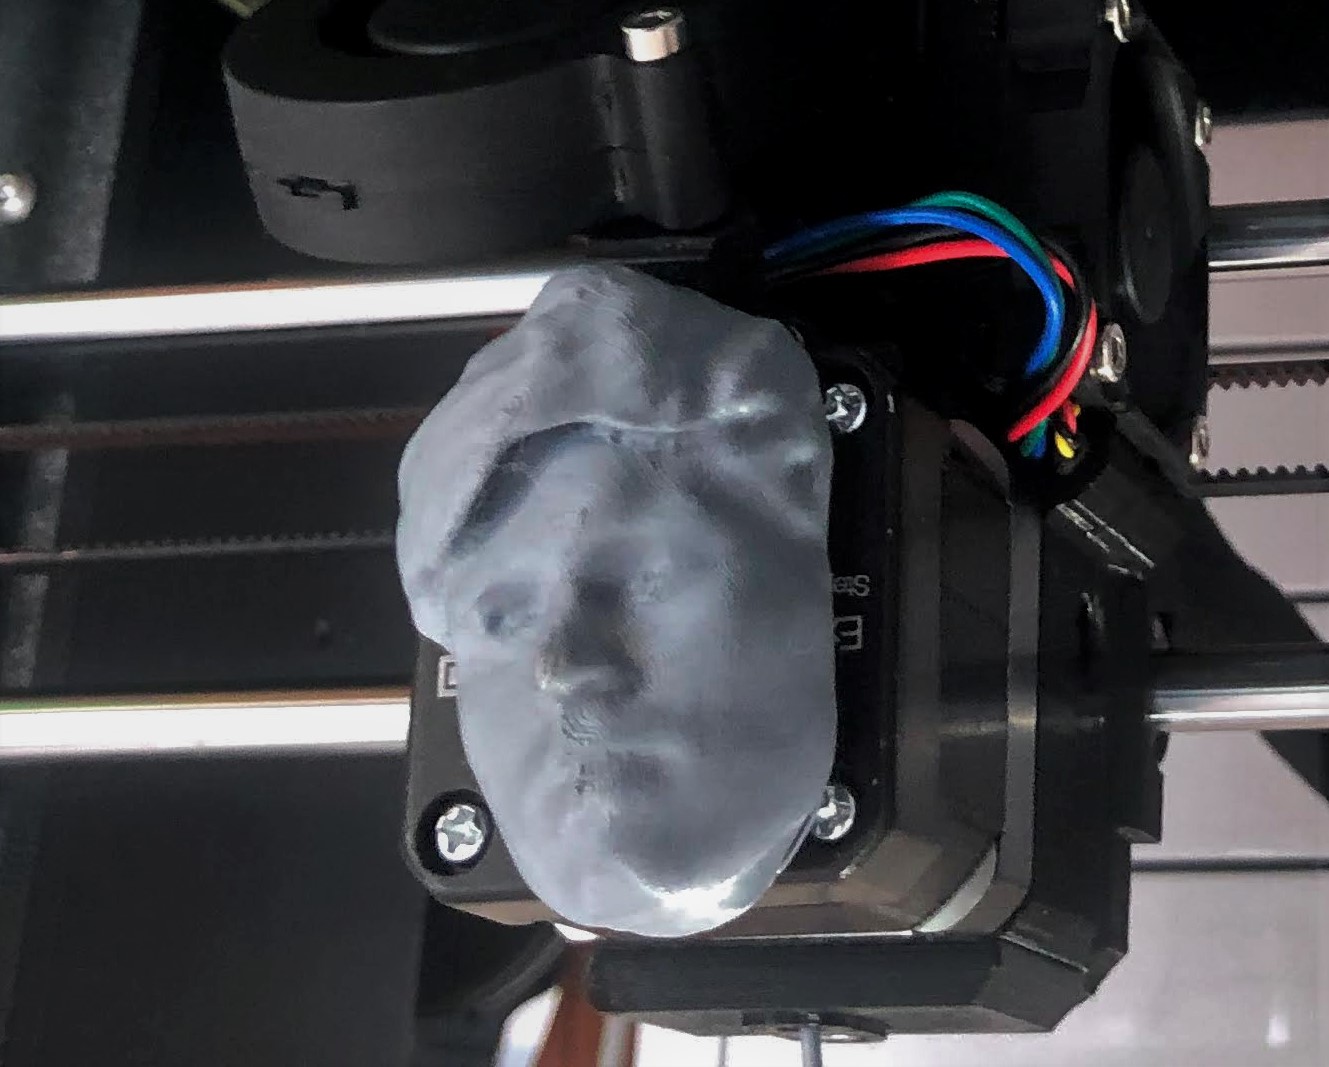
Retractable WDT Tool With Twist Mechanism
- Rating
- 4.75 / 5
- Likes
- 56
- Downloads
- 296
- Makes
- 3
- Views
- 1,387
- Reviews
- 4
Updated at source:
Model information
- Source
- Printables
- Category
- Other Gadgets
- License
- Creative Commons — Attribution — Noncommercial
I have this tool basically in daily use since I released the files in Dec ’24, and mine has held up ever since without any maintenance.
Changes
V2: Thickend the part where the M3 screw goes into. If you have V1 you just need to reprint the spindle and the needle alignment piece (green parts here)

Introduction
Retractable WDT Tool With Twist Mechanism
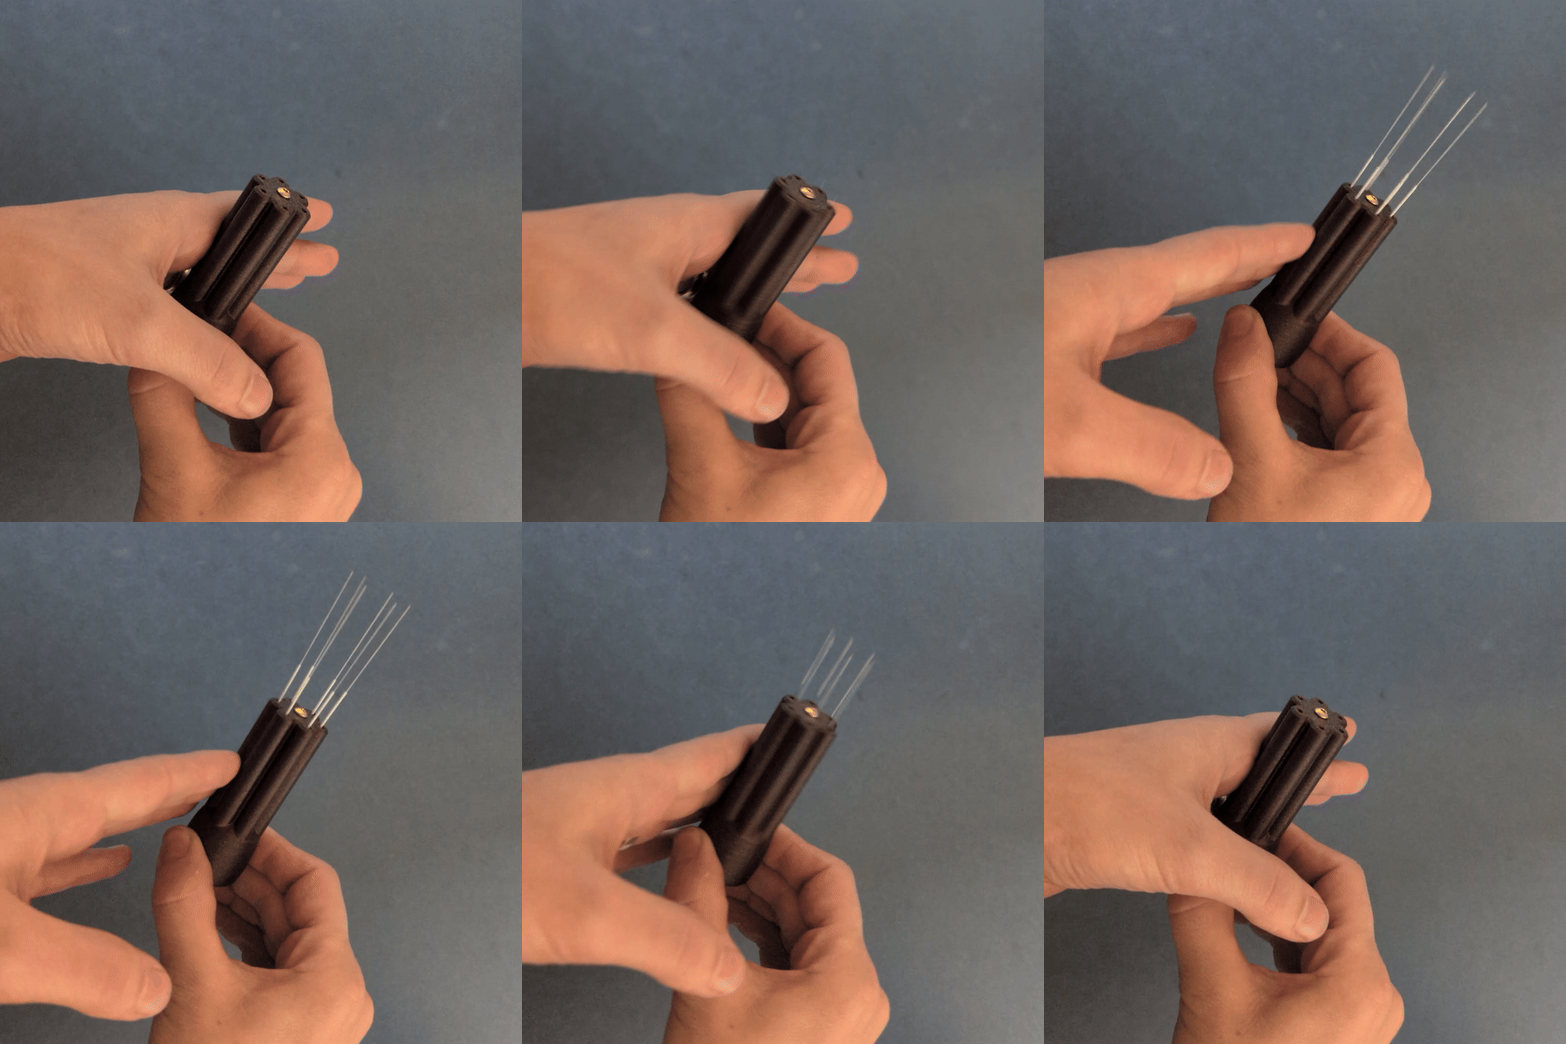
Easy to print and assemble.
Bill of materials
3D printed:
1 x all parts in the file
other:
1 x M3x5 Button Head Cap Screw
6 x Acupuncture Needle 75 mm long 0,25 mm diameter
1x linear rail grease
Assembly

Take the two inner parts, line them up like shown in the picture and insert the six needles through both parts. Notice how the part with the spirals has a bigger hole on one side. This is for the bigger head of the needle. | 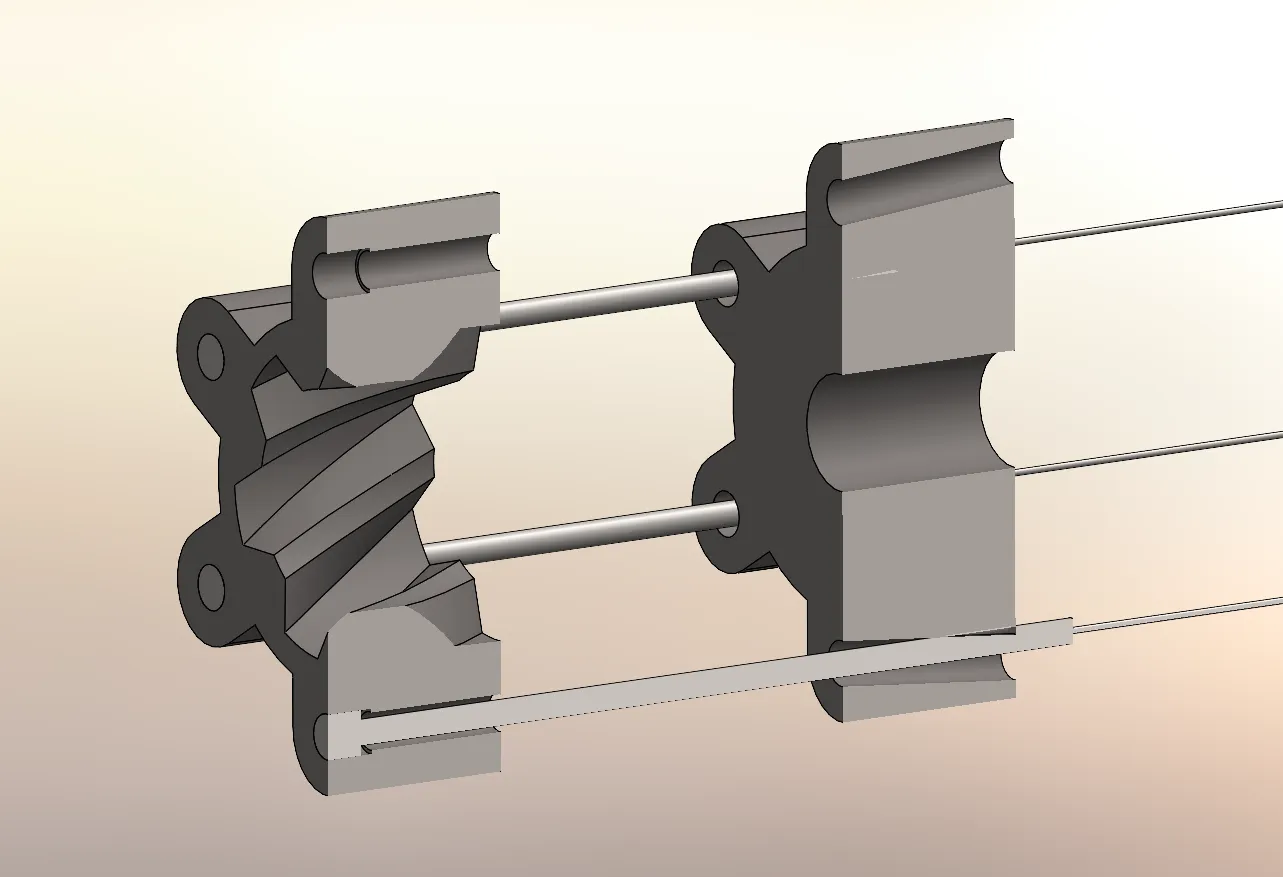 |
Pull the needles all the way in. To get the head in there is a small resistance and then it pops in and ends up beeing flush with the end. This way the needles are secured from falling out → also add grease all around the finns of this part. Screw dont need grease. This is crucial for a smooth operations. Without grease it wont work! You dont need much grase tho the part in the picture has grease already and you cant see |  |
Take the outer shell and insert the needels one in each barrel | 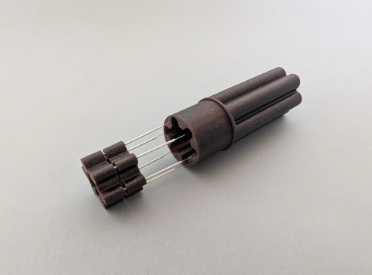 |
Push the whole unit just about this deep into the shell | 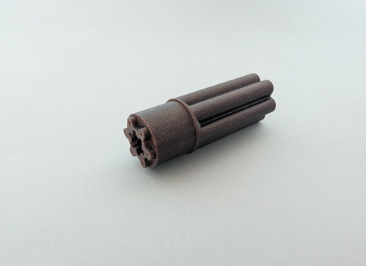 |
Insert the endcap and carefully screw it all the way in. The needles should then automatically allign with the holes of the outer shell. | 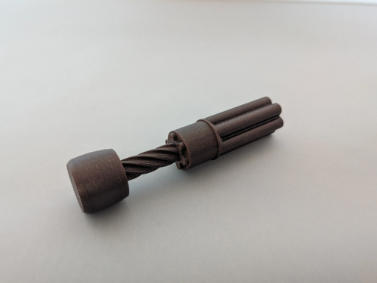 |
To hold everything togehter insert the screw from the front and tighten is slightly | 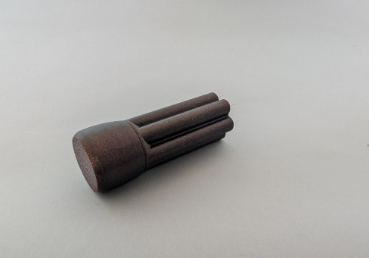 |
Enjoy!