
Star Trek TNG Badge Dice Tower
We calculate the final price from your selected file. You review and accept it before payment.
Saved on this device.
I needed a Star Trek dice tower for board games. I thought someone else might want one too.
- Rating
- 5 / 5
- Likes
- 32
- Downloads
- 97
- Makes
- 1
- Views
- 452
- Reviews
- 1
Updated at source:
Model information
- Source
- Printables
- Category
- Board Games
- License
- Creative Commons — Attribution — Noncommercial — Share Alike

Print (1) of each part except the cap. Print (3) of those. Use the color indicated in the file name.
I used a Prusa MK4 with enclosure, standard 0.4 nozzle, PETG (Polylite), 0.2 layer height.
Step 1 Glue the hopper pieces together. (I used (2) part epoxy)
Step 2 Glue the arrow to the main piece. Push all tabs in evenly, a
little at a time. It won’t go in if you push one tab in all the way, then
the next, then the next...
Step 3 Place the main piece face down and place the dome into
position. Glue the ellipses to the dome.
Step 4 Glue the hopper assy and the dome assy to the main piece
Step 5 Glue the (3) tray pieces together.
Step 6 Glue together the base assy, the tray assy and the tower assy
Notes:
1. There are gaps that allow parts to fit. You will need to adjust those gaps if you scale this.
2. Put epoxy on the tabs for assembly. If you put epoxy on the edges/flats, it will squeeze out. Except the base pieces, glue the base pieces however you see fit.
3. Don’t glue the back on. Use the threaded caps to secure the back. This will allow you to easily open the back should you need to.
4. Print the blue disc and outer ring face down to get the texture of the build plate. (I used the Prusa textured build plate)
5. The main piece has (2) grooves that are used by both the hopper assy tabs and the ellipse assy tabs. Glue up both at the same time otherwise the glue may set in the groove preventing installation of the other assy

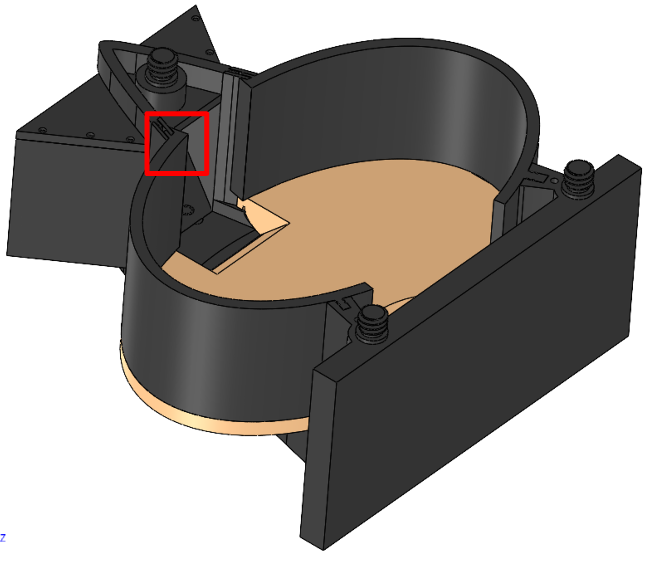
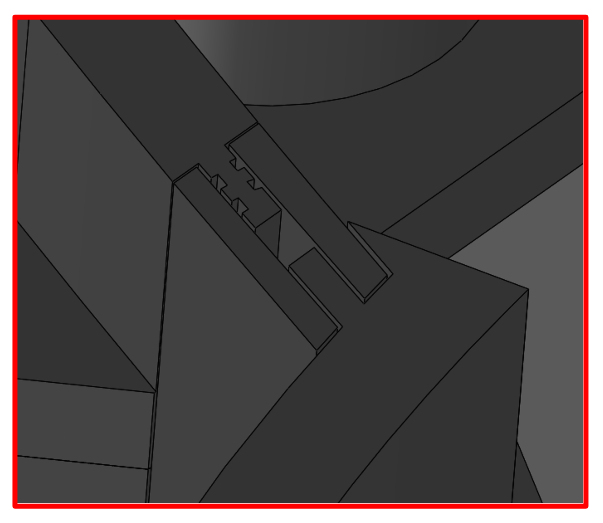
Common groove used by (2) parts
See note 5