
Habillage de clef parametrique - Parametric key cover
We calculate the final price from your selected file. You review and accept it before payment.
Estimated printing price per file
€0.13 – €0.16 net (excluding VAT)
For file: cache clef_0.4n_0.15mm_PLA_MK4SMMU3_9m.bgcode
This is an estimate for one file. You’ll confirm the exact price before ordering.
File and estimate settings
File used for this estimate
Average indicative estimate: €0.15 excluding VAT (range midpoint).
- Weight reported by the author
- 2 g
- Print time reported by the author
- 8.4 min
- Source material
- PLA
- Estimate material
- PLA
- Estimate printer
- Bambu Lab P1S - 0.4 nozzle
- Estimate process
- 0.20mm Standard
Indicative estimate for the selected file only, based on the author’s weight and print time. File variants are not added together. The final price is calculated after file analysis.
Saved on this device.
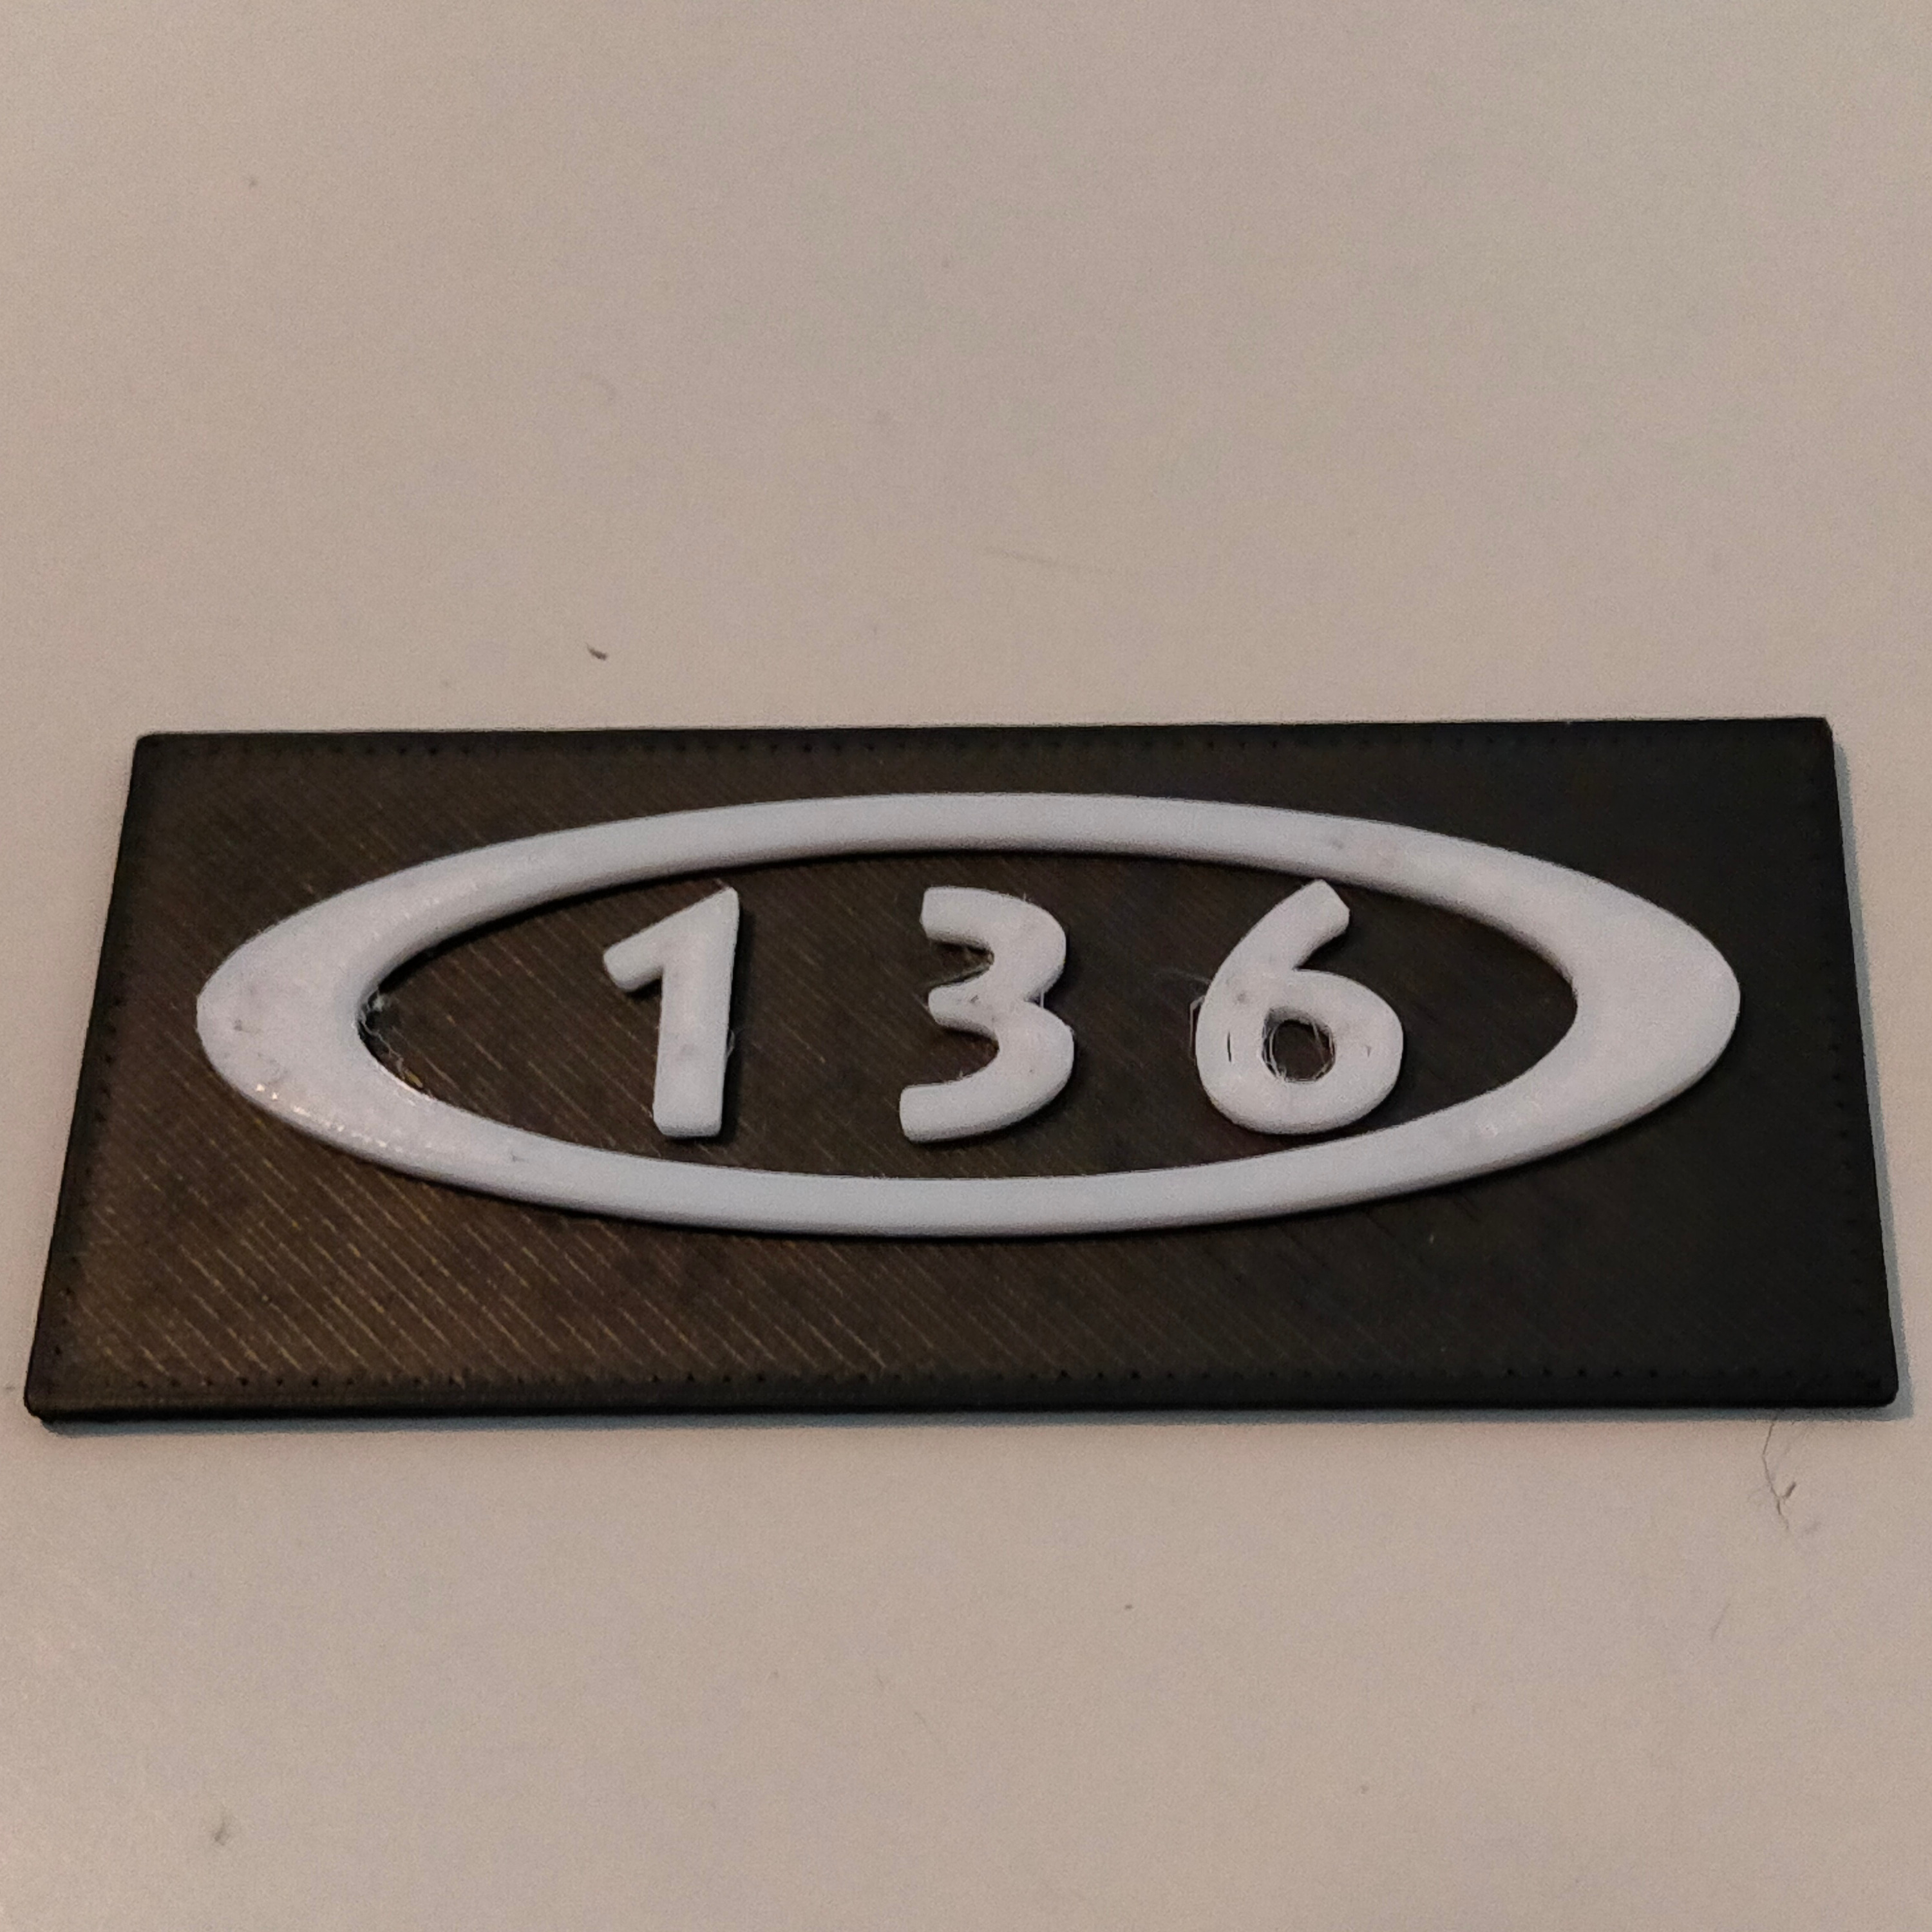
Insère les clefs rondes dans une coque de couleur - Inserts round keys into a colored shell
- Rating
- 0 / 5
- Likes
- 10
- Downloads
- 73
- Makes
- 0
- Views
- 276
- Reviews
- 0
Updated at source:
Model information
- Source
- Printables
- Category
- Other House Equipment
- License
- Creative Commons — Attribution
1 Mesurez les dimensions de votre clef.
2 reportez les dans les cases vertes du tableur du fichier freecad en vous aidant du dessin.
3 Exportez la forme en .obj.
4 Importez dans Prusaslicer.
5 Découpez et insérez une pause au niveau de la couche précédant la fermeture de la cage.
6 Lancez l'impression
7 A la pause détachez le cache mettez le sur la clef et insérez le tout dans la cage.
8 Relancez l'impression.
Dans le fichier tableur vous pouvez éventuellement modifier les cases bleues mais ne touchez pas les cases jaunes.
Si vous voulez inscrire quelque chose sur la clef utilisez la fonction “ajouter une oièce” de prusaslicer.
------------------------------------------------------------------------------------------------------
1 Measure the dimensions of your key.
2 Transfer them to the green boxes in the Freecad spreadsheet file, using the drawing as a guide.
3 Export the shape as an .obj file.
4 Import into Prusaslicer.
5 Cut out and insert a pause in the layer before the cage closes.
6 Start printing.
7 At the pause, detach the cover, place it on the key and insert it into the cage.
8 Start printing again.
In the spreadsheet file, you may modify the blue boxes, but do not touch the yellow boxes.
If you want to write something on the key, use prusaslicer's “add part” function