Filament Buffer for LH Stinger Pico MMU
We calculate the final price from your selected file. You review and accept it before payment.
Saved on this device.
This is a small filament buffer that mounts directly to the Pico MMU and supports a maximum of 140mm rewind.
- Rating
- 4.75 / 5
- Likes
- 81
- Downloads
- 183
- Makes
- 4
- Views
- 2,084
- Reviews
- 4
Updated at source:
Model information
- Source
- Printables
- Category
- Other Printer Parts & Upgrades
- License
- Creative Commons — Attribution — Noncommercial — Share Alike
This is a small filament buffer that mounts directly to the Pico MMU and supports a maximum of 140mm rewind.
I made this small buffer for my mmu setup and the main goal was to save as much table space as possible and also easy accessibility and handling. The unique form factor of the Pico MMU directly encourages this. The best place to mount it seemed to be on the monitor stand. It was necessary to place the filament spools as close to the mmu as possible. Even though I have the filament hub positioned on the toolhead, the short distance of the spools from the mmu could not compensate for the backward movement when changing filament and loosened the spool winding.
It is designed as a slot system so can be used for both 3 lane and 4 lane Pico MMU.
BOM (4 lane setup)
printed parts:
| Item | Quantity |
|---|---|
| buffer_body | 4 |
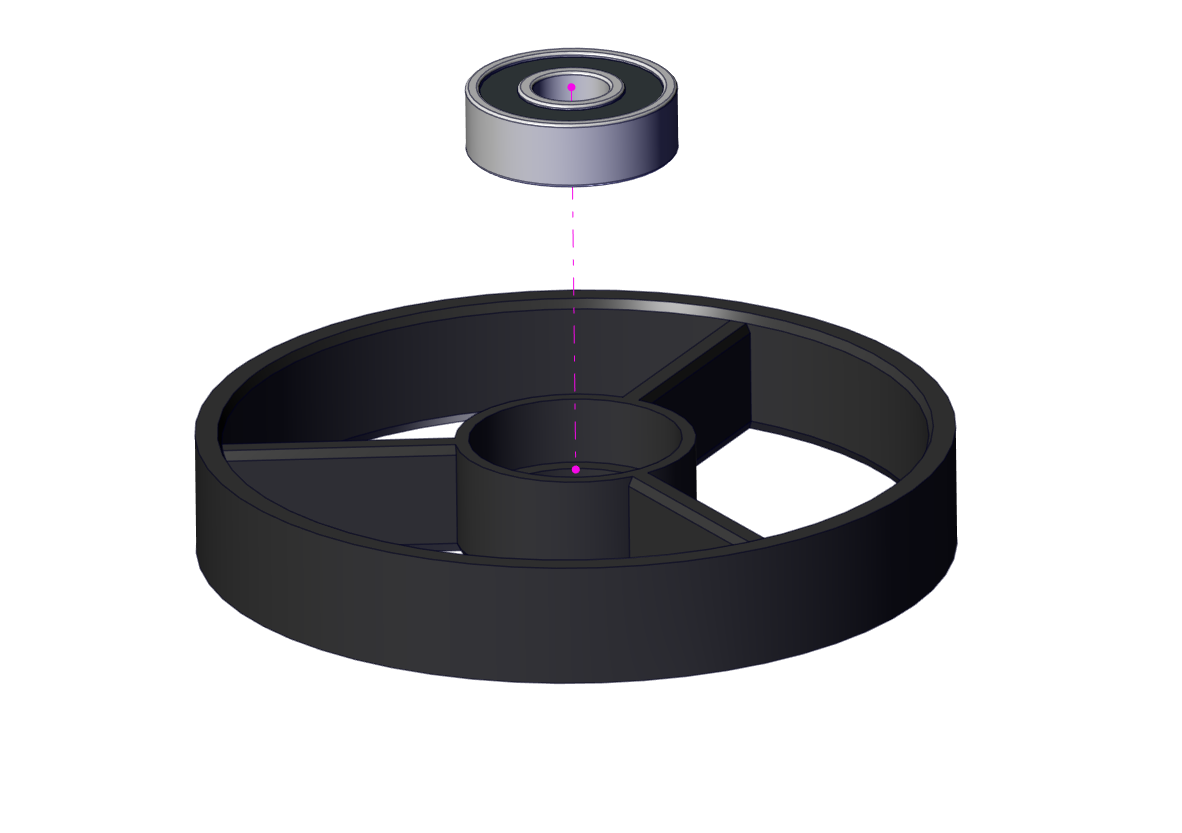
| wheel | 4 |
| spacer_608 | 4 |
| side_right | 1 |
| side_left | 1 |
| spacer_stepper (optional) | 1 |
other parts:
| Item | Quantity |
|---|---|
| Bearing 608 | 4 |
| Heat Insert M3 short - D 5mm x L 4mm | 10 |
| PTFE Tube 4mm OD / 3mm ID - Lenght 73 mm | 4 |
| PTFE Tube 4mm OD / 2mm ID - Lenght 15 mm (optional) | 4 |
| M3 x 60 Socket Head Cap Screw | 1 |
| M3 x 55 Socket Head Cap Screw | 5 |
| M3 x 10 Socket Head Cap Screw | 6 |
| M3 x 15 Socket Head Cap Screw (optional) | 2 |
Print settings/instructions:
-PLA, PETG
-0.2mm layer height
-4 perimeters
-5 top/bottom layers
-20% infill
Make sure your printer is properly calibrated, especially for printing bridges and overhangs. Some slight post processing of the filament path might be needed.
To get started, just print the parts for 1 lane (buffer_body, wheel, spacer_608 and side_right) and join them with the M3 bolts and nuts to test that it works for your setup.
Credit to LH LH Stinger Pico MMU https://github.com/lhndo/LH-Stinger/wiki/Pico-MMU LH Stinger Discord Community |
Assembling: