
Modular Controller Tower
We calculate the final price from your selected file. You review and accept it before payment.
Saved on this device.

The Modular Controller Tower where you can add how many levels you want and have as few/many controllers as you desire.
- Rating
- 5 / 5
- Likes
- 28
- Downloads
- 122
- Makes
- 0
- Views
- 712
- Reviews
- 1
Updated at source:
Model information
- Source
- Printables
- Category
- Video Games
- License
- Creative Commons — Attribution — Noncommercial
About
The Modular Controller Tower where you can add how many levels you want and have as few/many controllers as you desire. It has been tested on several controllers (PS5, PS4, PS3, 8bitdo ultimate 2c). The tower supports cable pass-trough for charging the controllers and increased stability.
Features
- Universal (fits most controllers)
- Modular - add as many/few controllers you want
- Supports charging - cable pass-trough to every controller
Parts
plate
The base for the tower.
pipe
Attaches to other pipes and has 4 holes for charging cables to pass trough. Can fit up to 3 holders with controllers.
pipe_no_holes
Same as pipe except no holes for charging cables. Attaches to the plate of the tower.
holder
Holds one controller.
cap
Act as the top of the tower. Has holes for charging cables.
ring
Placed between two pipes and holders to line up the charging holes aesthetically. It might not be needed depending on how the threads and the fit of the printed parts.
Plug
Used to cover the unused holes for charging cables in the pipes.
How to print
This will list the parts used for storing a total of 4 controllers on two levels. You can add/remove parts depending on how many controllers you want to support.
- 1x plate (support needed).
- 1x pipe_no_holes (no support).
- 1x pipe (support needed for the 4 holes).
- 4x holder (support needed).
- 1x cap (support needed for the 4 holes).
- 1x ring (optional) (no support).
- 4x plug (optional) (support needed)
Cap:

Holder:

Pipe:
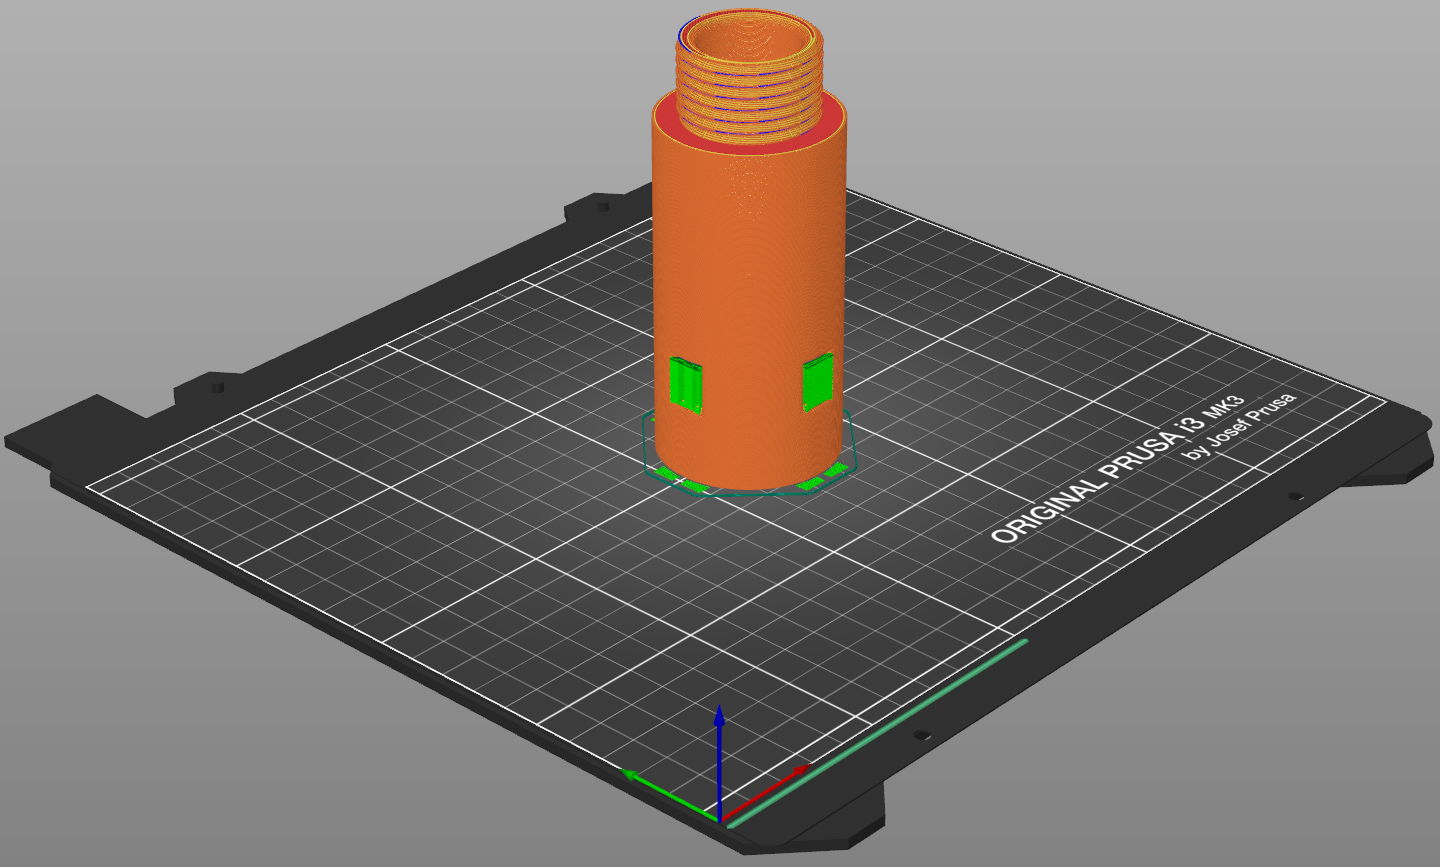
Plug:
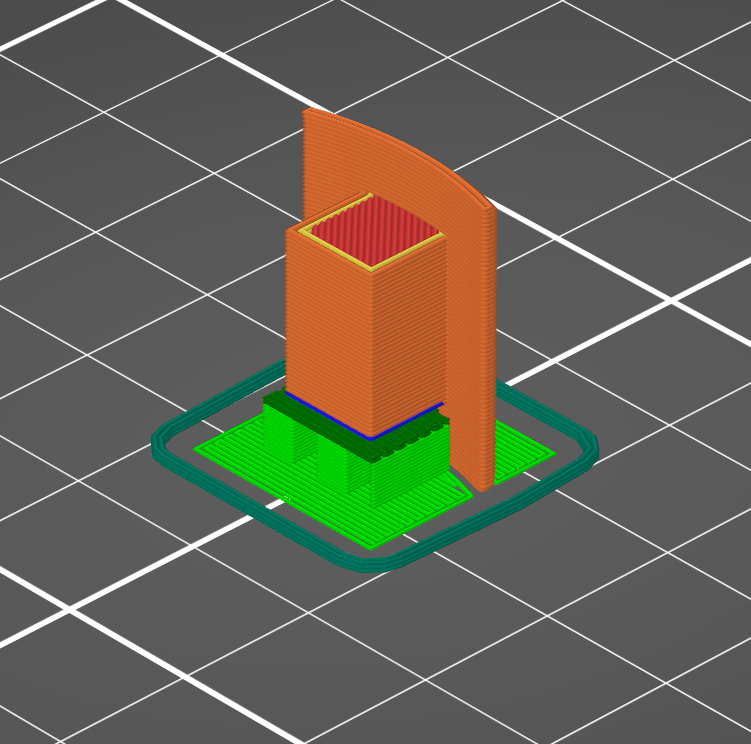
Plate:

Assembly
- Screw “pipe_no_holes” into “plate”.
- Slide 2x “holder” onto the “pipe_no_holes”.
- Screw “pipe” onto the “pipe_no_holes” and note where the holes line up. If they don't line up where you want them, try placing a “ring” between the “pipe” and the holders and try again.
- Put 2x “plug” in the unused holes.
- Unscrew the “pipe” and thread two cables trough the “plate” with the “pipe_no_holes” and the two “holder” and finally trough the holes in the “pipe”.
- Now screw the "pipe” back. You should now be able to place to controllers on the holders and connect the two charging cables to them.
- The top assembly follows almost the same steps as before, except the “pipe” is replaced with “cap”.