
RC Cat Laser using Arduino Cloud
We calculate the final price from your selected file. You review and accept it before payment.
Saved on this device.
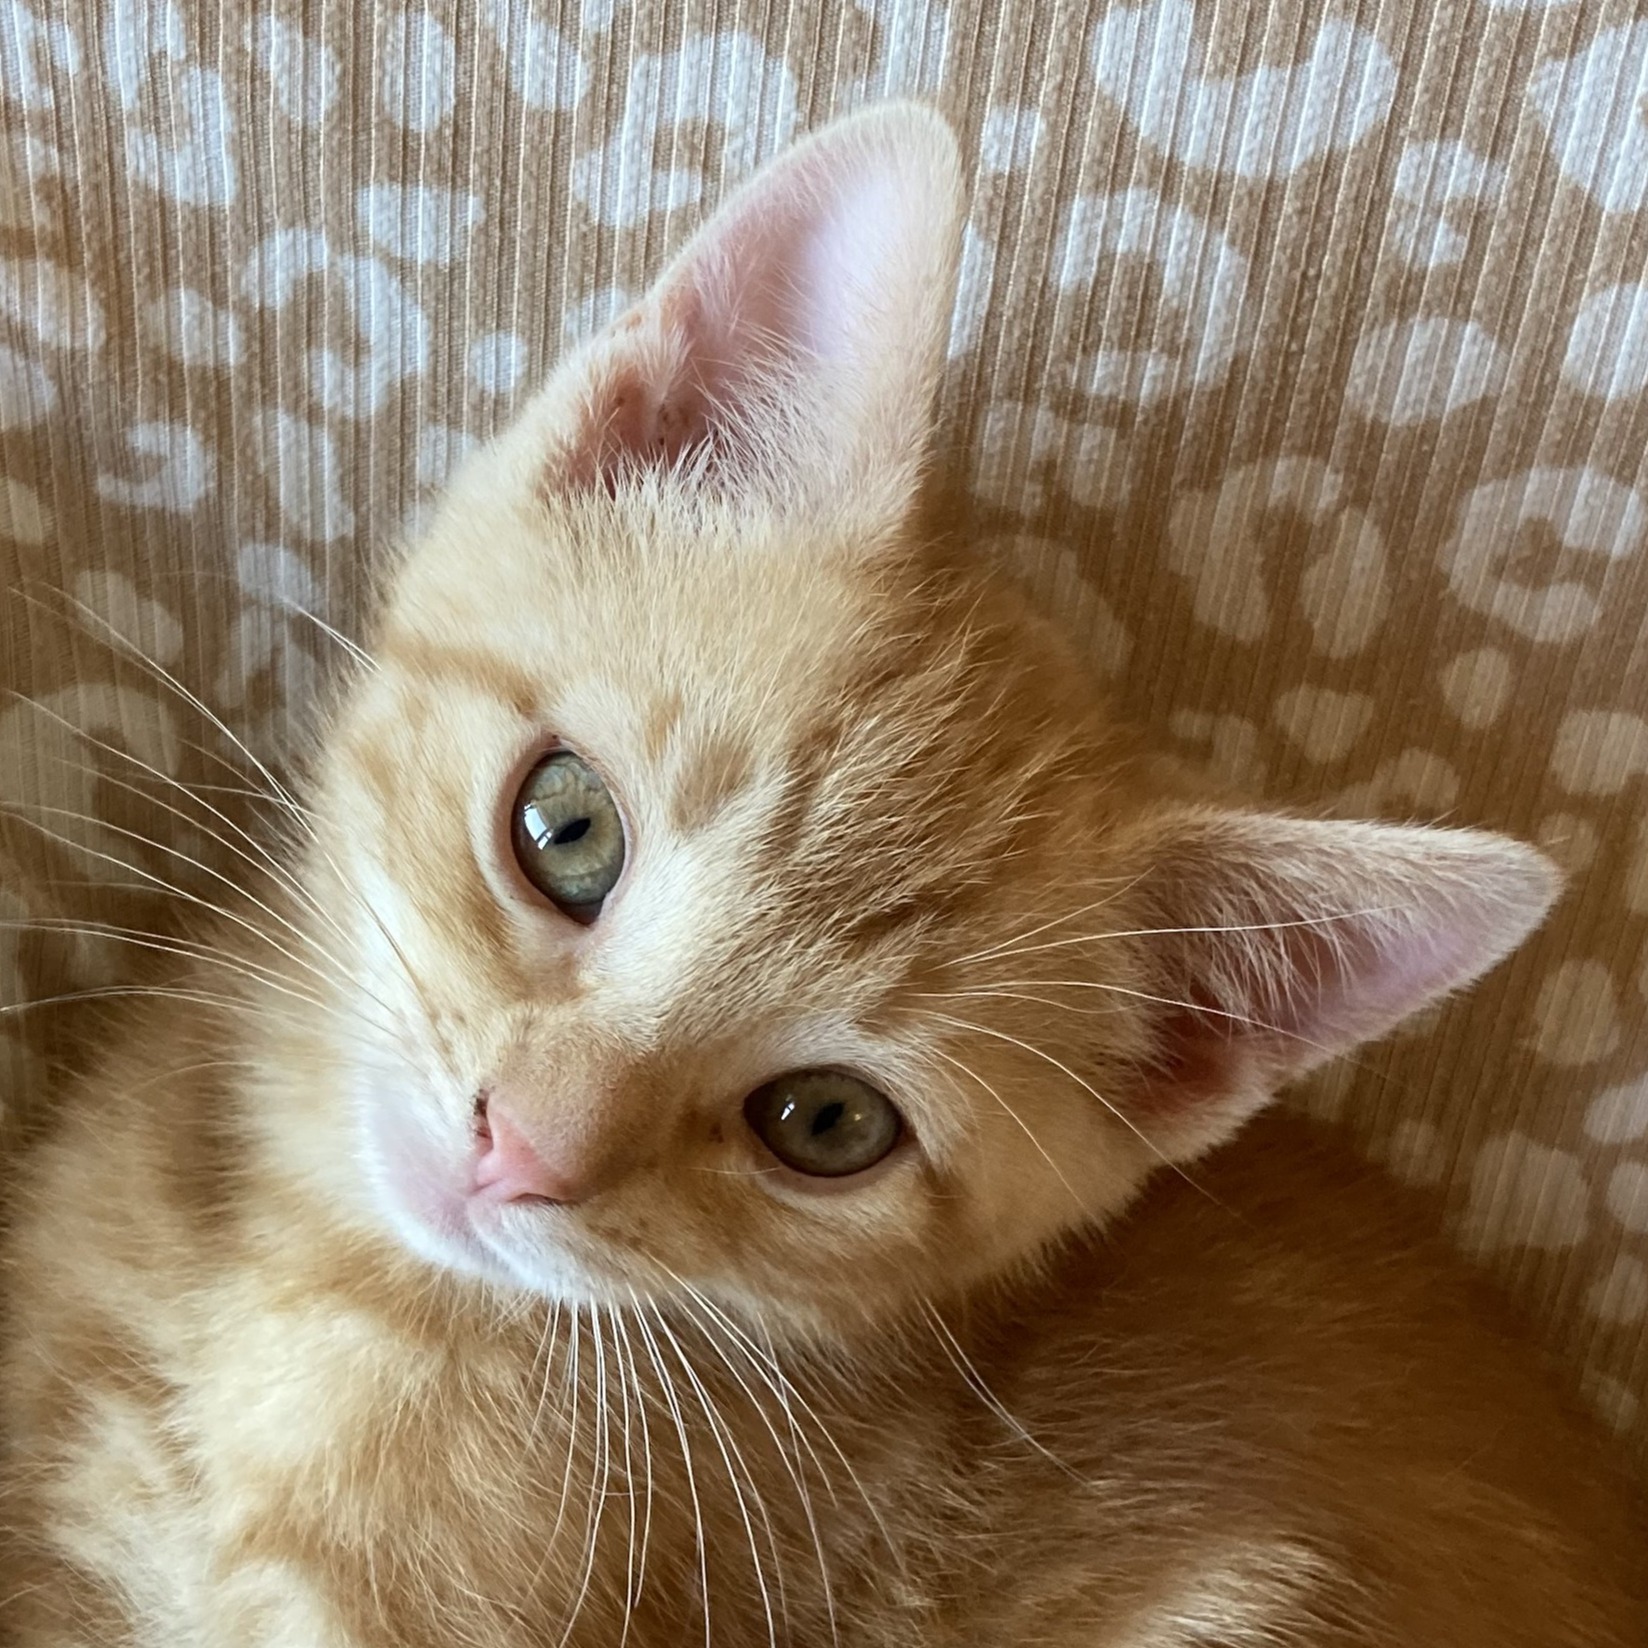
This a RC cat laser using Arduino Cloud for the RC part.
- Rating
- 0 / 5
- Likes
- 7
- Downloads
- 17
- Makes
- 0
- Views
- 181
- Reviews
- 0
Updated at source:
Model information
- Source
- Printables
- Category
- RC & Robotics
- License
- GNU Lesser General Public License
Setup: Create two Arduino Cloud Things. The first will be the controller, create two int's x and y, here's the code:
/*
 Sketch generated by the Arduino IoT Cloud Thing "Untitled 4"
 https://create.arduino.cc/cloud/things/39f41e54-ce09-4191-a449-9f4f3888d1fc
 Arduino IoT Cloud Variables description
 The following variables are automatically generated and updated when changes are made to the Thing
 int x2;
 int y2; Variables which are marked as READ/WRITE in the Cloud Thing will also have functions
 which are called when their values are changed from the Dashboard.
 These functions are generated with the Thing and added at the end of this sketch.
*/
#include "thingProperties.h"
void setup() {
 // Initialize serial and wait for port to open:
 Serial.begin(9600);
 // This delay gives the chance to wait for a Serial Monitor without blocking if none is found
 delay(1500);
 // Defined in thingProperties.h
 initProperties();
 // Connect to Arduino IoT Cloud
 ArduinoCloud.begin(ArduinoIoTPreferredConnection);
 /*
    The following function allows you to obtain more information
    related to the state of network and IoT Cloud connection and errors
    the higher number the more granular information you’ll get.
    The default is 0 (only errors).
    Maximum is 4
*/
 setDebugMessageLevel(2);
 ArduinoCloud.printDebugInfo();
}
void loop() {
 ArduinoCloud.update();
   x2 = analogRead(A0);
   y2 = analogRead(A1);
}
/*
 Since X2 is READ_WRITE variable, onX2Change() is
 executed every time a new value is received from IoT Cloud.
/
void onX2Change()  {
 // Add your code here to act upon X2 change
}
/
 Since Y2 is READ_WRITE variable, onY2Change() is
 executed every time a new value is received from IoT Cloud.
/
void onY2Change()  {
 // Add your code here to act upon Y2 change
}
Next is the Cat Laser Toy, create two int's x and y and sync the with the x and y from the controller, here's the code:
#include <Servo.h>
/
 Sketch generated by the Arduino IoT Cloud Thing "Cat laser"
 https://create.arduino.cc/cloud/things/1b27a684-099b-459f-9ccf-c2764d9eb1e6
 Arduino IoT Cloud Variables description
 The following variables are automatically generated and updated when changes are made to the Thing
 int x;
 int y;
 Variables which are marked as READ/WRITE in the Cloud Thing will also have functions
 which are called when their values are changed from the Dashboard.
 These functions are generated with the Thing and added at the end of this sketch.
*/
#include "thingProperties.h"
Servo servoX;
Servo servoY;
void setup() {
 // Initialize serial and wait for port to open:
 Serial.begin(9600);
 // This delay gives the chance to wait for a Serial Monitor without blocking if none is found
 delay(1500);
 // Defined in thingProperties.h
 initProperties();
servoX.attach(13);
servoY.attach(12);
 // Connect to Arduino IoT Cloud
 ArduinoCloud.begin(ArduinoIoTPreferredConnection);
 /*
    The following function allows you to obtain more information
    related to the state of network and IoT Cloud connection and errors
    the higher number the more granular information you’ll get.
    The default is 0 (only errors).
    Maximum is 4
*/
 setDebugMessageLevel(2);
 ArduinoCloud.printDebugInfo();
}
void loop() {
 ArduinoCloud.update();
servoX.write(x / 4);
servoY.write(y / 4);
}
/*
 Since X is READ_WRITE variable, onXChange() is
 executed every time a new value is received from IoT Cloud.
/
void onXChange()  {
 // Add your code here to act upon X change
}
/
 Since Z is READ_WRITE variable, onZChange() is
 executed every time a new value is received from IoT Cloud.
/
/
 Since Y is READ_WRITE variable, onYChange() is
 executed every time a new value is received from IoT Cloud.
*/
void onYChange()  {
 // Add your code here to act upon Y change
}
next enter all of your wifi stuff in a sketch secrets and upload the code after assembling it by inserting the servo's and laser and wire it and put a nano in the Cat Laser and a UNO R4 WiFi in the controlor and get a Grove Thumb Joystick and wire and have fun! If you have any questions feel free no comment!
WARNING!!! DO NOT SHINE LASER IN EYES!!!