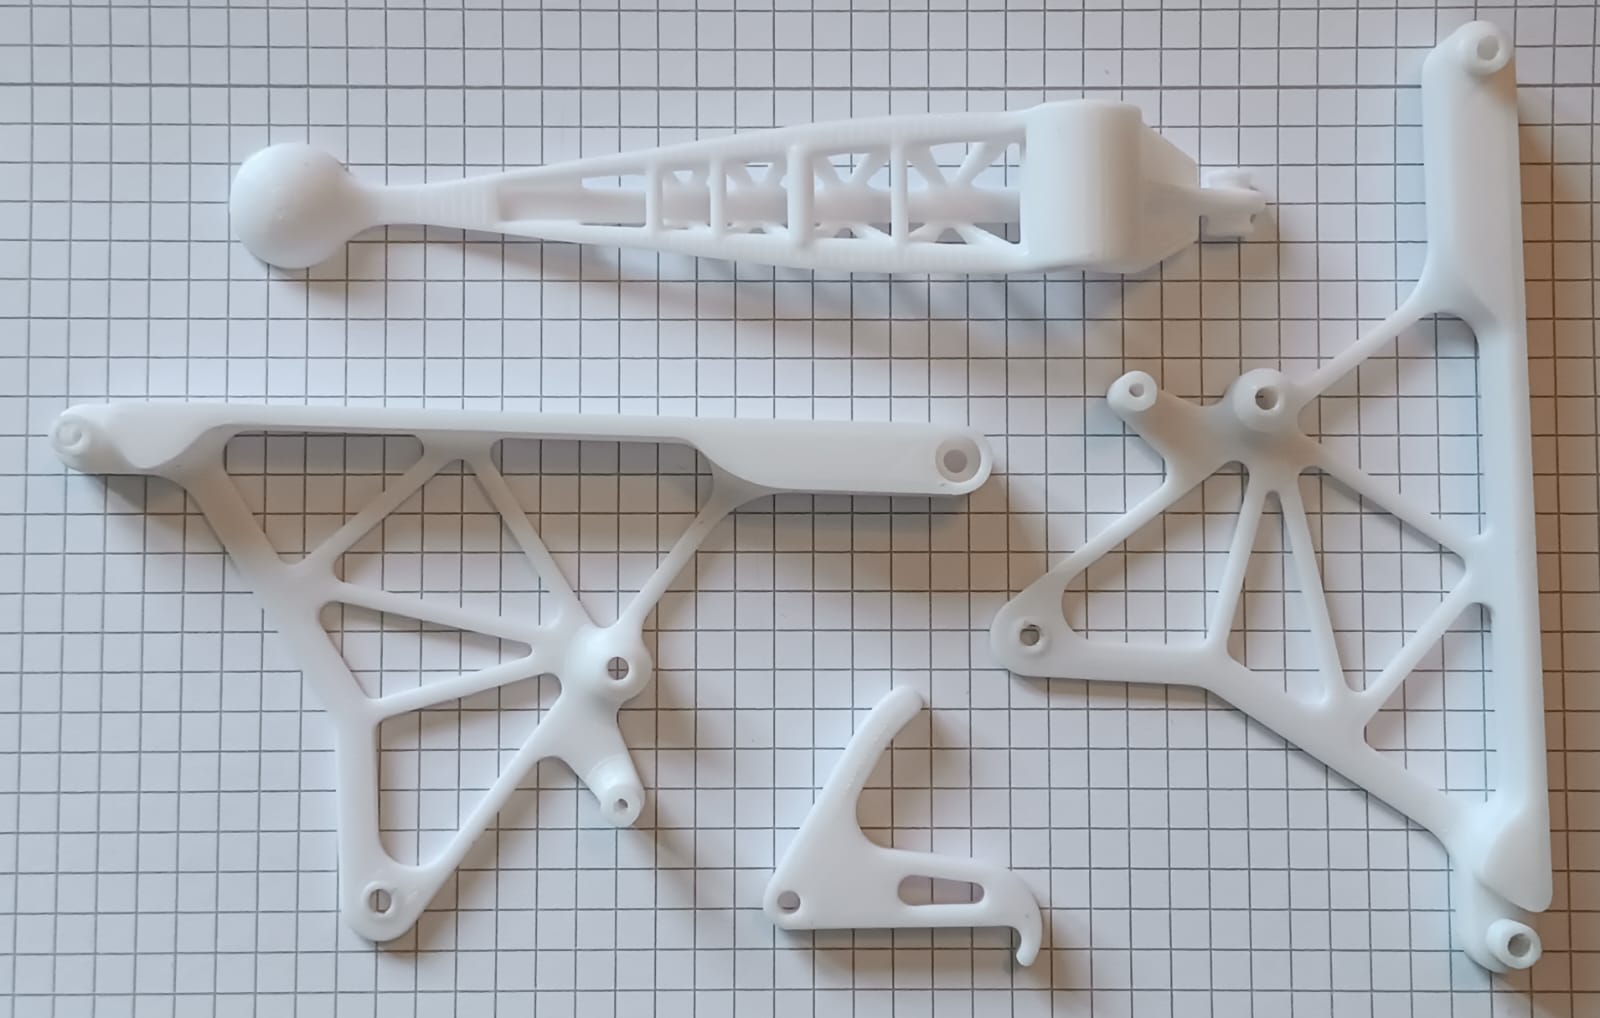
spring loaded desctop toy catapult (+40m m range)
We calculate the final price from your selected file. You review and accept it before payment.
Saved on this device.

Compact, 3D-printed spring-loaded catapult. Lattice design, simple lever mechanism, spoon-shaped projectile.
- Rating
- 5 / 5
- Likes
- 324
- Downloads
- 478
- Makes
- 4
- Views
- 4,604
- Reviews
- 4
Updated at source:
Model information
- Source
- Printables
- Category
- Other Toys & Games
- License
- Creative Commons — Attribution — Noncommercial — NoDerivatives
This is a toy, spring-loaded catapult, designed to be 3D-printed.
catapult spring loaded print-in-place (+40m m range) - Makeronline - More Than Fun
It features an intricate, lattice base and arm structures for lightweight, strong construction. The firing mechanism uses a spring and simple lever system to propel a small, round-shaped projectile such as pea or chickpea, Mechanism is also designed to minimize and dampen the recoil. Its compact size makes it ideal for desktop display or demonstration.
if you dant want bearings print these instead
Warning: be careful, peas fly far and can hit hard - never aim at anyone or anything that might get hurt.
Printing:
It can be printed without supports, where arm needs to be placed with the narrow beam and cup facing downwards on the buildplate.
I used PLA, 0.2mm layers, but probably any rigid filament would do.
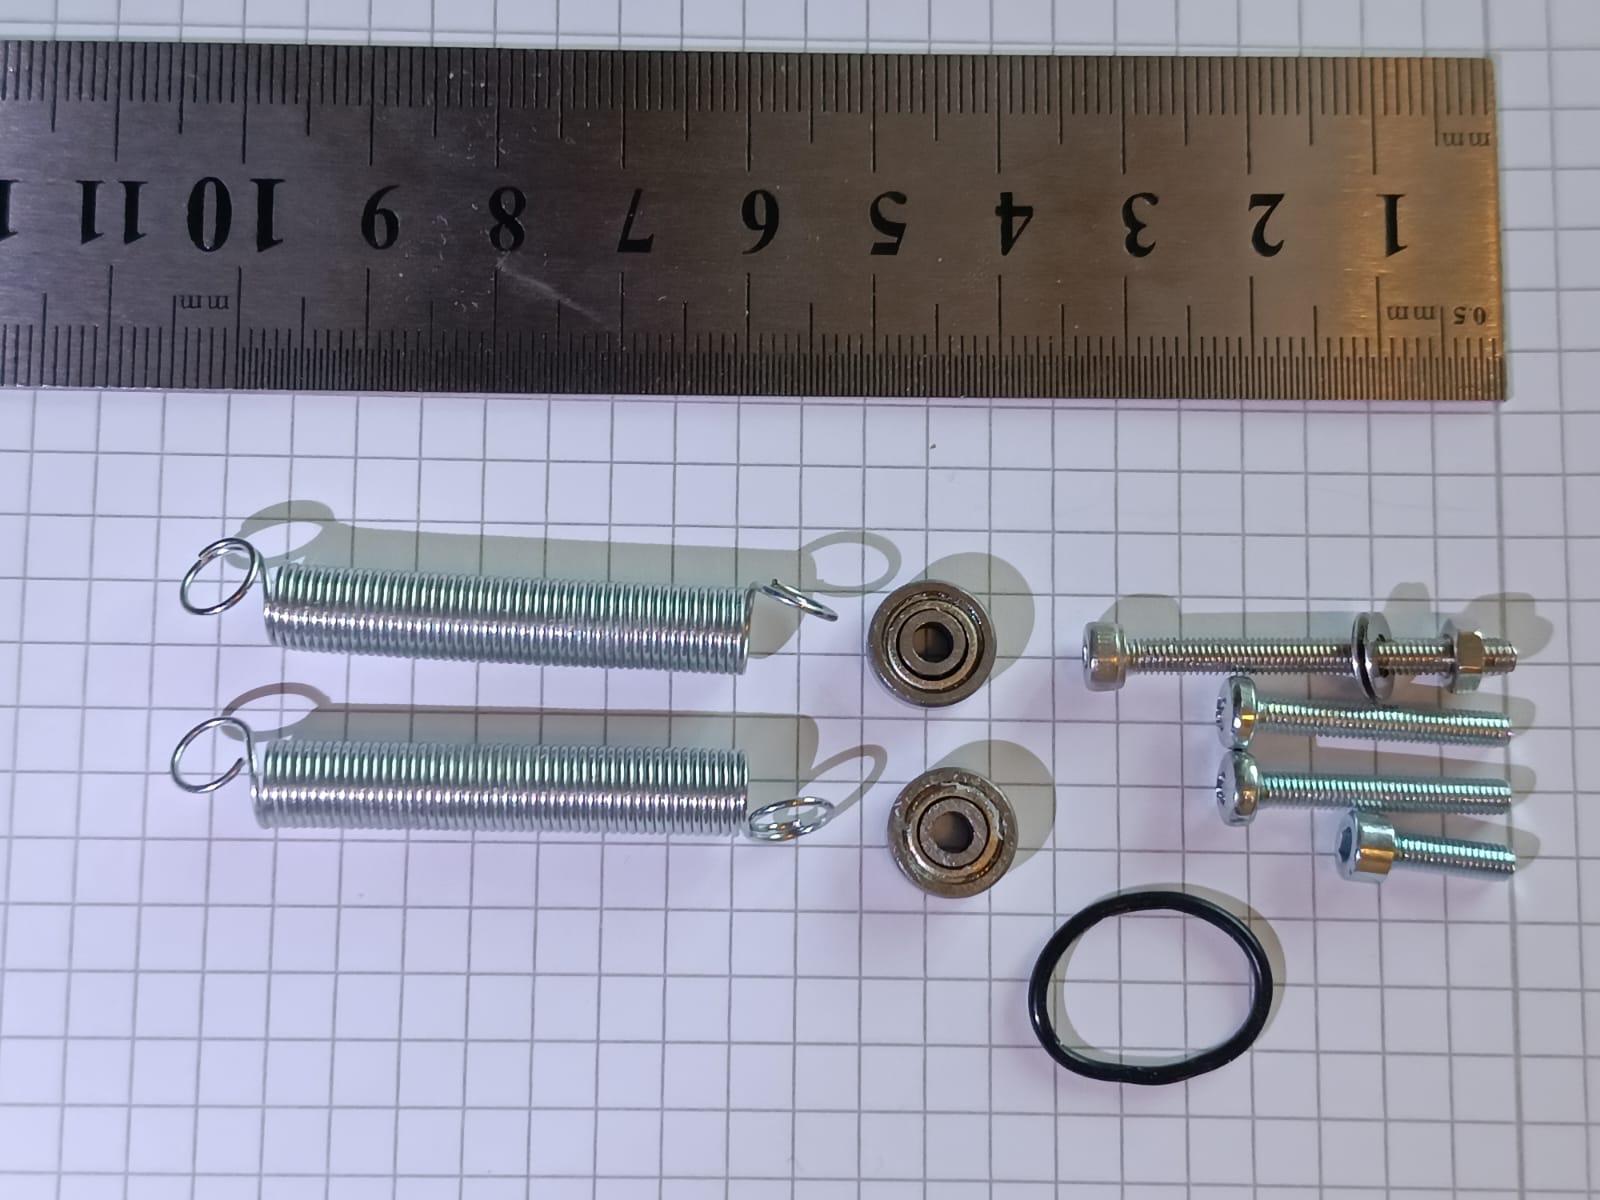
Other material / Vitamins needed:
1x M3x30 screw, washers and a nut
2x M3x20 screw
1x M3x10 screw
2x tension springs approx. 45x6mm
2x ball bearings (10x4mm with 3mm hole) - 623 type works
1x small rubber band or an o-ring to load the trigger mechanism
Assembly and use:
Screw lengths are defined for threaded part length
Insert the rubber band first through trigger opening and then around the respective frame bar, before screwing the frame together.
Springs need to be inserted before fastening the frame, but snapped on the the arm later at any time.
For weaker shots, one spring can be disengaged.
Latch should be engaged only with a thicker crossbar (2nd from the axle)
Manual:
How to print:

approximate size: