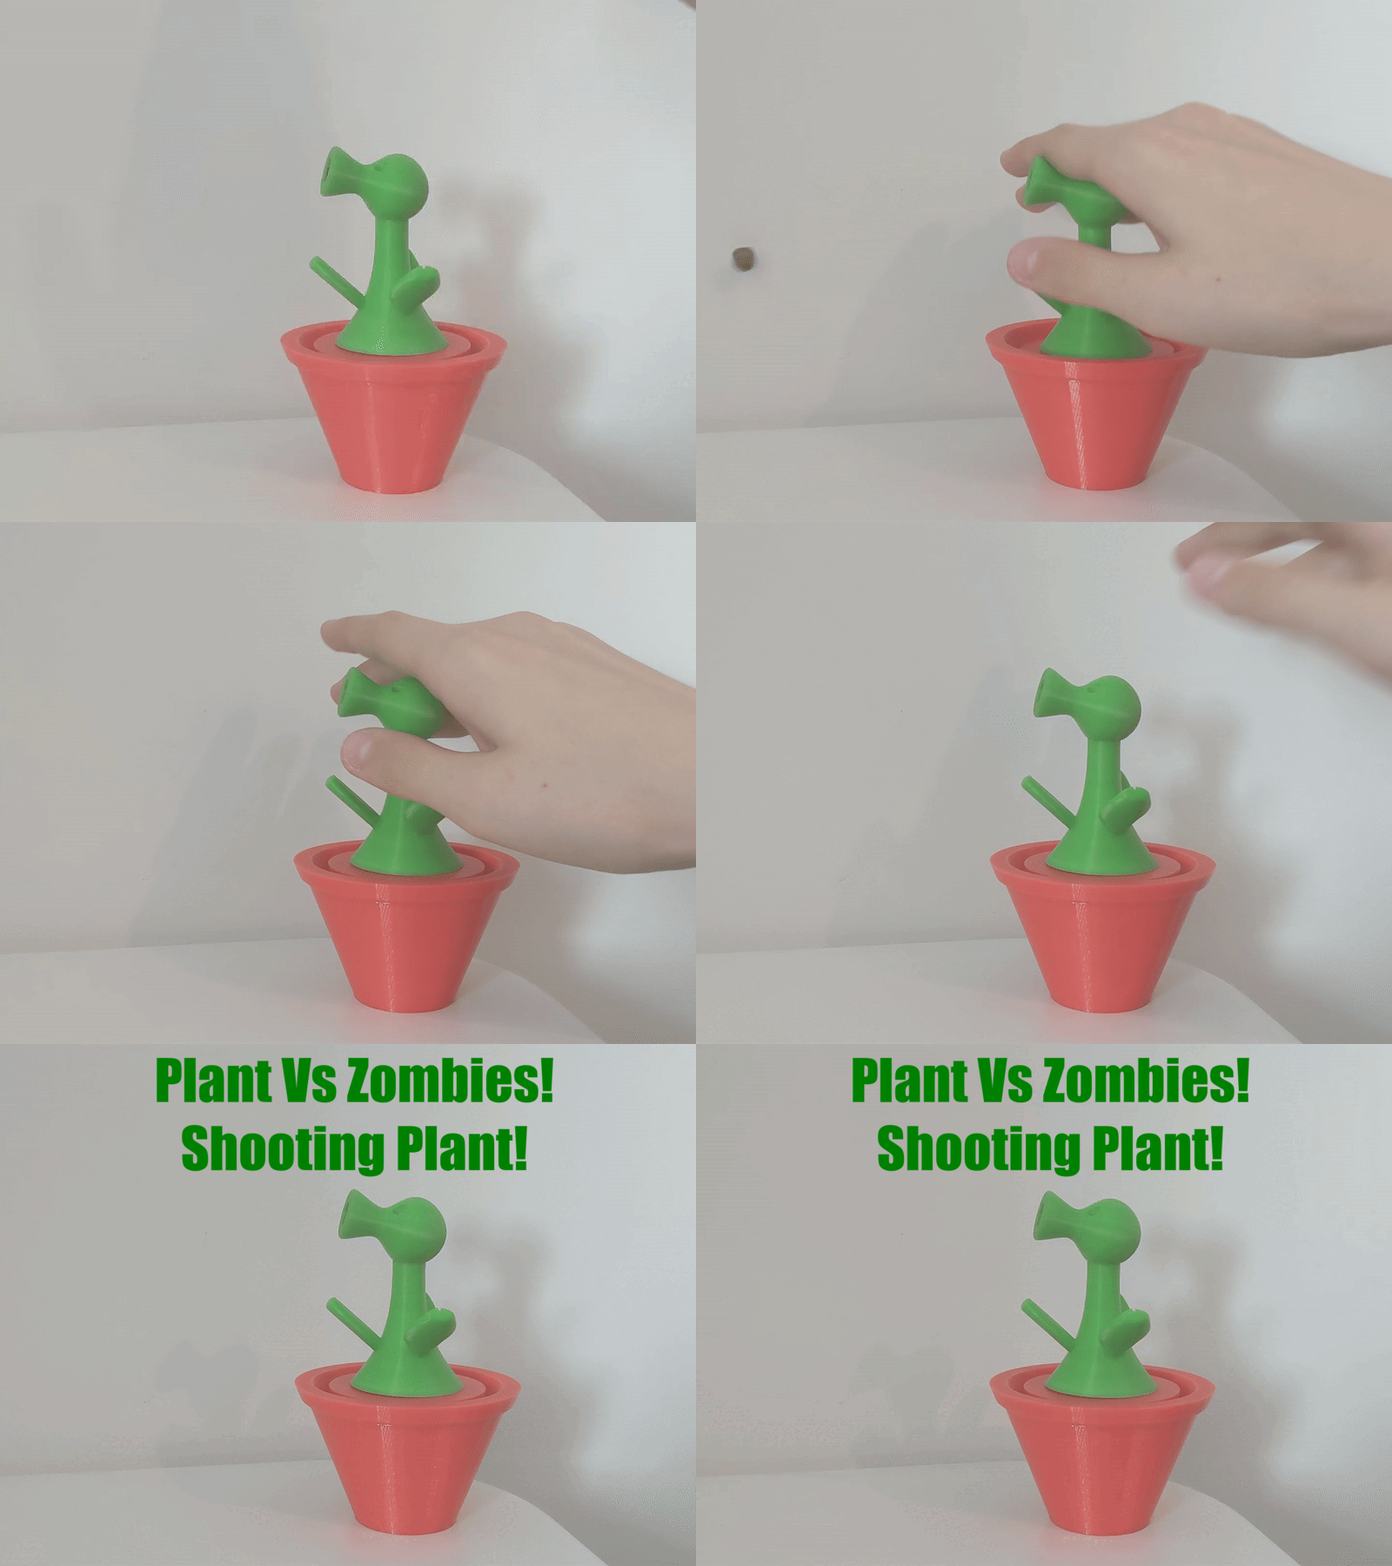
Air pressure Peashooter shooting plant (Plants Vs Zombies)
We calculate the final price from your selected file. You review and accept it before payment.
Saved on this device.

This is an air pressure Peashooter toy. I got inspiration from Air Pressure Tank by @PatoPato. No supports needed.
- Rating
- 0 / 5
- Likes
- 13
- Downloads
- 16
- Makes
- 0
- Views
- 264
- Reviews
- 0
Updated at source:
Model information
- Source
- Printables
- Category
- Other Toys & Games
- License
- Creative Commons — Attribution
This is a Peashooter toy which uses air pressure to shoot.
I got inspiration from "Air Pressure Tank" 3d model by @PatoPato which has been reuploaded on printables on this link:
https://www.printables.com/model/1076641-air-pressure-tank
This model requires assembly and some parts of it will be updated in the future.
Please read the instructions before printing
Printing instructions:
You will need to print all the parts once for one toy, except holding_pin.stl holding circle.stl, where two of each will be required.

It's best to print most of the parts in the same type of material to avoid problems with clearances and assembly.
I recommend to print the spring in PETG.
Assembly instructions:
On the first step you will need to put the print into the pot. It should fit in the hole tightly and it shouldn't fall out. The picture on the right shows how should the sprint be placed.


On the second step you need to put the “upper_pot_part” onto the bottom pot. Like in the pictures below


After that I recommend no press it all down to make sure everything fits well


On the third step you can choose which holding method works better for you.

You may use two holding pins: Two holding "circles":


Or both:

Make sure both "holding_circles" are on the right height if you will use them:

On the forth step you will need to put the plant's stem on the pot:
Make sure that holes on the stem part align with holding pins and/or the holding circles.
If stem doesn't hold on well or there is a gap between the stem and the upper_pot_part gluing
might be needed.
The connectors of the stem and the pot will be updated later, for now this is not perfect, sorry.


The fifth step consists of putting the head on:


Now the toy is complete and you can try shooting from it.
The current version does't shoot far, but still be careful to not shoot in an eye.


If the bullet doesn't fly out try hitting a bit harder, so higher pressure is created.
Thank you for reading the instructions and have fun!