
Modular Filament Dry Box – Passive & Active Drying
We calculate the final price from your selected file. You review and accept it before payment.
Saved on this device.

Dry your filament like a pro! This modular filament box supports both passive silica gel drying and active heated drying
- Rating
- 5 / 5
- Likes
- 7
- Downloads
- 15
- Makes
- 0
- Views
- 323
- Reviews
- 1
Updated at source:
Model information
- Source
- Printables
- Category
- Accessories
- License
- Standard Digital File License
Filament Dry Box – Modular & Efficient Design
This project is designed with convenience and efficiency in mind — and it’s fully customizable for your needs. You can easily modify and improve it to suit your setup.
The box supports both active and passive drying modes.
As shown in the photos and videos, you can place a small silica gel bag inside for passive drying. Simply close all ventilation openings and you’ll have a passive dryer — perfect while waiting for electronics or when you don’t need active heating.
It’s also stable enough to be used stand-alone on a desk without any printer attachment.
☕ For a small coffee donation, I can share the original Fusion 360 source files.

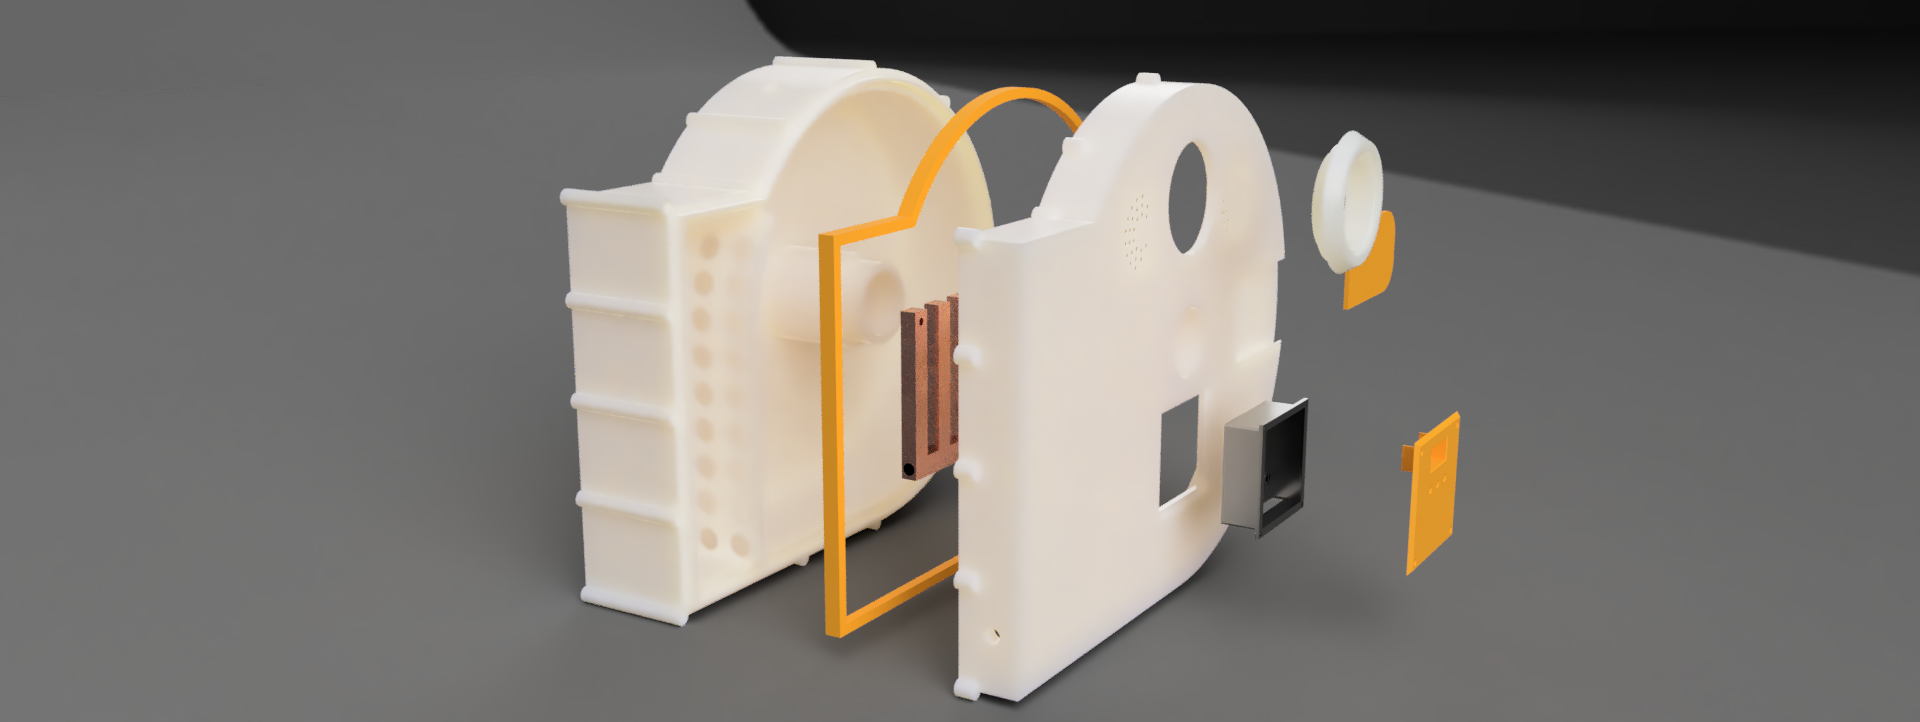
Printing Details
Printer & Settings:
Printed on Ender 3 S1 Plus
0.4 mm nozzle
0.2 mm layer height
Main Body
Material: Sunlu PETG
3 walls
Bottom: 7 solid layers
Infill: 17–20%

Main Cover
Same print settings as the main body
Recommended material: PETG or stronger (avoid PLA for heated parts)
Isolation Component
Printed in TPU (you can also use rubber as a gasket)
Cover for Thermistor, Cover for Electronics Box, Timer Circle
Material: PLA+
Filament Name Plate
Blank plate for test printing or labeling the filament inside the box
Heaters
Handmade from copper (aluminum also works)
Shape optimized for better heat distribution

Electronics & Components

Electronics used:
Controller board: W1209
Thermistors & heaters: 2× 12V 40W link
Fittings & tubing set: link
Hygrometer: link
DC connector: link
Power supply: 12V 5.73A (or connect directly to your 3D printer to save space and cost)
Cooling fans: 2× Noctua 40×40×10 12V (chosen for their quiet operation — but any 40 mm fan will work)
🔩 Hardware Needed
M2 nuts – 20 pcs
M3 nuts – 6 pcs
Neodymium magnets – Ø4 mm × 28 pcs (can be resized in the design)
Thermal insulation sheet (used under heating elements, same as for household radiators)
