
Robust dual-arm mount for Bosch Kiox system
We calculate the final price from your selected file. You review and accept it before payment.
Saved on this device.
Model information
- Source
- Printables
- Category
- Outdoor Sports
- License
- Creative Commons — Public Domain
I often switch my small Kiox screen with my Bosch SmartPhone Grip to use my smart phone as a navigation… but this was not working lately. The heavy phone, my driving style or the bumpy road was often to much for the single mount arm of the OEM Bosch, it went loose and the road trip was no fun anymore…
So I decided that I need a stronger, more robust mounting system for my needs.
While my research, I found a double arm mounting system for the Bosch Kiox system. It had a double arm mounting (YES !) but I was a little suspicius of the conntection between the Kiox frame and the clamp on the handlebar - it looked nice, but not robust enough for me.
So I did a complete redesign, with the vision to make it as robust as possible and as easy to print.
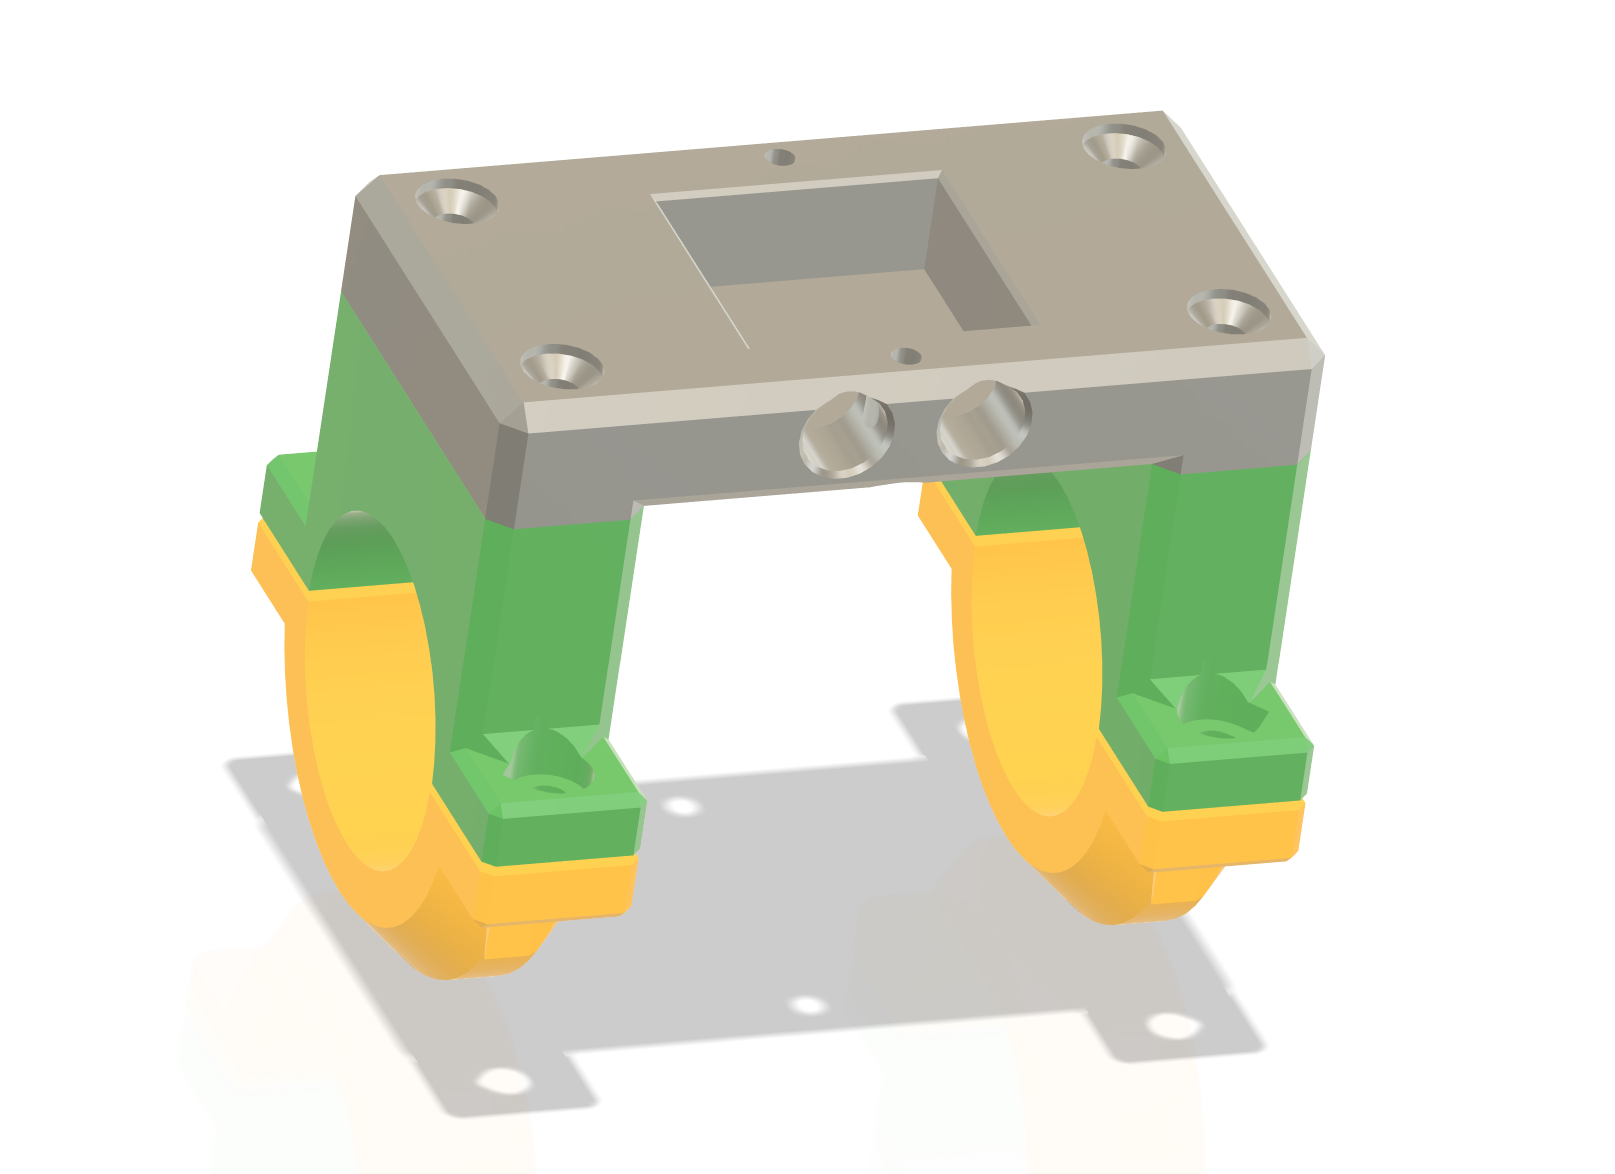
It consists of three parts, which are connected by screws (see “Bill of material” further down):
* baseplate (home of the Kiox display mount BDS3250 or BDS3210)
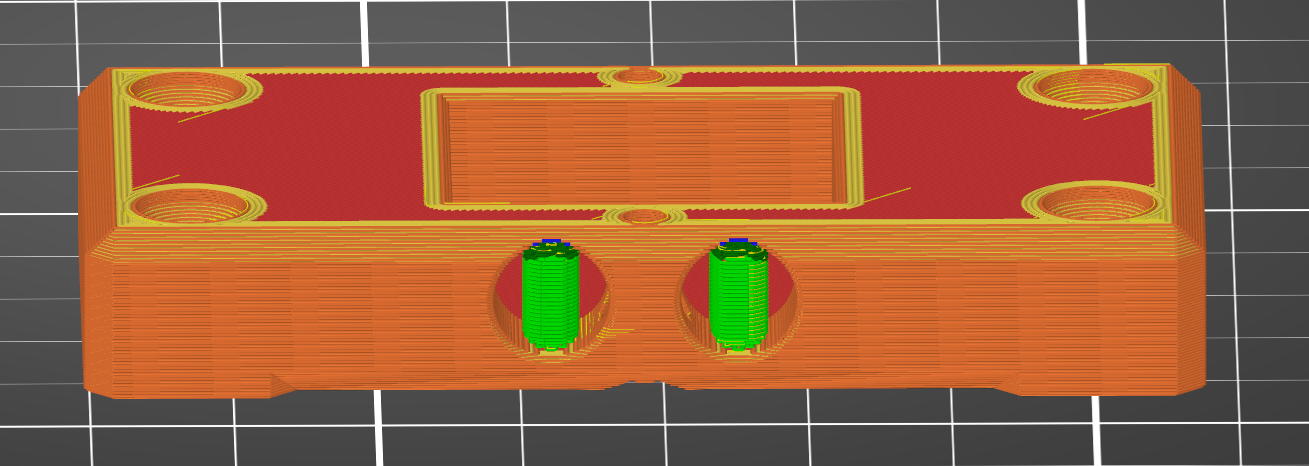
* upper clamp (Attention: two M4 hex screw nuts are inserted into this parts while printing)
* lower clamp
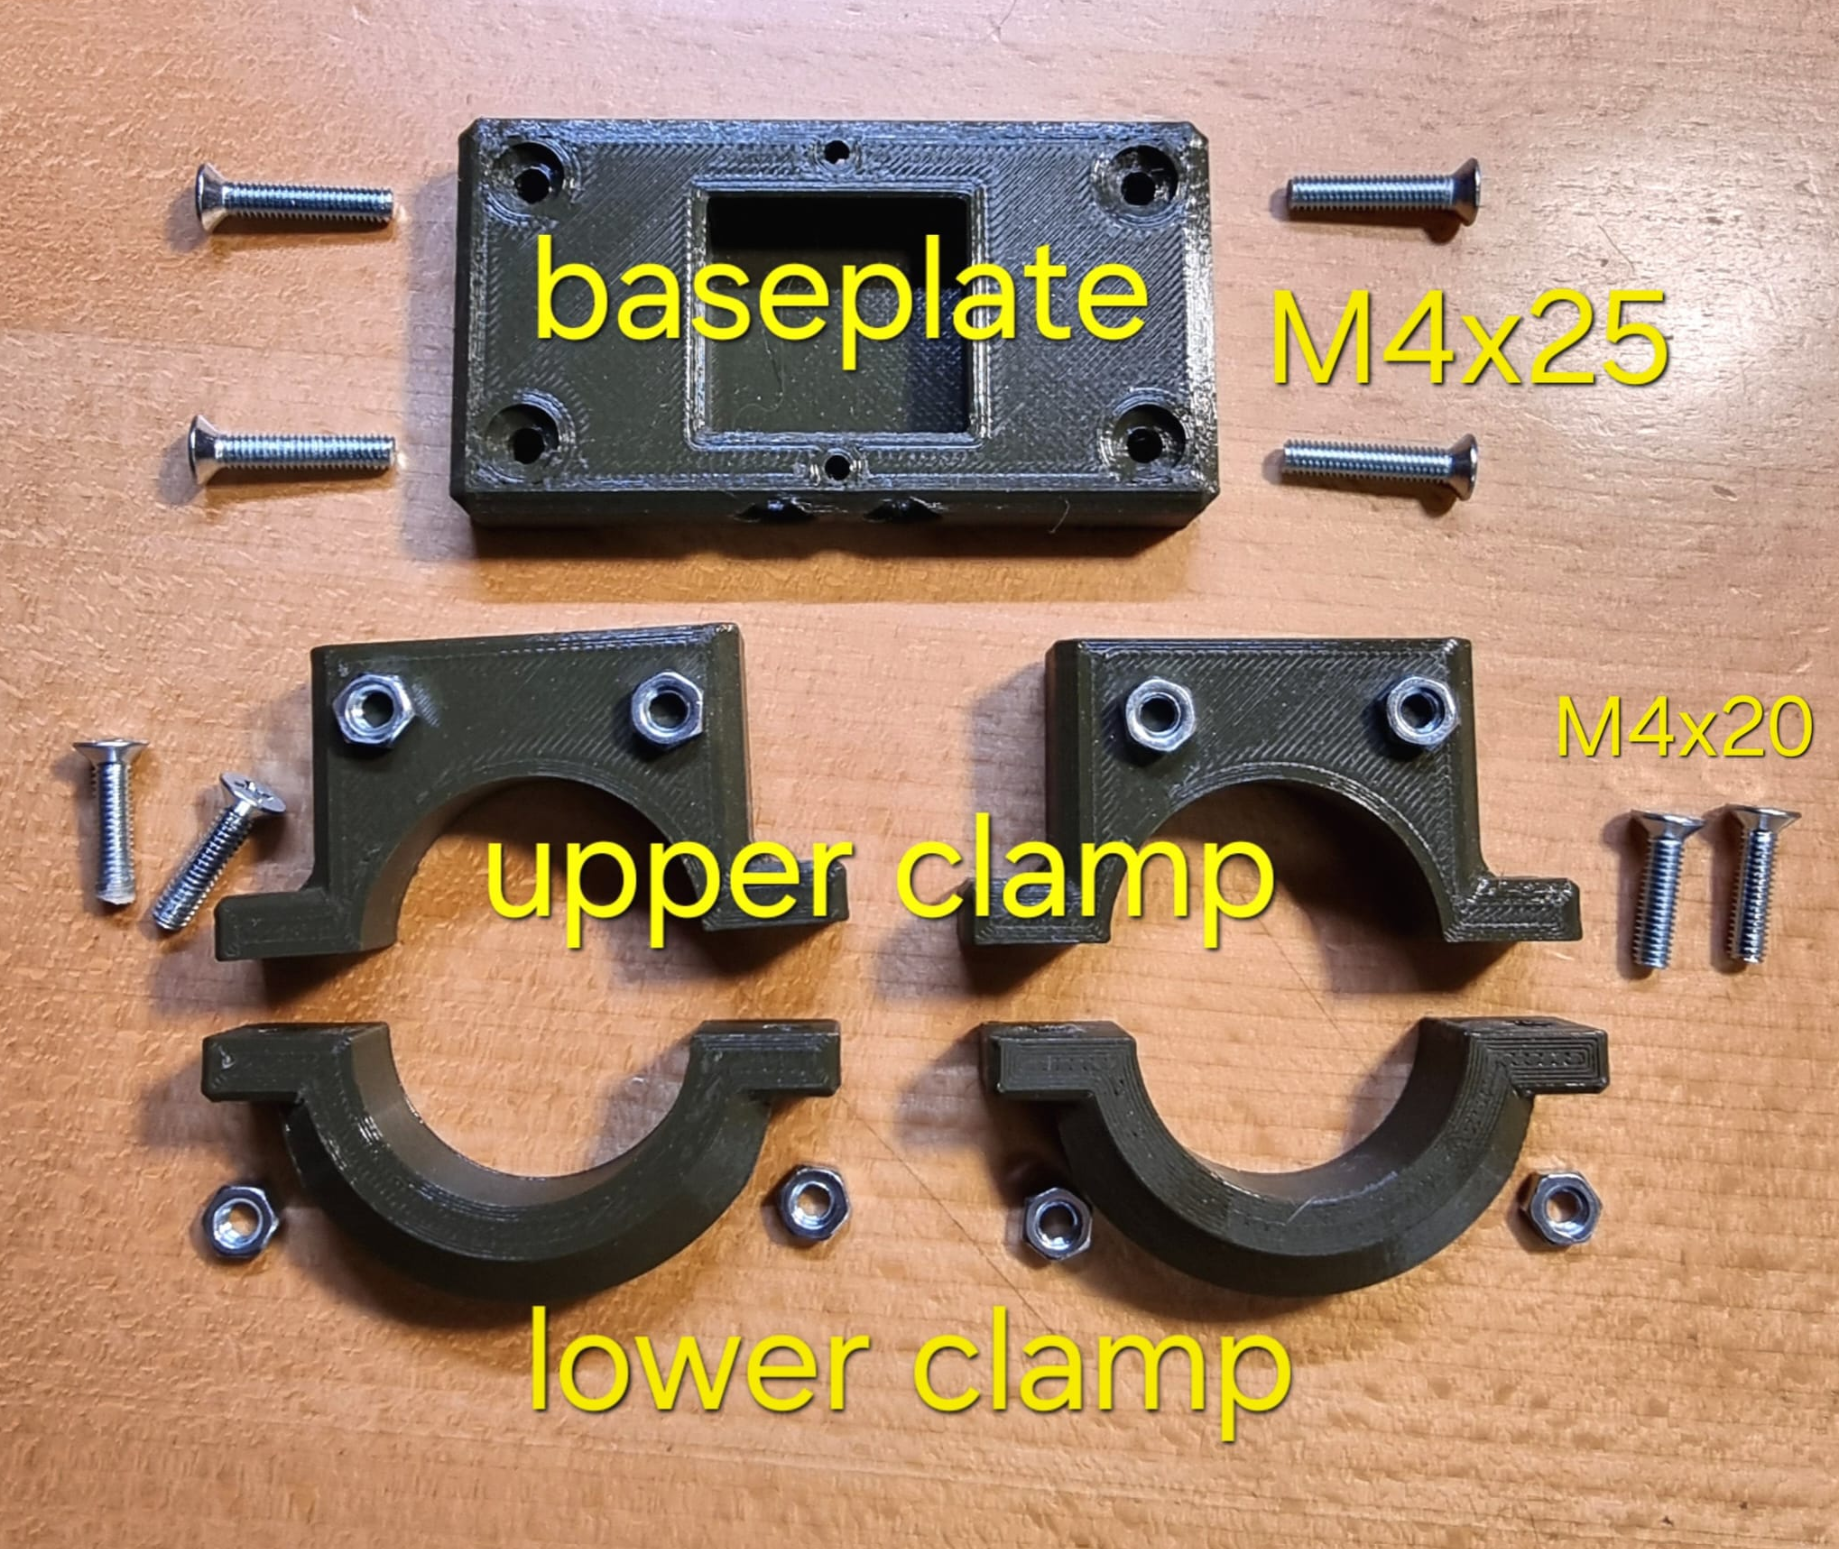
Some tips:
- Print parameters: PETG / 0,4mm nozzle / 0,20mm layer height / 50% infill / 4x vertical perimeters / no supports needed
- the upper clamp has two imprinted hex nuts. You have to insert a print pause via your slicer and insert the nuts and continue printing
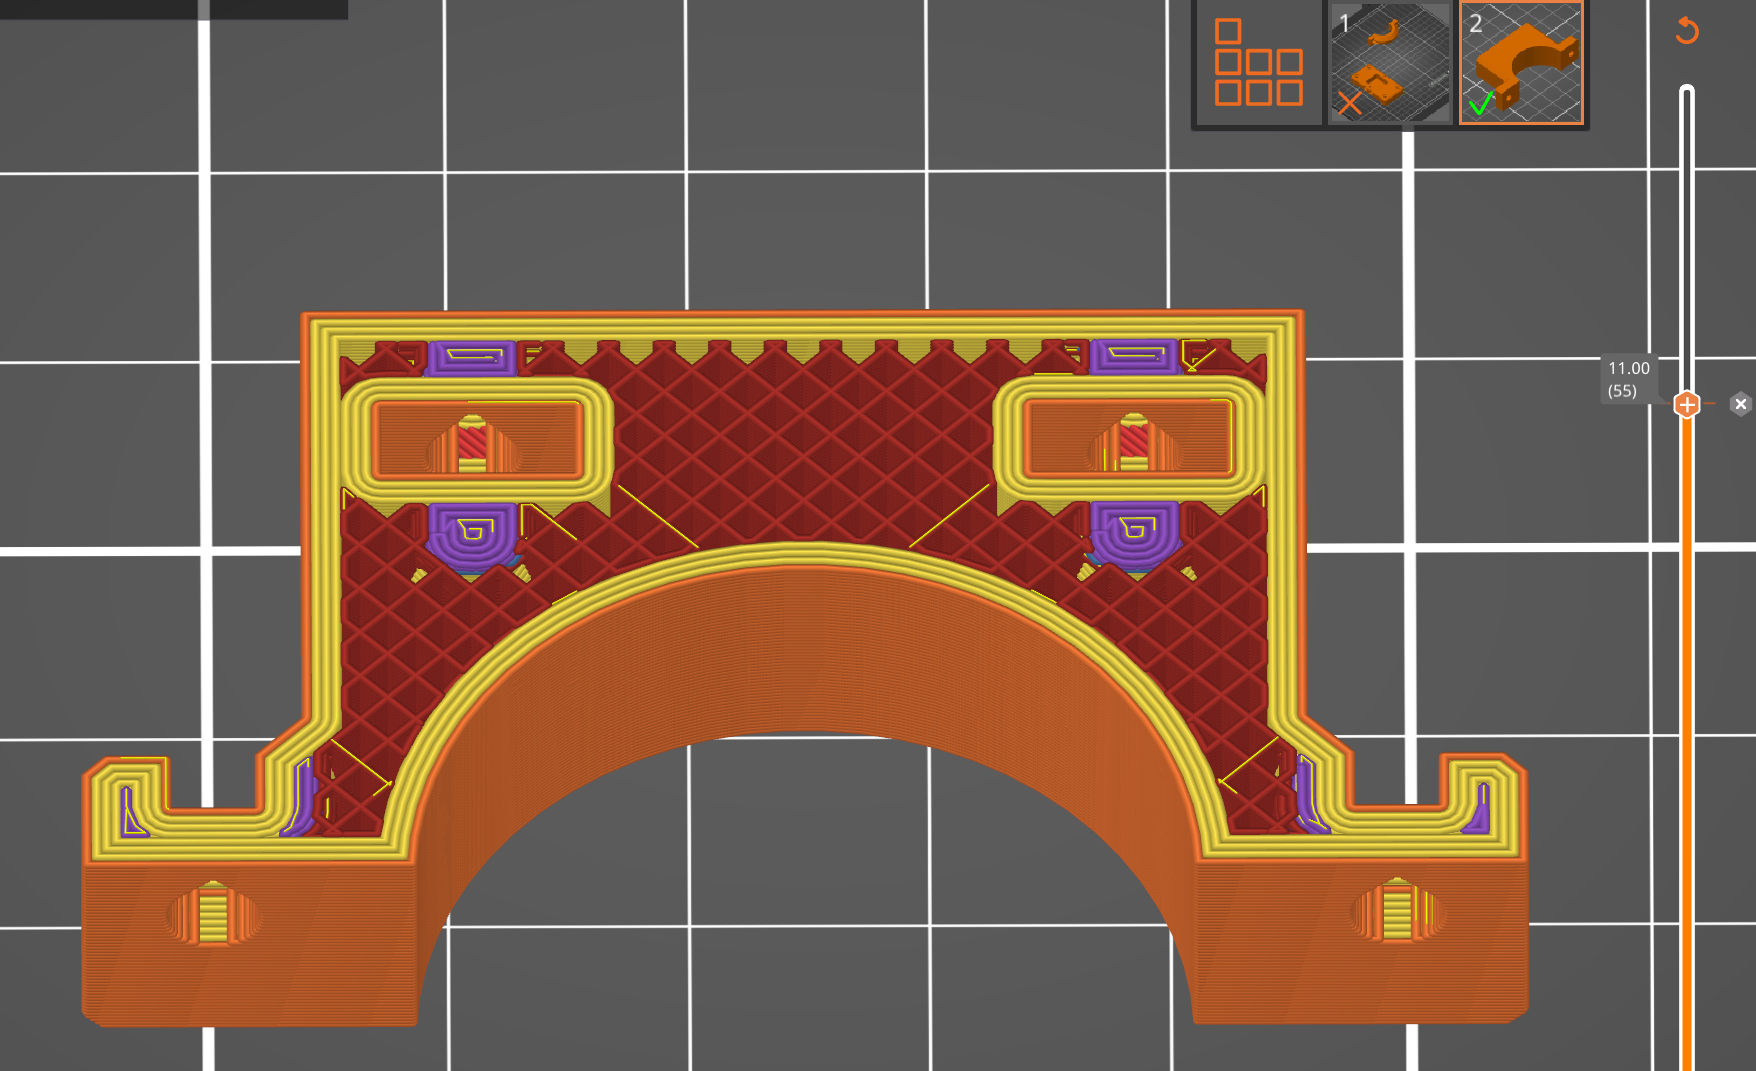
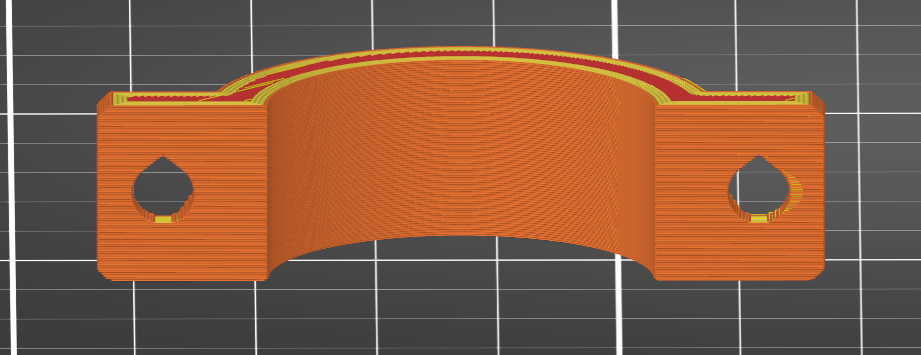
- please place the teardrop shaped drill hole with the pointy thing up (optimized for 3D printing)
- if you prefer you can add custom supports for the baseplate
Bill of material:
8x M4 hex nut (DIN 934)
4x M4x20 (countersunk screw)
4x M4x25 (Countersunk screw)