1 / 3
Sydney Trains K set (HO Scale)
Order a print of this model
We calculate the final price from your selected file. You review and accept it before payment.
Saved on this device.
Model information
- Source
- Printables
- Category
- Vehicles & Machines
- License
- Creative Commons — Attribution — Noncommercial — Share Alike
Do you like trains, but the scale models ones cost too much? Have no fear. You can now 3D print your very own Sydney Trains K set in HO scale!
IMPORTANT NOTE: I designed this as a display model with a decreased part count, as a result, the wheels don't turn. There is also no interior. This model is also designed for easy printing, and therefore is not a 100% accurate model.
You can use your AMS/MMU etc to add your own livery, or you can paint it after printing.
PS. Remixes are allowed on this model. Feel free to design an S set or C set front
How to print:
- I am assuming that you want to print the full 4 car set.
- Print all the parts in the folders with the specified colour (recommended).
- If the model says “2x front” for example, then print 2 of those, and vice versa.
- Largest part is 235mm long. You can cut in the slicer to make it fit on your printer if needed.
Print settings (0.4mm nozzle):
- 0.2mm layer height
- 2-3 walls WITH ARACHNE WALL GENERATION ENABLED
- 3 bottom layers, 5 top layers
- 15% infill with your choice of pattern (gyroid recommended)
- No supports
- Brim may be required on smaller parts depending on your printer.
Assembly:
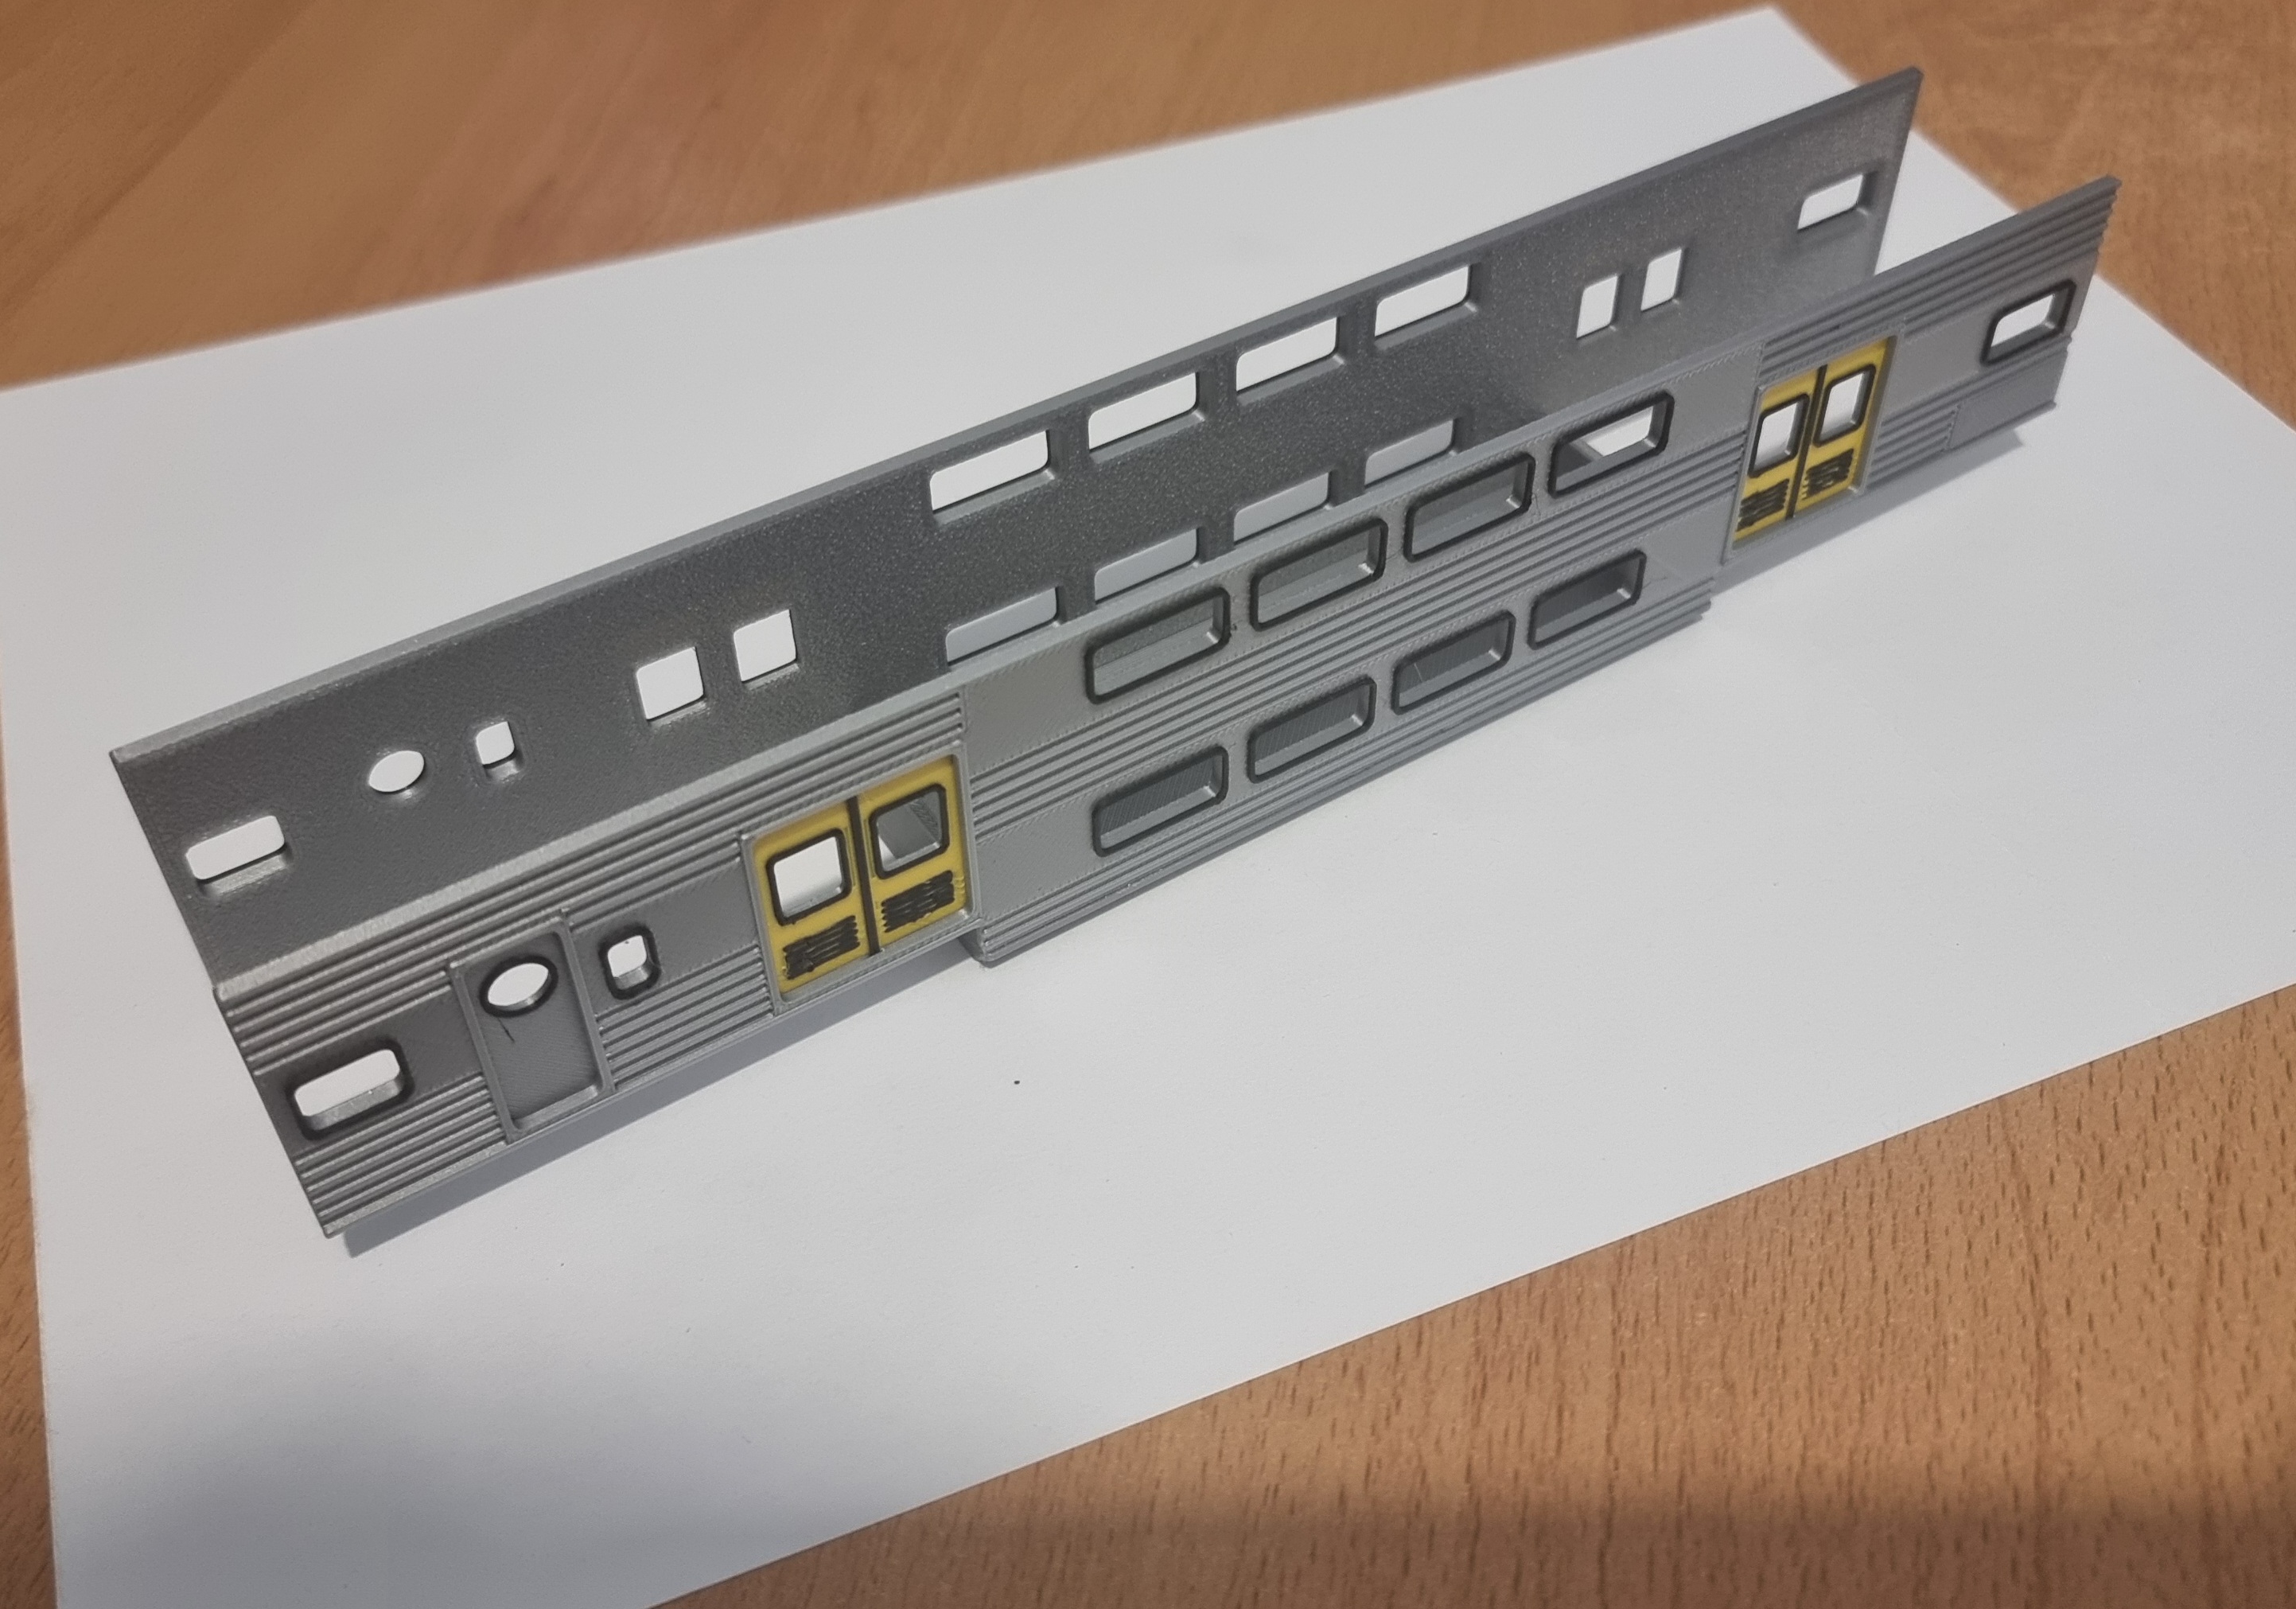
- Glue the “tub” to the 2 sides with superglue as shown (example with cab car)
- Remember to not mix up the car types
- Glue the rest of the bottom of the car
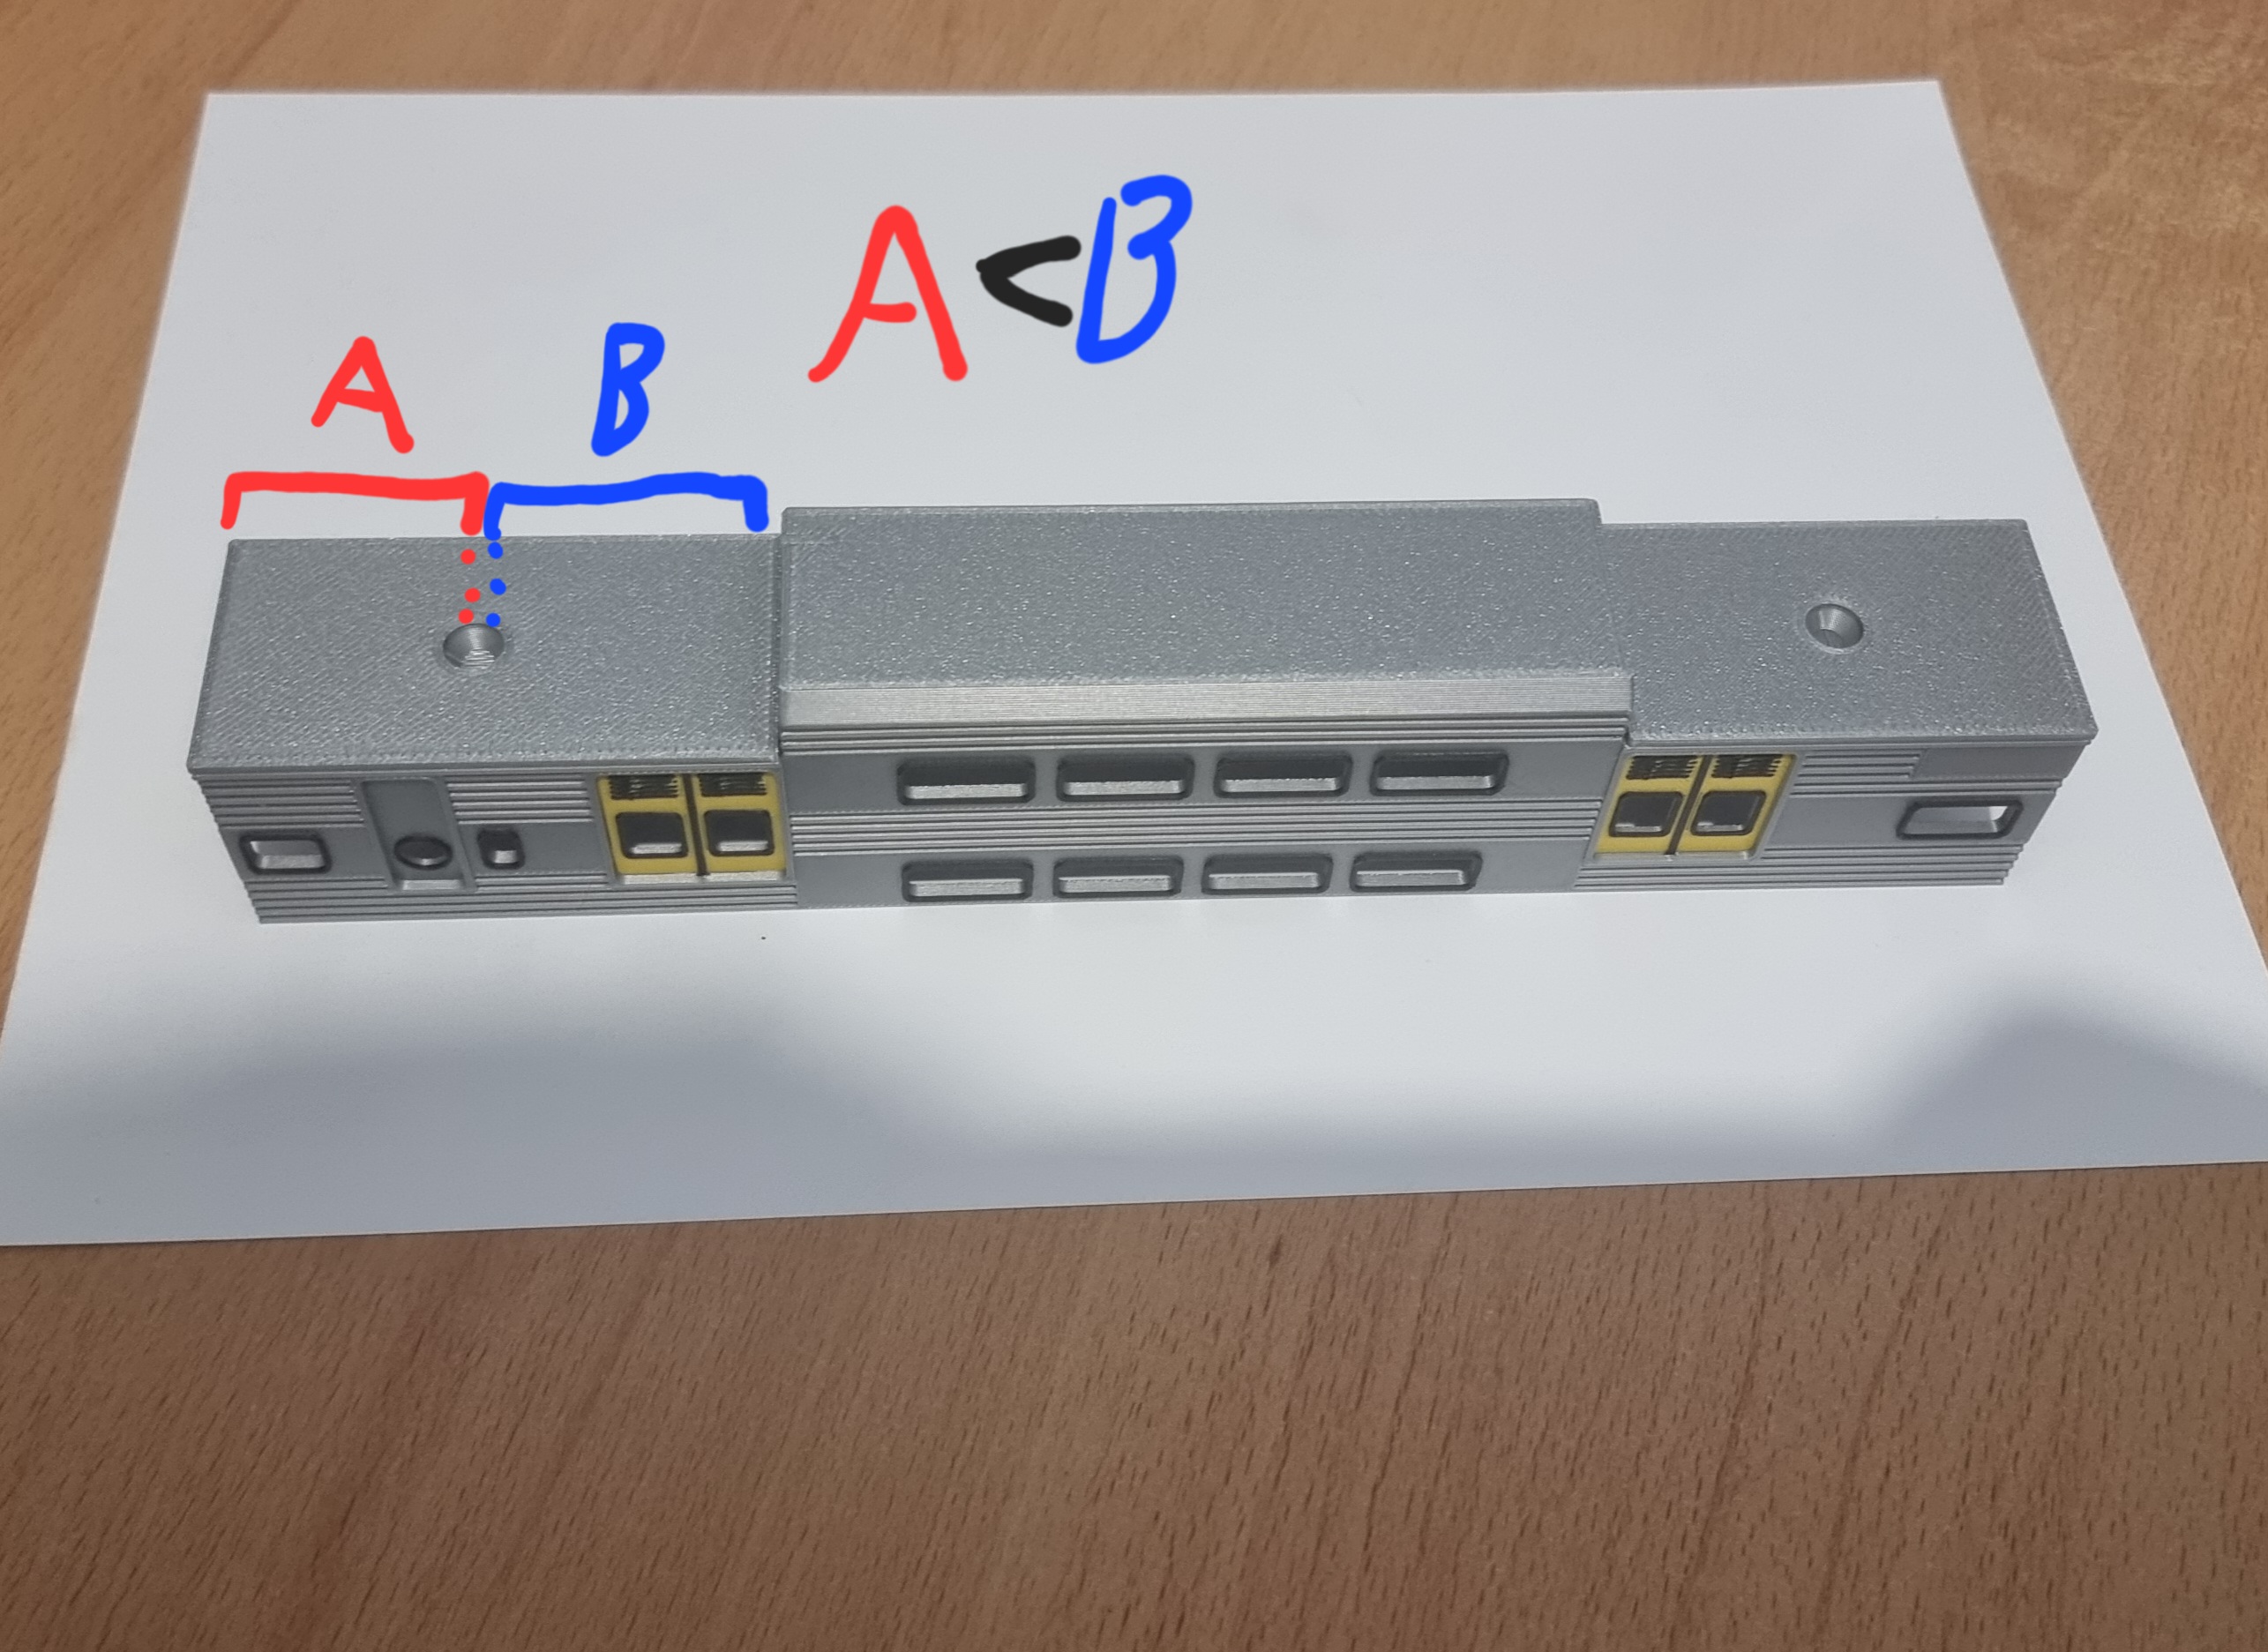
- For the “long” end, make sure the socket is offset to the left.
- Length A should be slightly shorter than length B.
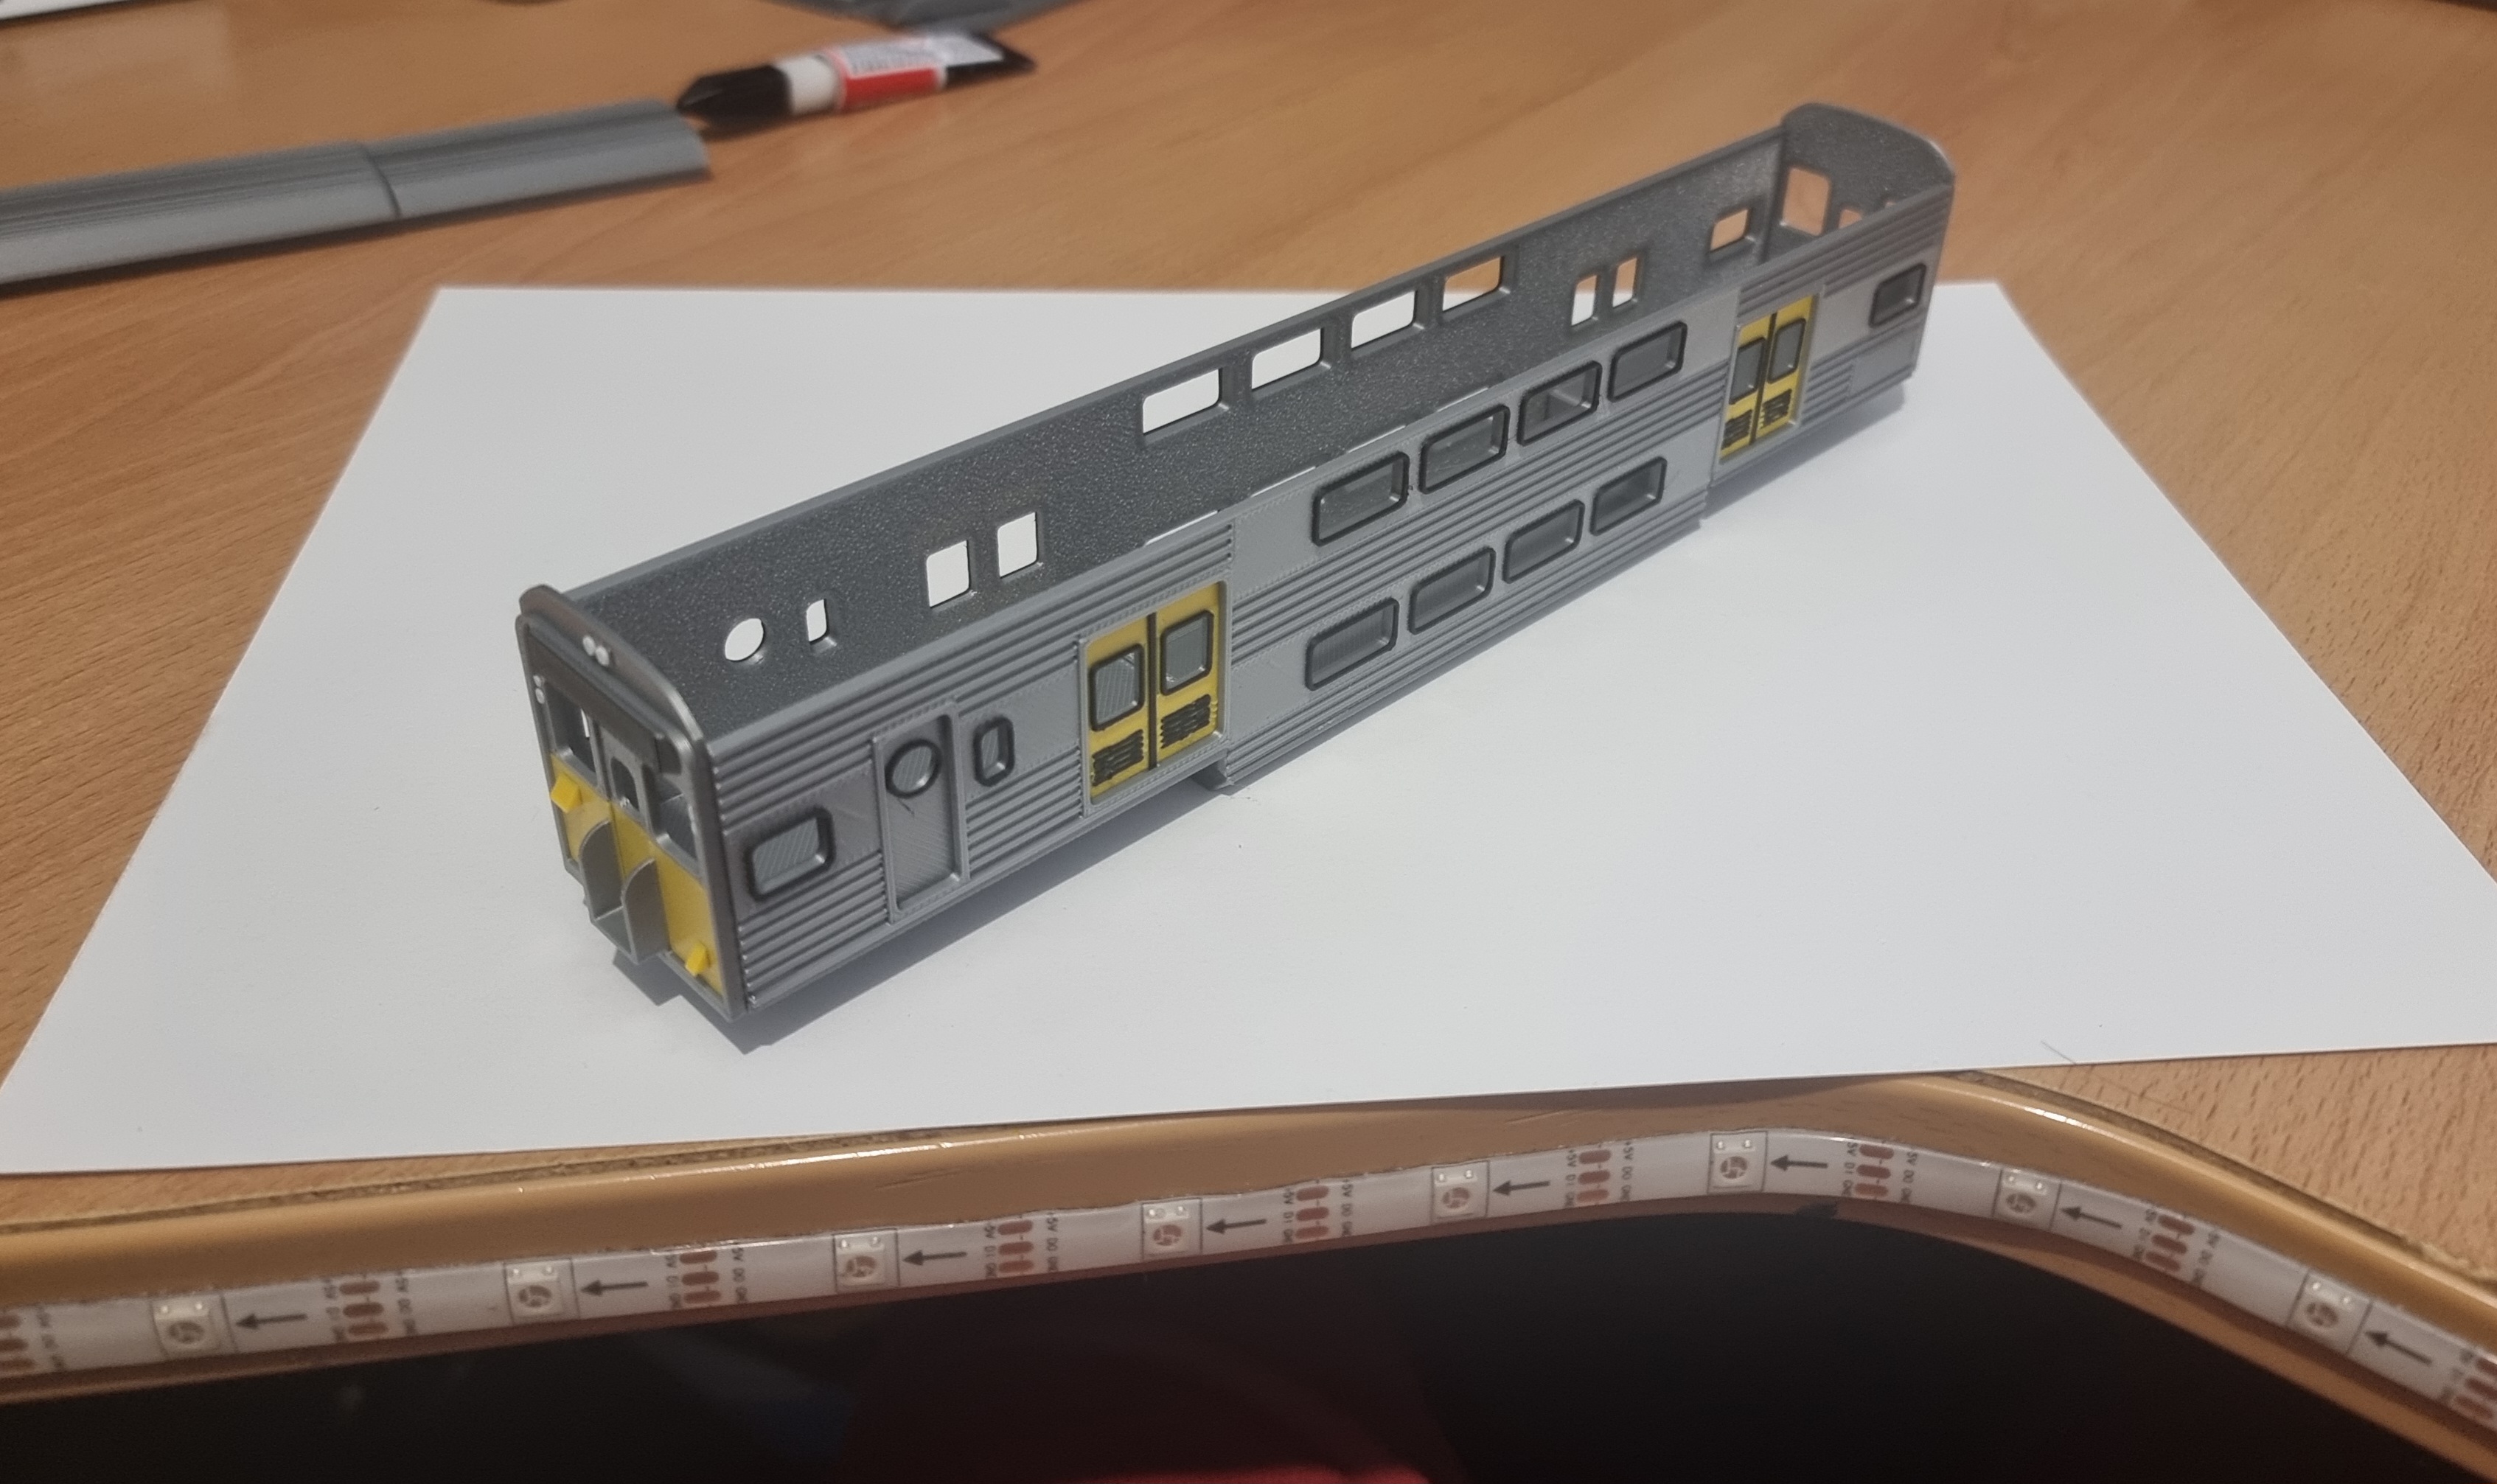
- Glue the front and back ends of the car. (example with cab car)
- Remember that only the front of the cab cars have the destination board!
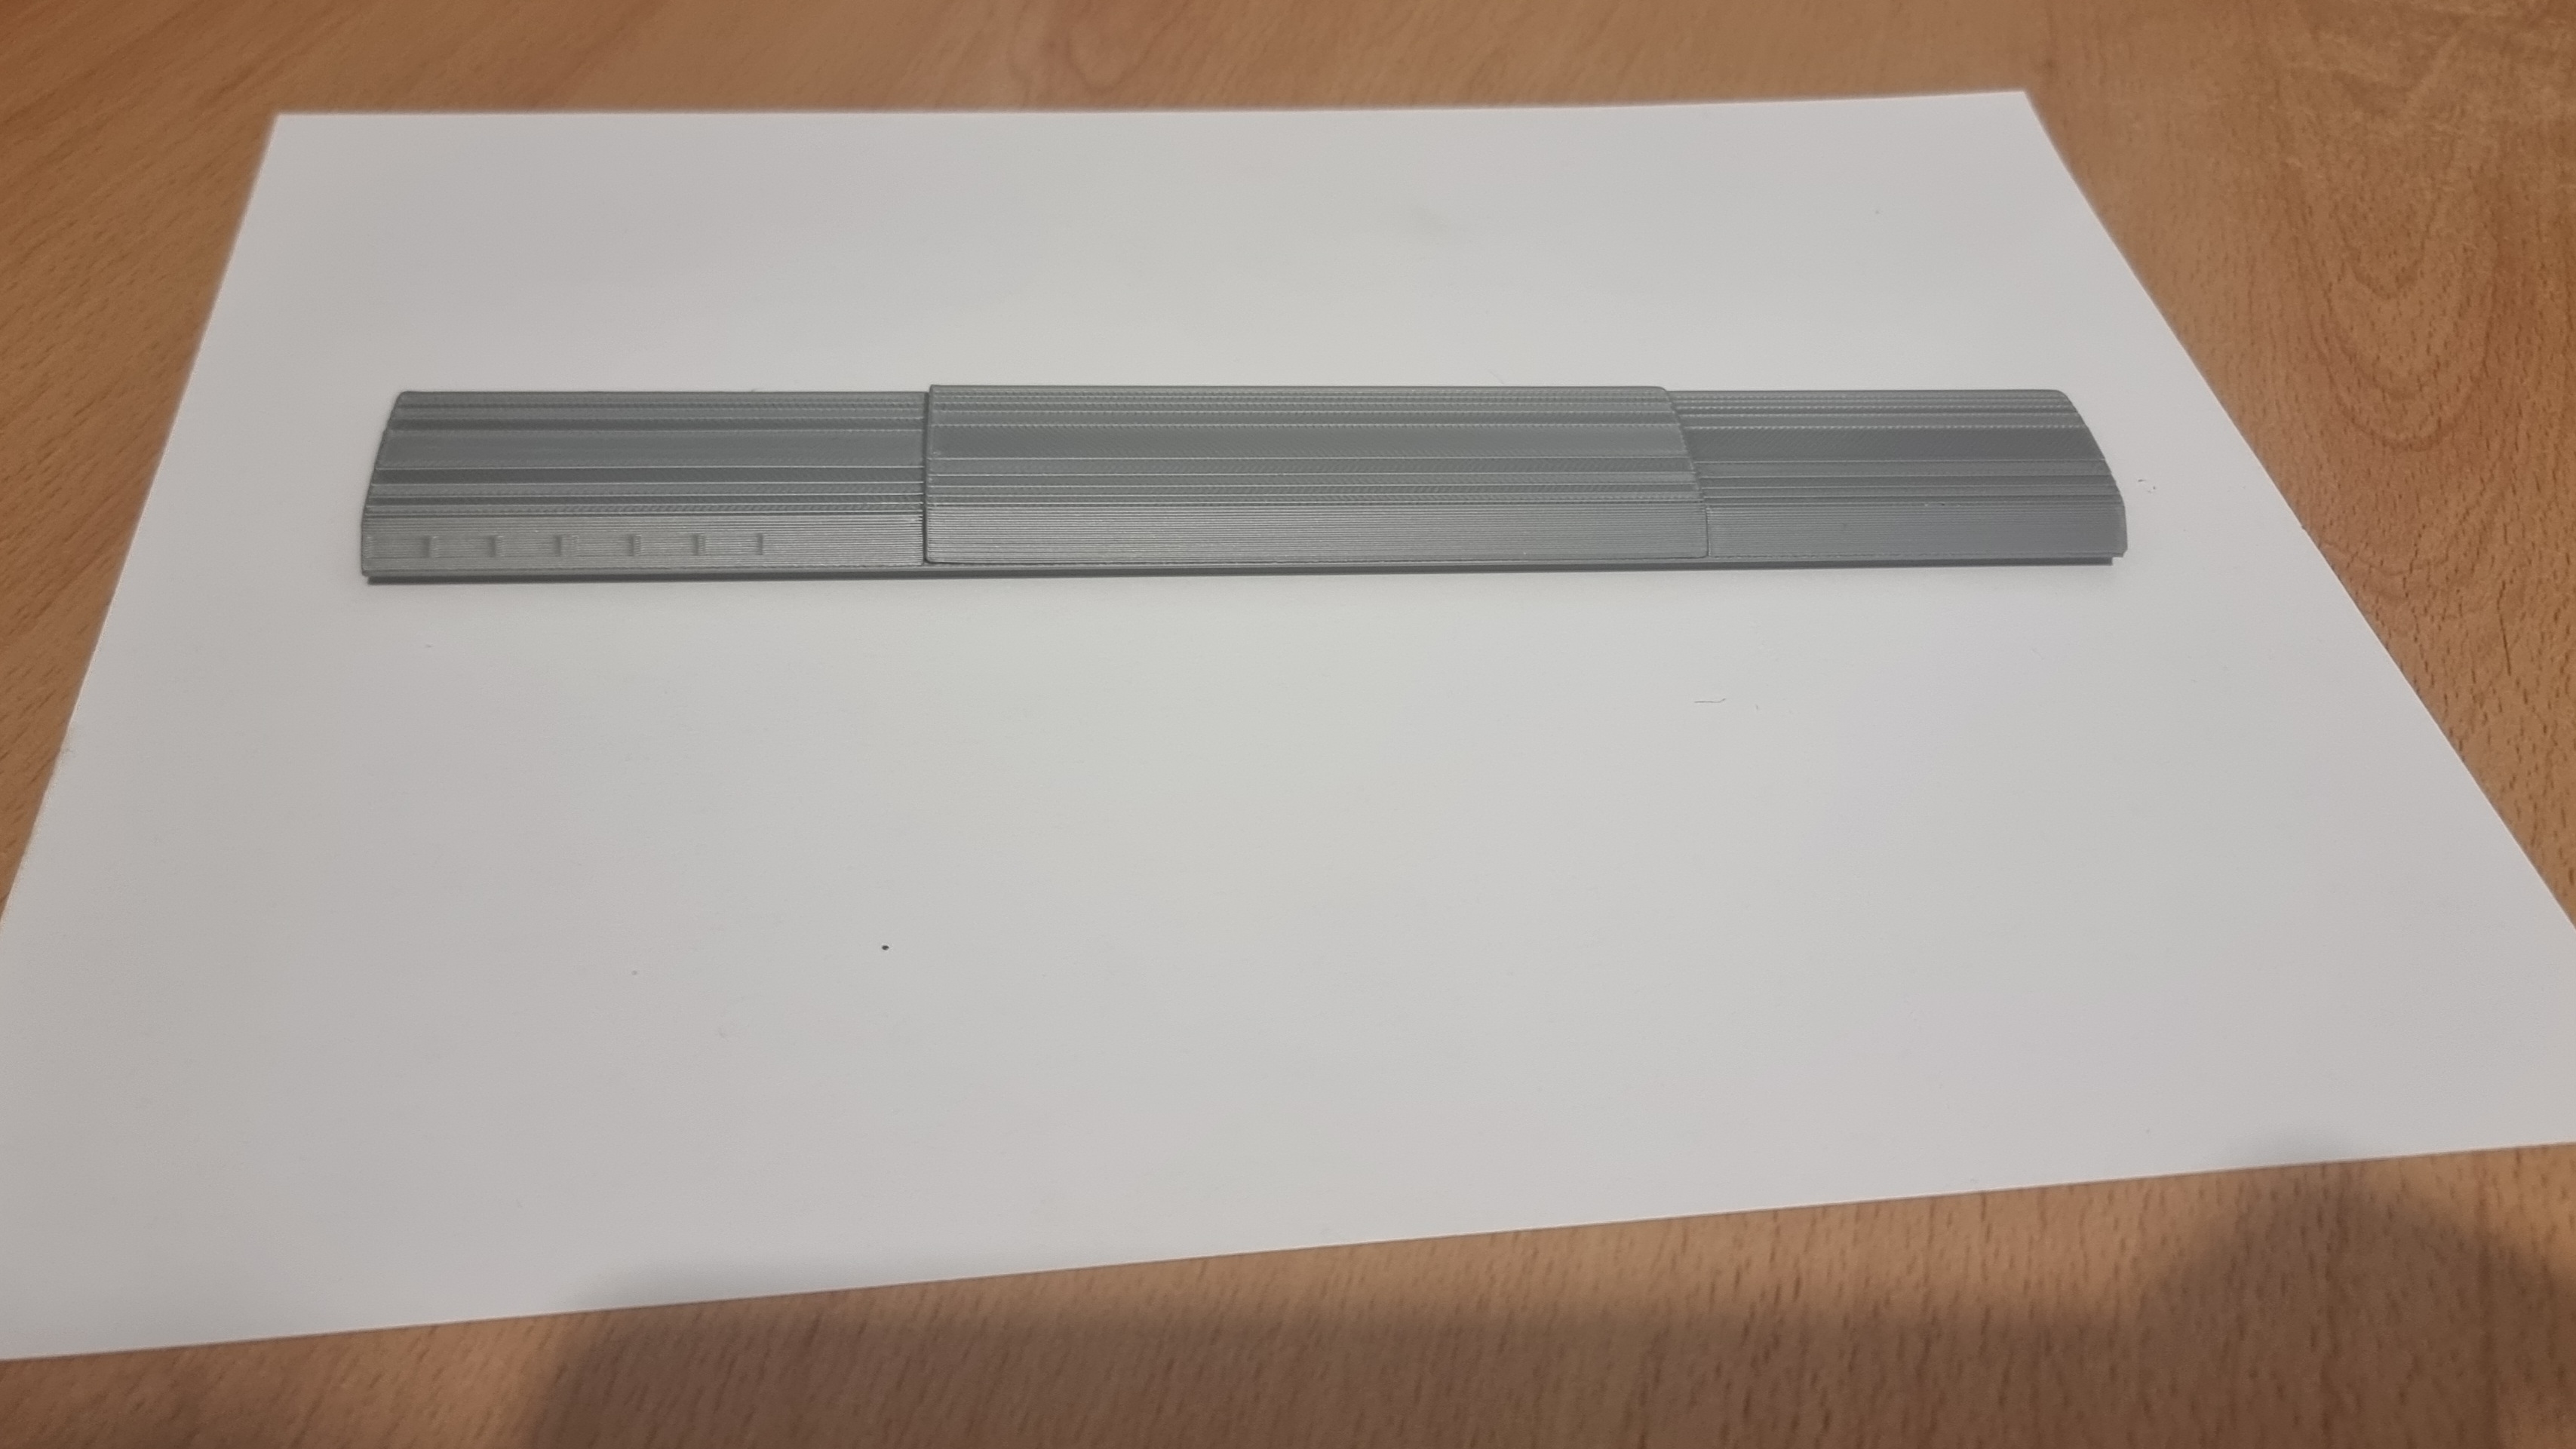
- Glue the roof segments as shown
- Cab car has the universal “long” segment, plus the 3 curved ones
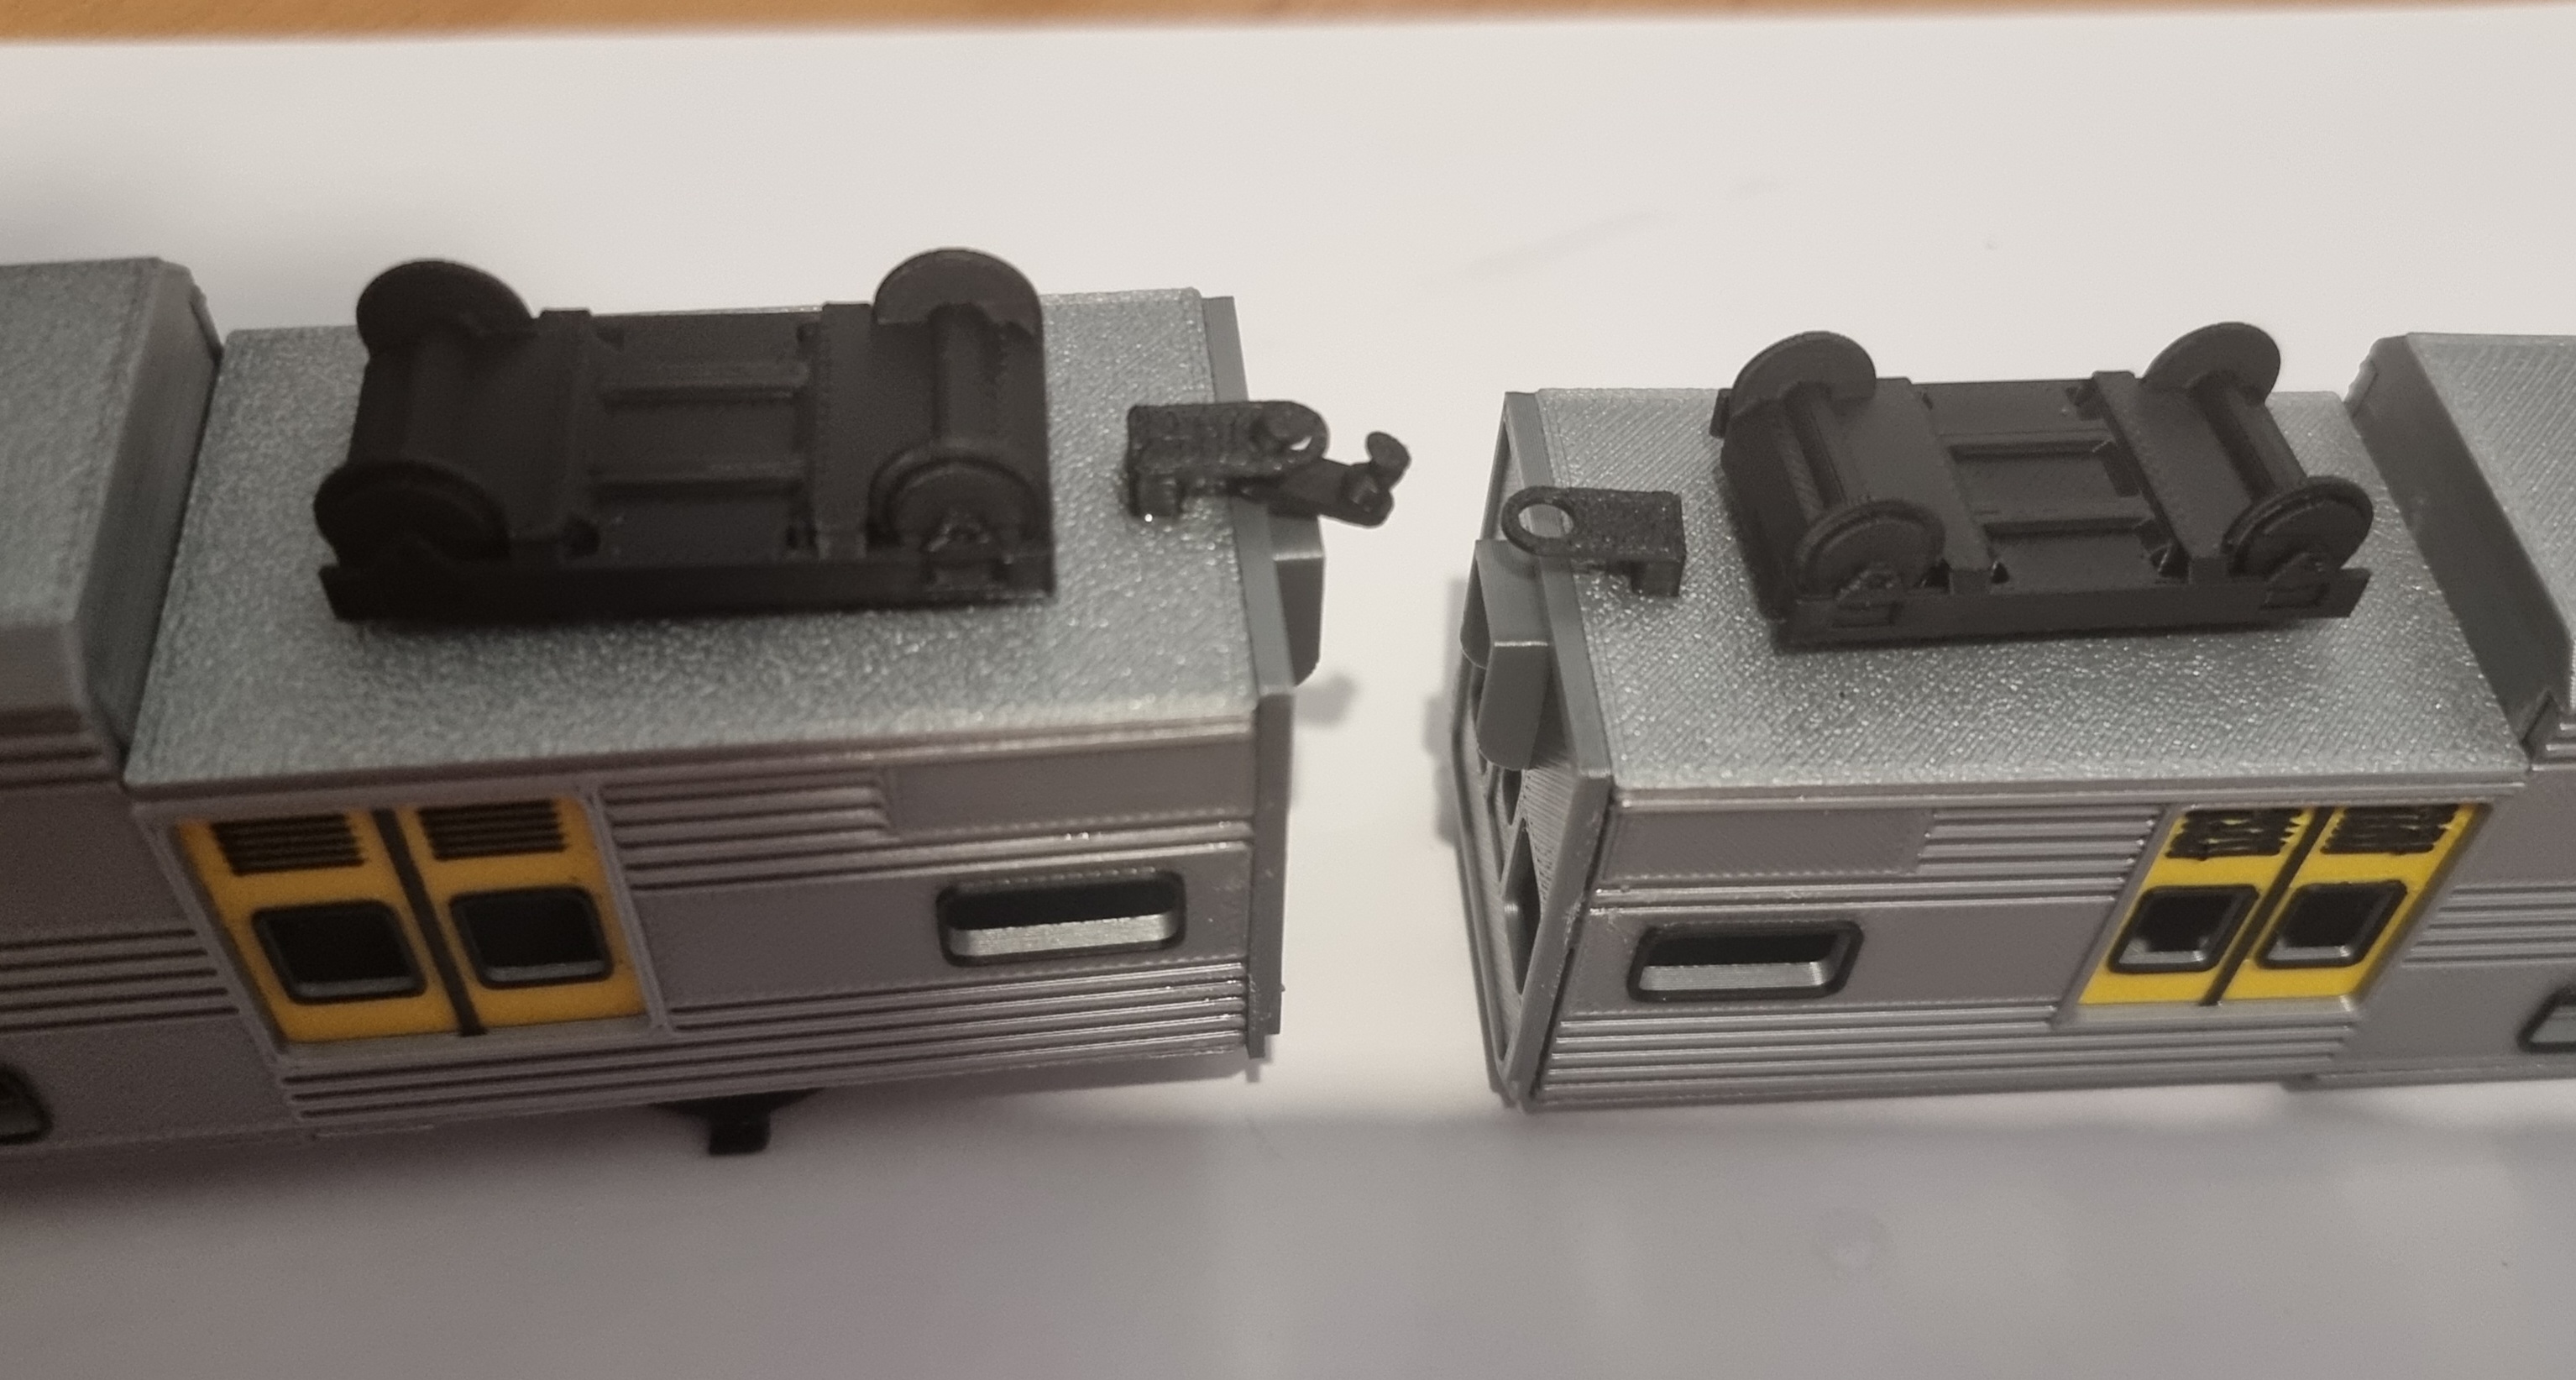
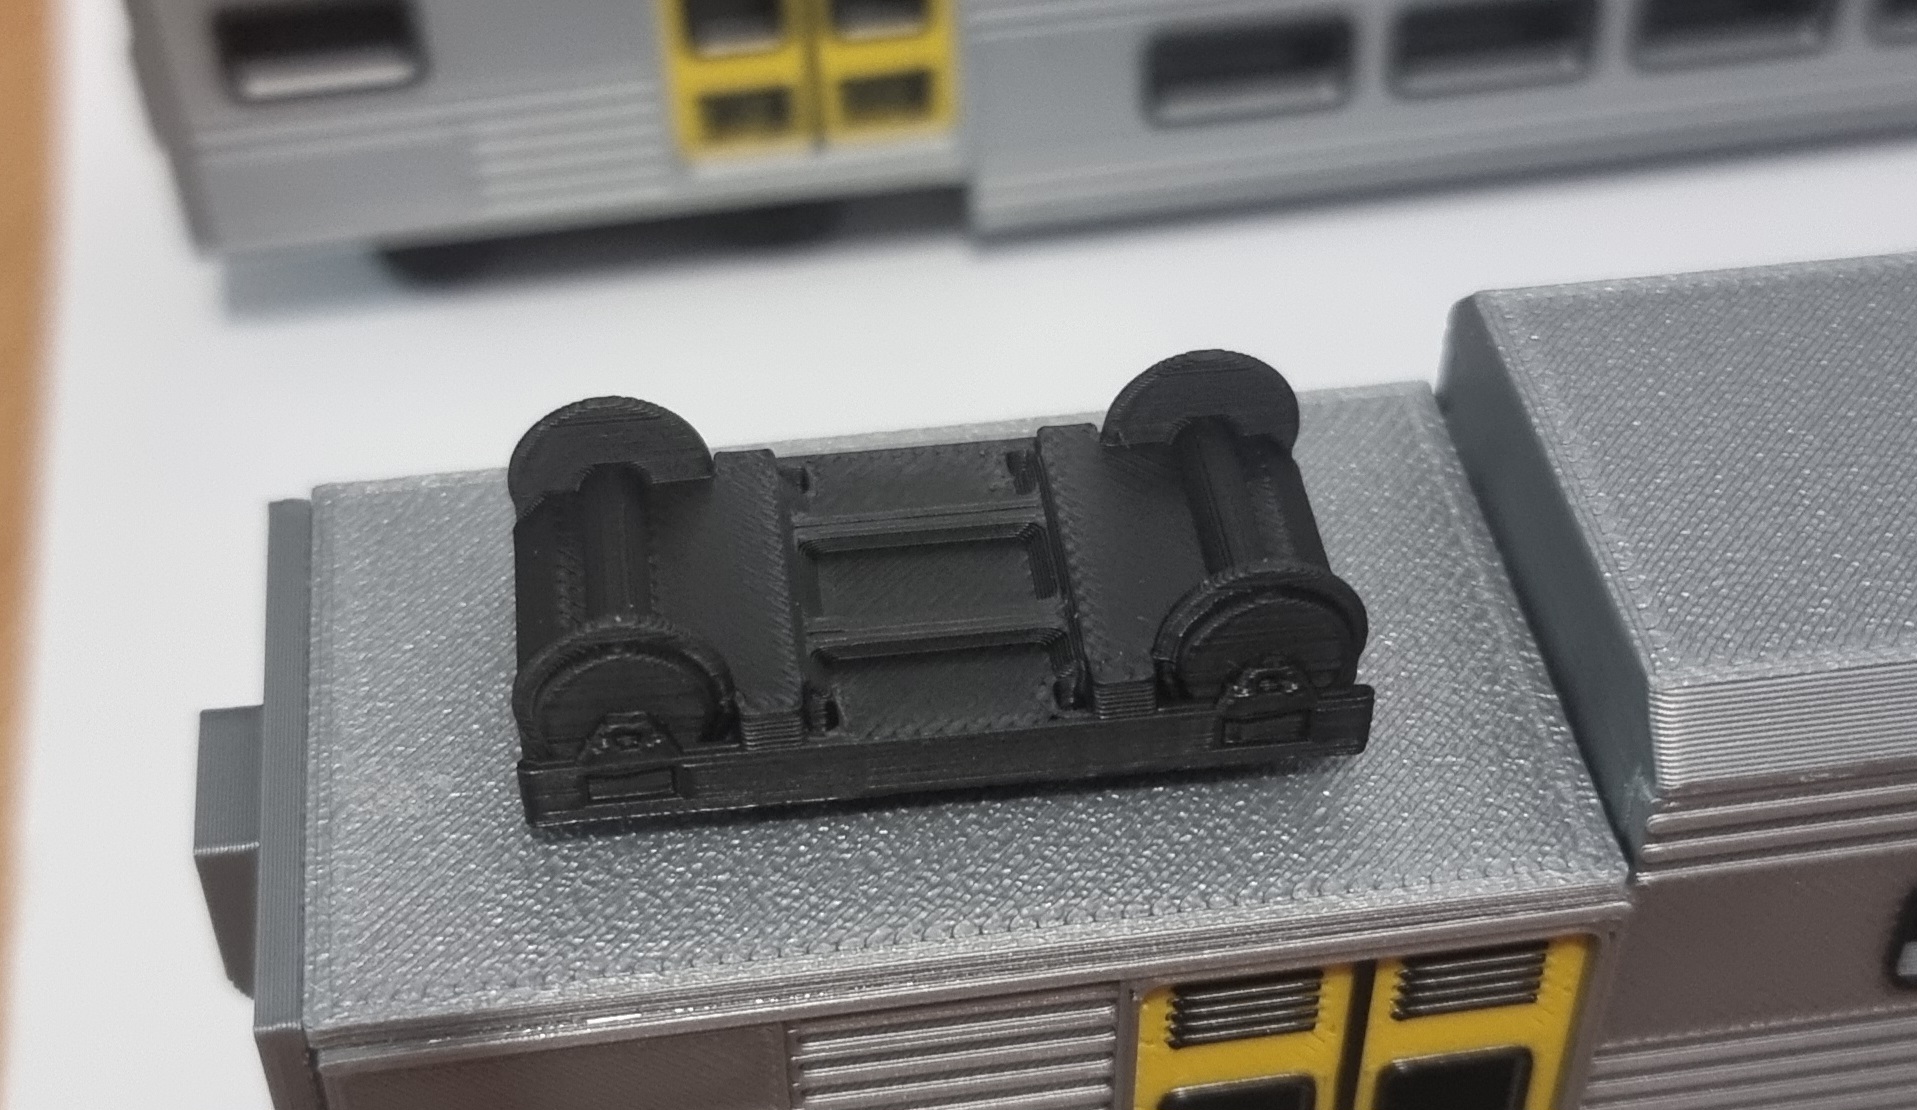
- Non driving car has the universal “long” segment, plus 4 curved ones, plus the pantograph
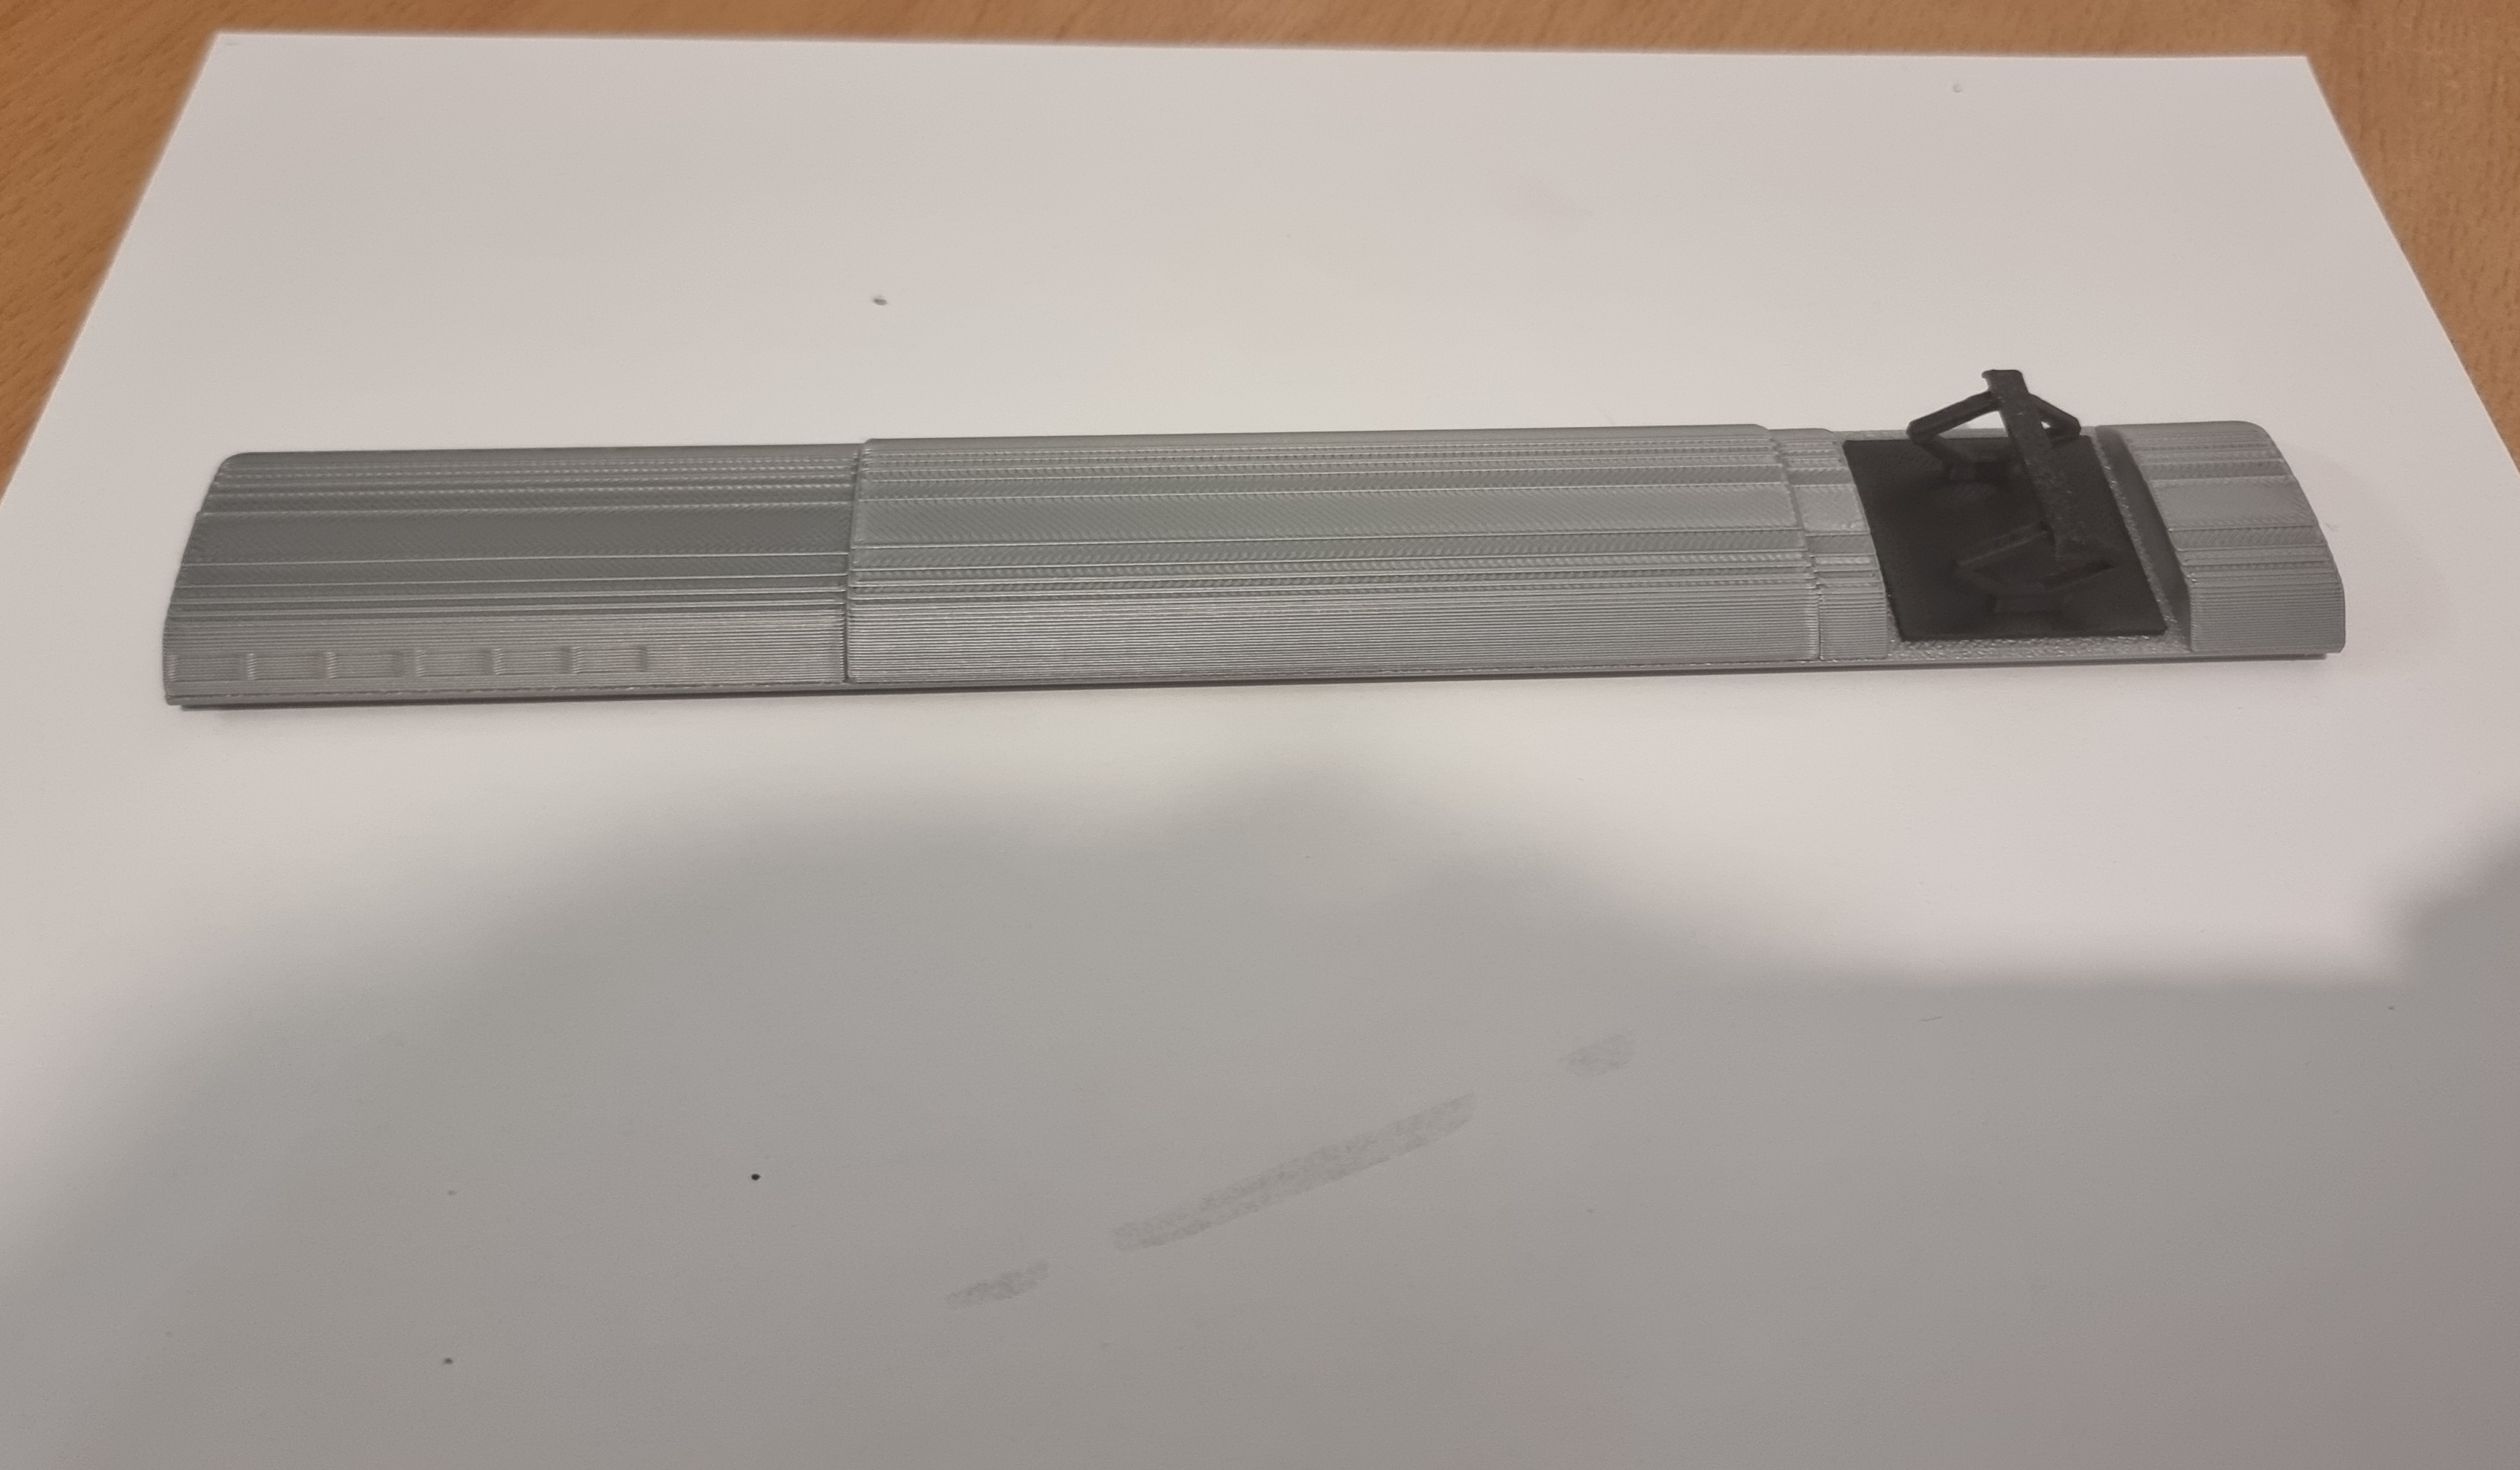
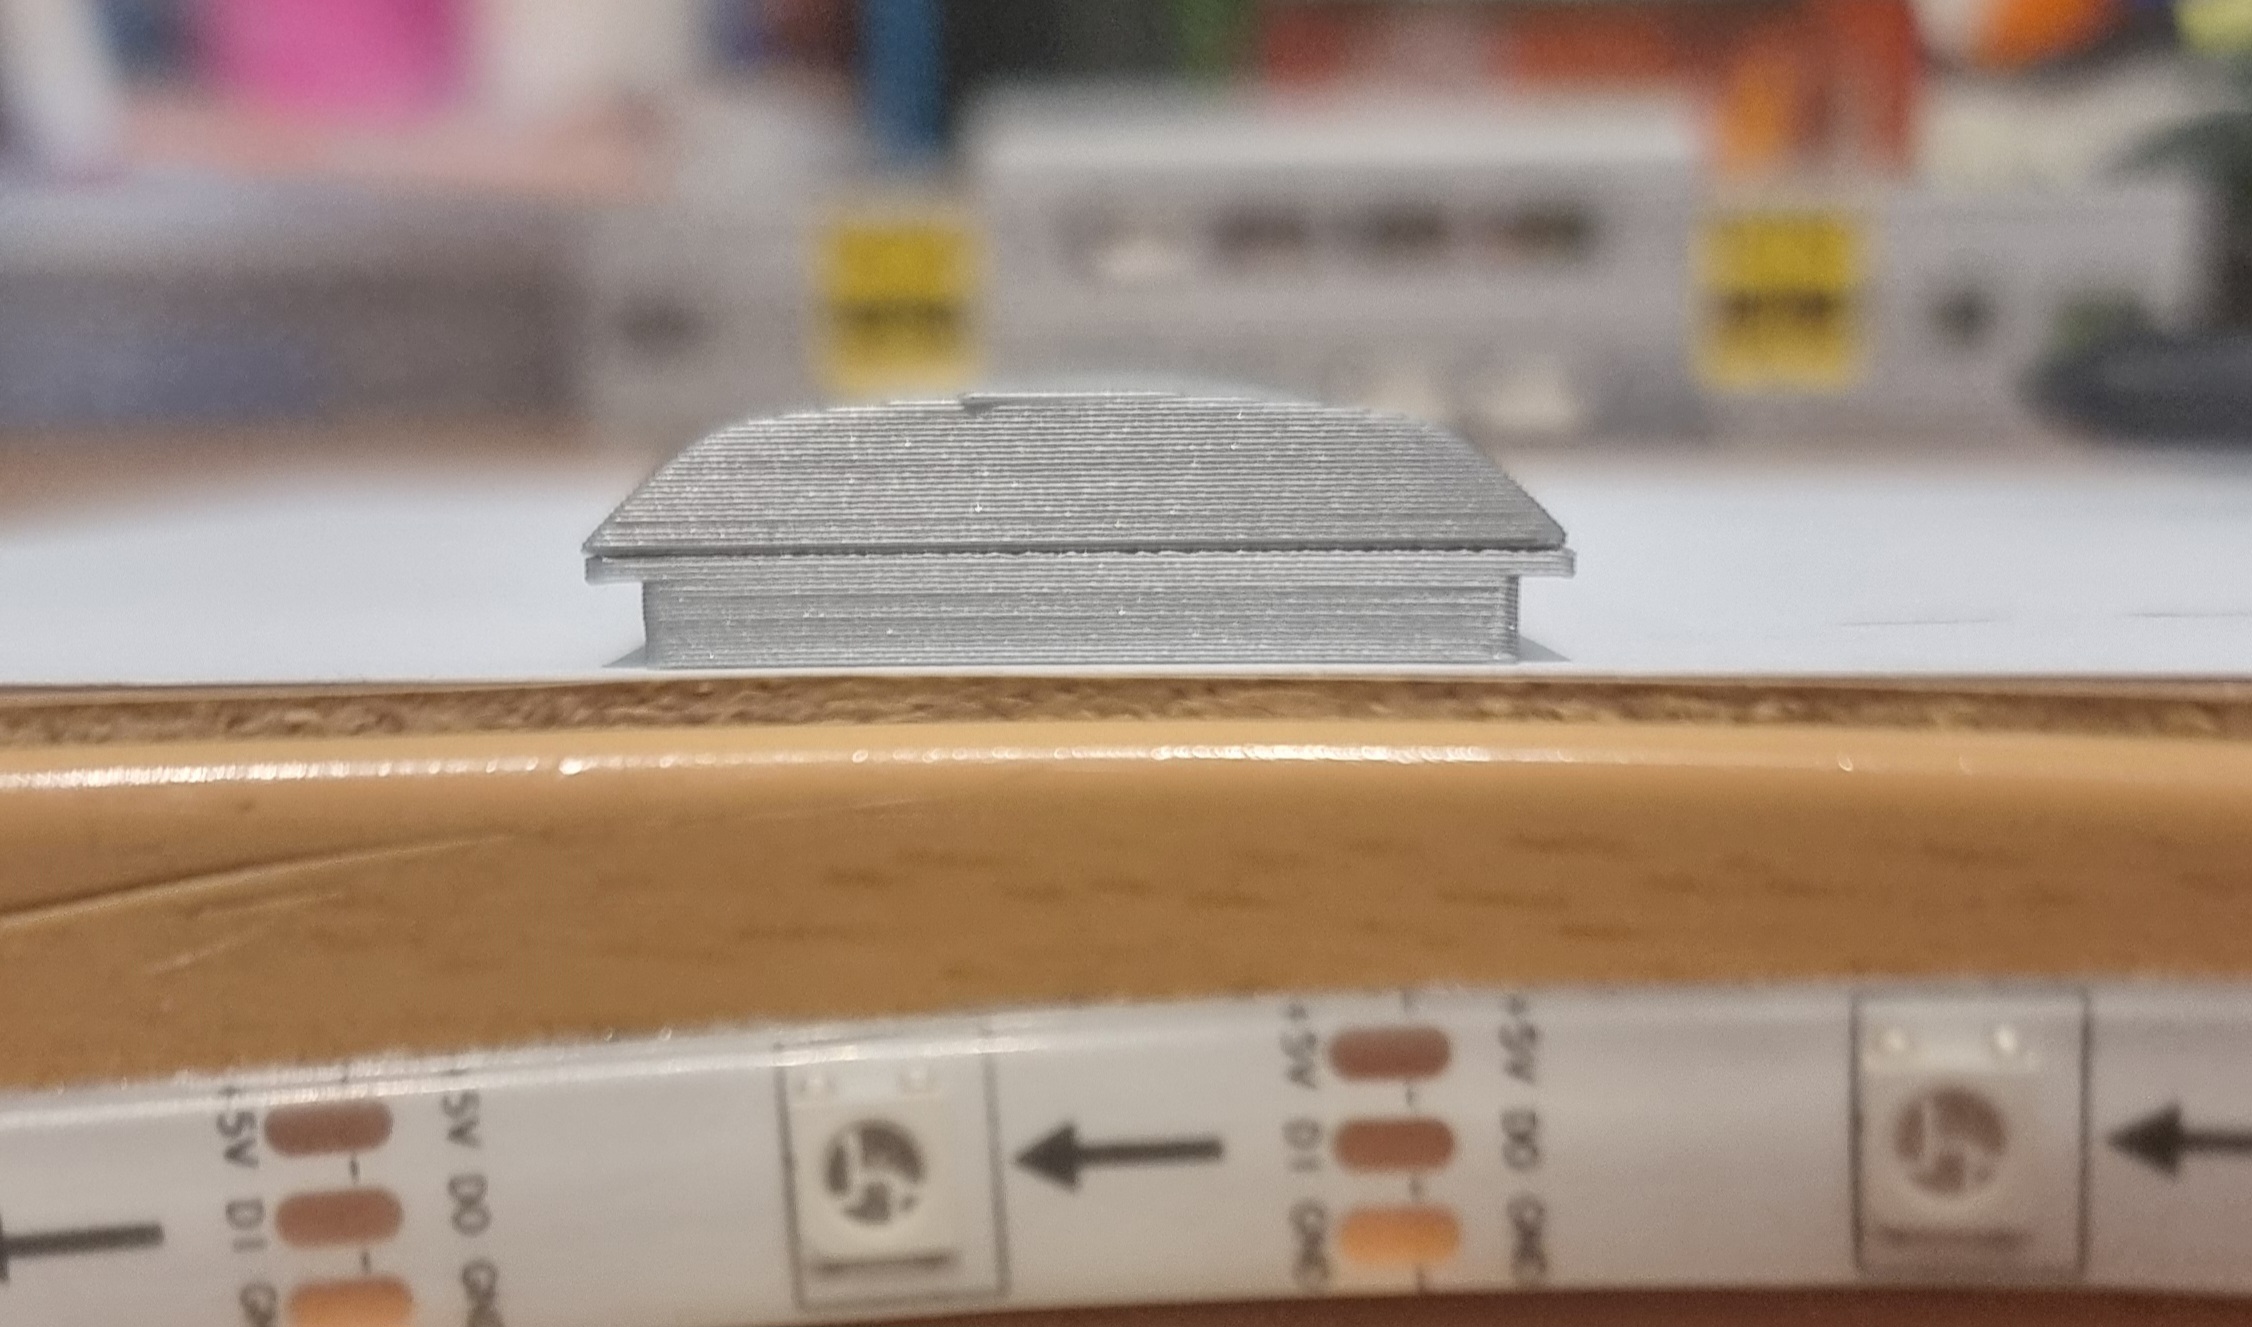
- The roof profile should look like this now
- Attach the roof to the car. (glue is optional here)
- The side of the roof with the aircon goes on the “long” end of the car
- The roof with the pantograph goes on the non driving car
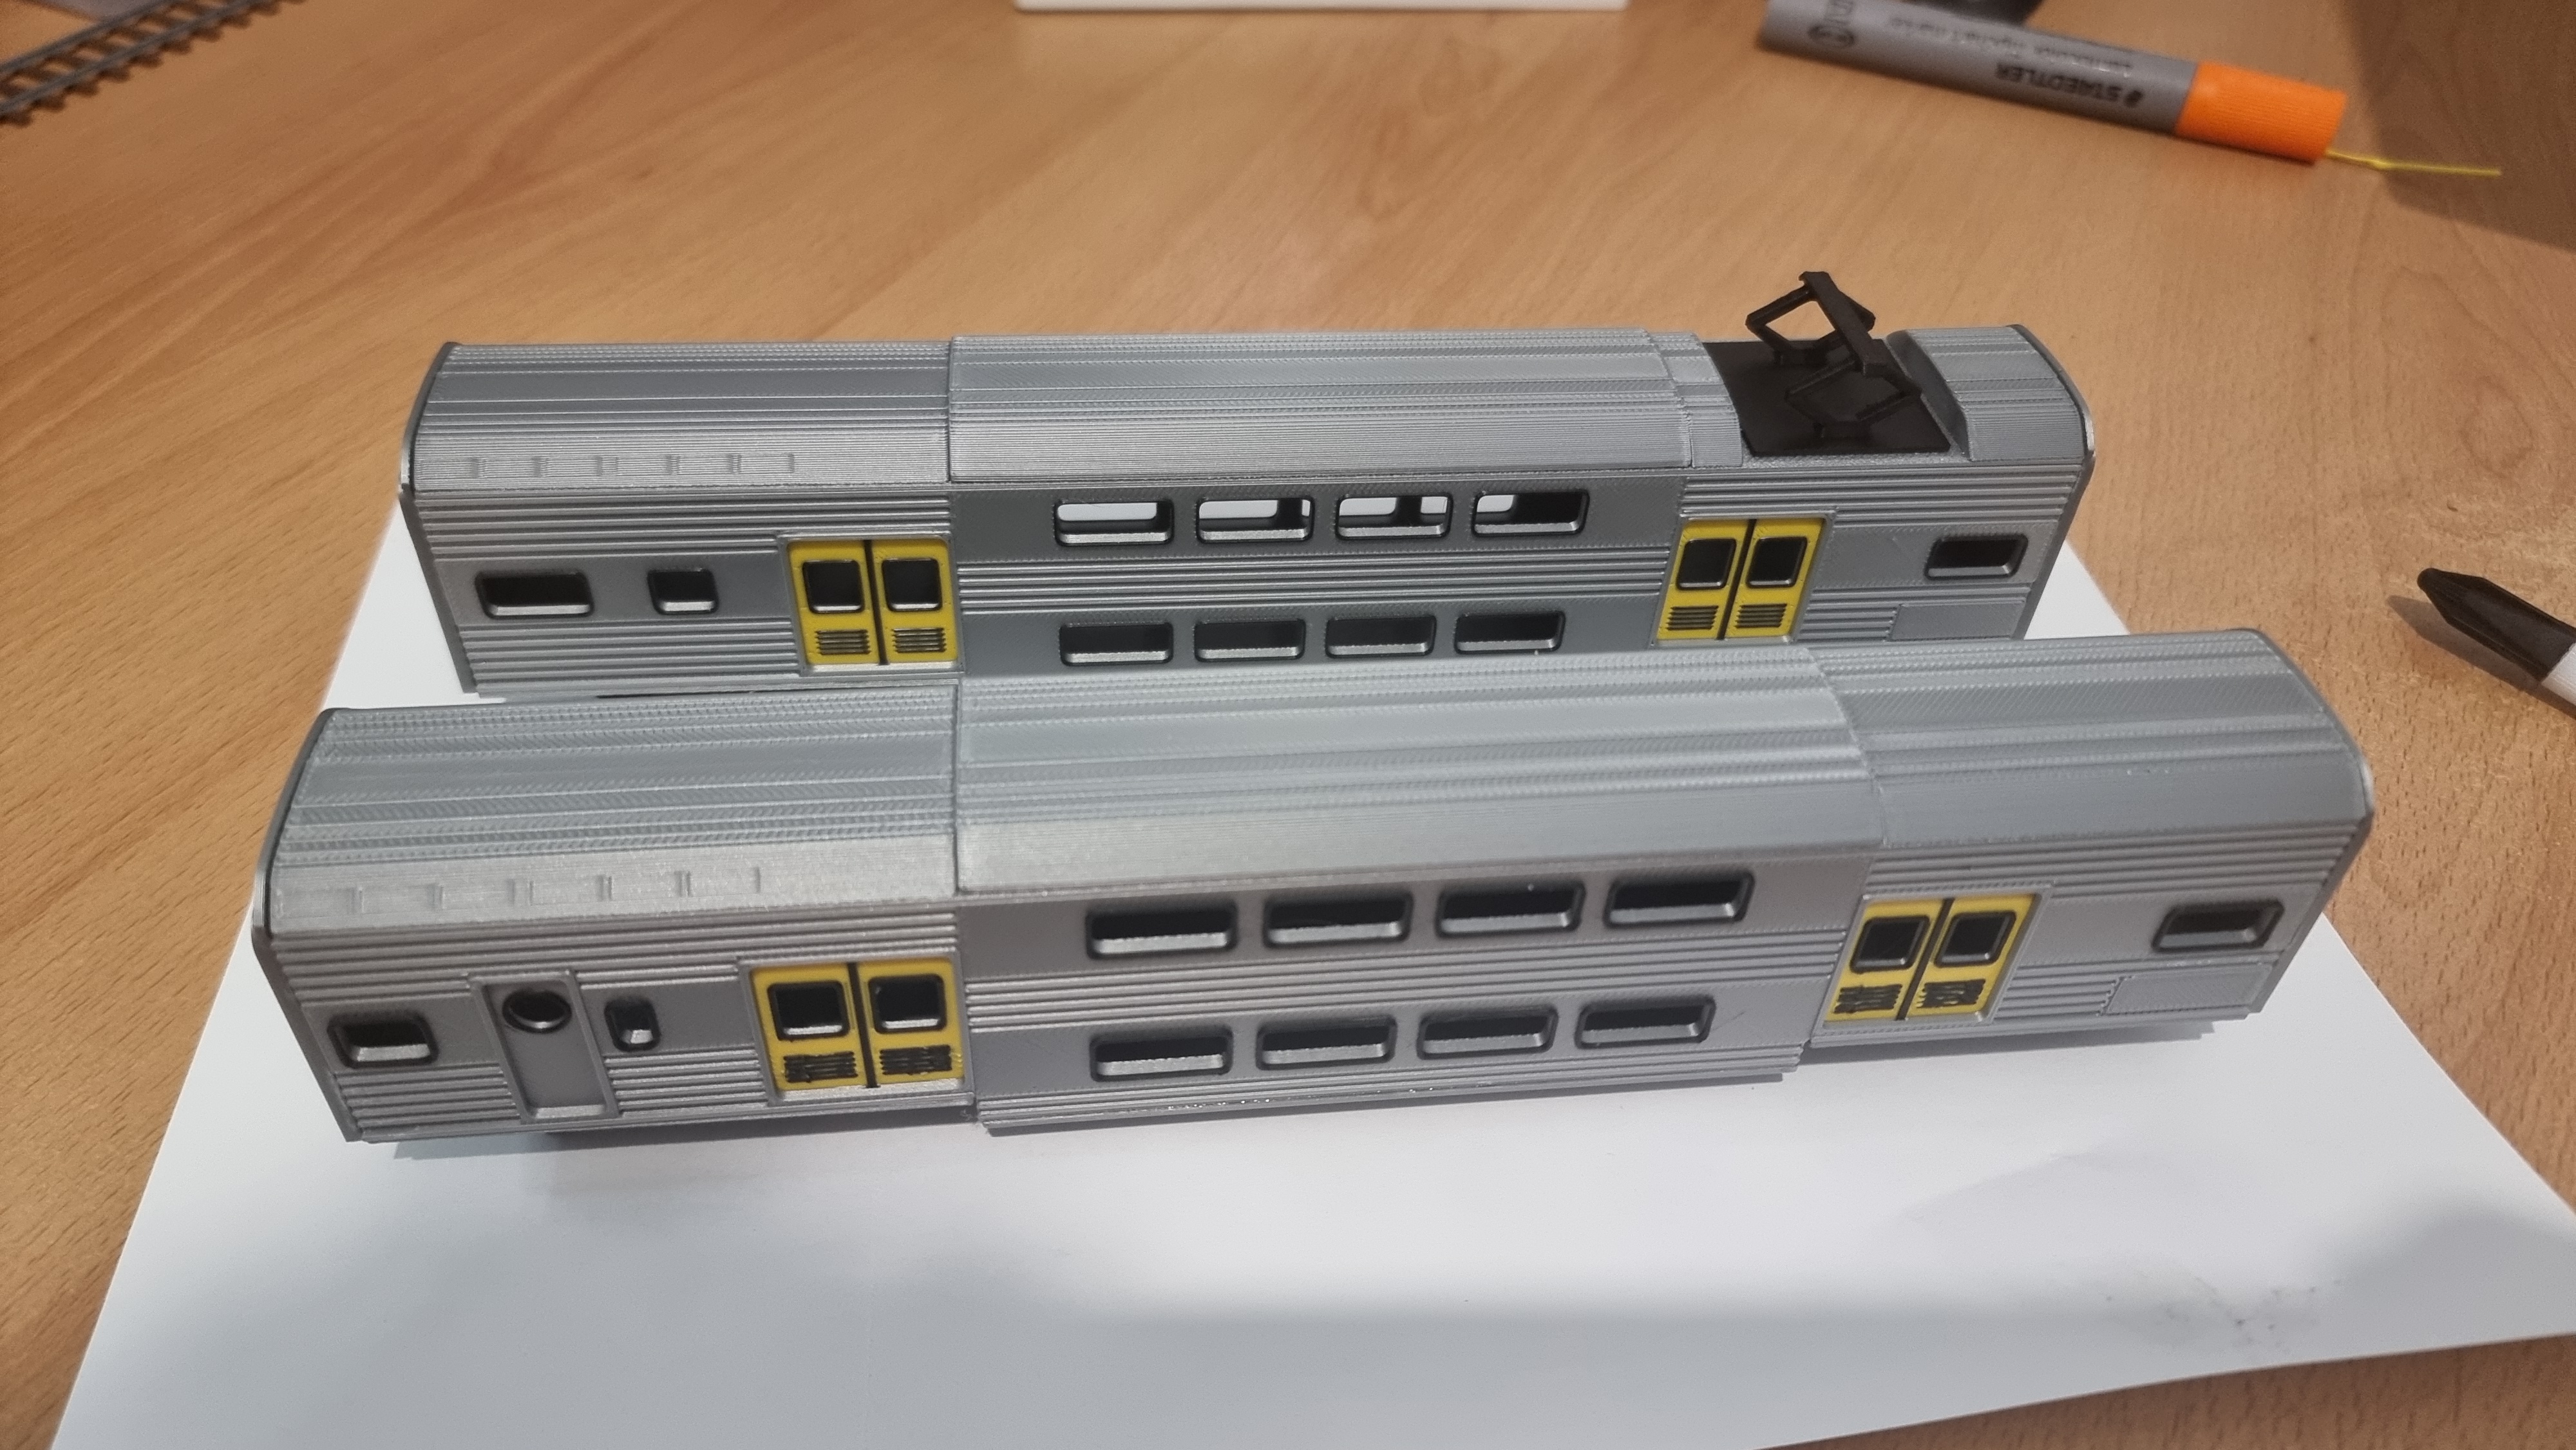
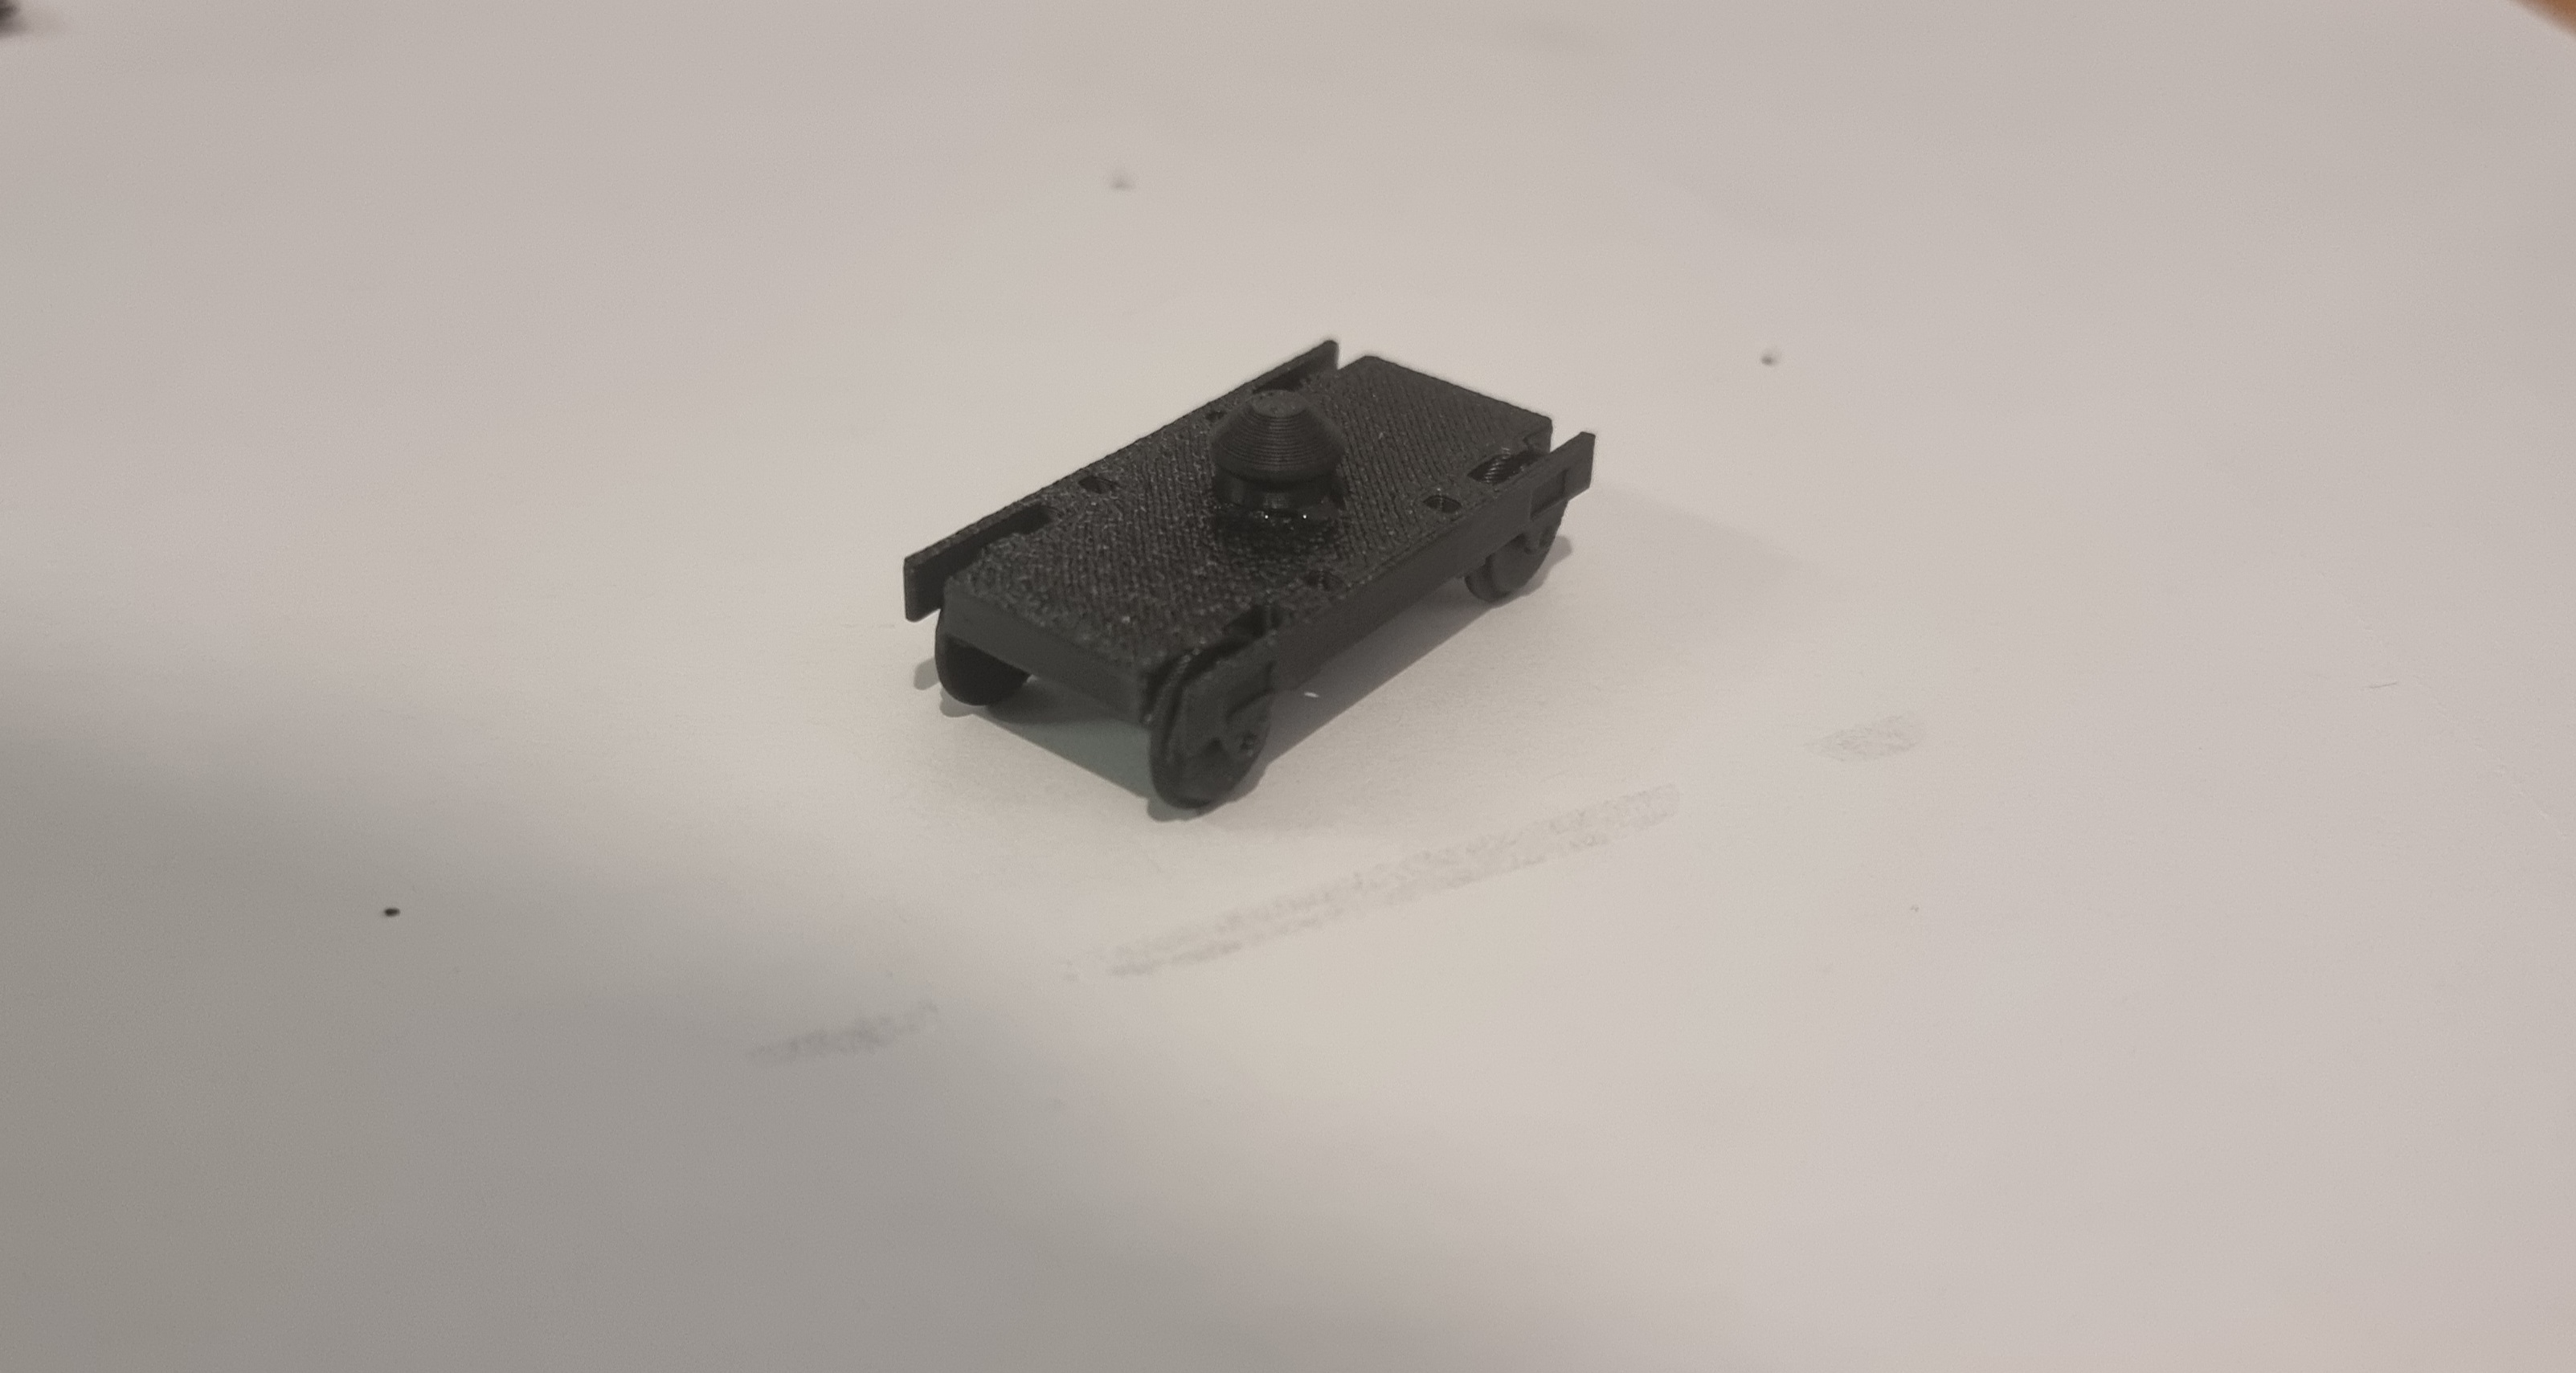
- Glue the bogie to the pin as shown, then attach the bogies to the car WITHOUT GLUE. The bogies should pop in with a bit of effort, and be able to rotate freely.
- Glue the couplers onto the end of the cars as shown.