
Transformers Cybertron Mini Magnet Diorama
We calculate the final price from your selected file. You review and accept it before payment.
Saved on this device.
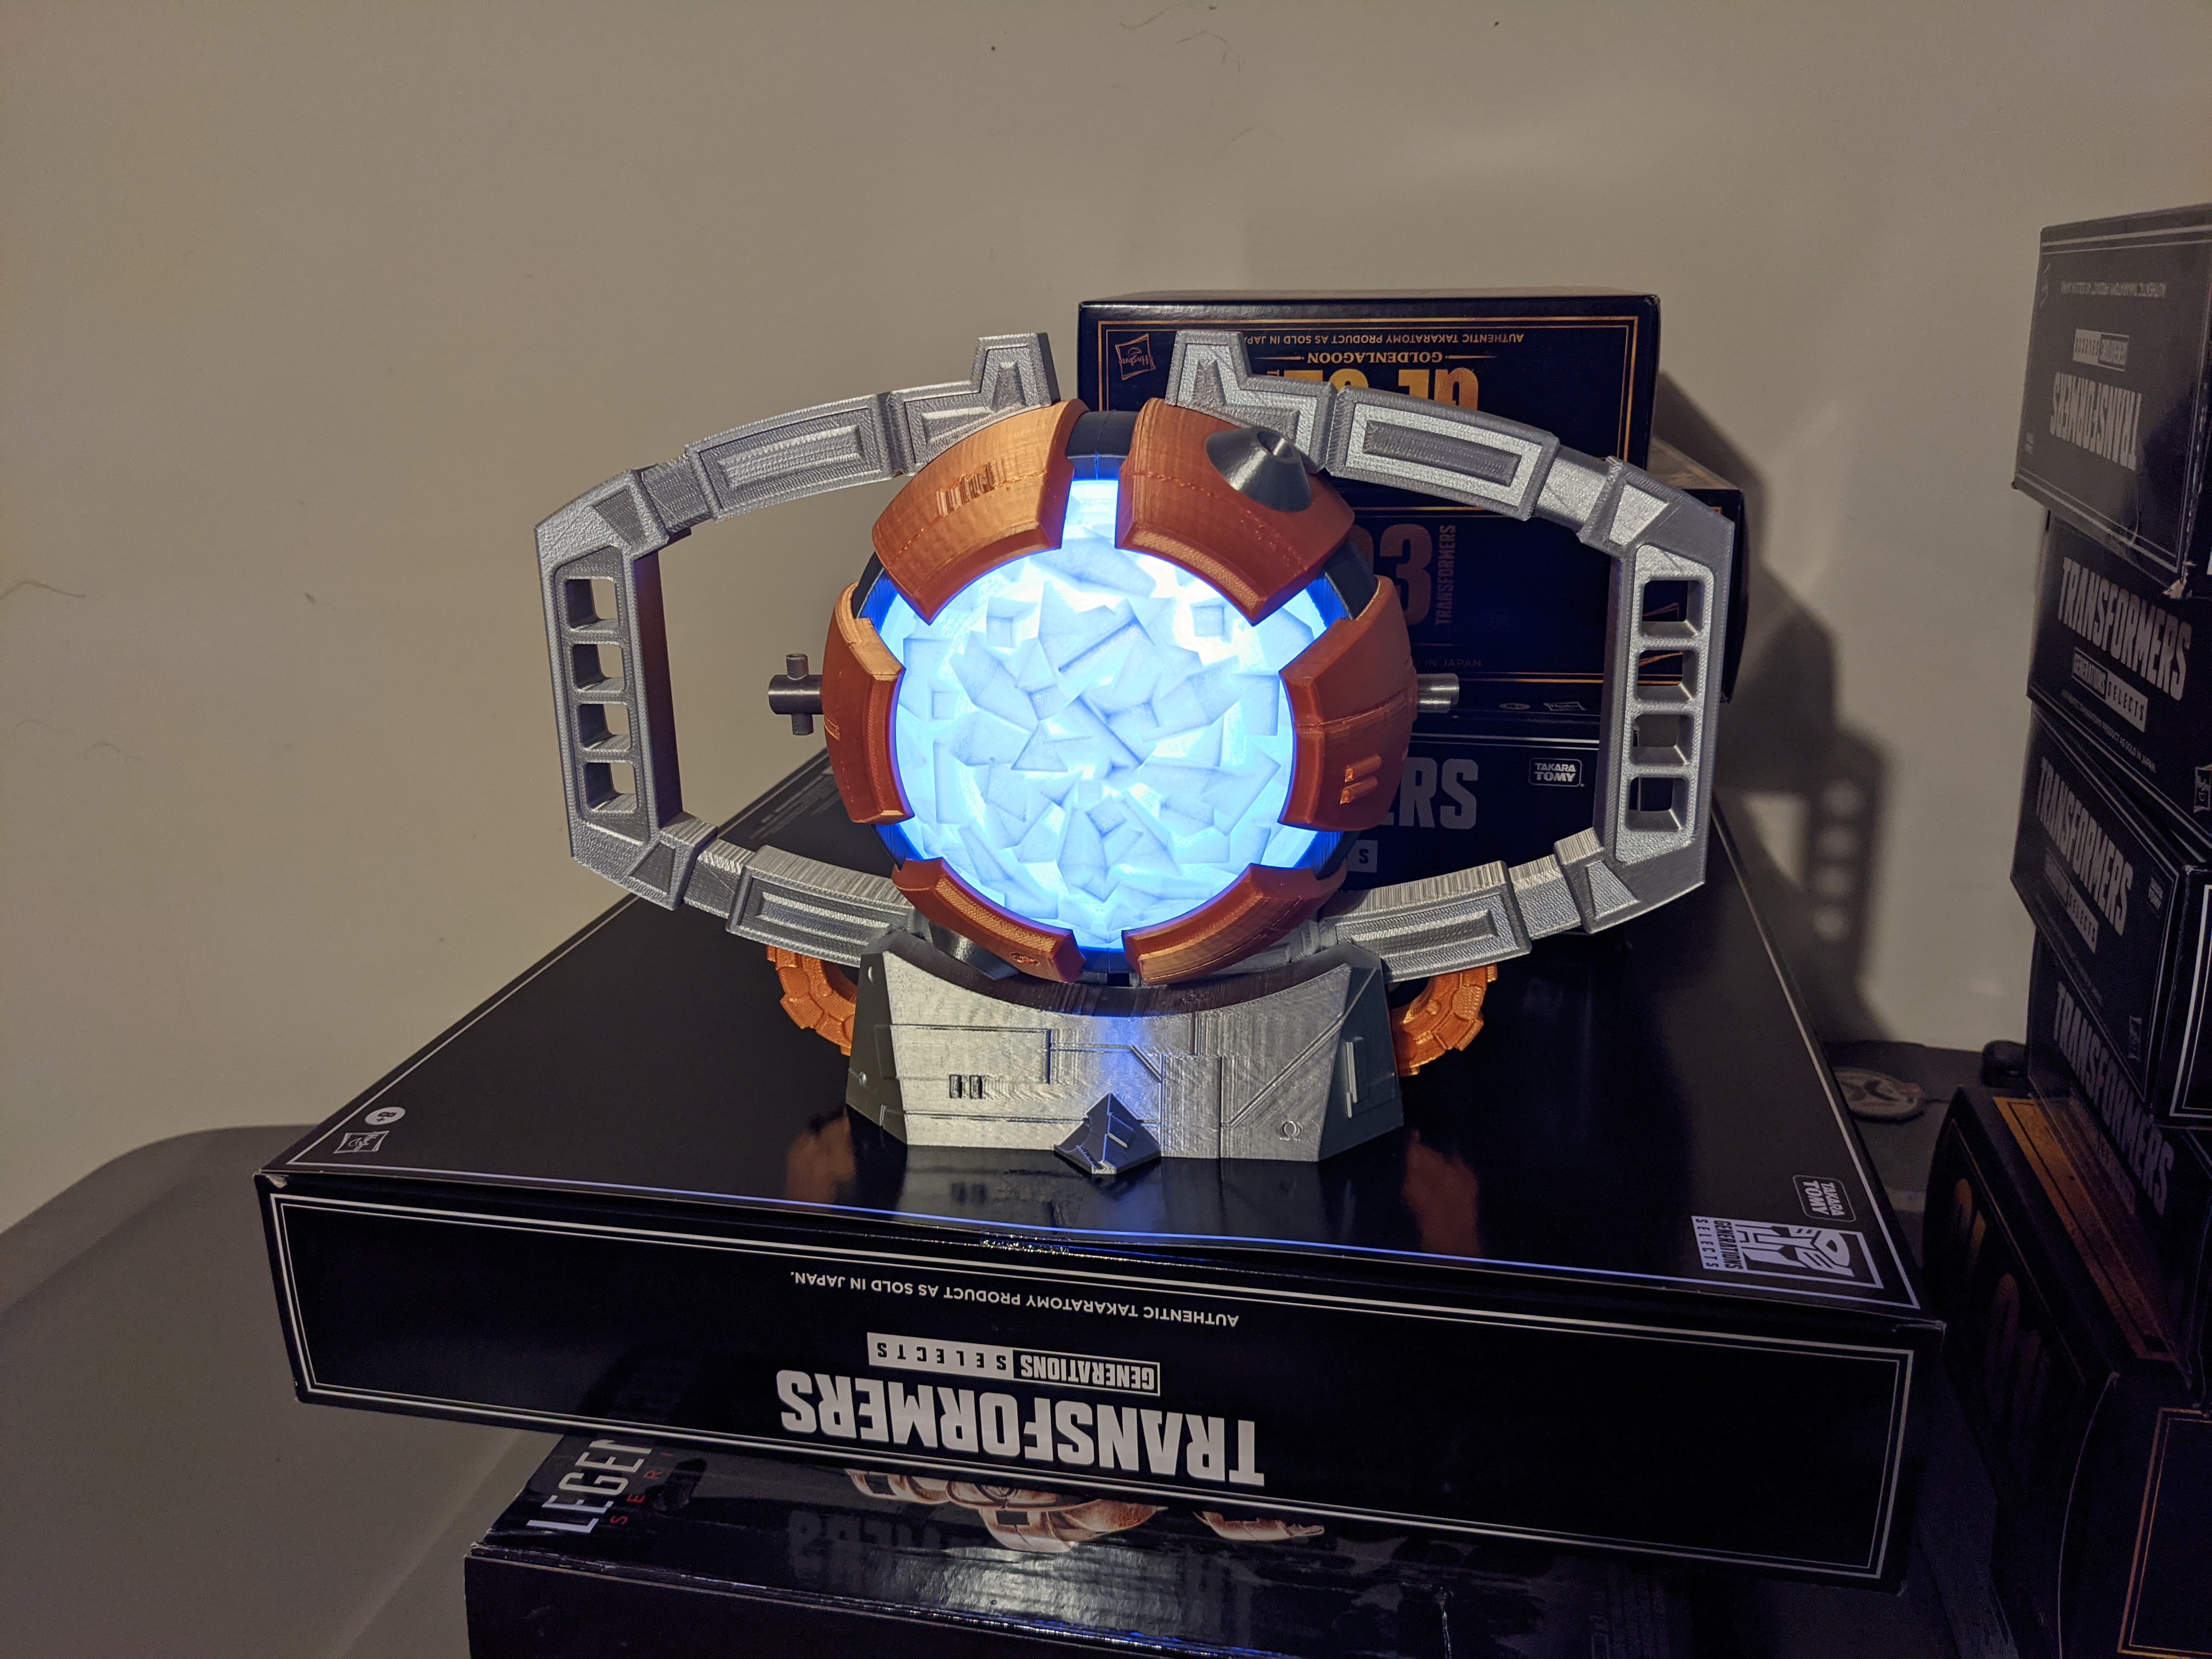
Miniature magnetic diorama with moving parts representing the Transformers G1 episode More Than Meets the Eye.
- Rating
- 0 / 5
- Likes
- 15
- Downloads
- 30
- Makes
- 0
- Views
- 304
- Reviews
- 0
Updated at source:
Model information
- Source
- Printables
- Category
- Other Toys & Games
- License
- Creative Commons — Attribution — Noncommercial
Miniature magnetic diorama based on, and compatible with, BamBam Design's Mini Train Functional Diorama models. This diorama is based on the Transformers G1 episode More Than Meets the Eye. Center of the model is Iacon with Ark and removable dome sections. Inner track has Cybertronian mode Jazz and Laserbeak. Outer track has Cybertronian mode Wheeljack, Bumblebee, Thundercracker, and Skywarp from their chase scene. Micro versions of Cybertronian mode Soundwave can be set along either track. Buildings are based loosely on several screen shots of the episode. See the set in action with the optional motorized base:
Printing:
Large parts, like the Landscape, Pins, and Gear can be printed at 2.0mm or 2.5mm layer height. Smaller objects, especially the vehicles and some buildings, should be printed at 1.5mm or even 1.0mm layer height. Colors are up to you. The version pictured is grey and yellow, but you can use Silk silver and yellow or orange for a more metallic result.
The Landscape Base is a two-color print to add the white rectangles to the road as seen in the episode. They can be combined into a single model if you just want to print it as a single color. Printing on a textured plate should work fine, but for smoothest magnet movement a smooth or satin sheet is better. The Base and Landscape pieces have 2mm holes to insert 1.75mm filament pieces for alignment when gluing them together. Leave extra sticking out at the top to align the buildings later.
I've included both 4x2mm and 3x2mm magnet Pin models. I've found that the 3x2mm magnets are strong enough to work fine, but 4x2mm can provide a bit more grip from inside the gear if needed. All vehicles and Seeker/Laserbeak bases are sized for 3x2mm magnets. If buying magnets for the first time be sure to look for “rare earth” or “neodymium” type. They are the strongest version, better than some of the cheaper magnets out there. Example: Small Magnets, 100 Pack Refrigerator Magnets 8x2mm Rare Earth Magnet Neodymium Magnet for Crafts, Whiteboard, Kitchen Cabinet
Vehicles:
Vehicles are broken into separate models per color to be used with multi-color printers. You can merge them in your slicer software and print as a single color if you want to paint them later. Laserbeak is the only five-color model. You can simplify it to four colors by printing “Head Wings Grey” and “Wings Black” in grey, then painting the wing edges black later.
None of the vehicles need supports but have very small pieces that join at small places. Especially the noses of the Seekers. You might need to glue pieces together after printing if your tolerances are a bit off.
Jazz, Wheeljack, and Bumblebee sit on the base directly. Laserbeak, Thundercracker, and Skywarp all use magnet bases to make them “fly." The outer track is wider than the inner track, so use the correct base for each character. The top of the bases and the bottom of the vehicles have 2mm holes. This allows you to use a piece of filament (I recommend straightened pieces of clear/natural PETG) to float each vehicle at the height you'd like.

Soundwave can be printed in the orientation provided, but I had best results by flipping it upside down. The final piece is very small! Tweezers are suggested to get them glued into place later.
Buildings:
Like the vehicles, each building is meant to be printed in two colors on a multi-color printer. As in the G1 episode, buildings have yellow stripes through them to represent windows or energy channels. The parts can always be printed in one color and painted later.
Several buildings need supports to print correctly, and many should have brims added for stability. I added notes in the files here where needed. These aren't the easiest to print, especially where colors are changing in very small locations! Don't get discouraged if you have to print in small numbers to get them to succeed.
A few buildings have 2mm holes in the top, allowing you to add “spire” parts to the buildings and make them a bit taller. Add pieces of 1.75mm filament to the desired height and cut them off flush at the top.
Some of the buildings have 2mm holes in the bottom to align them with the filament used to align the Landscape and Landscape Base parts. It isn't necessary to use them this way, but it helps. You can add buildings in whatever order you'd like, but what's pictured here is my suggestion with the best luck.

The Ark and Iacon parts can remain un-glued so you can pretend that Iacon is being retracted to launch the Ark at any time :). The Ark has two holes to align with the filament pieces to hold it in place.
Assembly:
Adding magnets to the vehicles and Seeker/Laserbeak bases first will help hold Pins in place when connecting the Main Gear to the Landscape Base. I found that most vehicles could hold the magnets with normal friction. But for best results add a (very) small bit of glue with the magnets. The description for this model has a great example for how to line them up. Make sure you keep track of the maget polarities! Do your best to ensure that all pins have one polarity and all vehicles have the opposite. That lets you swap them around easily.
Once assembled you should have four magnet pins aligned with the outer track and two with the inner track.

The gear should turn smoothly by hand, pulling the vehicles on the other side across the surface of Cybertron, in either direction. The surface might need light sanding if the magnets in either the pins or the vehicles catch somewhere. Disassemble, sand, reassemble, and test the movement until everything is smooth.
Finally, there are several motorized options and one hand crank for these dioramas. Explore the options available at the link at the top of the description.