
LED holder - Morse Code peg
We calculate the final price from your selected file. You review and accept it before payment.
Saved on this device.
Model information
- Source
- Printables
- Category
- Electronics
- License
- Creative Commons — Public Domain
As part of a morse code workshop for kids I wanted to let them build a basic morse code device. It was decided that it would be best if the morse code device would use light instead of sound.
Material: PLA
Orientation: side with the hole facing down
Supports: No
Items you need
1x wooden washing peg
1x CR2302 battery
1x CR2302 battery holder ( ideally with wires attached
1x 5mm LED ( colour doesn't matter )
1x 3D printed bracket
2x split pins
At first you need to drill a hole through both end pieces
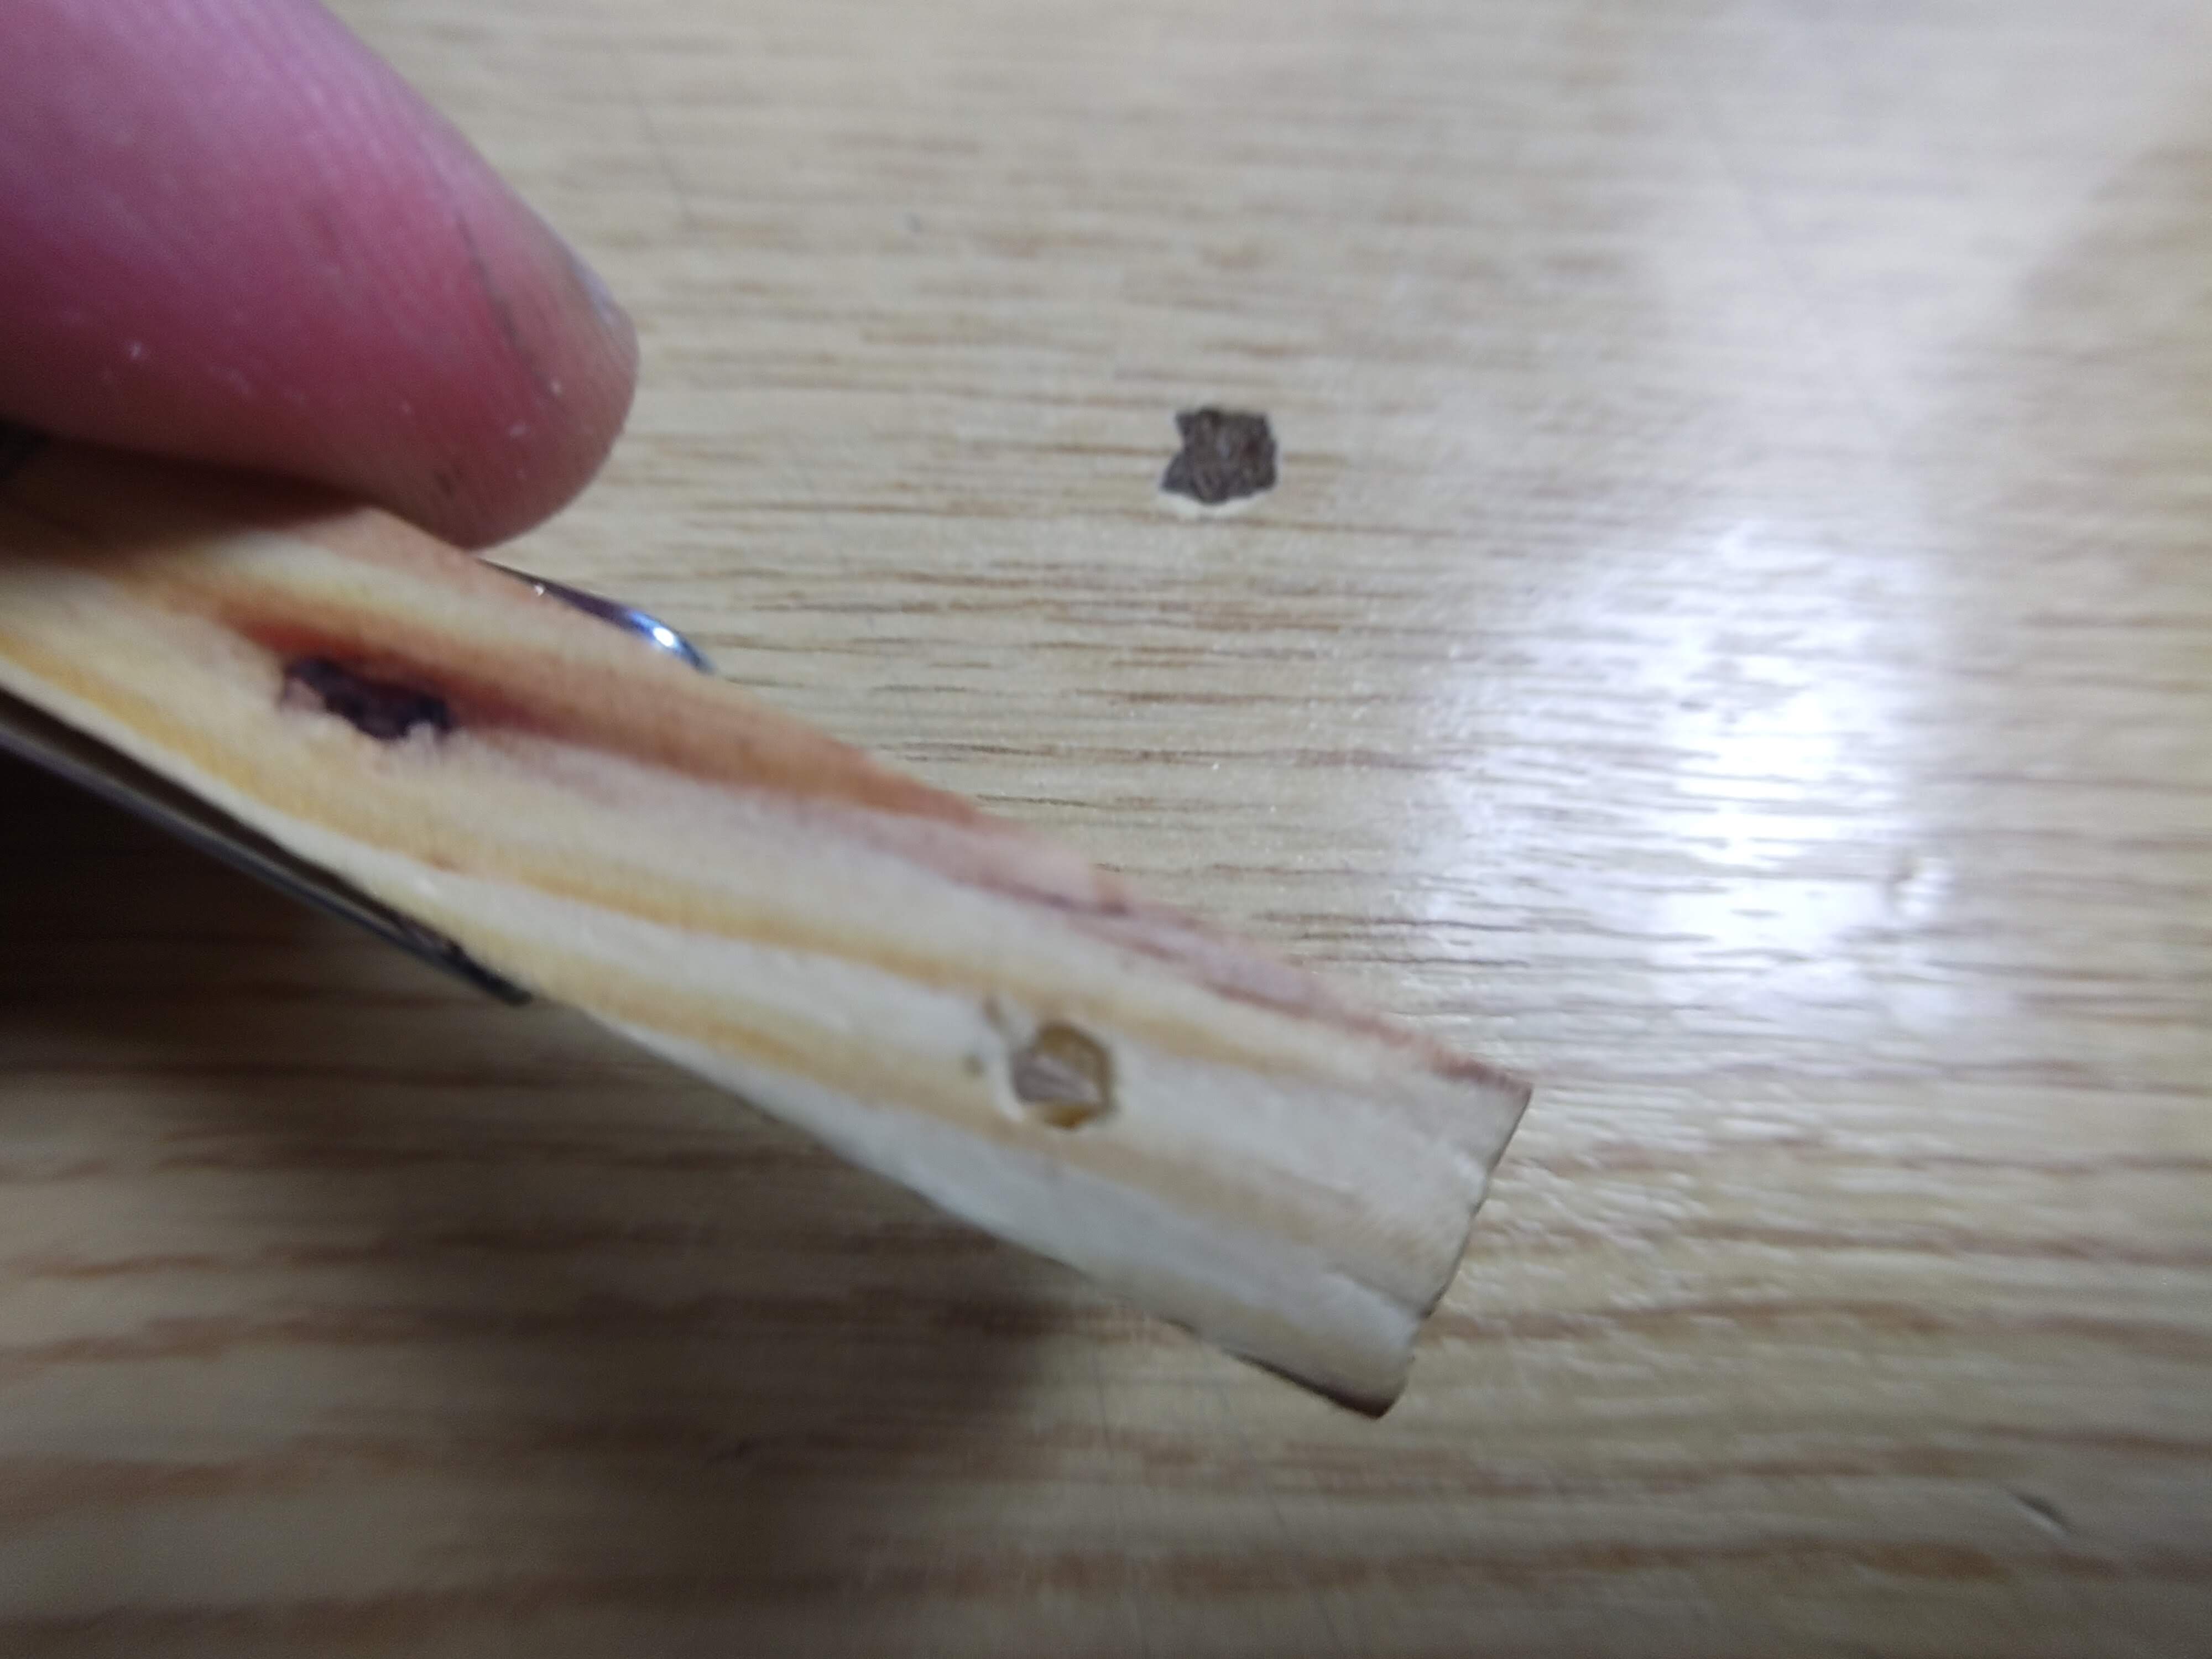
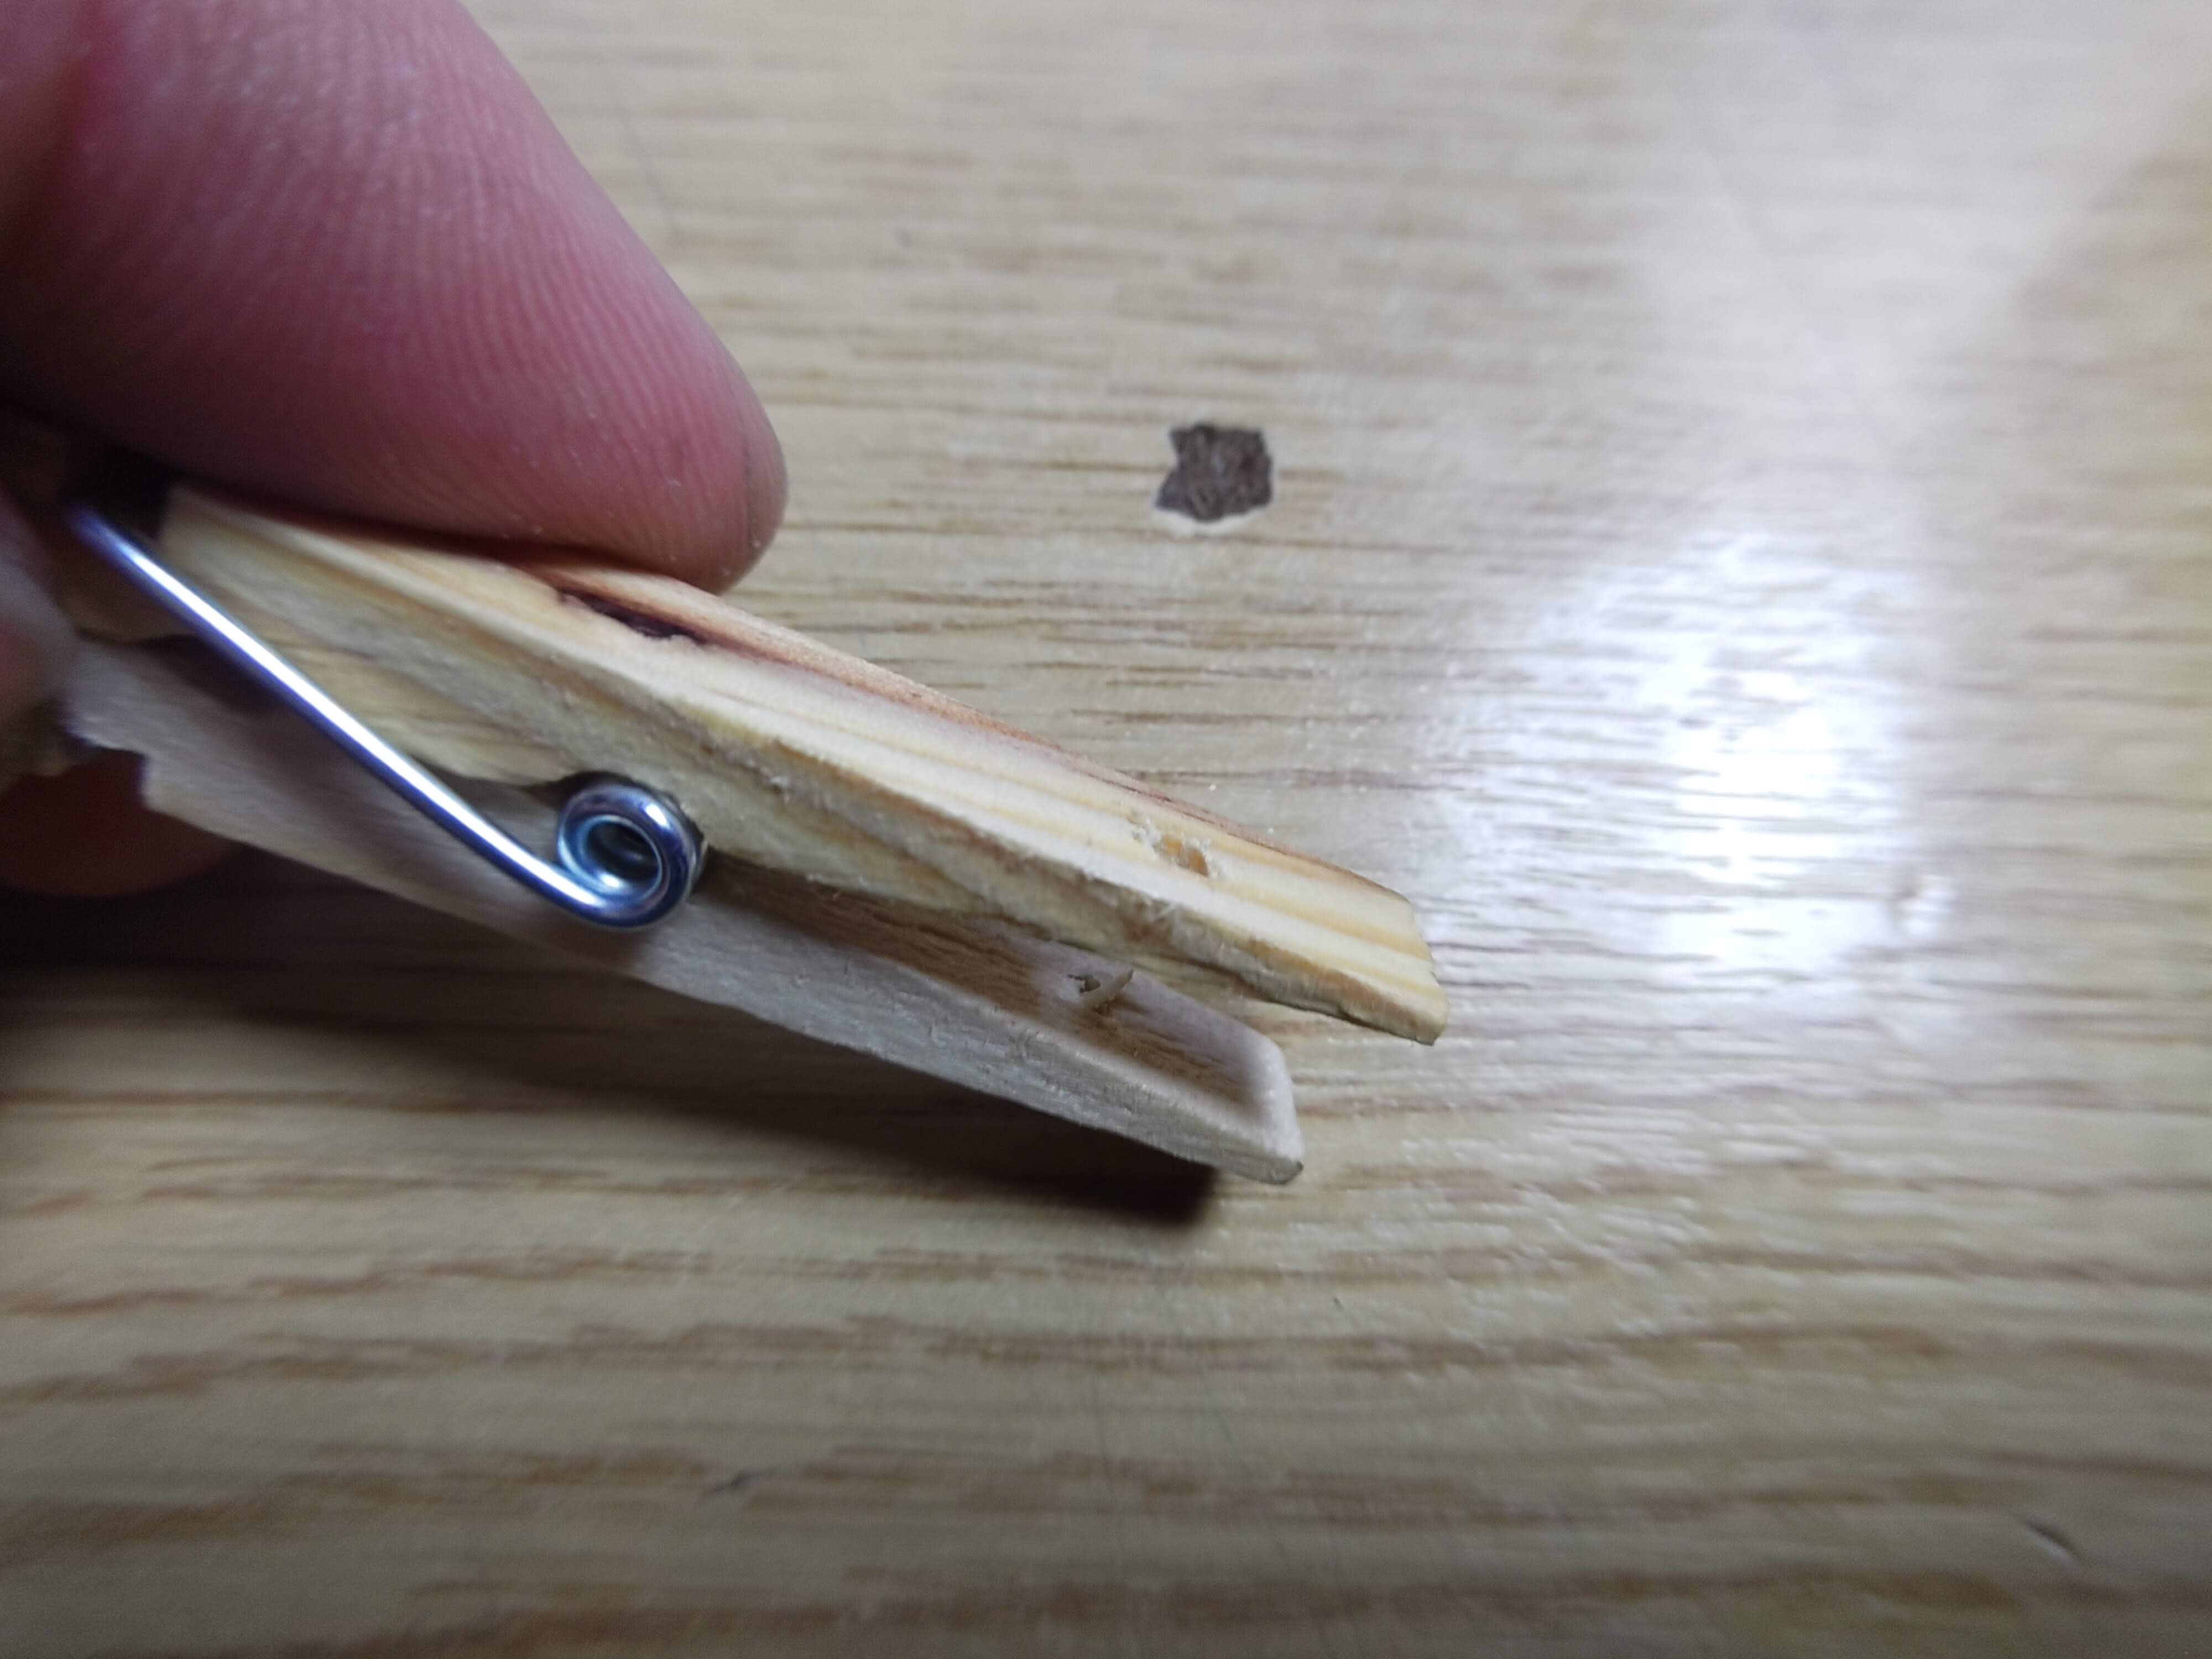
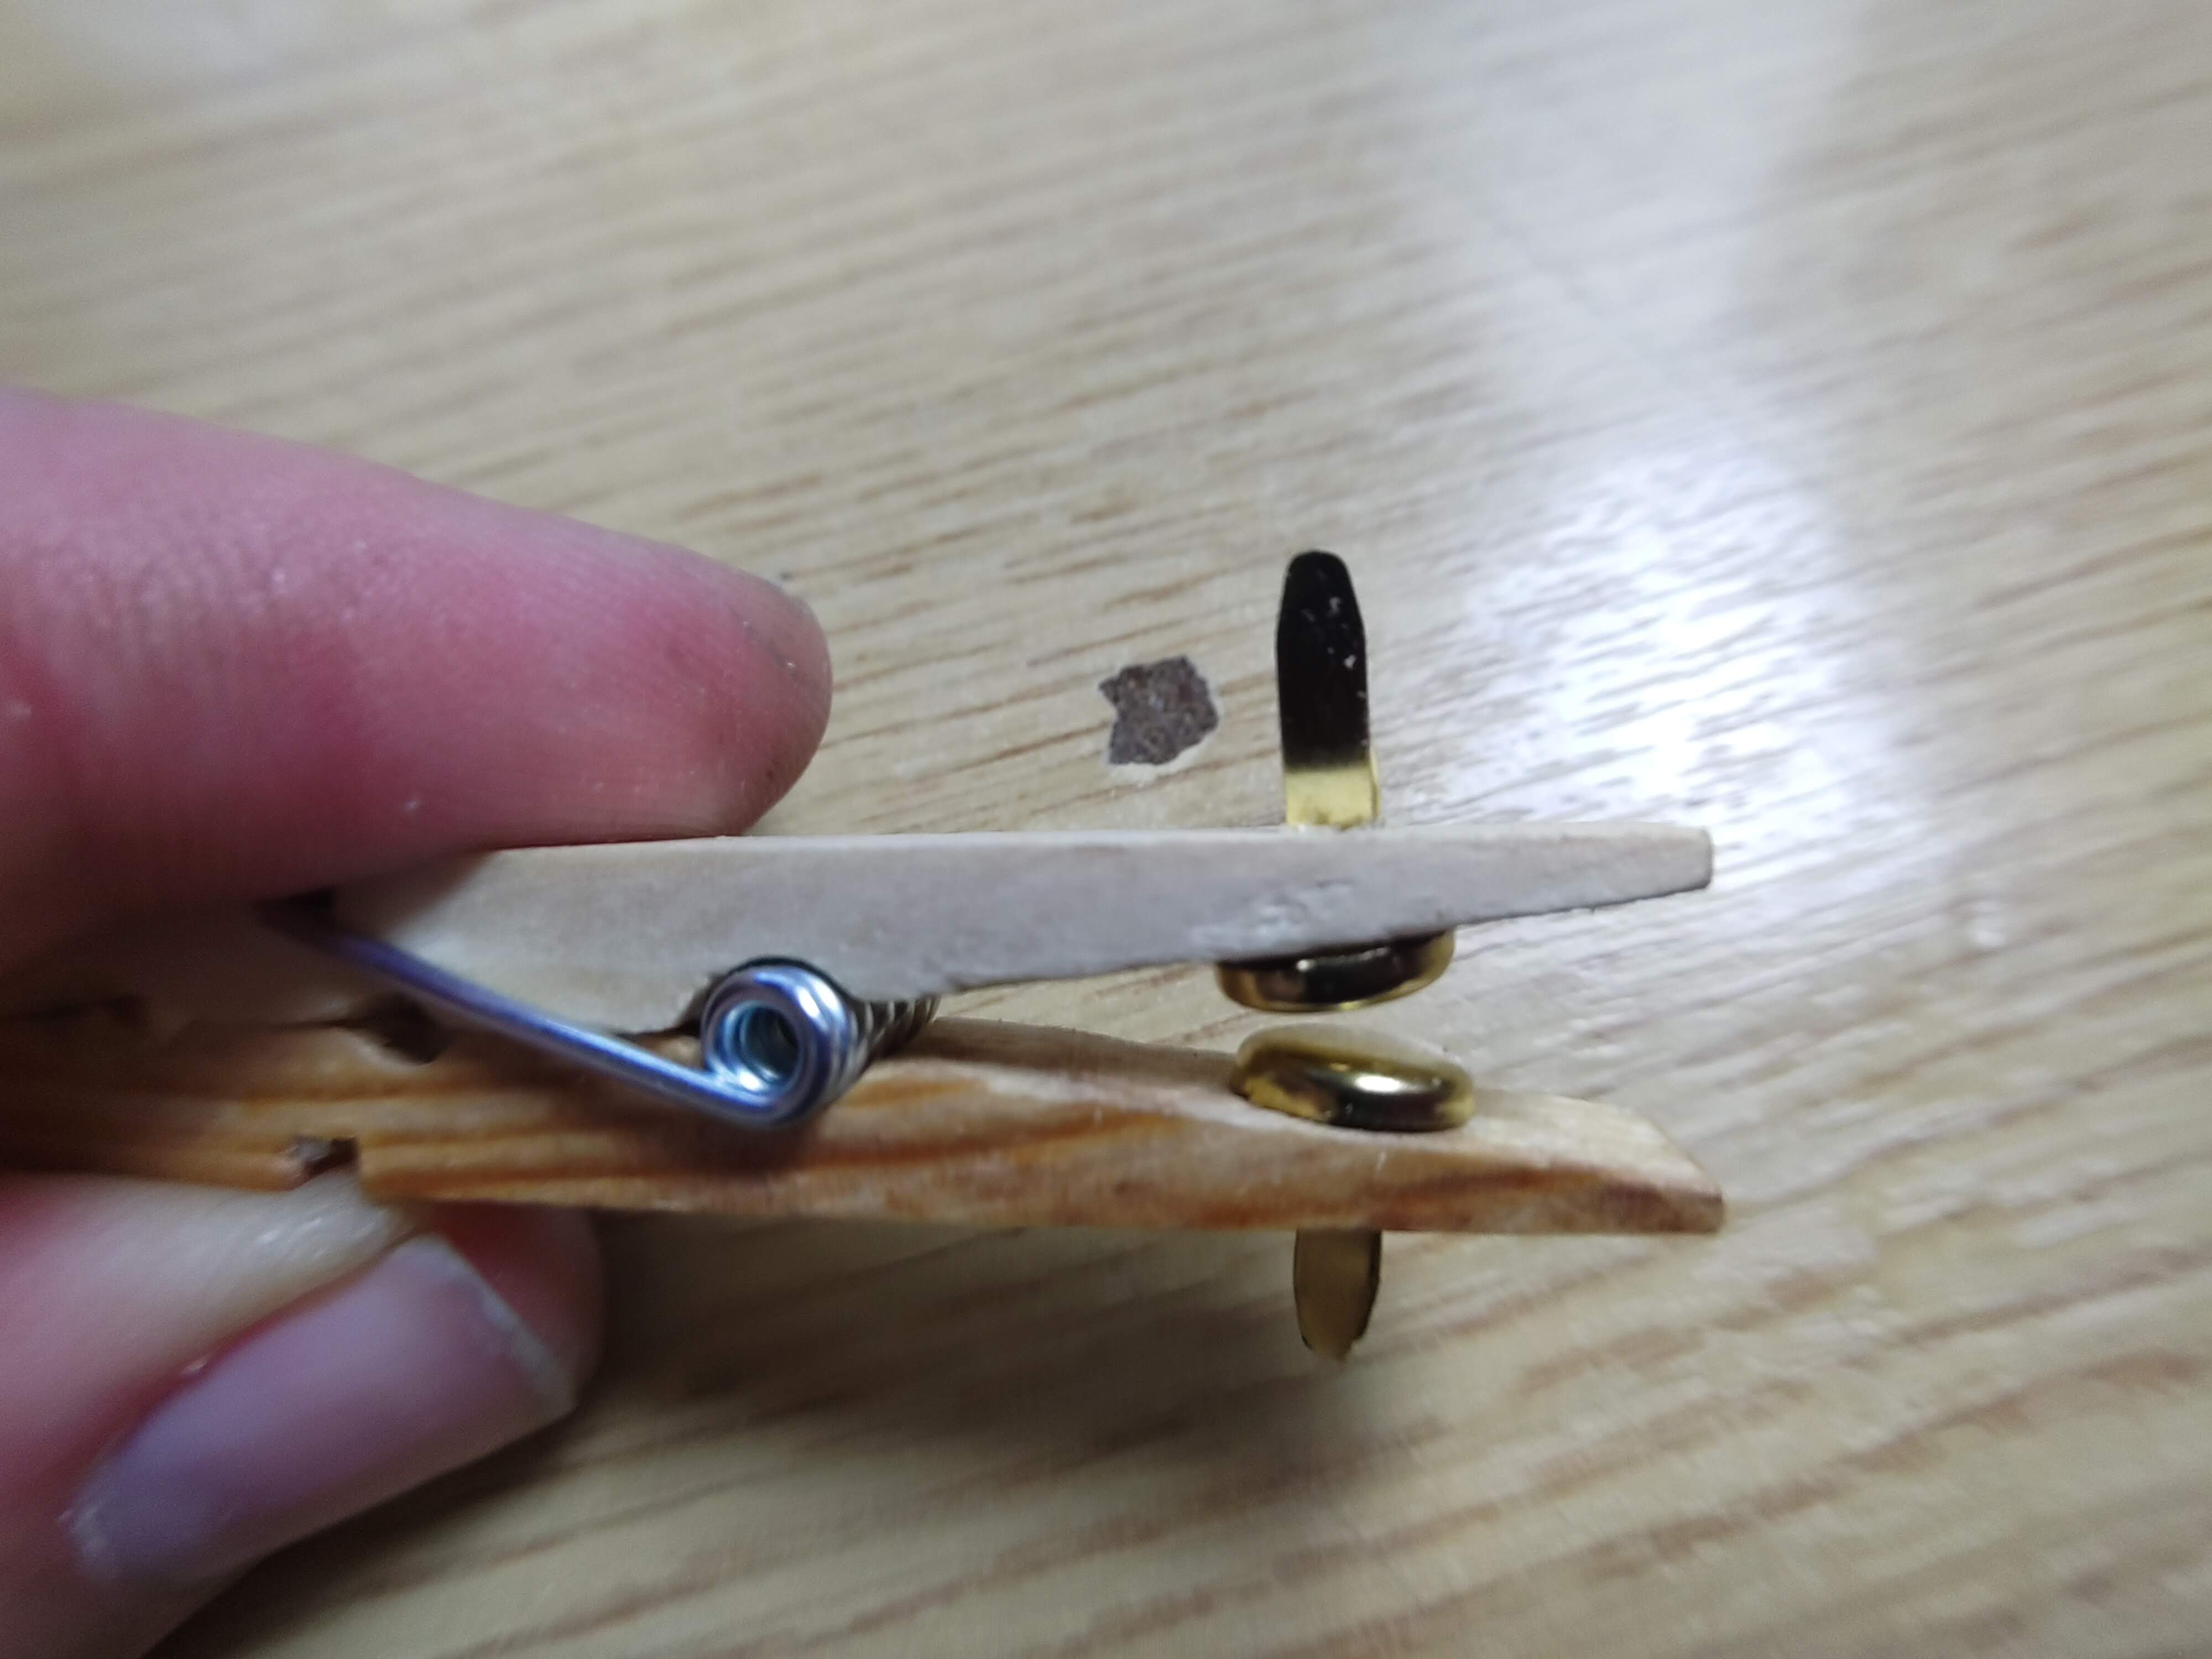
Then put both split pins through the holes so that the heads are inside.
IMPORTANT: The heads should not touch each other in the normal position.
Use a hot glue gun to stick the LED bracket to the top of the peg
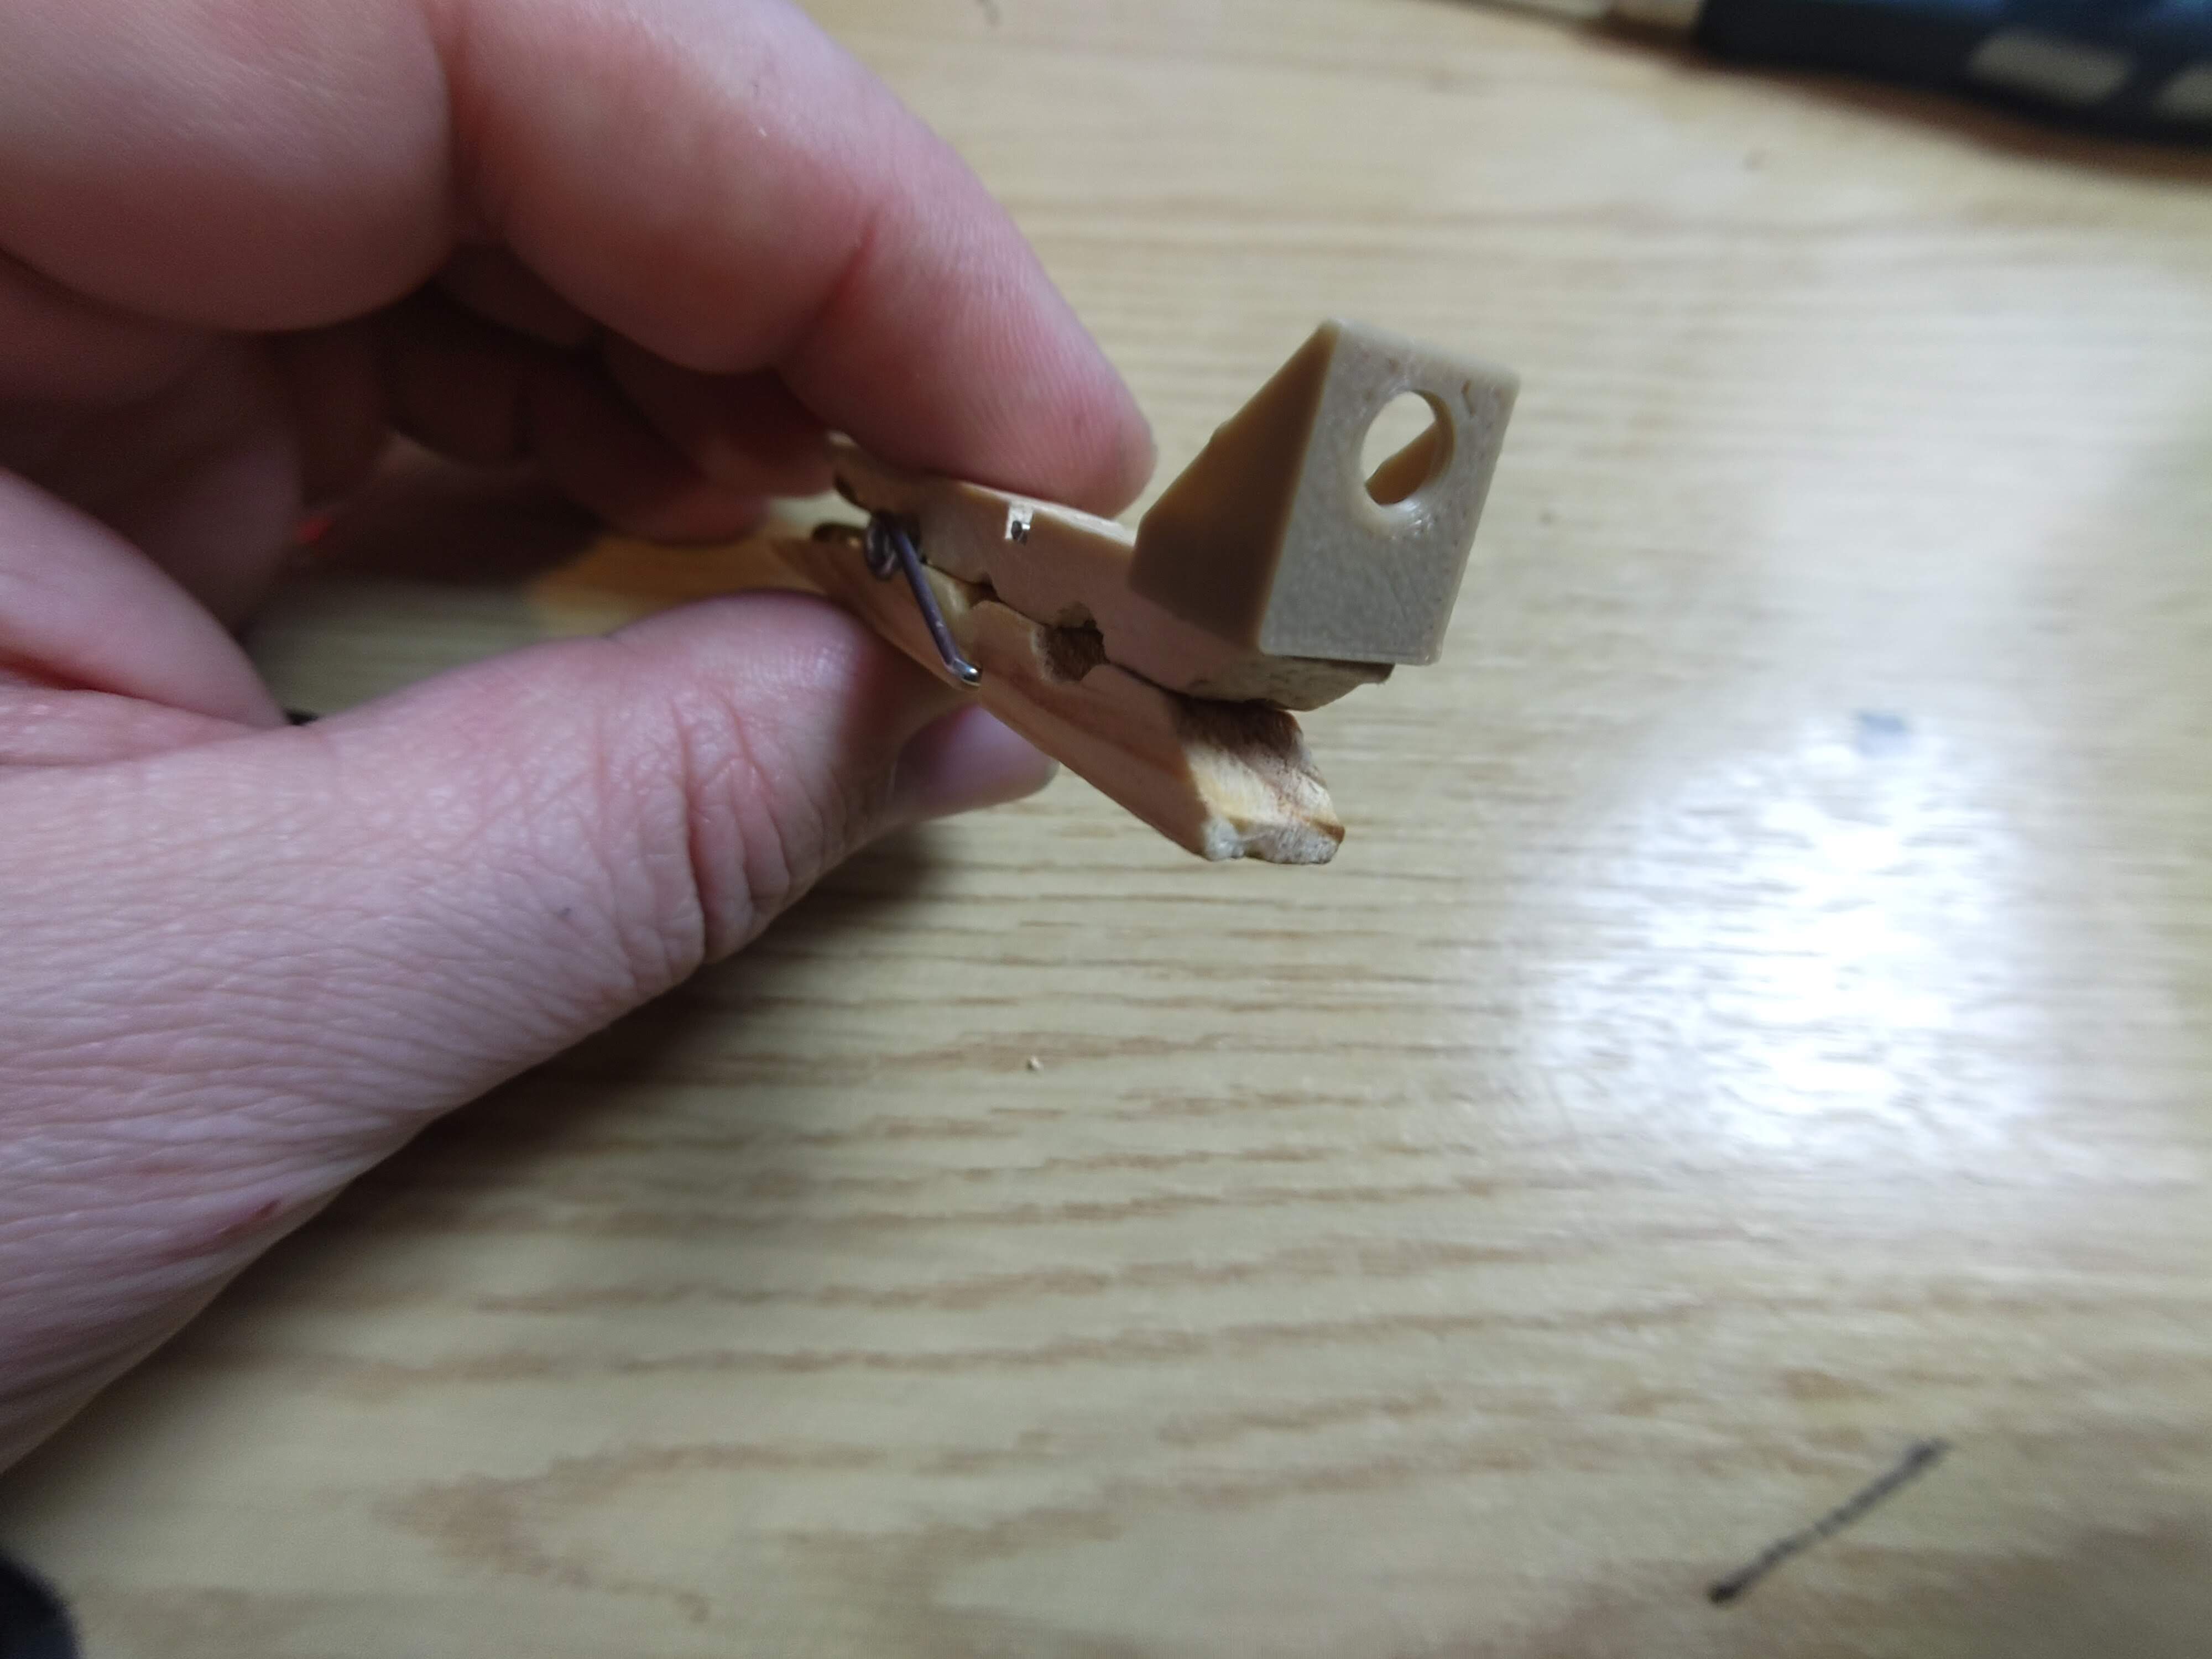
Attach the negative wire of the battery holder to the bottom peg and glue the battery holder to the bottom of the peg where you just connected the wire
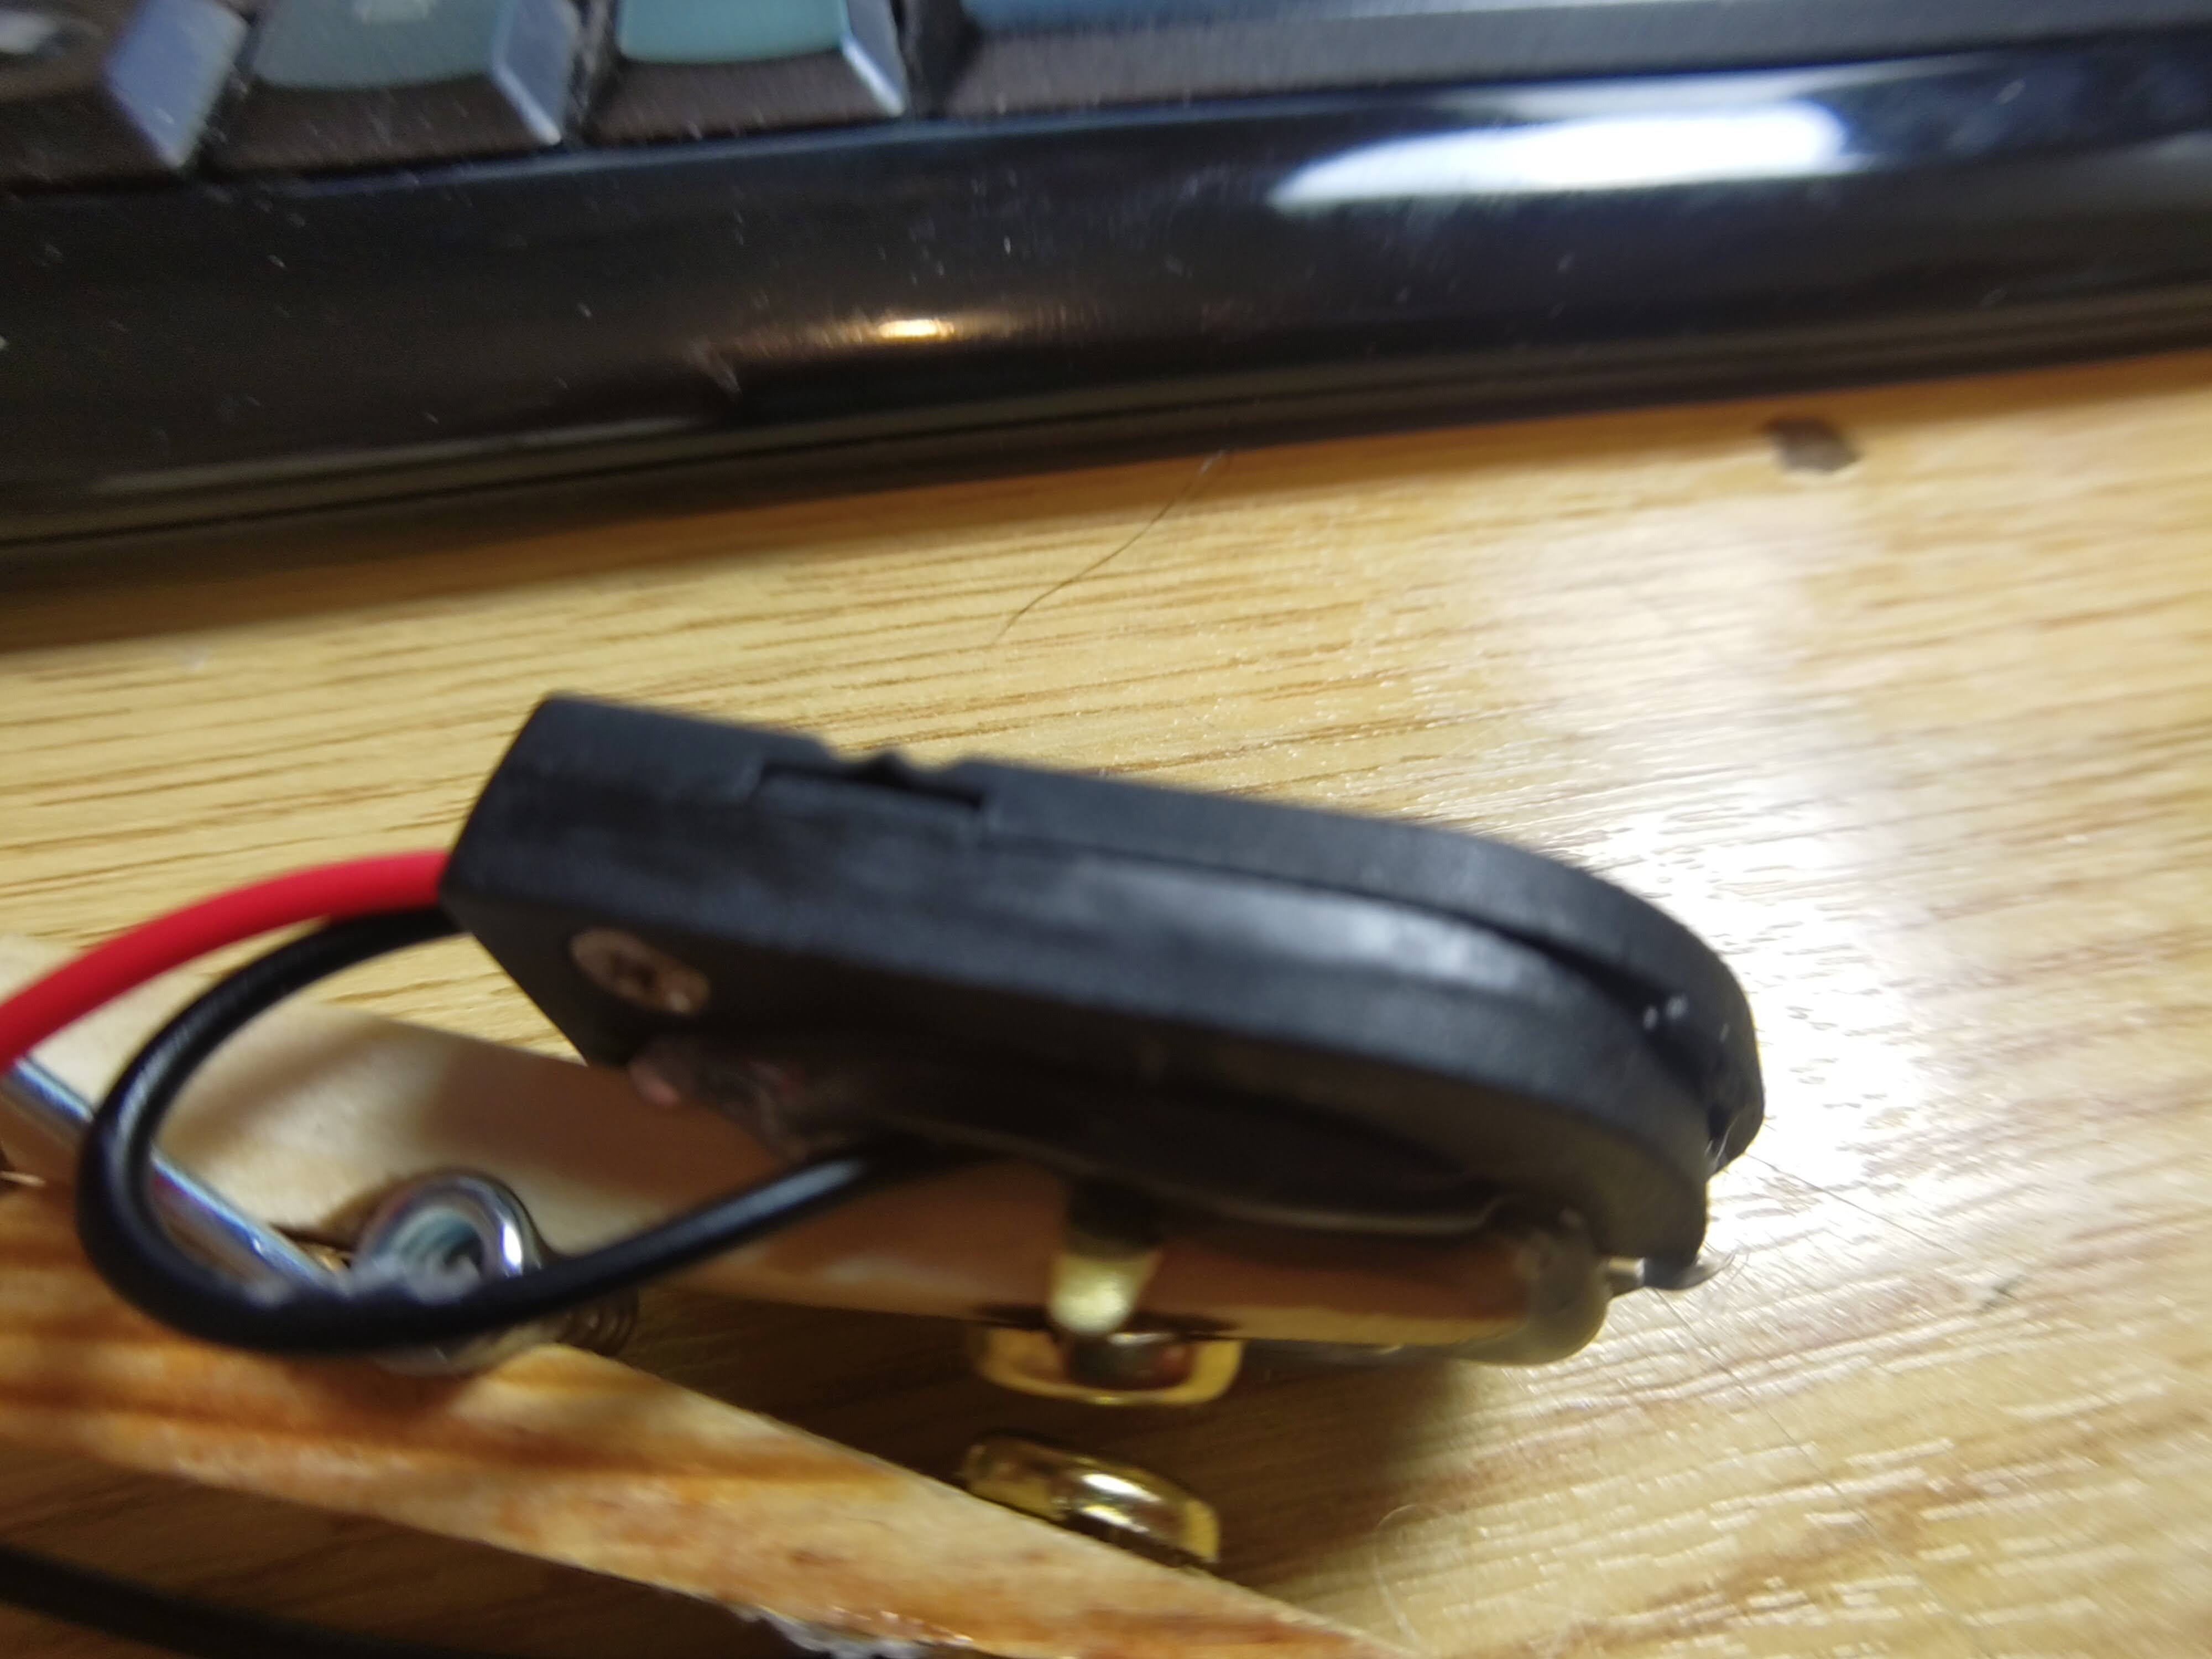
Attach another wire to the top split pin
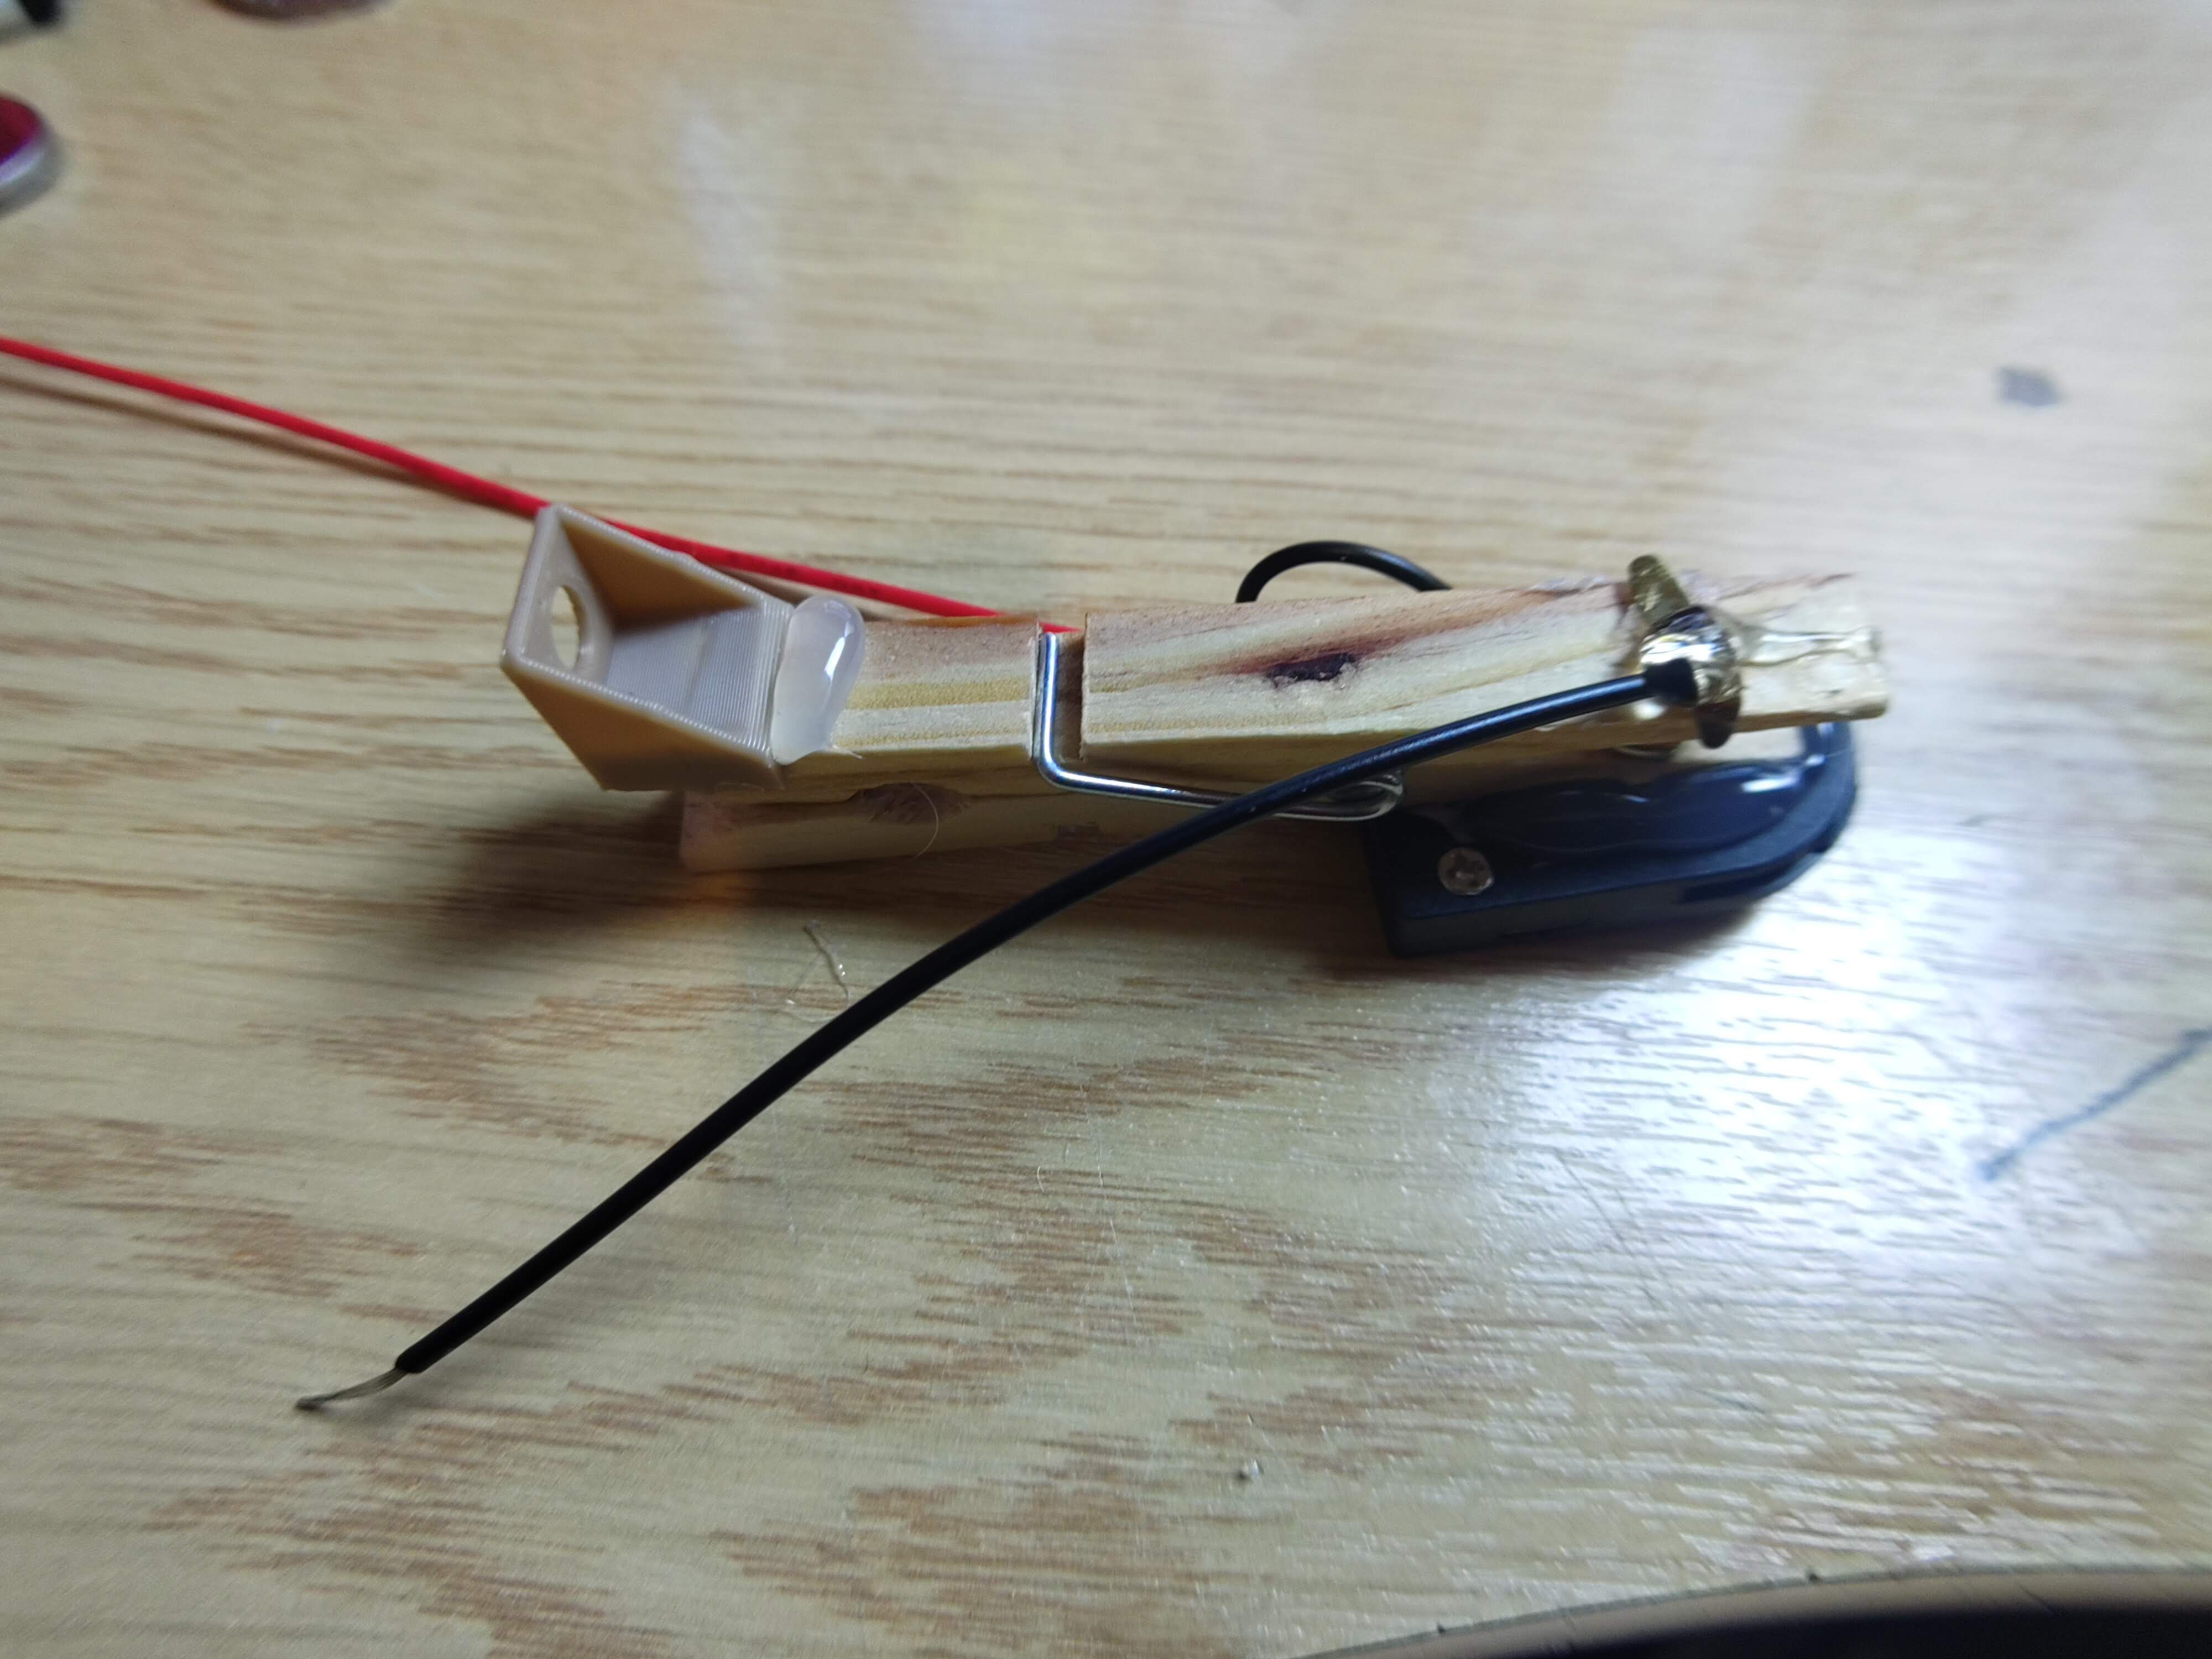
Insert the LED into the bracket and attach the positive wire to the longer pin on the LED and the negative wire to the shorter pin on the LED.
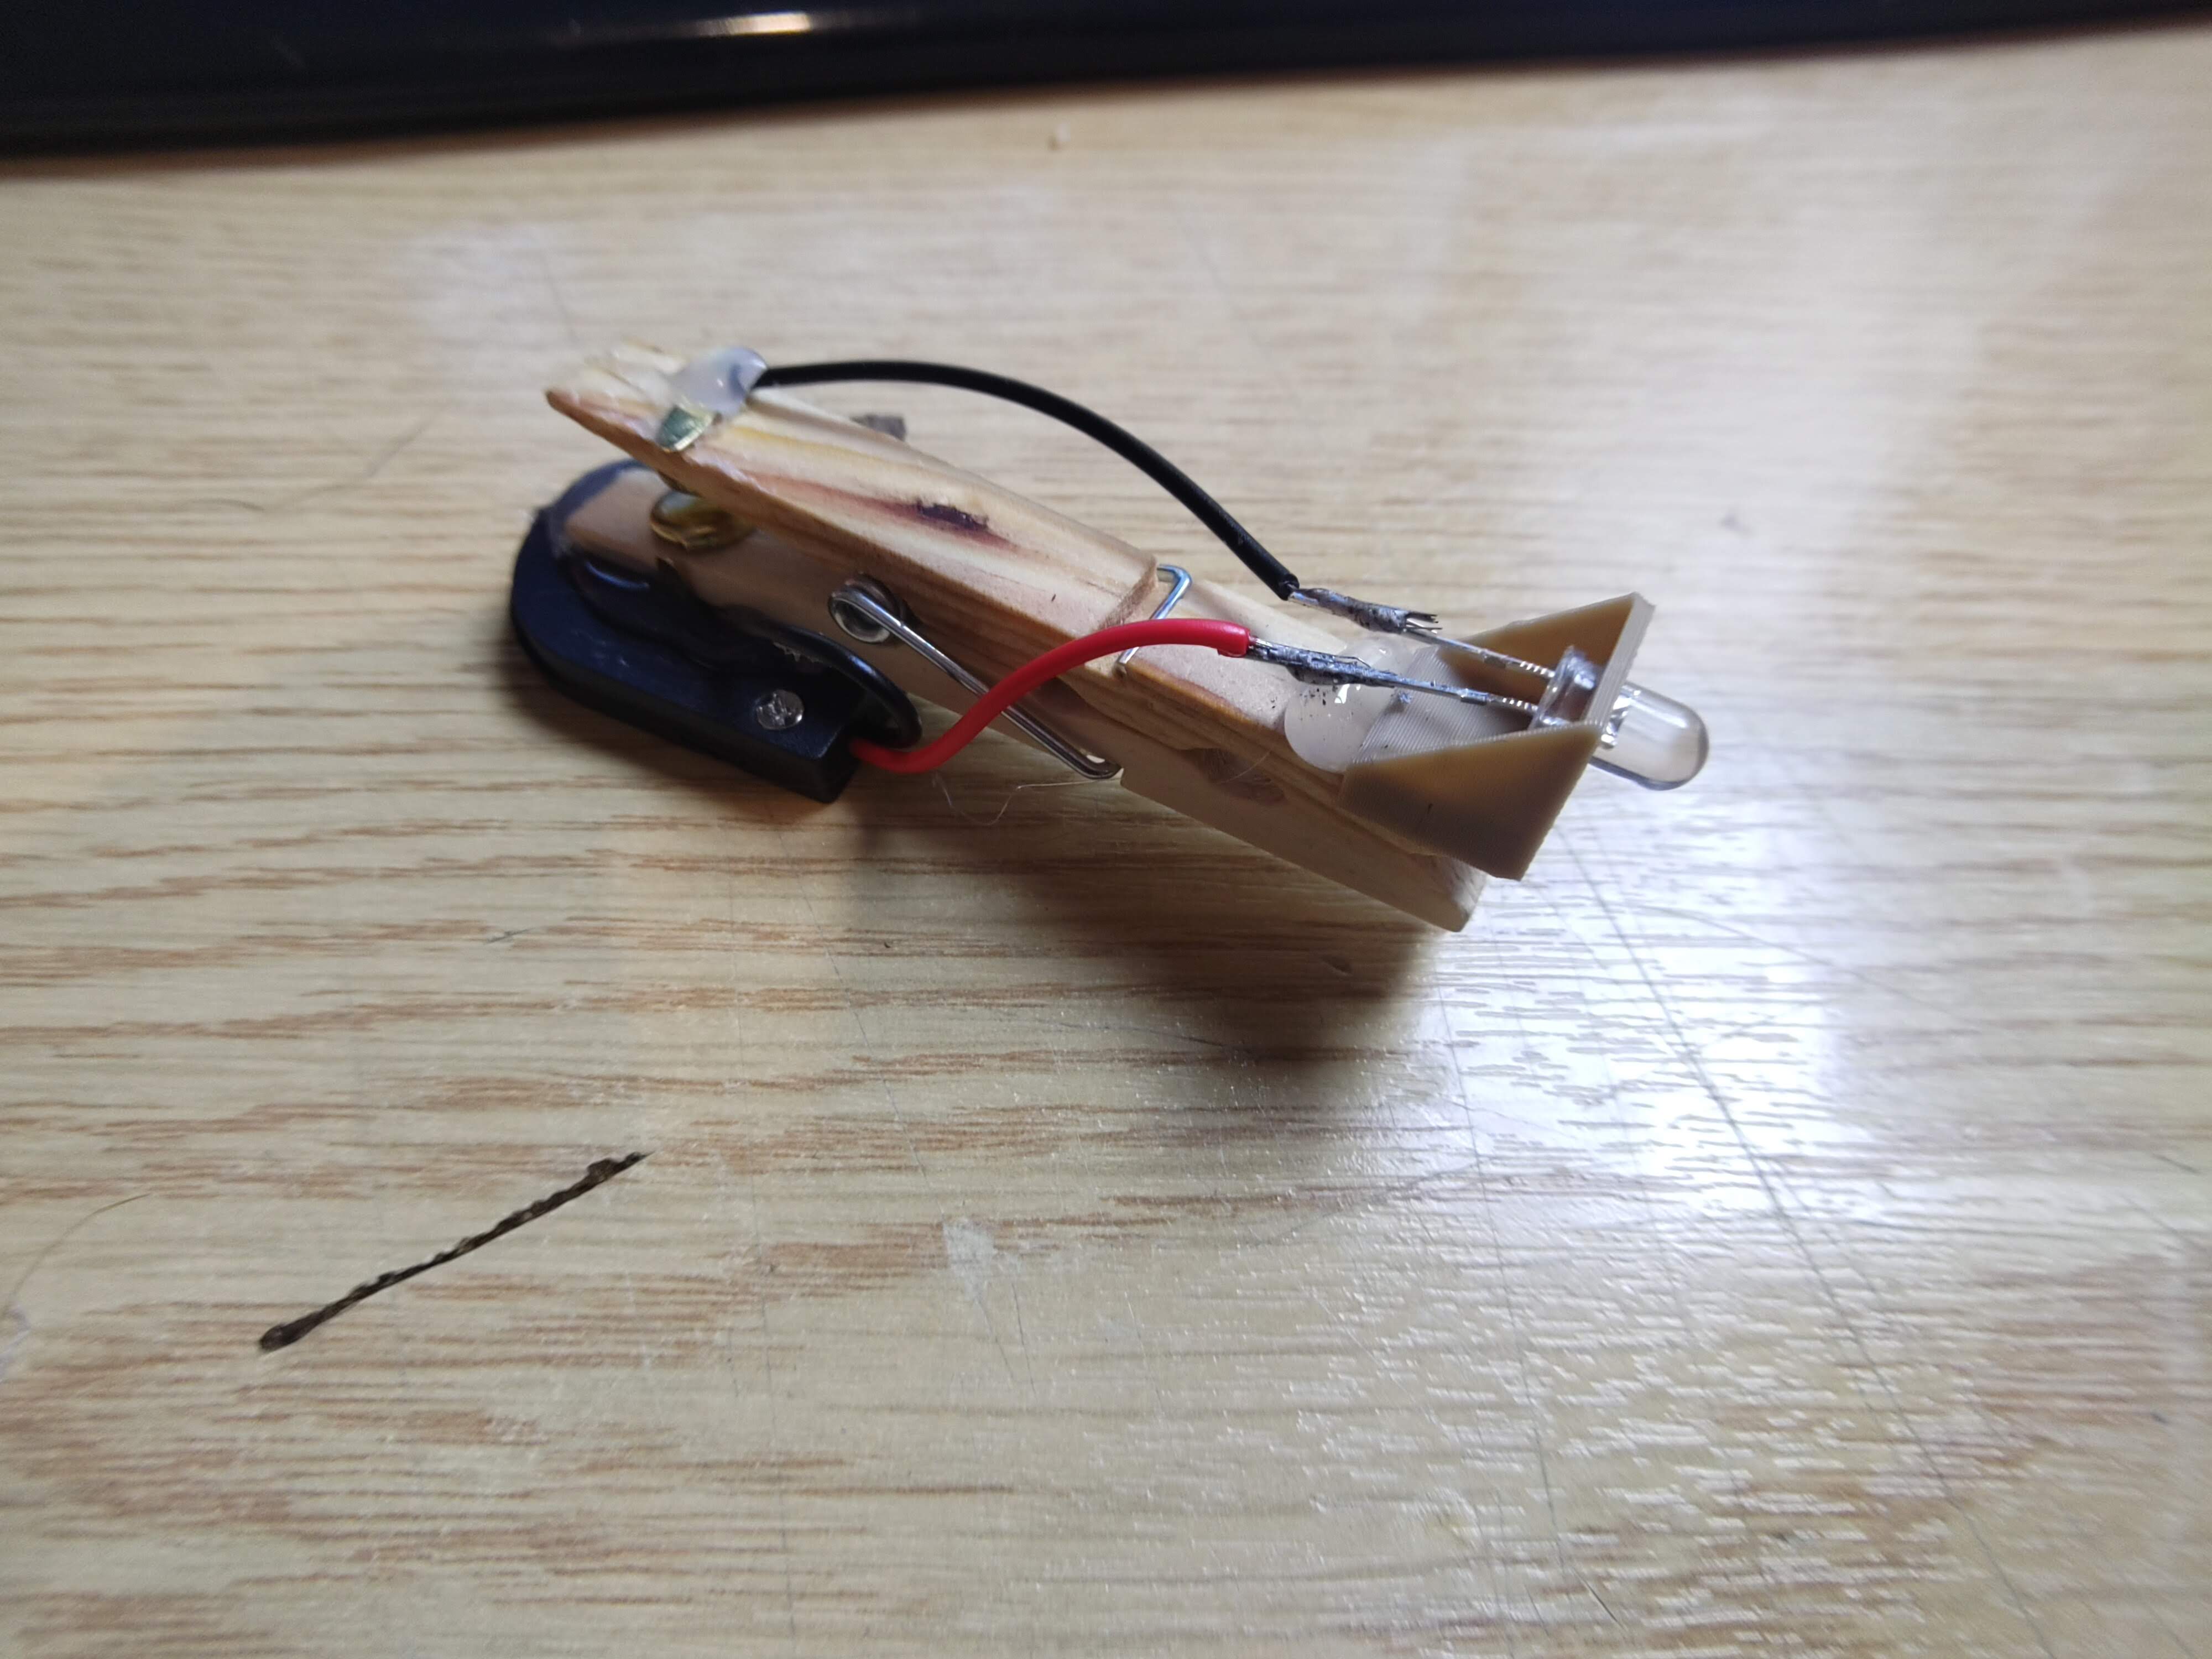
And you are done.
Morse away.