
Quick & Easy LED Tube Clip: No Extra Screws Needed
We calculate the final price from your selected file. You review and accept it before payment.
Saved on this device.
Model information
- Source
- Printables
- Category
- Other House Equipment
- License
- Creative Commons — Attribution — Noncommercial — Share Alike
Introduction:
I created a clip model for flexible 20 mm LED tube lighting to have clips in different colors from those offered by manufacturers. The screws provided with the lighting do not allow direct fixing into drywall, so I used Minivix anchors with the appropriate screws.
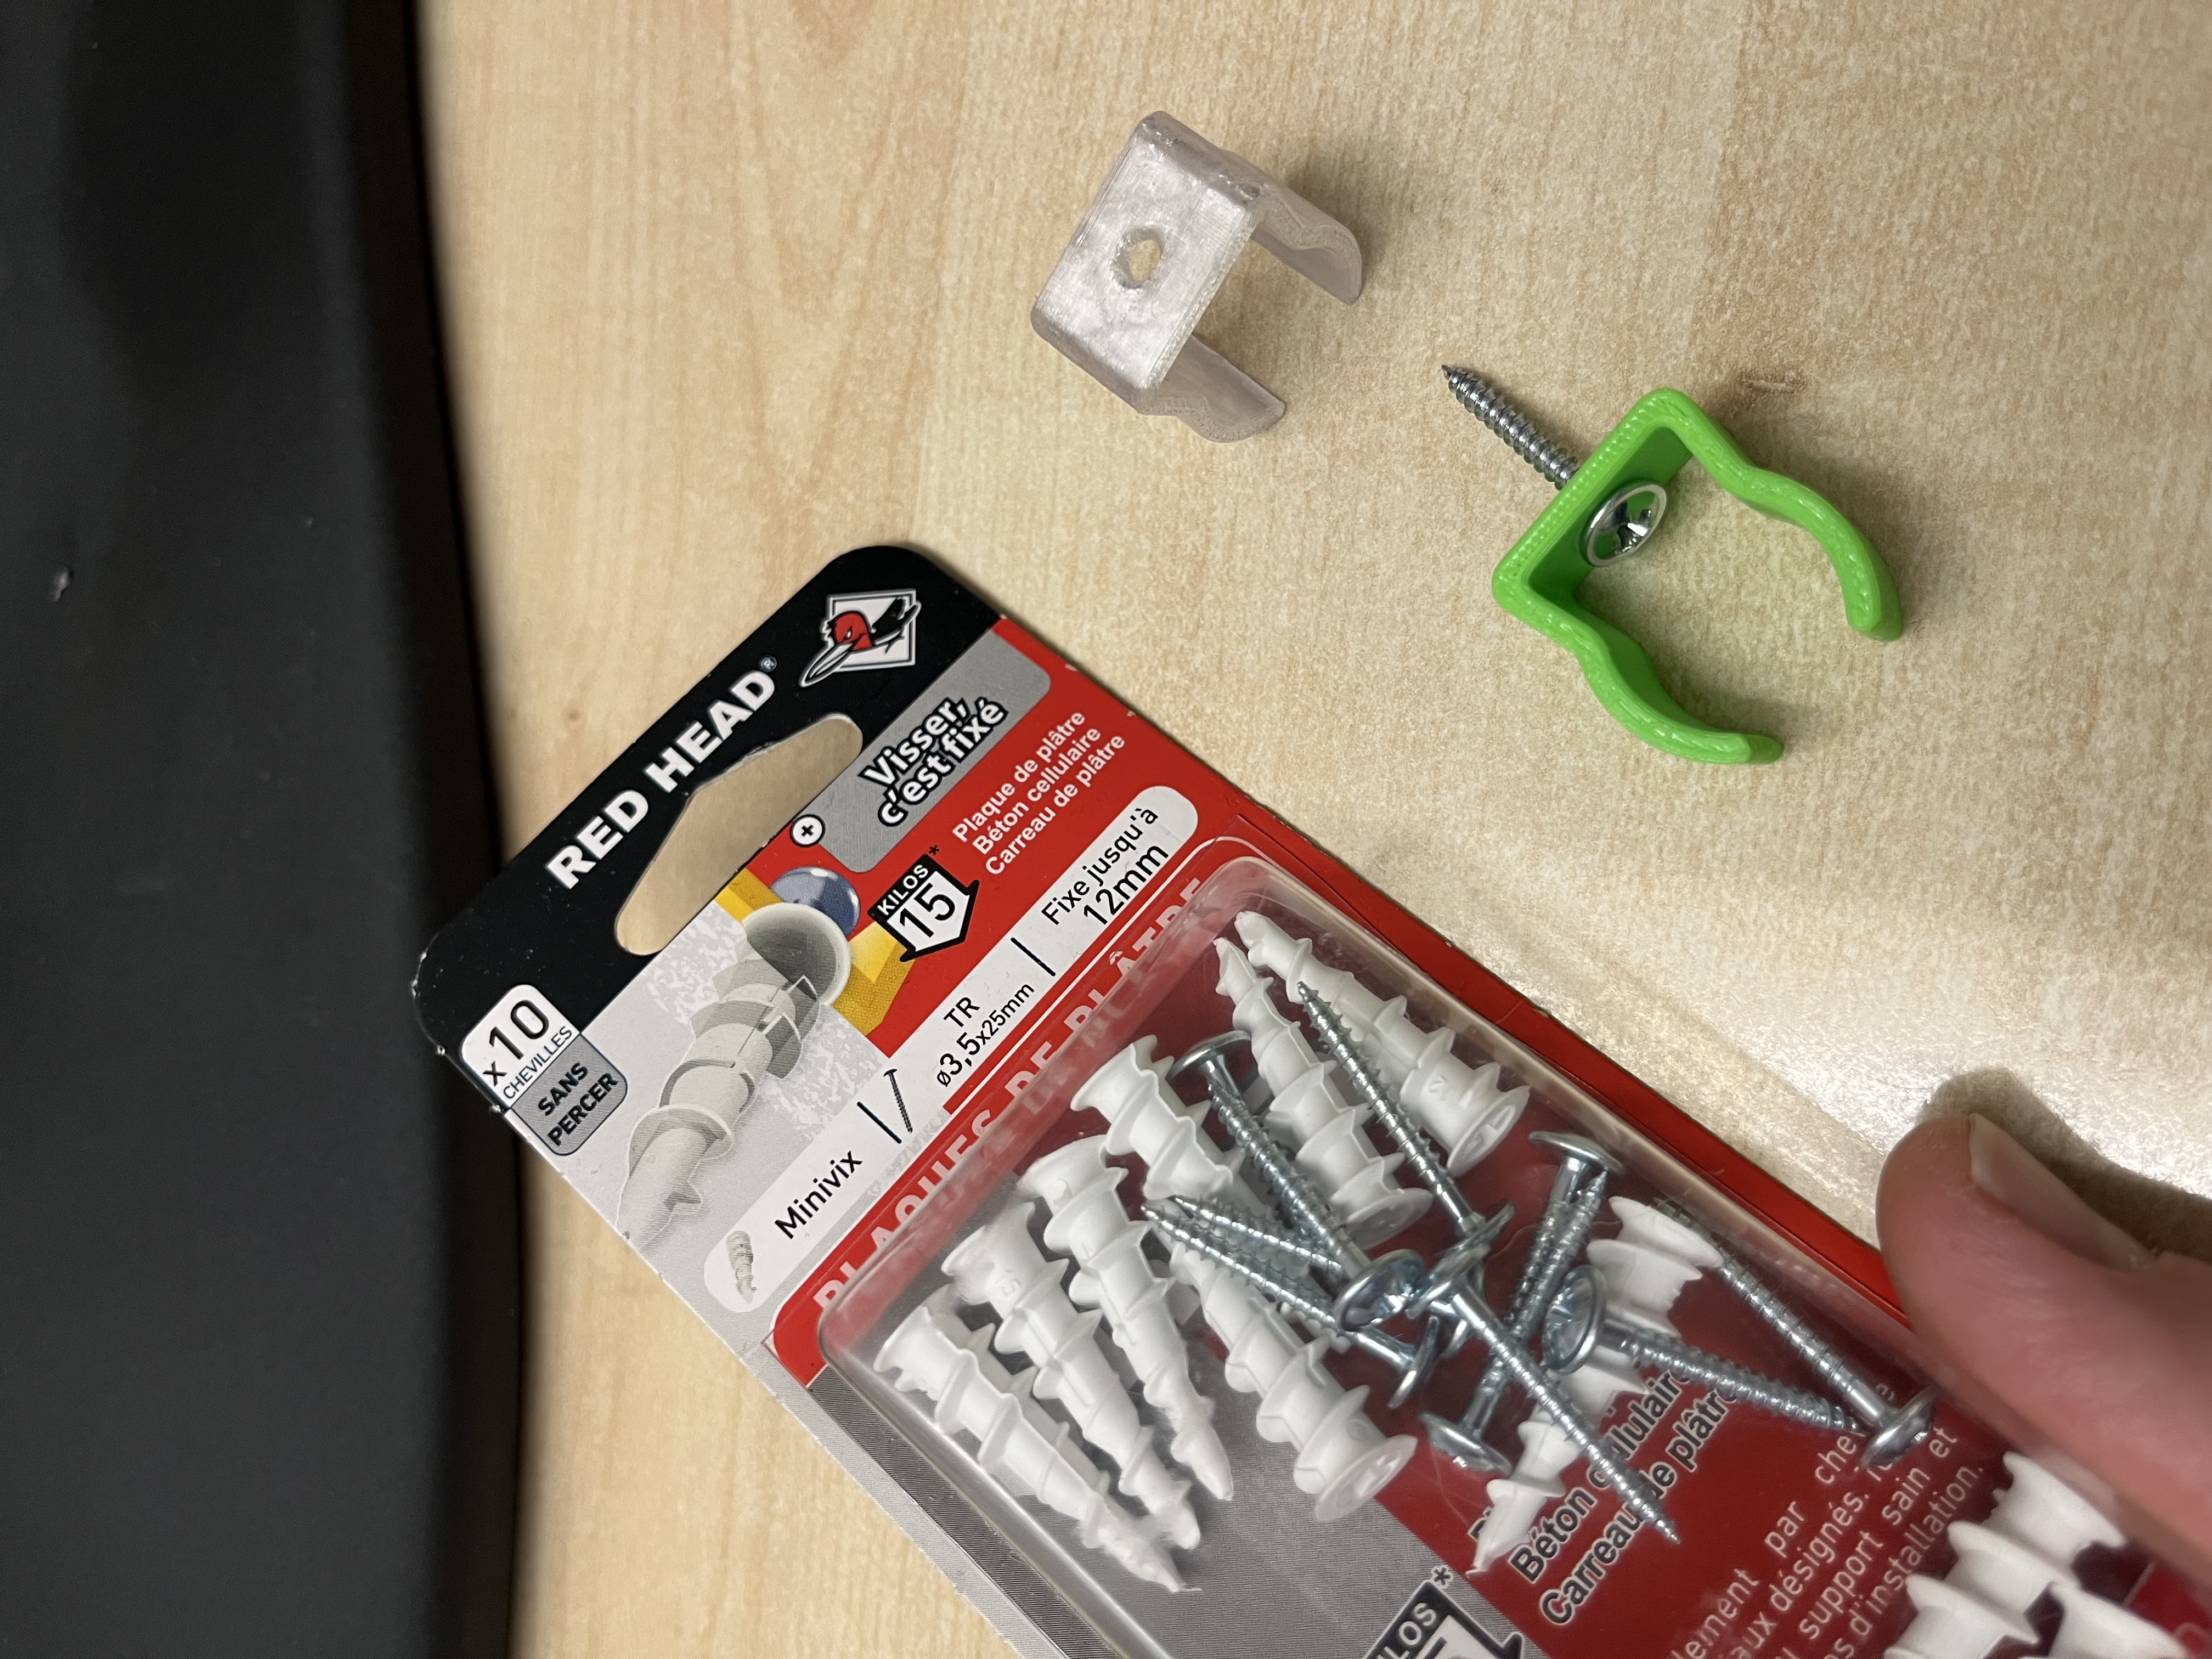
(Files named "Minivix" refer to this model).
Then, I wondered if I could simplify the installation by creating a clip fixed directly by the anchor, without additional screws. This is what I propose here.
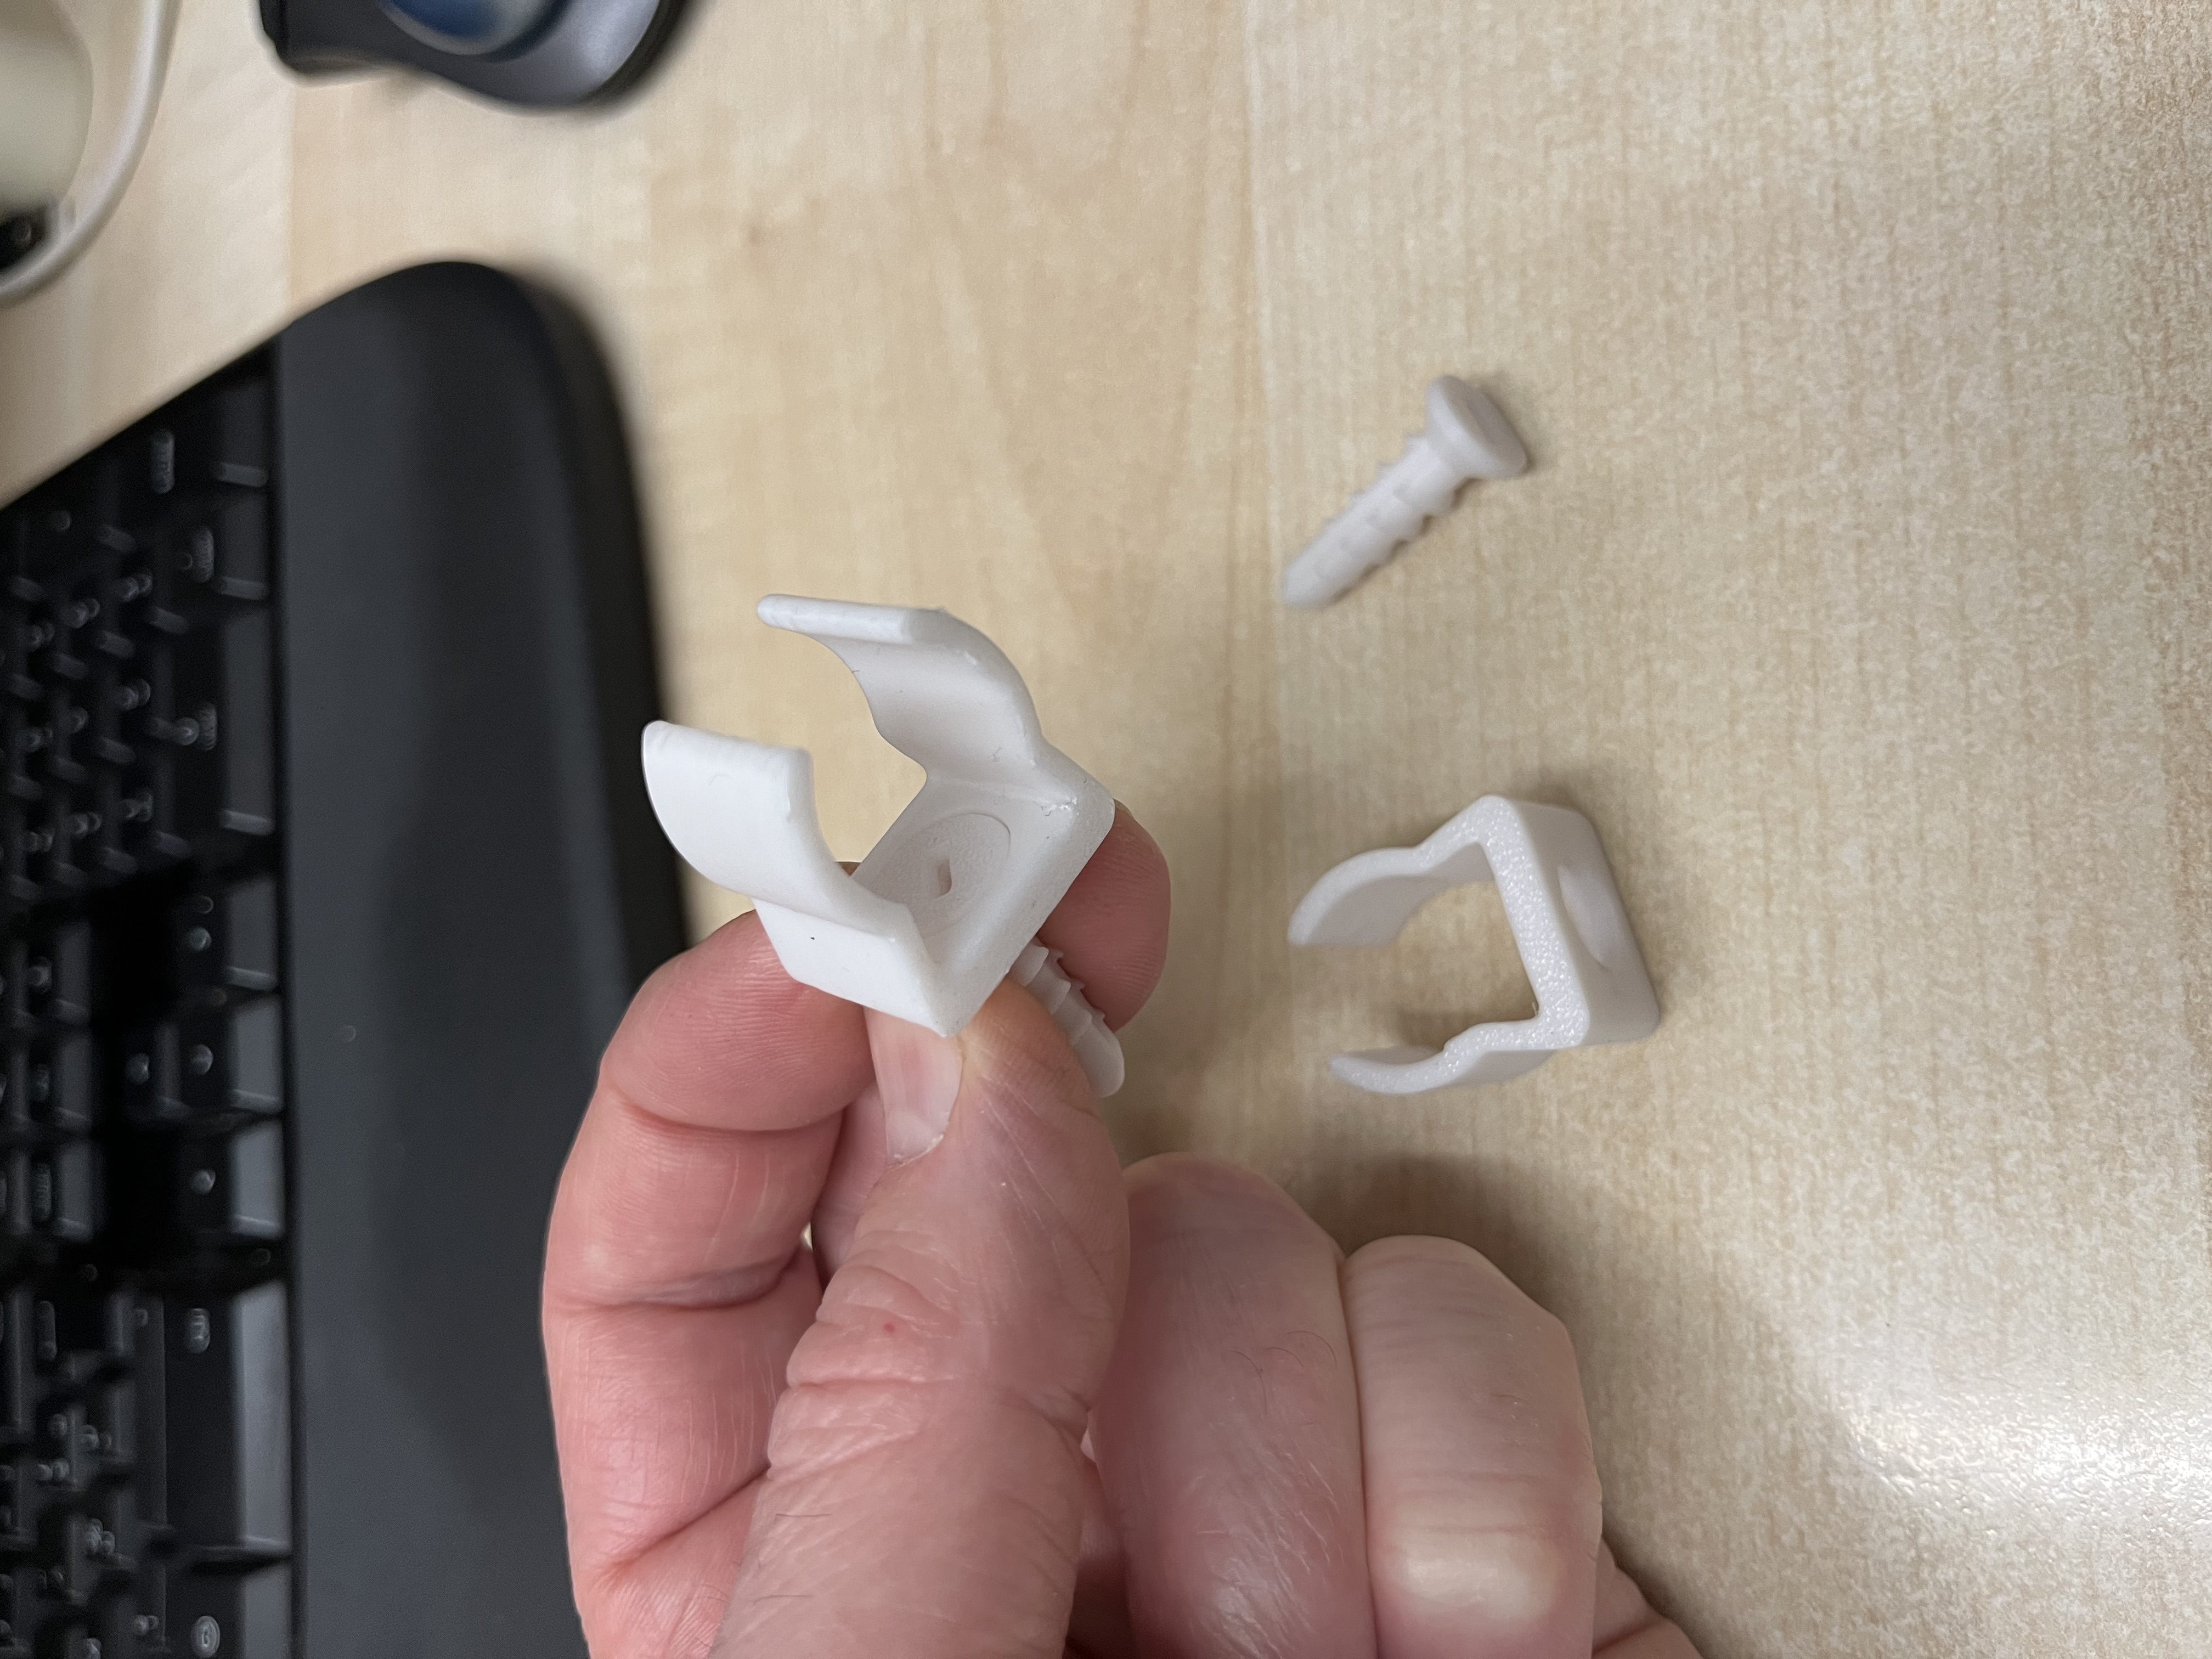
I did not attempt to make a self-tapping anchor, as this would likely require reinforced printing material. For example, the Minivix mentioned above is made of glass fiber-reinforced nylon. This type of filament costs 3 to 4 times more than standard PLA and is not compatible with all 3D printers.
This design is simpler but has the disadvantage of requiring the anchor to be unscrewed to remove the clip, however threads in dry walls are not robust enough to be reused more than a few times. In most cases, this is not an issue, as this type of fixture is generally intended to remain in place for years.
However, be careful: if you plan to disassemble it "often", these clips are not suitable; it is better to opt for a more classic solution.
Design:
The design is constrained by conflicting requirements: on one hand, we want to limit the diameter of the hole in the drywall, as well as the width and height of the clip. On the other hand, we need sufficient strength to withstand the tightening torque of the anchor. If the anchor does not protrude much from the drywall and has a diameter of less than 8 mm, simply creating a Phillips or Pozidriv recess in the head of the anchor significantly weakens the structure.
The model I propose has a diameter of 8 mm and is screwed in with a Flathead screwdriver (the recess that weakens the anchor the least). It requires a preliminary 6 mm diameter hole.
A reasonably sturdy Pozidriv version is also provided in the FreeCAD model.
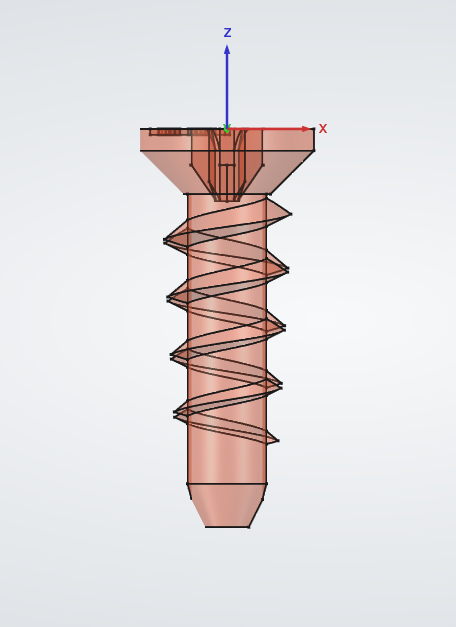
The screw thread is asymmetrical to facilitate 3D printing, to avoid overhangs while offering a fine section.
There are two lateral recesses, each serving a dual purpose: creating sharp edges to facilitate penetration and allowing the displaced plaster to escape.
Printing:
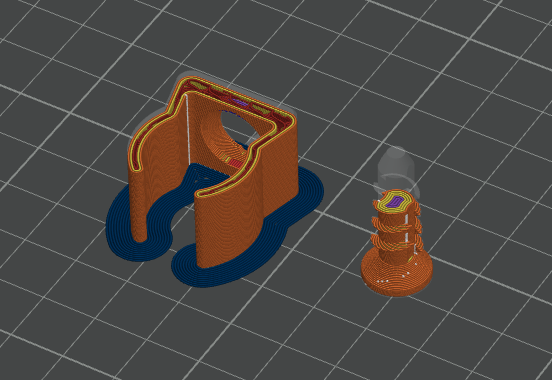
Printing can be done with standard PLA or PETG, without supports. The clip may require a brim due to its small contact surface with the bed.
The printing orientation is determined by the design and the direction of the constraints (see image). Be careful, as the orientation suggested by Orca for automatic placement is not suitable for the clip.
The two parts have different constraints: due to the expected flexibility, the clip should ideally be printed with 2 walls, while the anchor, due to the required torque resistance, should be printed with 4 walls and will not tolerate issues with layer adhesion.
Provided:
The FreeCAD model
step files for the clip and anchor
step file for the classic clip for Minivix
3mf files for a five set of clip + anchor
3mf files for a five set of classic clip for Minivix