
Silicone mold maker
We calculate the final price from your selected file. You review and accept it before payment.
Saved on this device.
Model information
- Source
- Printables
- Category
- Other House Equipment
- License
- Creative Commons — Attribution — Noncommercial — Share Alike
Introduction:
This print is used to create silicone molds that afterwards can be used with concrete, gypsum, resin, wax and other casting materials. Basically it's a printed “positive”, you have a box and a design inside, the silicone settles around it making a mold for the design you want.
You can use this by either having the design attached to the base piece or by having the design attached to the top bracket. Either will work. The idea of having both possible is that if you want to print a pot or something with a hole you need an insert for the hole. Also if you want to make a mold for something smaller, it's perfectly fine to attach it to the base piece and fill the mold maker halfway or similar.
Finally, I have all files in 2 ways: with and without holes. If you have the hardware I listed below, you can try the ones with holes. If not, you can add your own holes for screwing the parts together. As for printing settings, I used .2mm layer height and no supports. The infill is up to you, it shouldn't affect the model's performance.
Parts needed for a pot mold:
For a pot mold you should print:
4 wall pieces
1 base piece
1 top bracket
1 pot design
1 insert
Hardware I used for the hexagon pot:
12x M5x30 bolts
12x M5 nuts
1x M5x20 bolt
1x M5x20 screw
If you have heat inserts, you could try using them as well, it may work even better. In my case I don't have any so I improvised as you can see.
Assembly of the pot/candle cup mold:
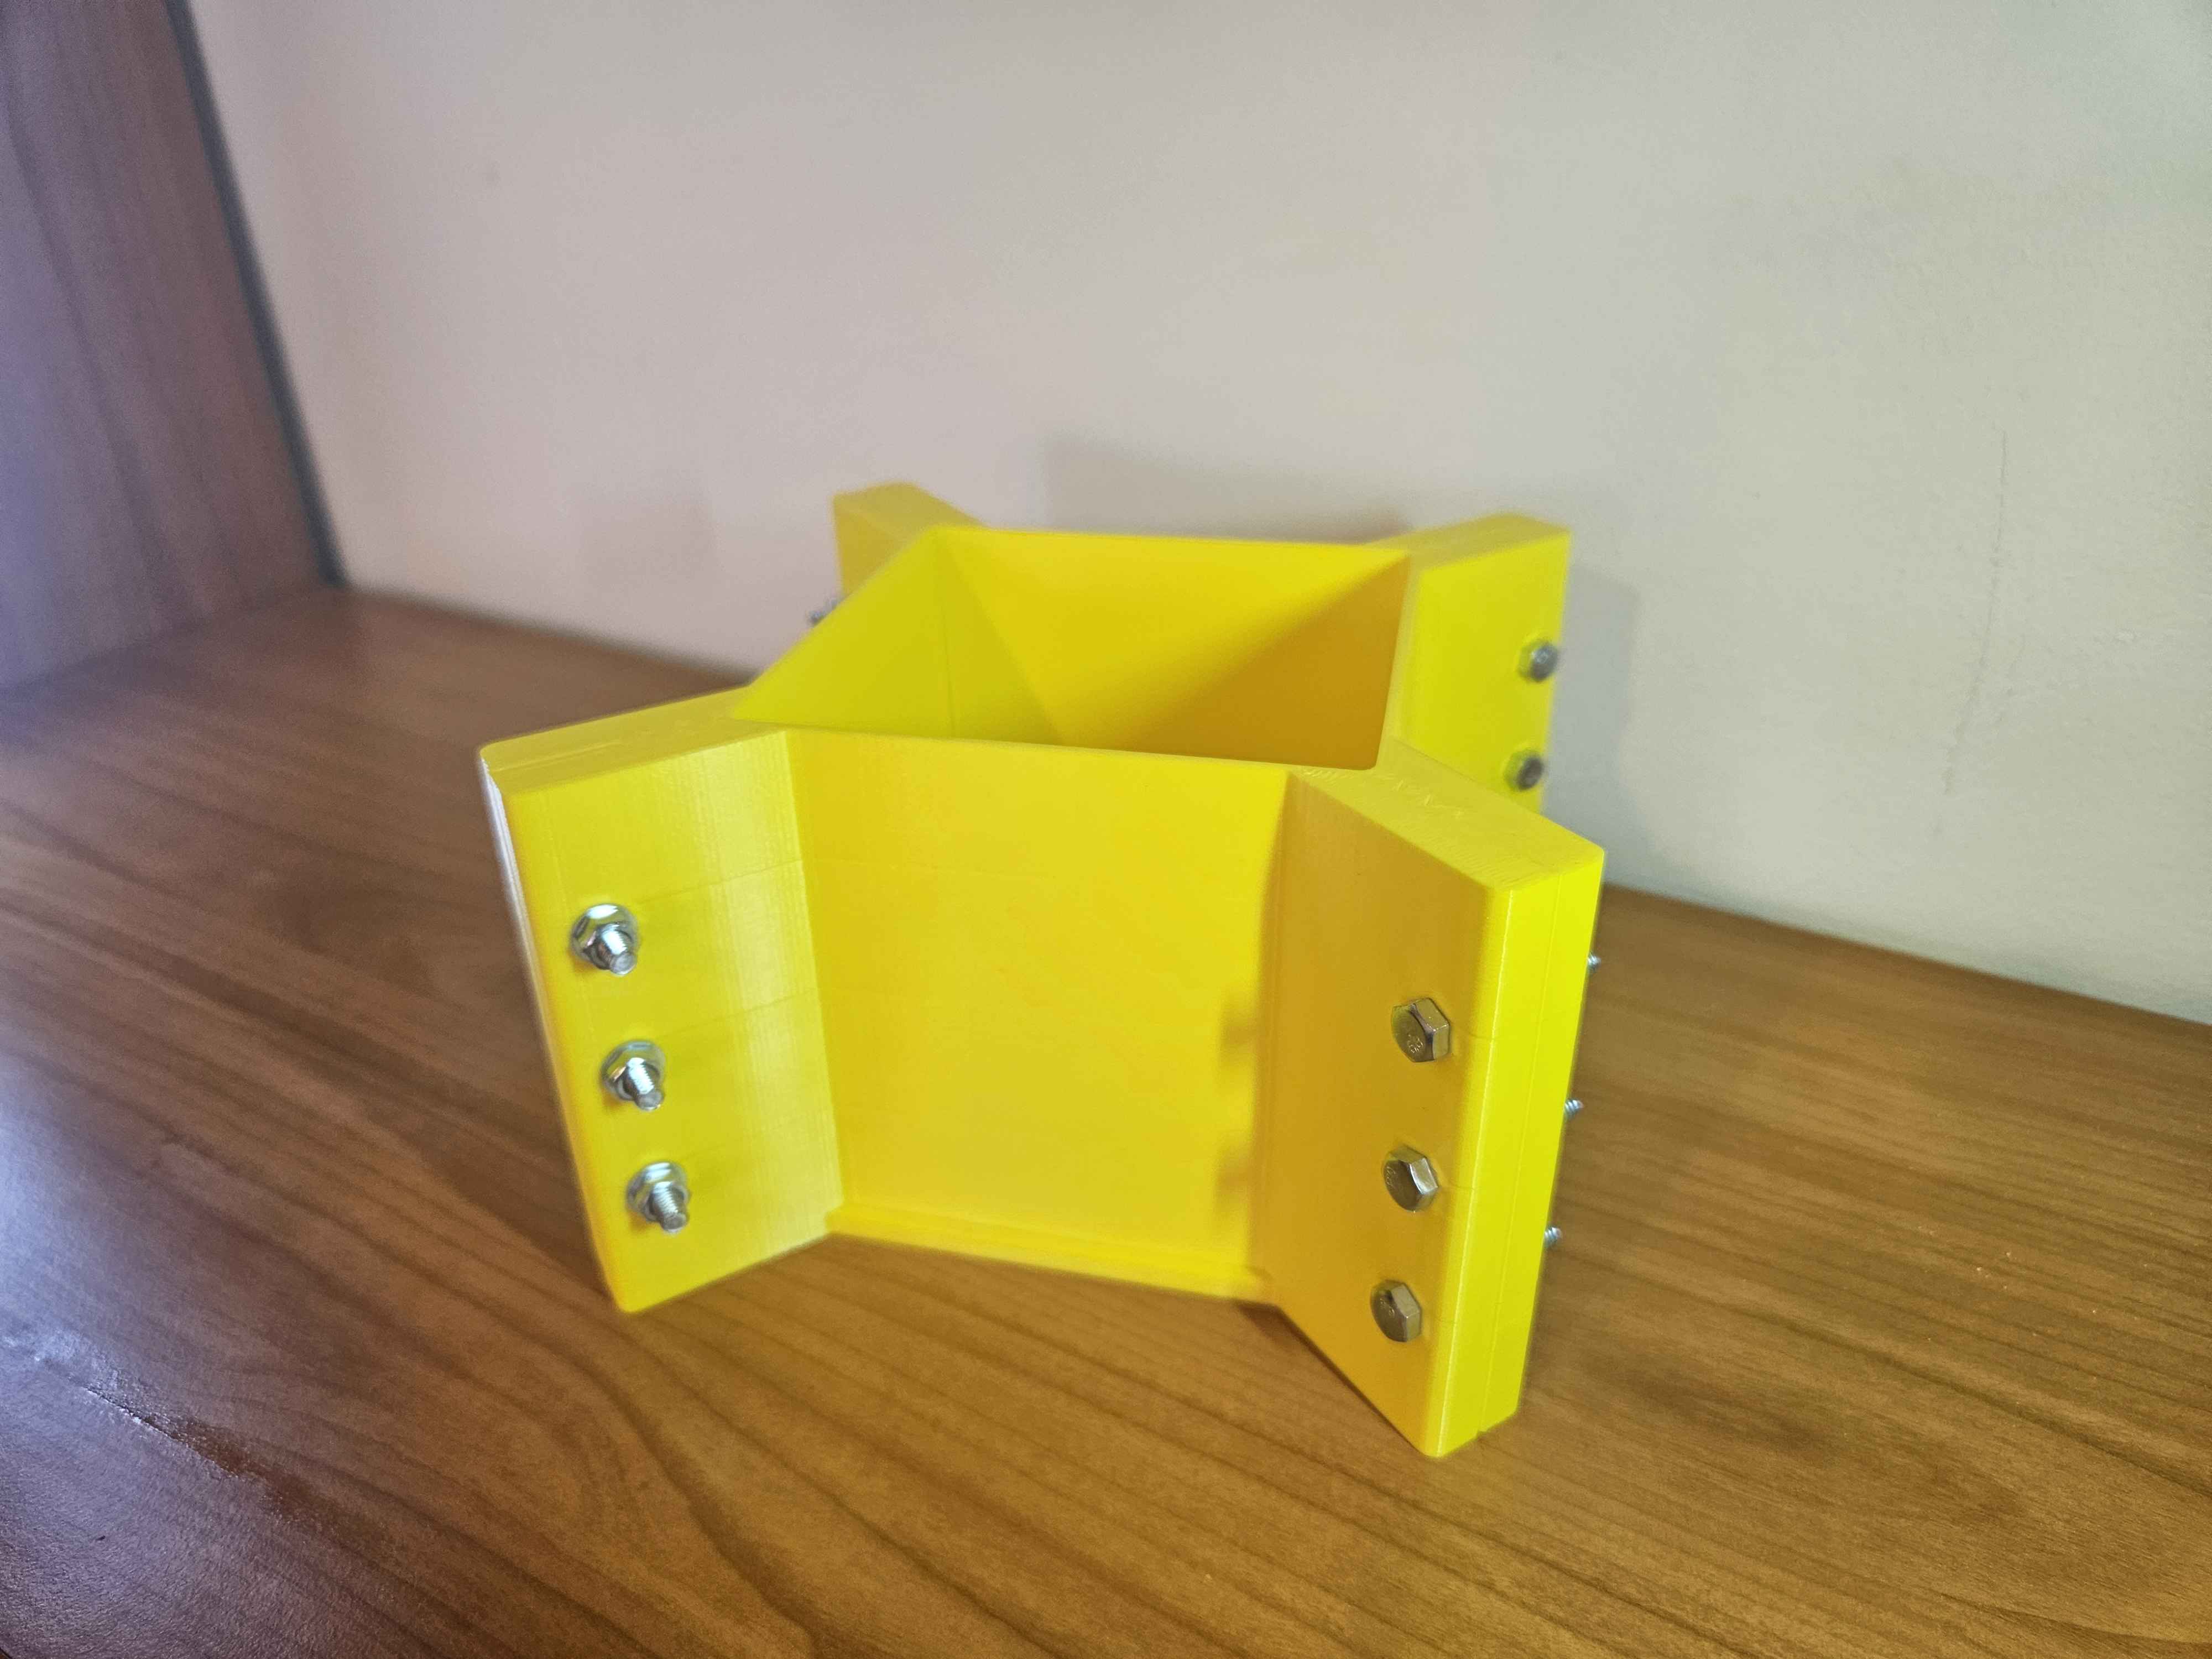
Attach all 4 wall pieces to each other with the M5x30 nuts and bolts. Try to do it on a flat surface and not in your hands or lap, for example, so the bottom parts are leveled evenly. The holes are slightly bigger so that the walls can be aligned properly if something isn't ok. But if it still feels like it can leak, a bit of tape on the edges will do the trick to seal it properly.
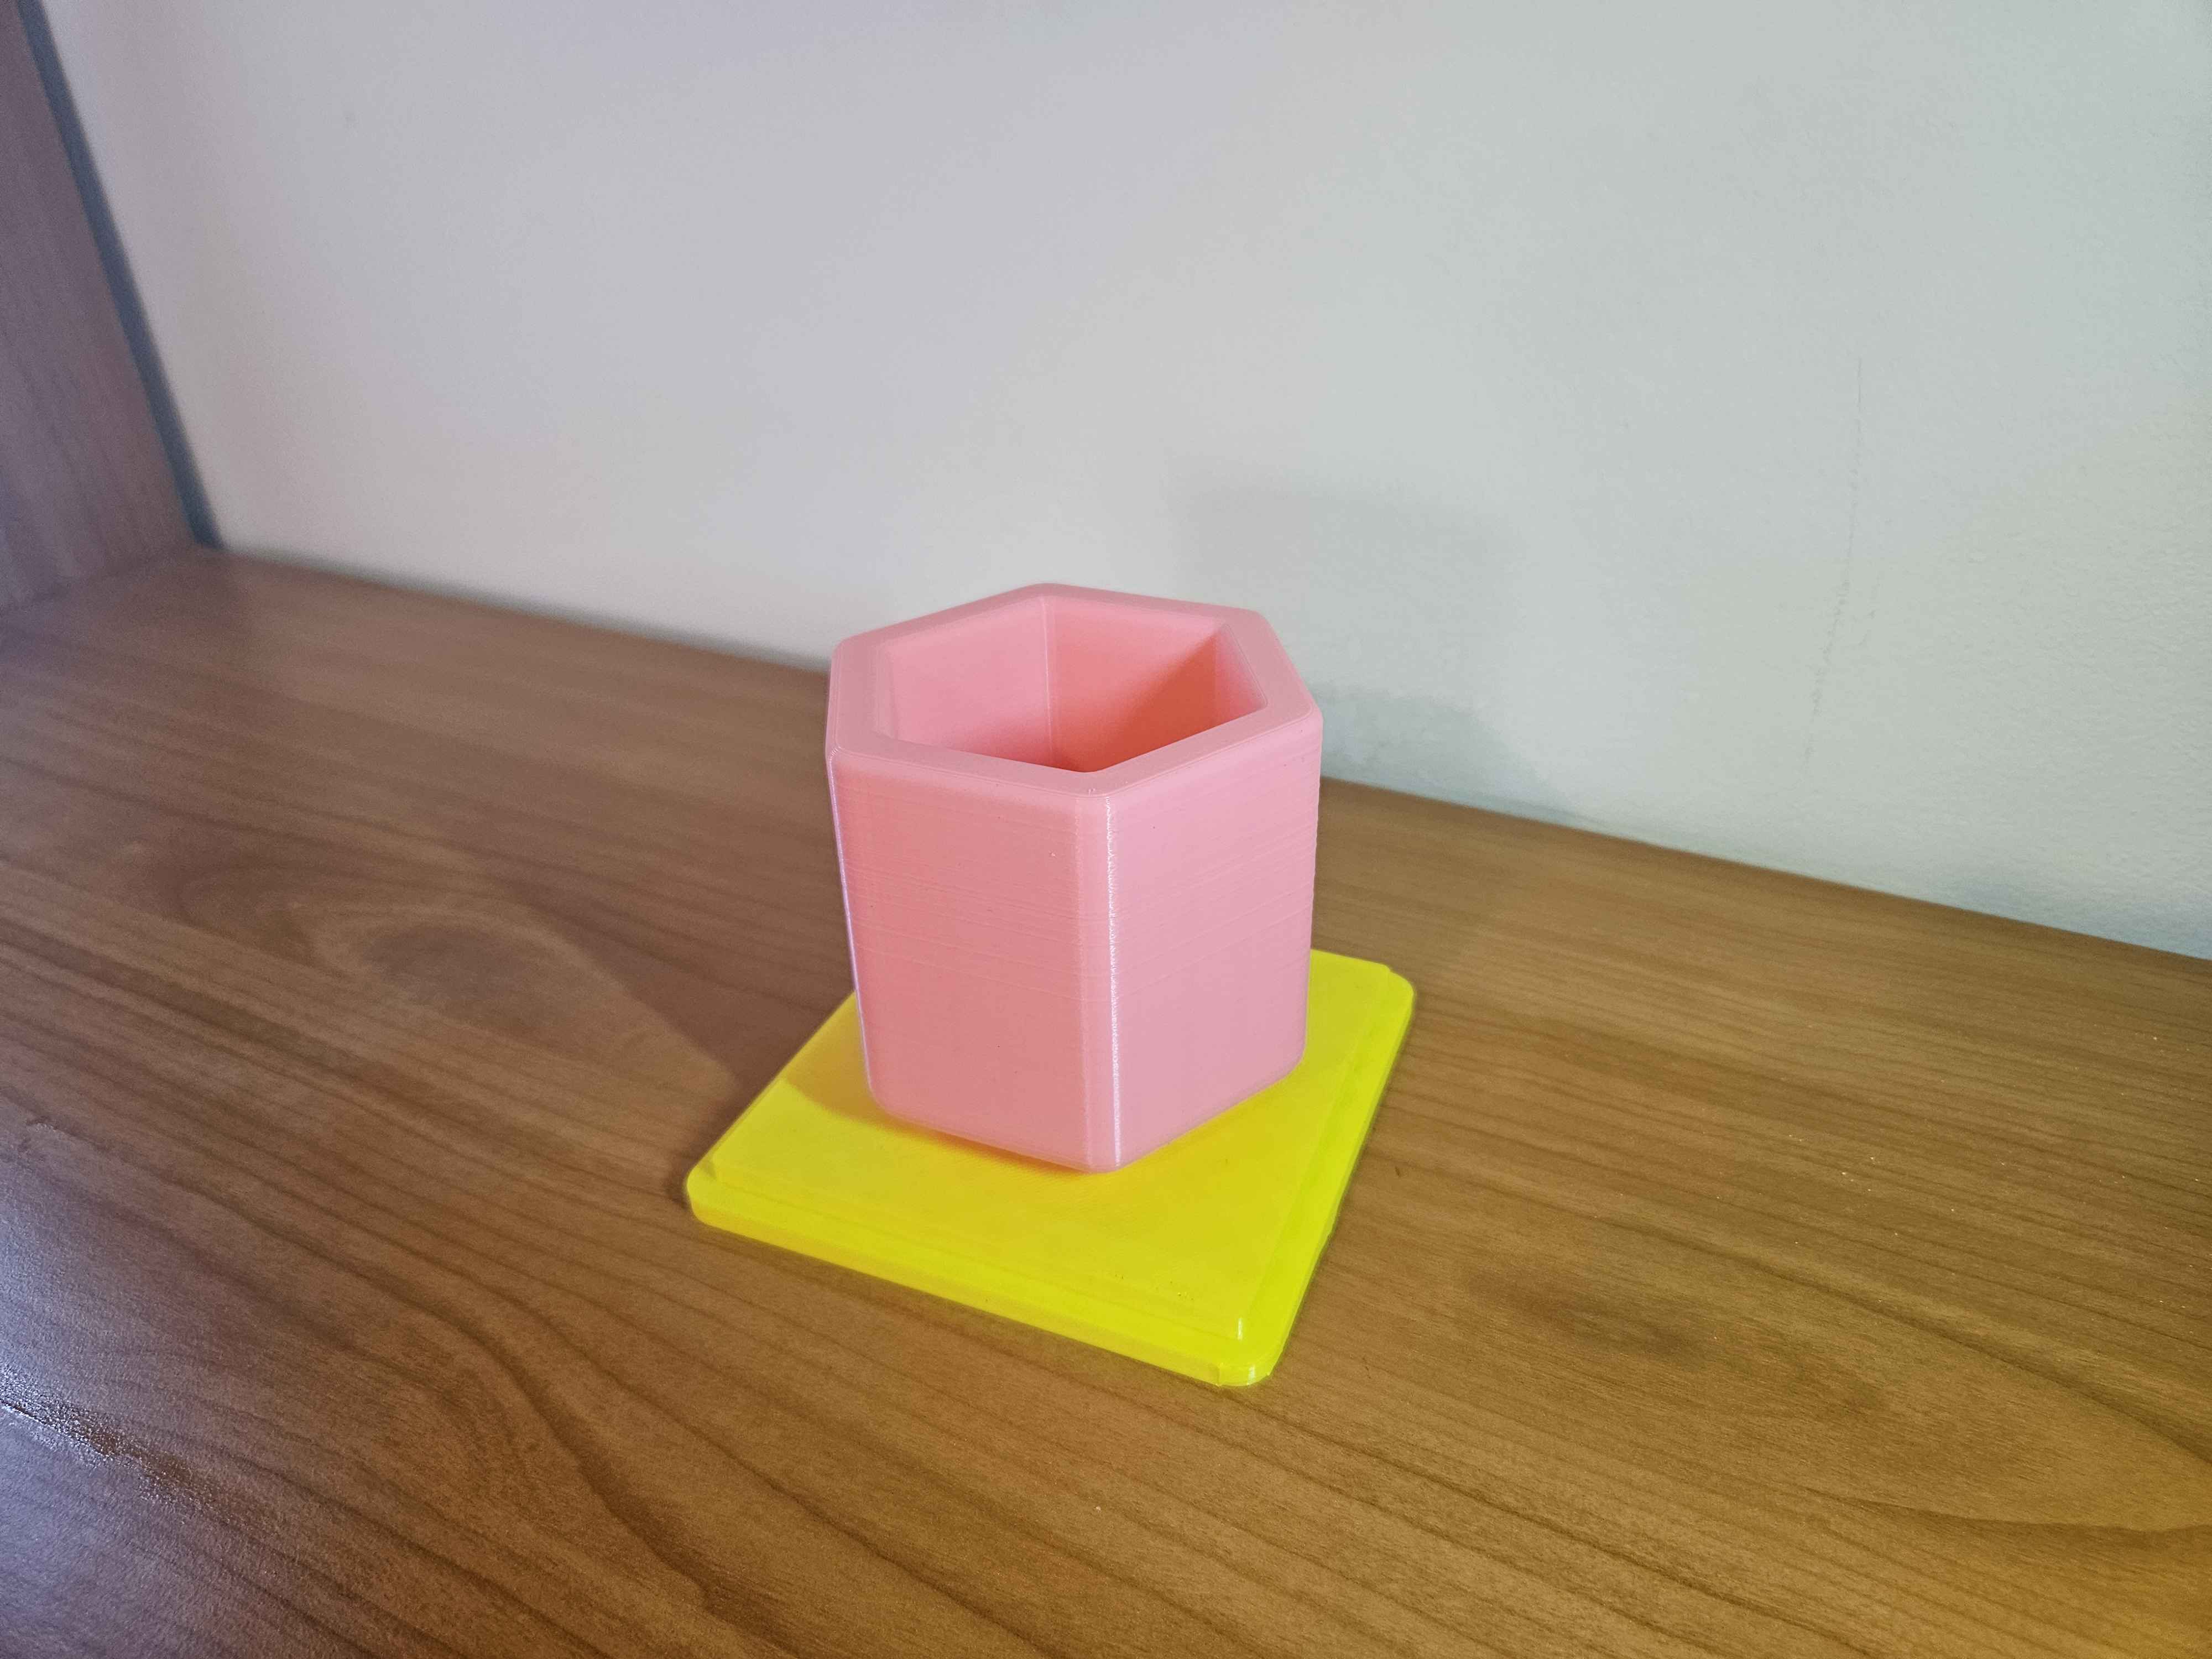
Attach the pot design to the base piece using a M5x20 screw. If you feel it could leak, you can put a small piece of tape on the bottom to cover it.
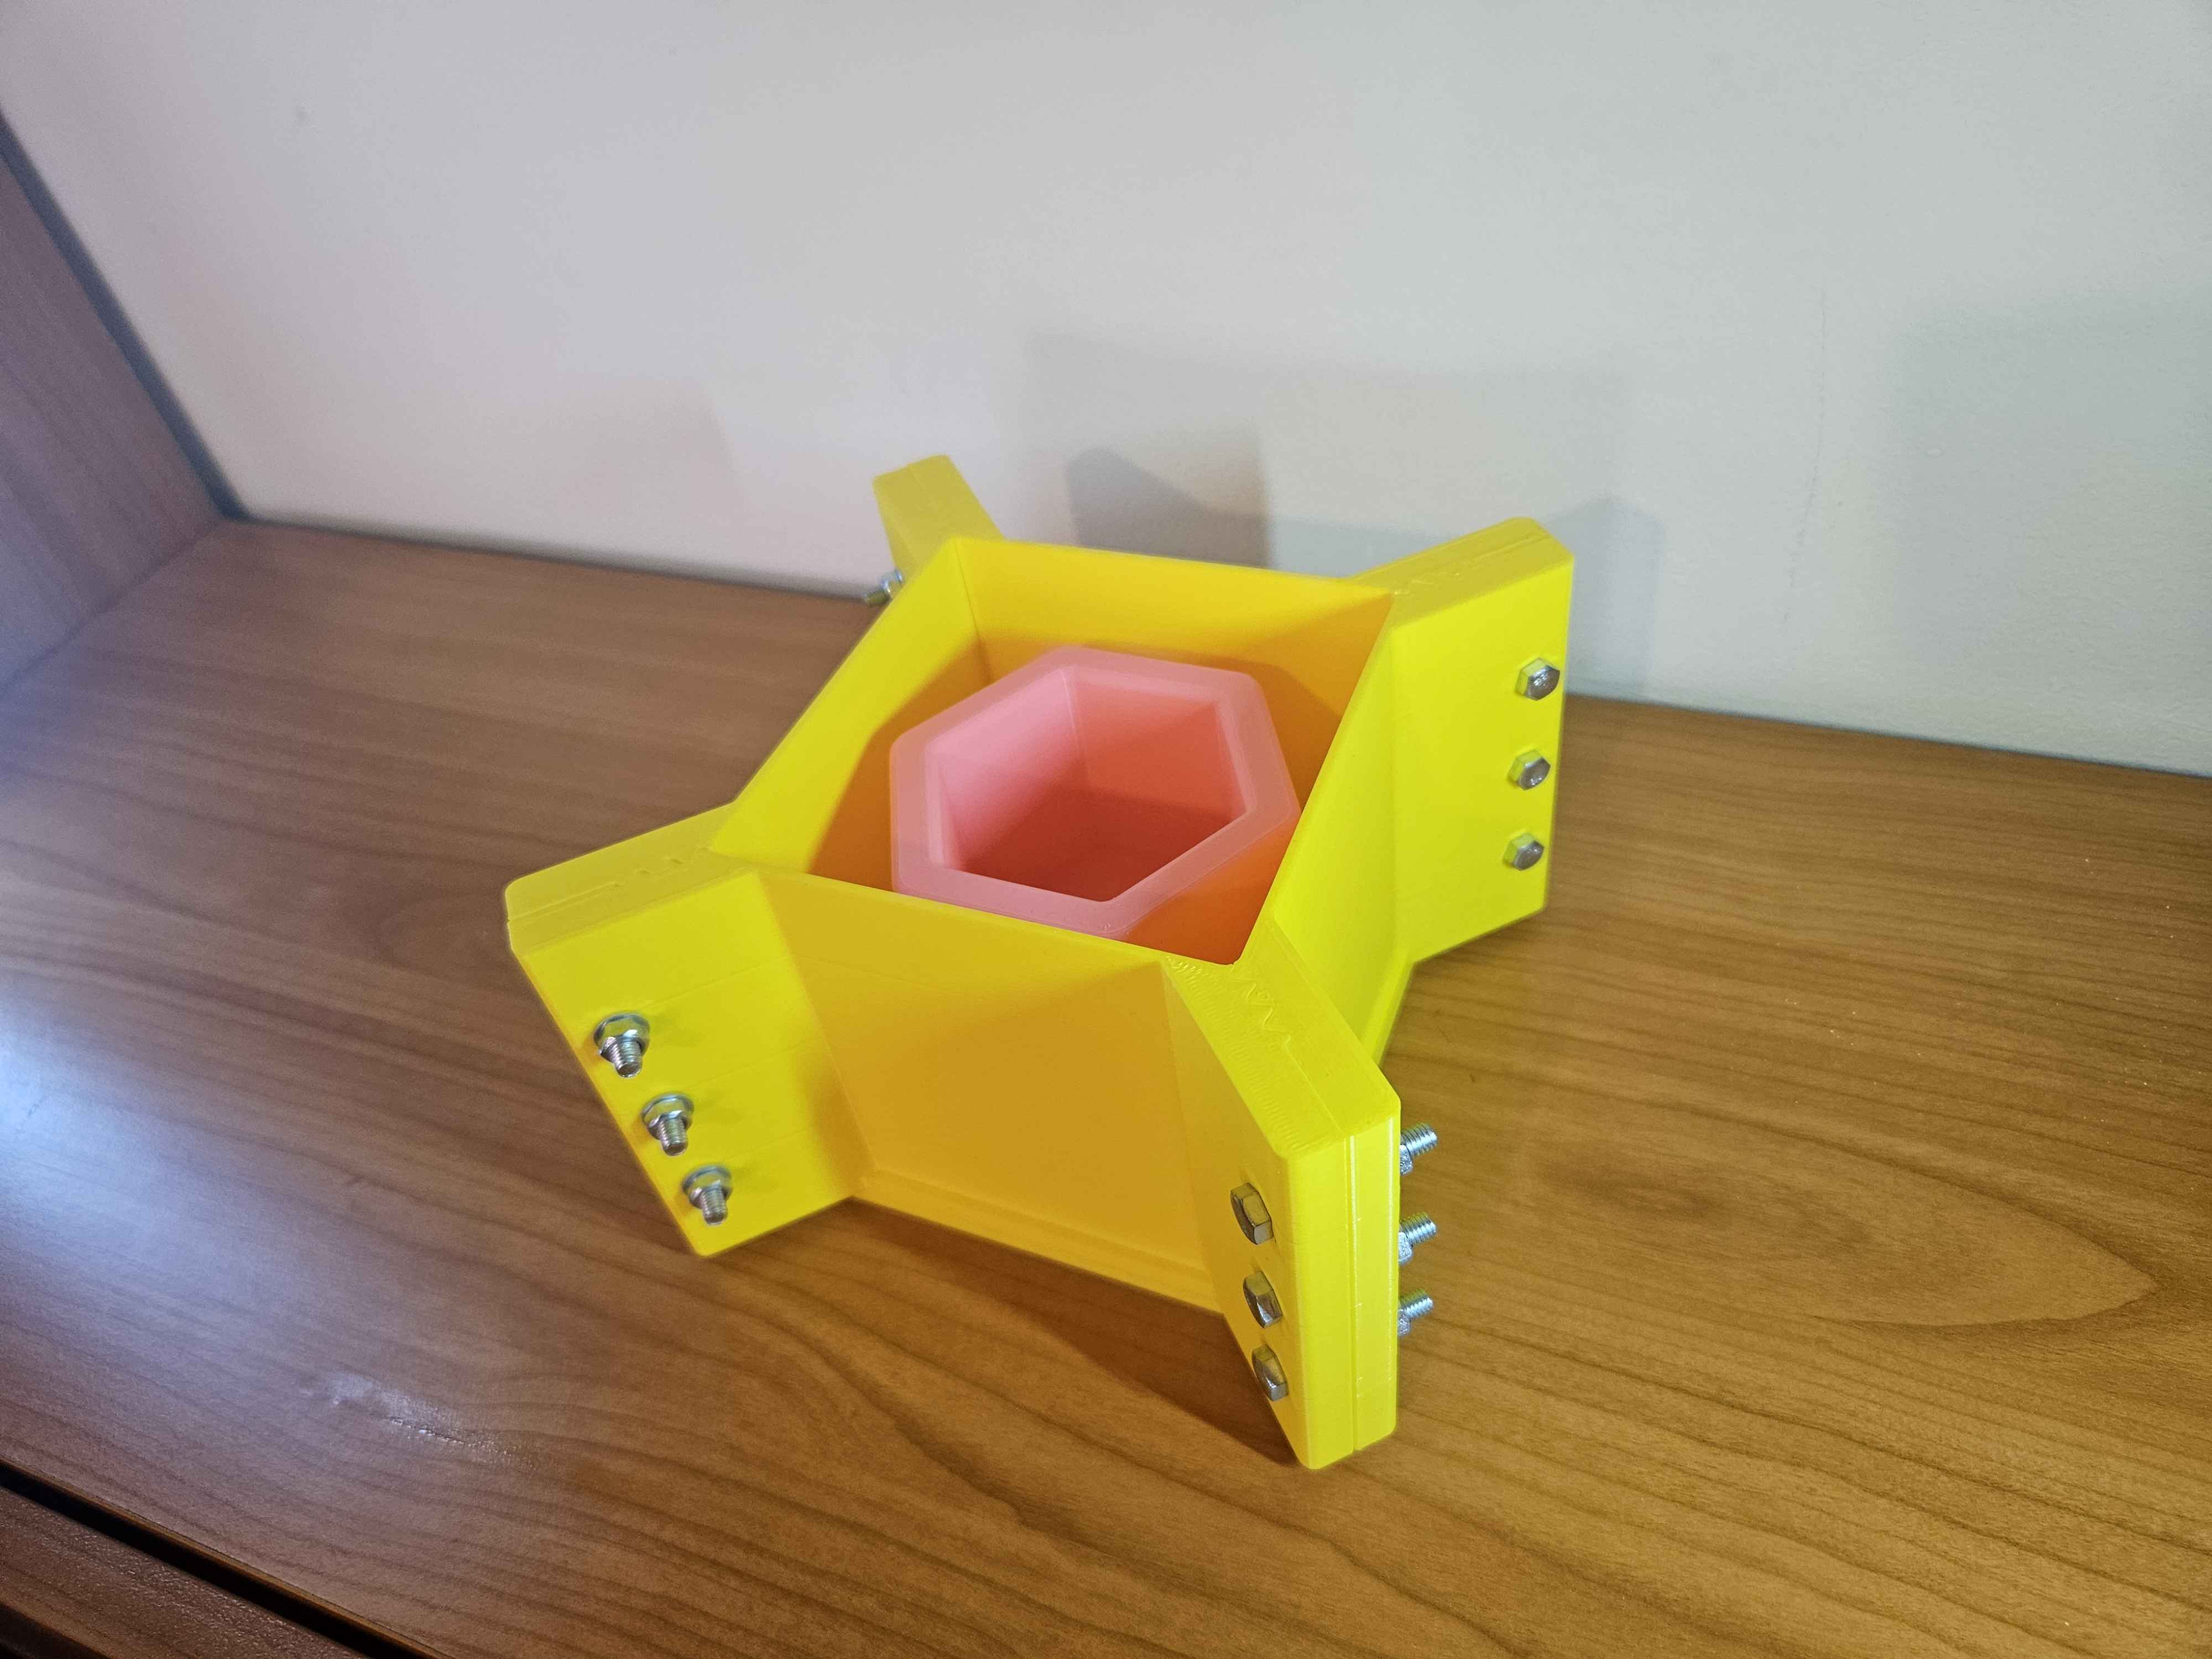
Put the assembled walls on top of the base. Here it's important to note that, like all 3D printed assemblies, tolerances differ per printer, calibrations and settings. If you can't put the walls over the base, you can try sanding it down a bit so it fits. If it's too loose, on the other hand, you can use some tape along the outside edges to seal it, although I doubt it will leak as silicone is quite dense.
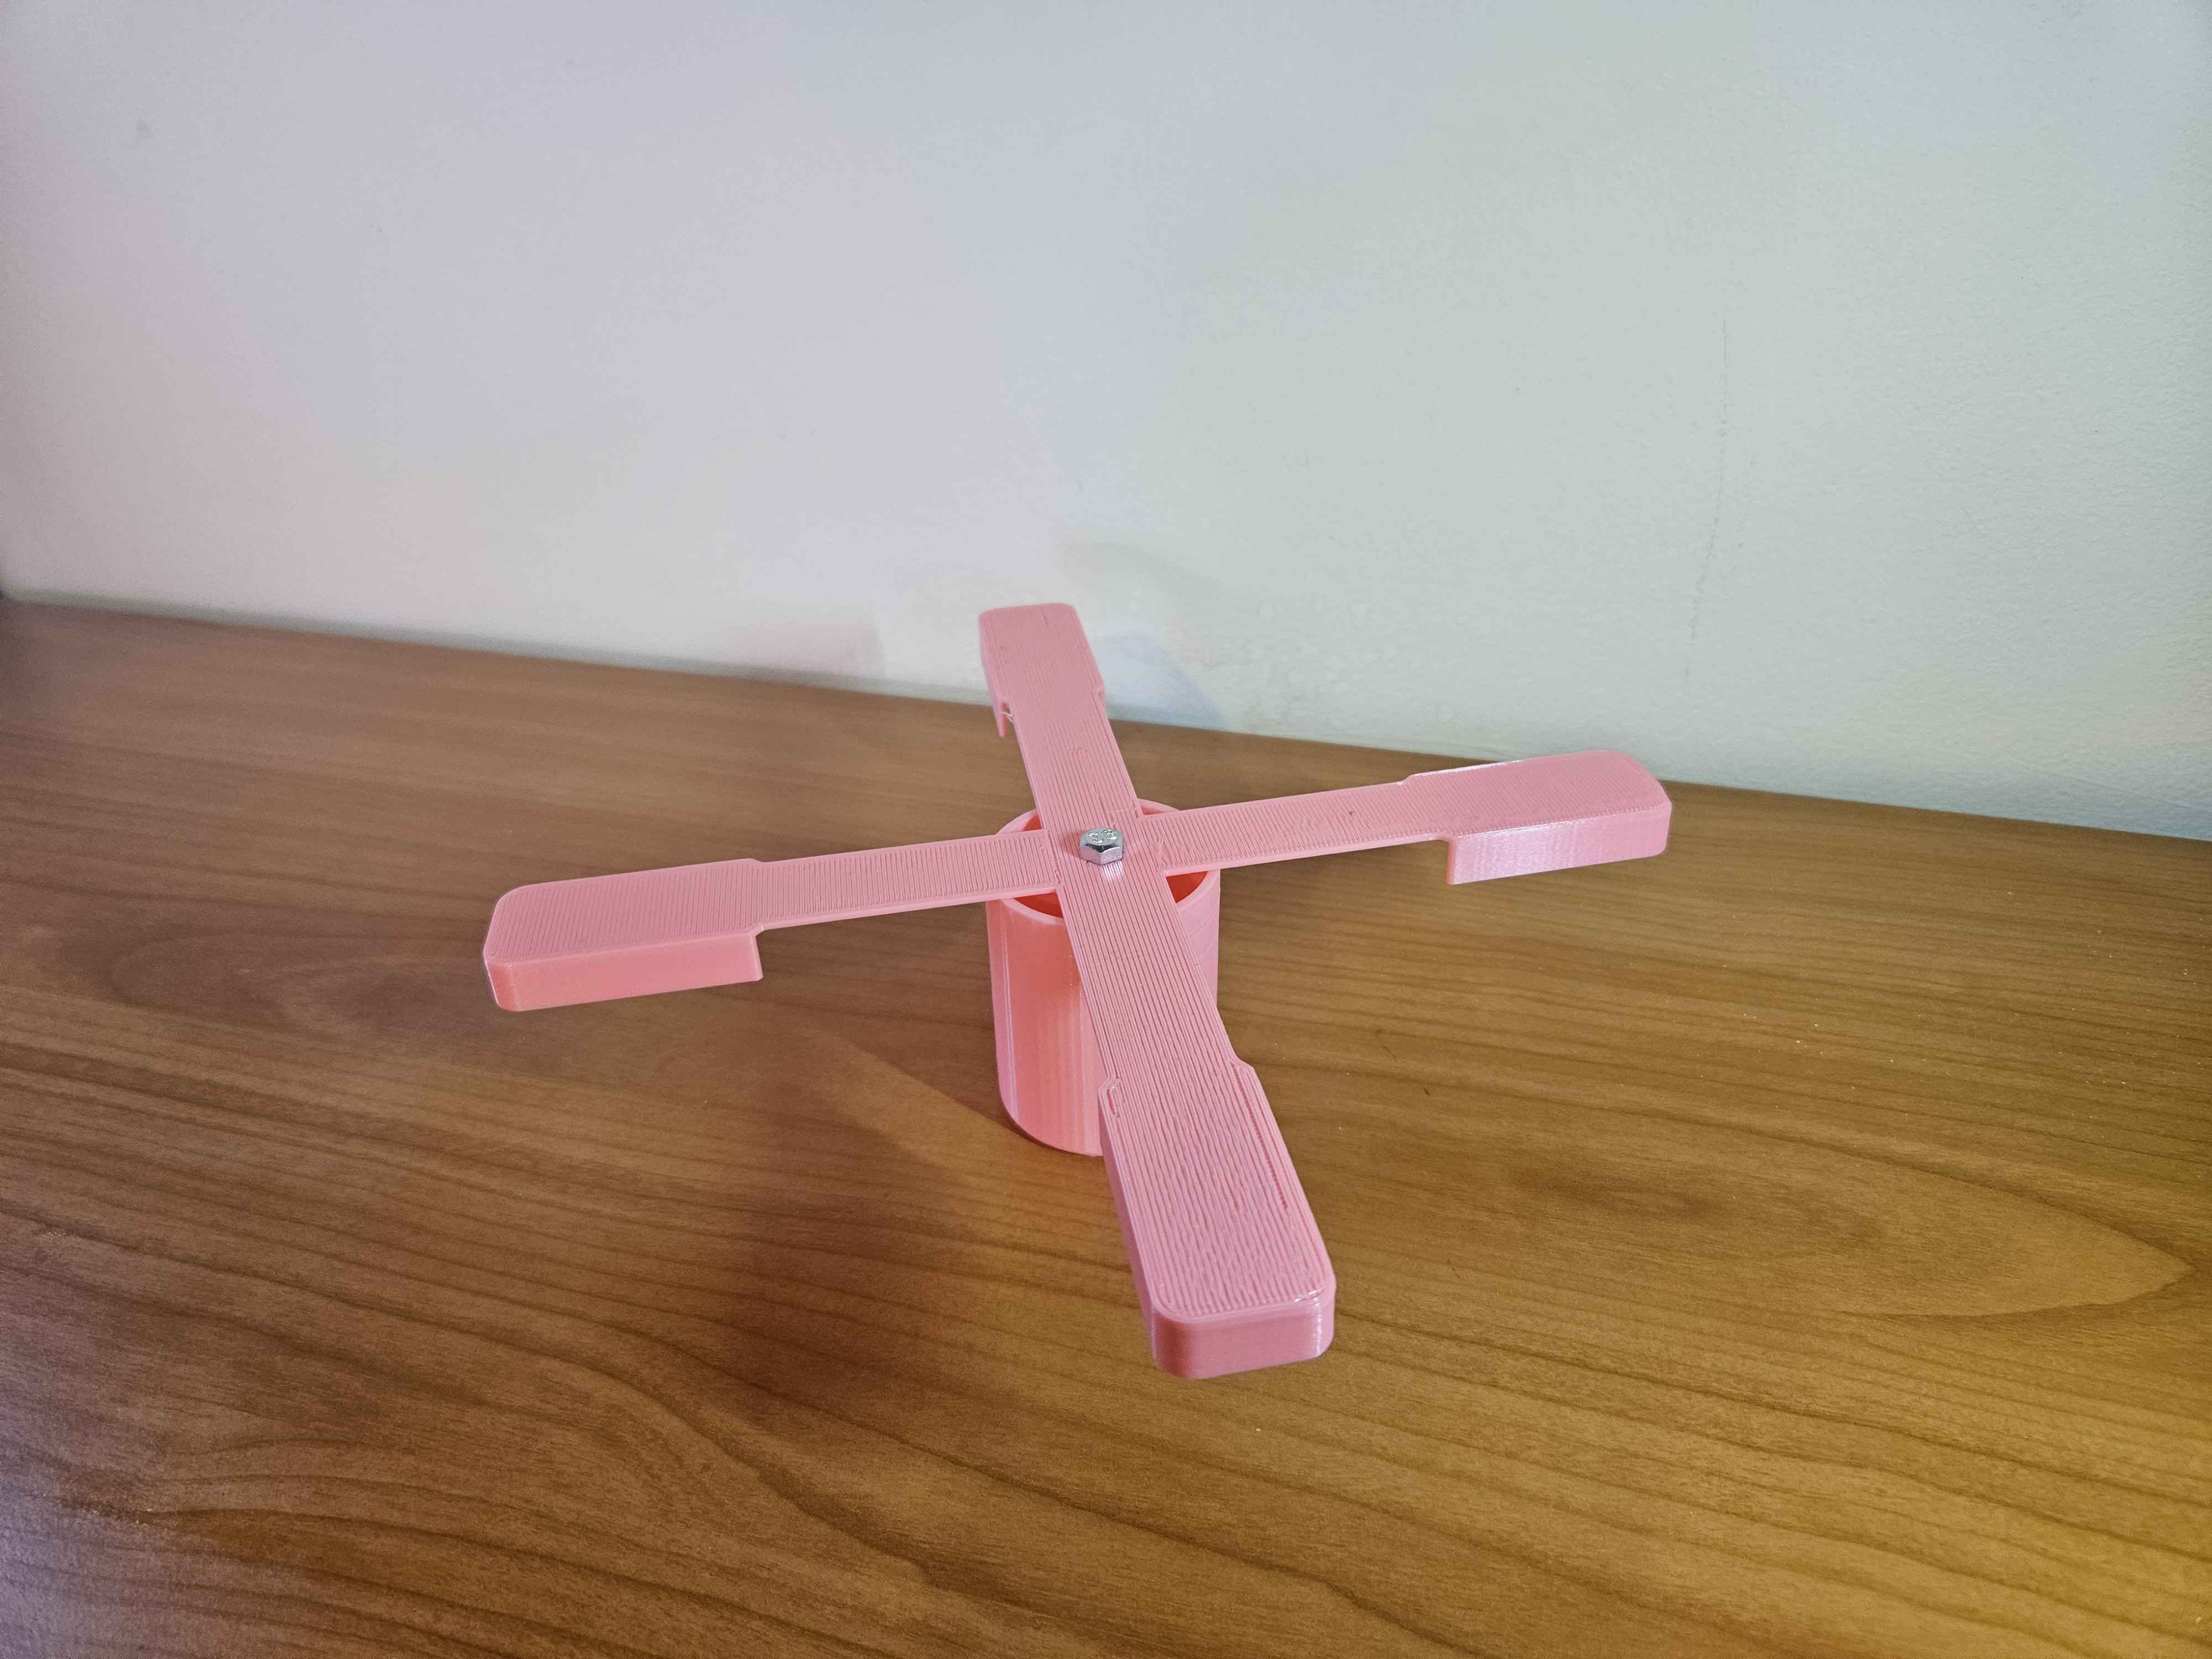
Attach the hole insert to the top bracket with the M5x20 bolt.
Put the top bracket on top of the walls so that the insert goes into the pot design. Optional: If you feel like it will be hard to pour silicone in this way, you can always start pouring some silicone on step 4 and halfway attach the top bracket with the hole insert. It will still work by displacing the poured silicone.
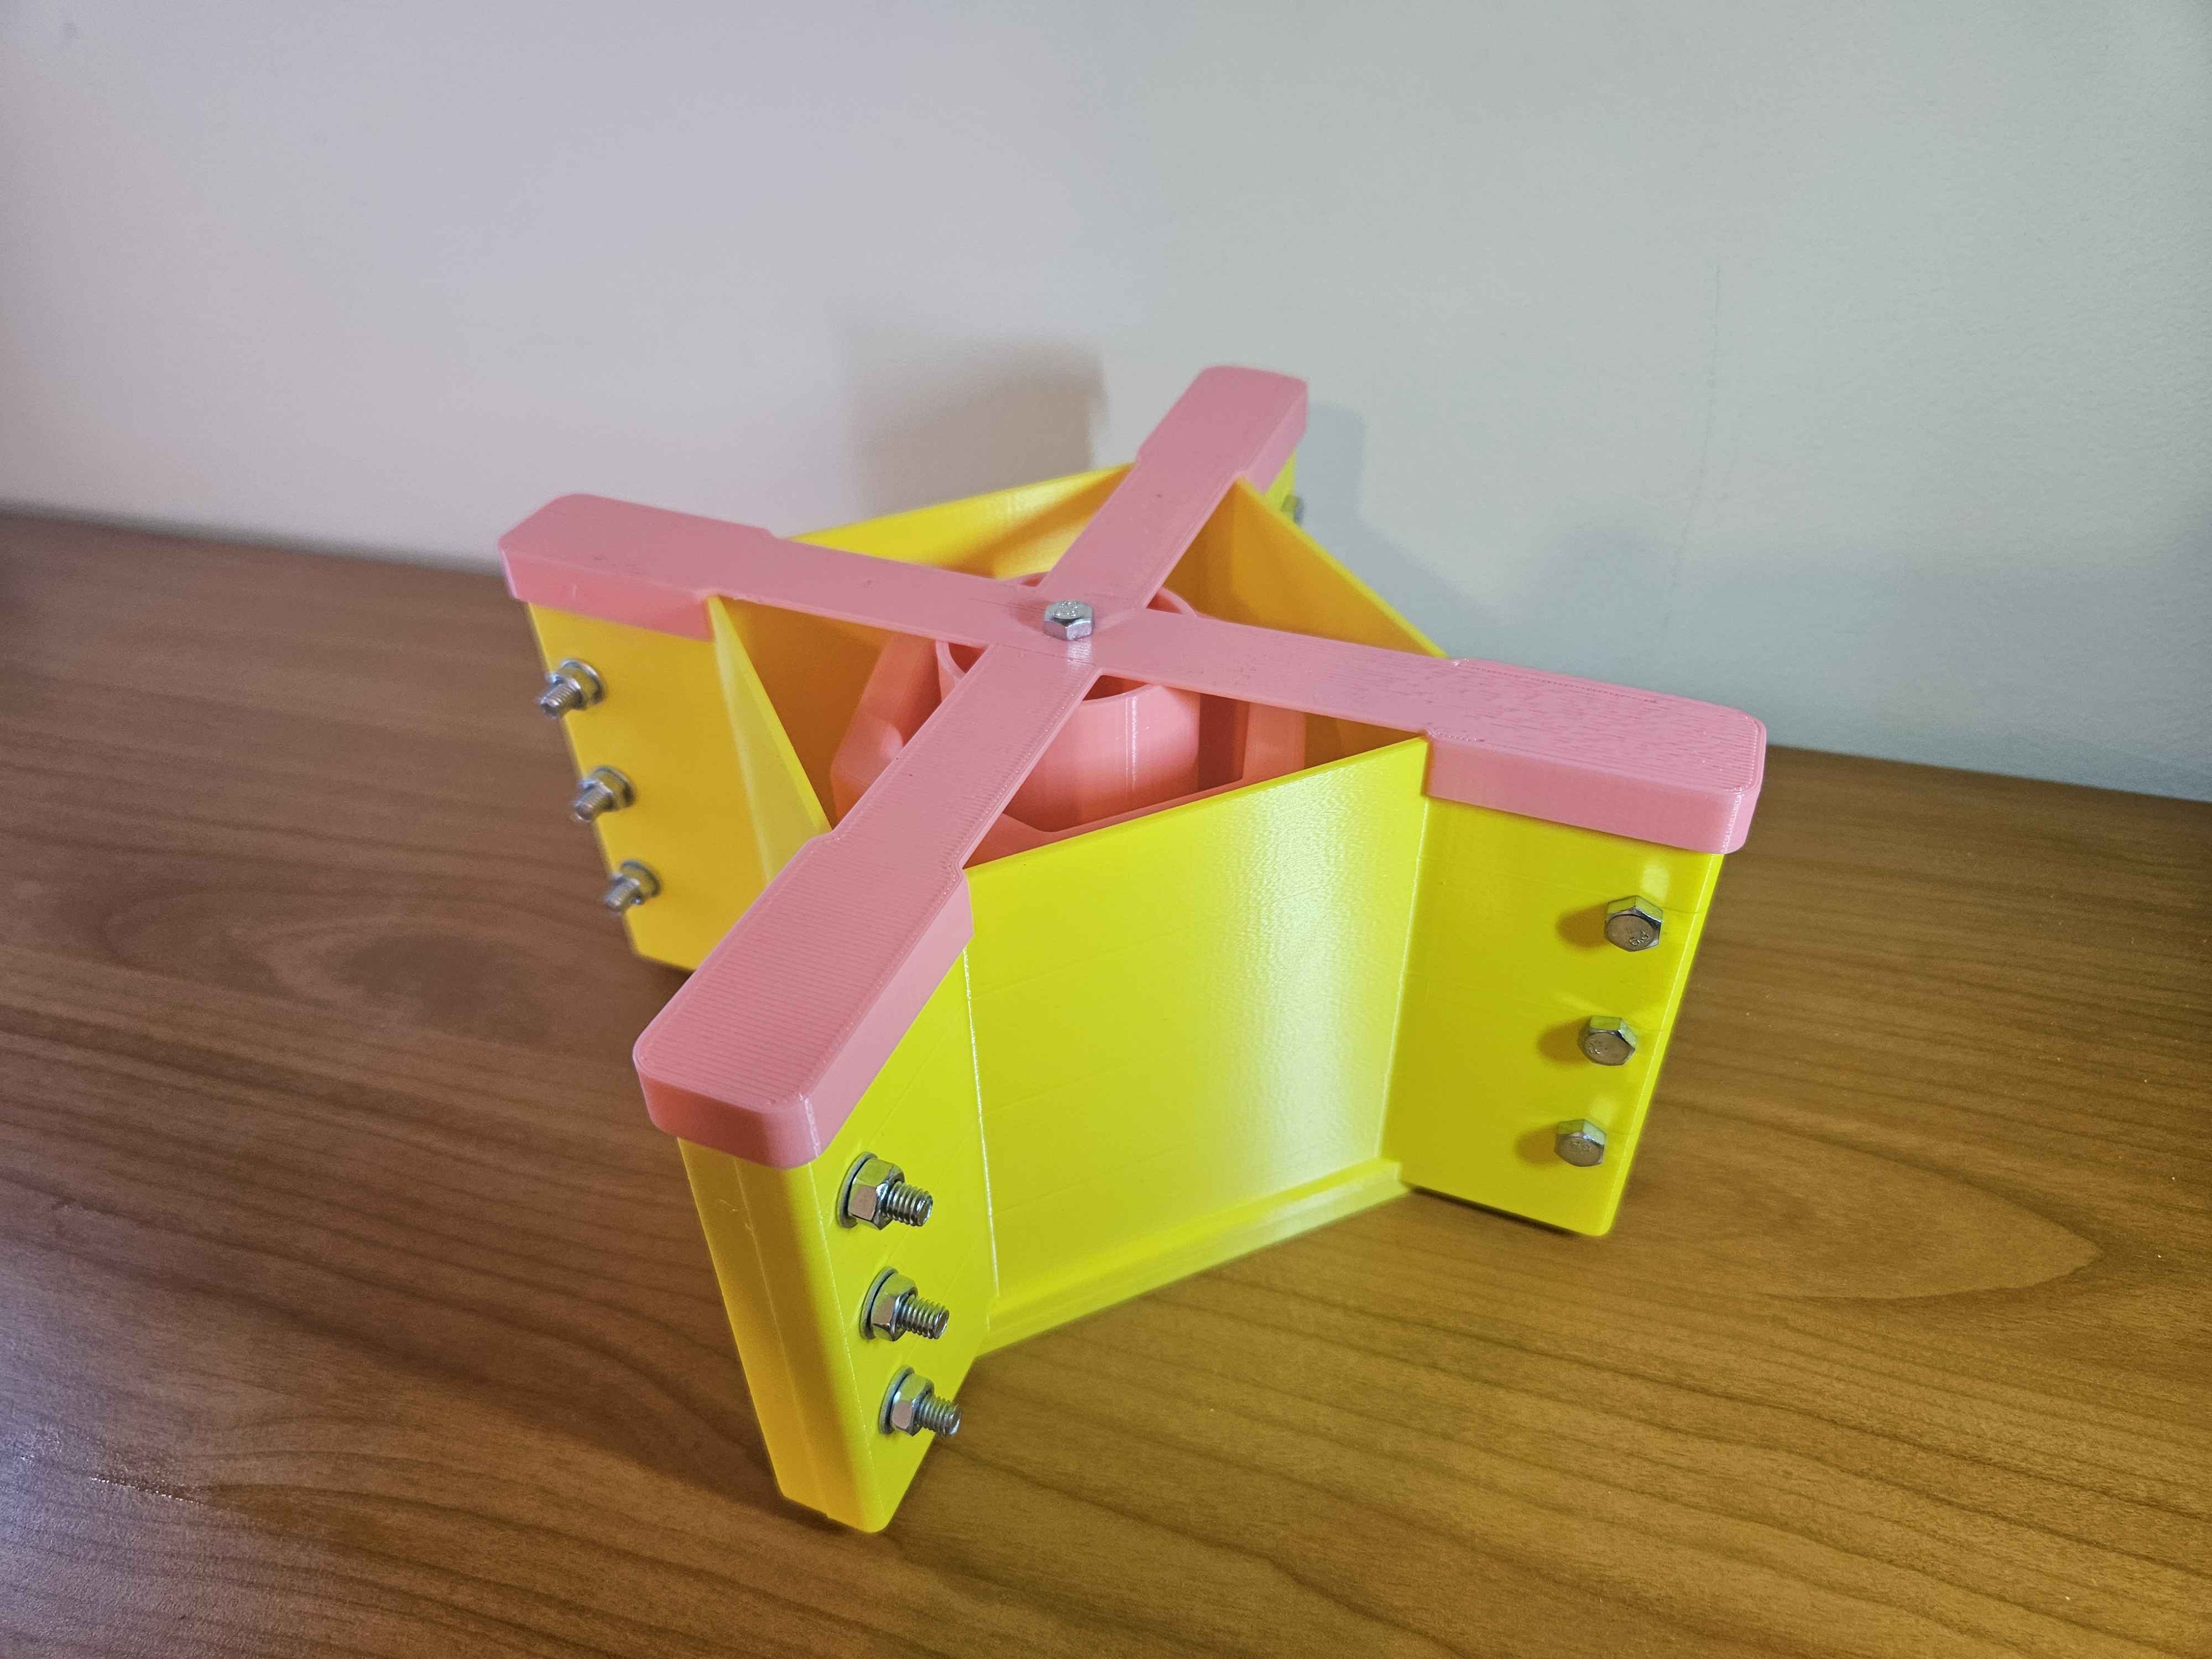
After the silicone is cured, disassemble by removing all nuts and bolts first, and then removing all printed parts. After disassembly, you can pour concrete or whatever you want to use in the mold.
Currently I'm in the process of reworking the way of attaching the design to the base piece and the hole insert to the top bracket. The current version works but can be better :)
How to make more designs for molding:
Let's say you want to make a skull mold of some sorts. In order to do that, you get your skull stl and determine what is the biggest contact area you can get with the base piece. When you find that out, you put a hole there in your CAD software so you can screw it on and you're done. Important to note is that if the chosen design is big and it doesn't have a much bigger than the contact area with the base, you won't be able to get it out of the silicone. Silicone is flexible but it has its limits. I'd be thrilled to see your ideas, so don't hesitate to share them if you make any :) For other designs, you again screw them to the base and just pour silicone over them, they don't use the hole insert parts.
Disclaimer: I ran out of pouring silicone so I did it with construction silicone which I'm still waiting for to cure. Once that's done, I'll upload the result as well :)