
Cast mold - Outdoor candle
We calculate the final price from your selected file. You review and accept it before payment.
Saved on this device.

Mold for a concrete outdoor candle with a permanent wick
- Rating
- 5 / 5
- Likes
- 142
- Downloads
- 204
- Makes
- 1
- Views
- 1,413
- Reviews
- 1
Updated at source:
Model information
- Source
- Printables
- Category
- Home Decor
- License
- Creative Commons — Attribution — Noncommercial
This is a concrete mold for an outdoor candle with a continuous wick.
The mold parts should be coated with release wax or release oil before casting. Olive oil can also be used for this purpose.
To hold the mold in place, I used a 40 × 40 mm square tube, which I placed in the groove of the mold. Alternatively, a square timber or something similar can be used. However, it is essential to ensure that the mold is centered, otherwise the walls of the concrete part will be of different thicknesses.
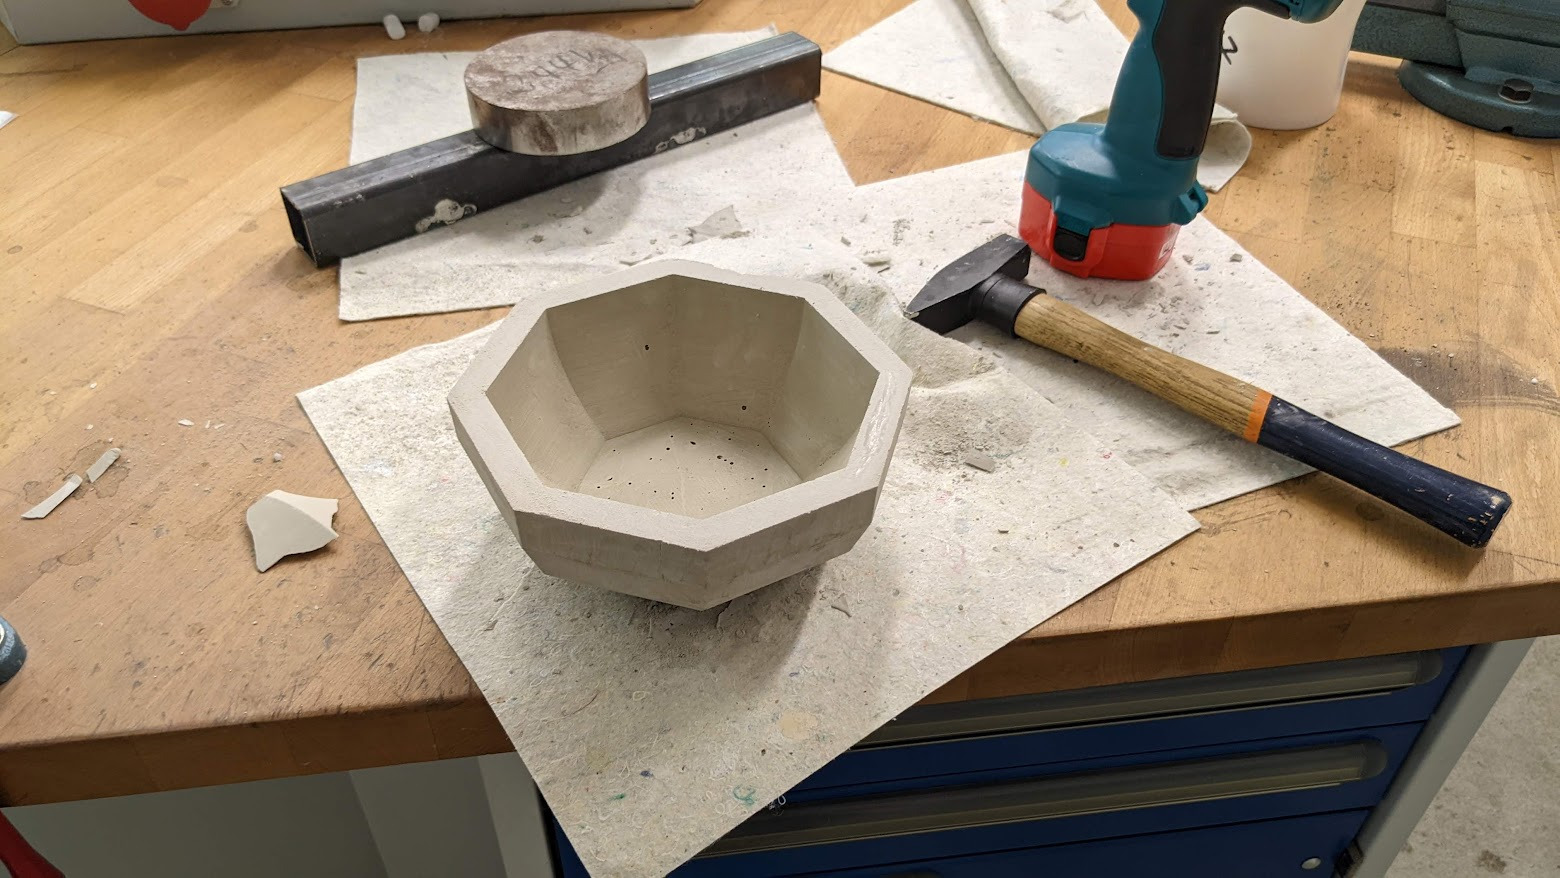
The inner part of the mold was easy to remove from the concrete part. To remove the outer shell, I drilled a small hole (approx. 4 mm) in the shell after the concrete had dried and then blew compressed air into it. This loosened the mold without any problems. The hole can be easily sealed with adhesive tape for further castings.
The concrete takes about a week to cure completely. However, I removed it from the mold after only 2–3 days. The top can then be smoothed with coarse sandpaper. To do this, place the sandpaper on a table and move the concrete part over it with even pressure.
I used a so-called permanent wick as the wick. It is about 2 × 2 cm thick. Candle remains can be put into the burning candle as often as you like.
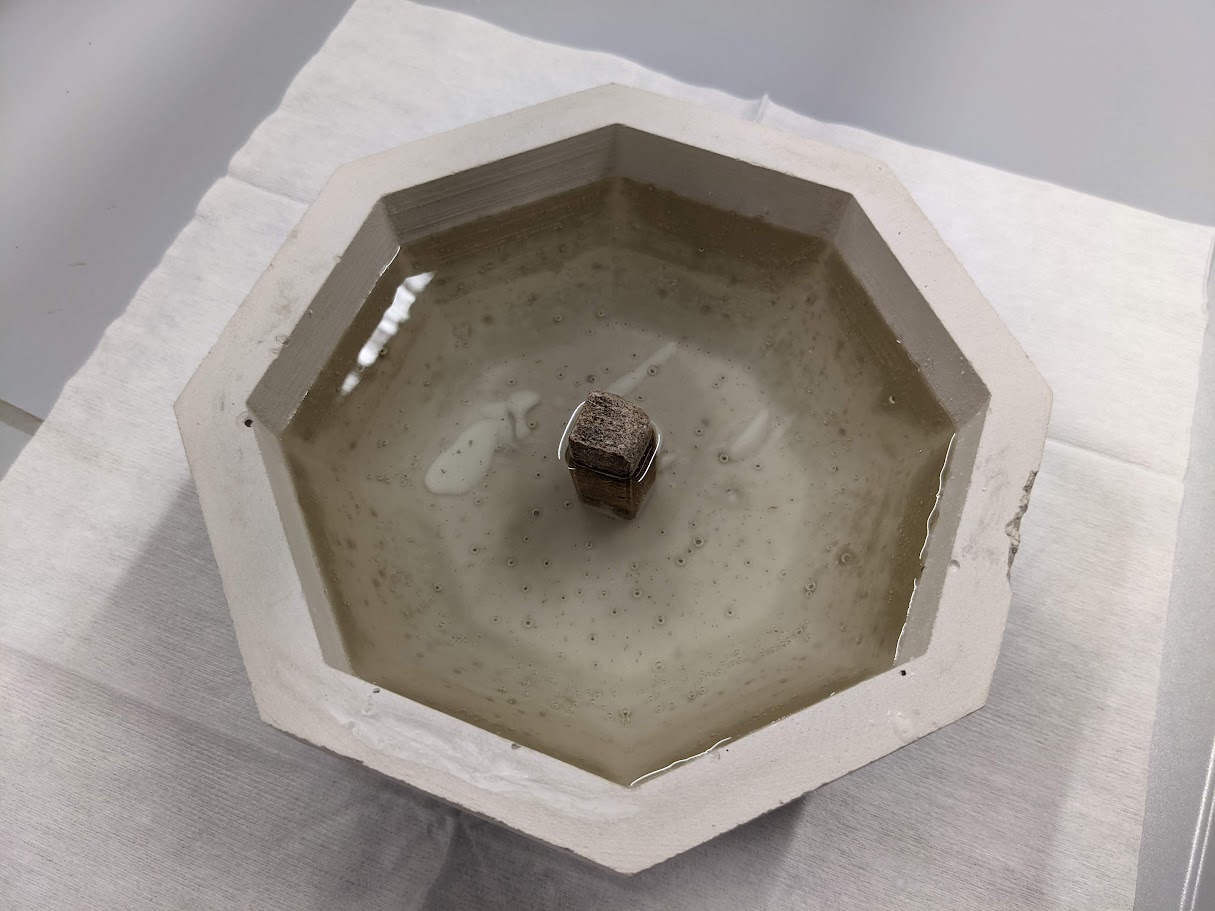
The printed mold can be used as often as you like.
I used PLA, but PETG would probably be the better choice.