
Wiggly Dog Pull Toy for Kids
We calculate the final price from your selected file. You review and accept it before payment.
Saved on this device.
Model information
- Source
- Printables
- Category
- Other Toys & Games
- License
- Creative Commons — Attribution — Noncommercial
Description
This is a classic pull toy for toddlers and kids that you can easily print yourself.
It features a nodding head, swinging ears, rolling wheels, and a "jumping" back mechanism that wiggles the tail as it moves. The dog can even sit.
Hardware Needed
1x Spring: That fits tightly over an M6 bolt (inner diameter 5,1-5,2 mm, wire diameter 0,5-0,6 mm, length approx. 30-40 mm).
2x DIN912 M6x10 (up to M6x16) Bolts: (Socket head cap screws).
1x Pull rope/string.
Superglue
Printing Instructions
This is an easy print if your printer handles bridges well.
Everything is pre-oriented correctly.
Prints without supports.
No MMU/AMS required: The model is divided into parts by color, so you can achieve a colorful look on any printer.
I suggest using 3–4 perimeters for added strength. PLA is recommended for ease of printing. TPU is needed for the wheel rings to add traction.
For the aligment while glueing parts together there are included spiral pins. If you wish to use them elsewhere feel free to download it from:
The model is divided into 3 plates:
Body color (e.g., White/Brown).
Features color (e.g., Black).
Eyes (Dual color): To get the black+white eyes without MMU, simply add a color change at the correct layer. For a 0.2 mm layer height, this is Layer 21
Assembly Guide
!!! WARNING!!! - do not glue both halves of the body together before reading the instructions - you need to insert head and back legs subassemblies.
Head & Legs: Glue together both halves of the head and the back legs using the included spiral pins.
Tail: Glue both halves of the tail together with one M6x10 bolt (just the head) and spiral pins.
Main Body: Glue the right body half with the body pin, back leg pin, and the other M6x10 bolt (just the head).
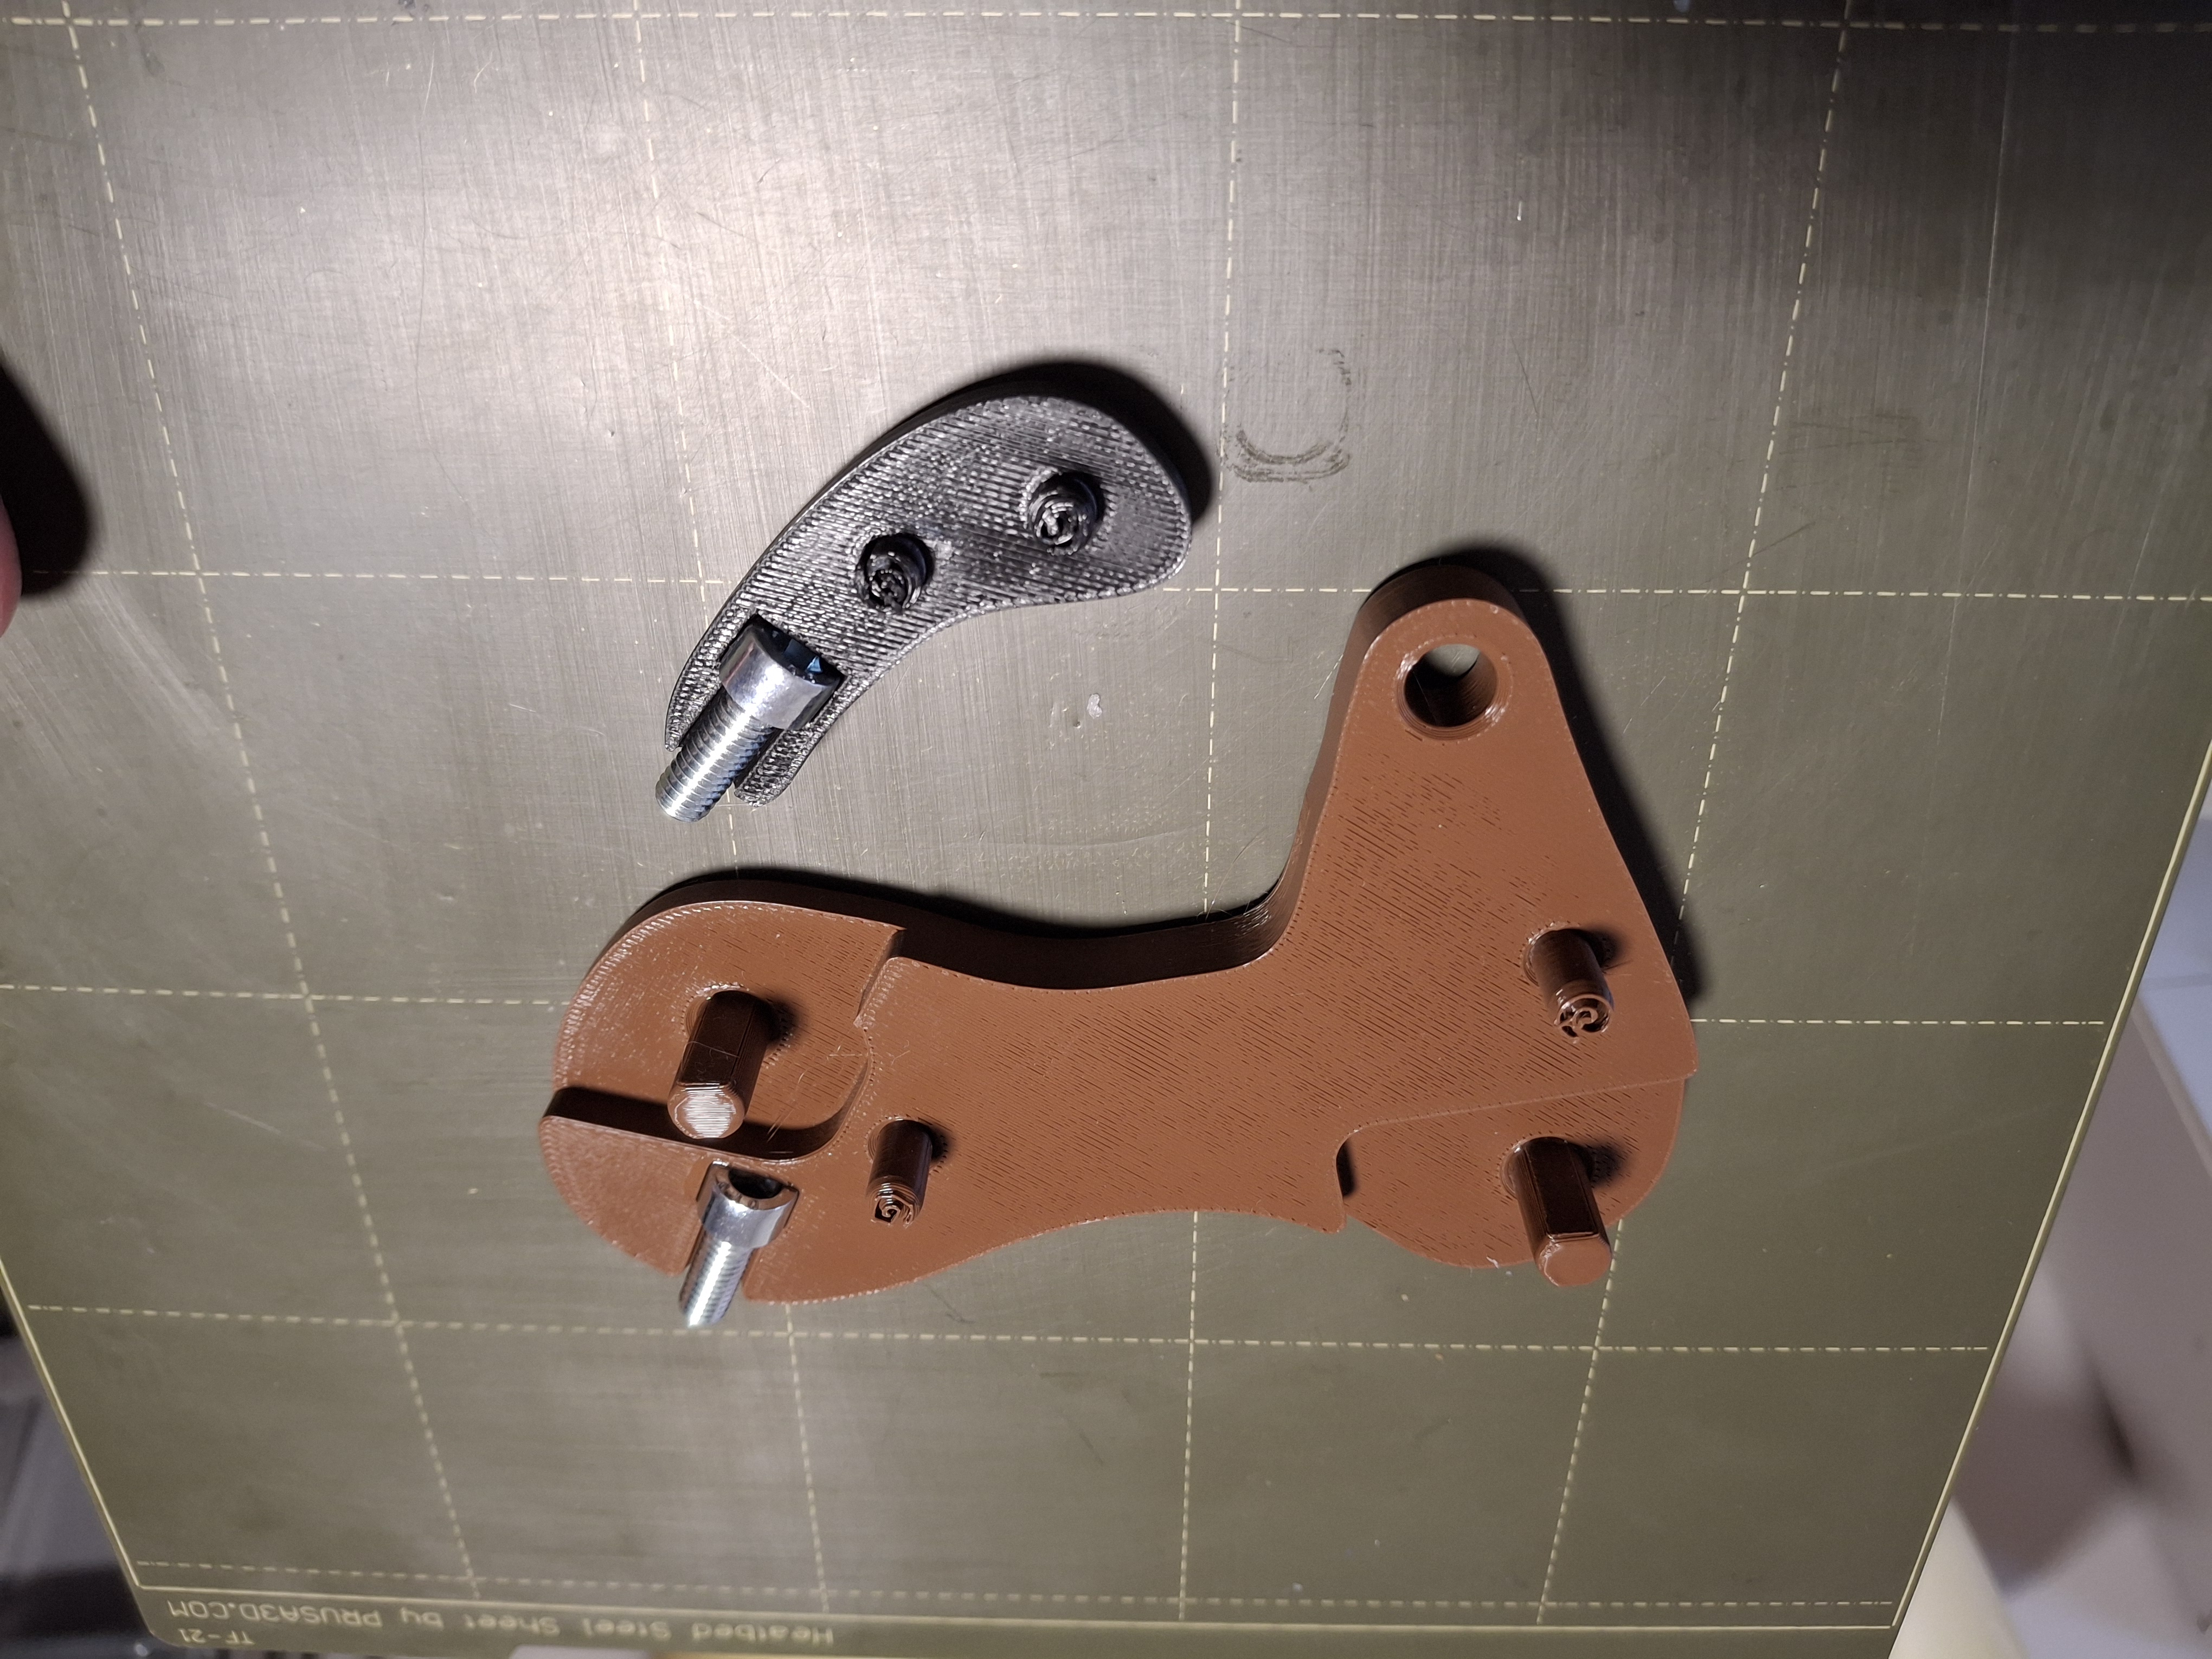
Sub-assemblies: Glue one ear to an ear pin, one front wheel to a wheel pin, and one back wheel to a wheel pin.
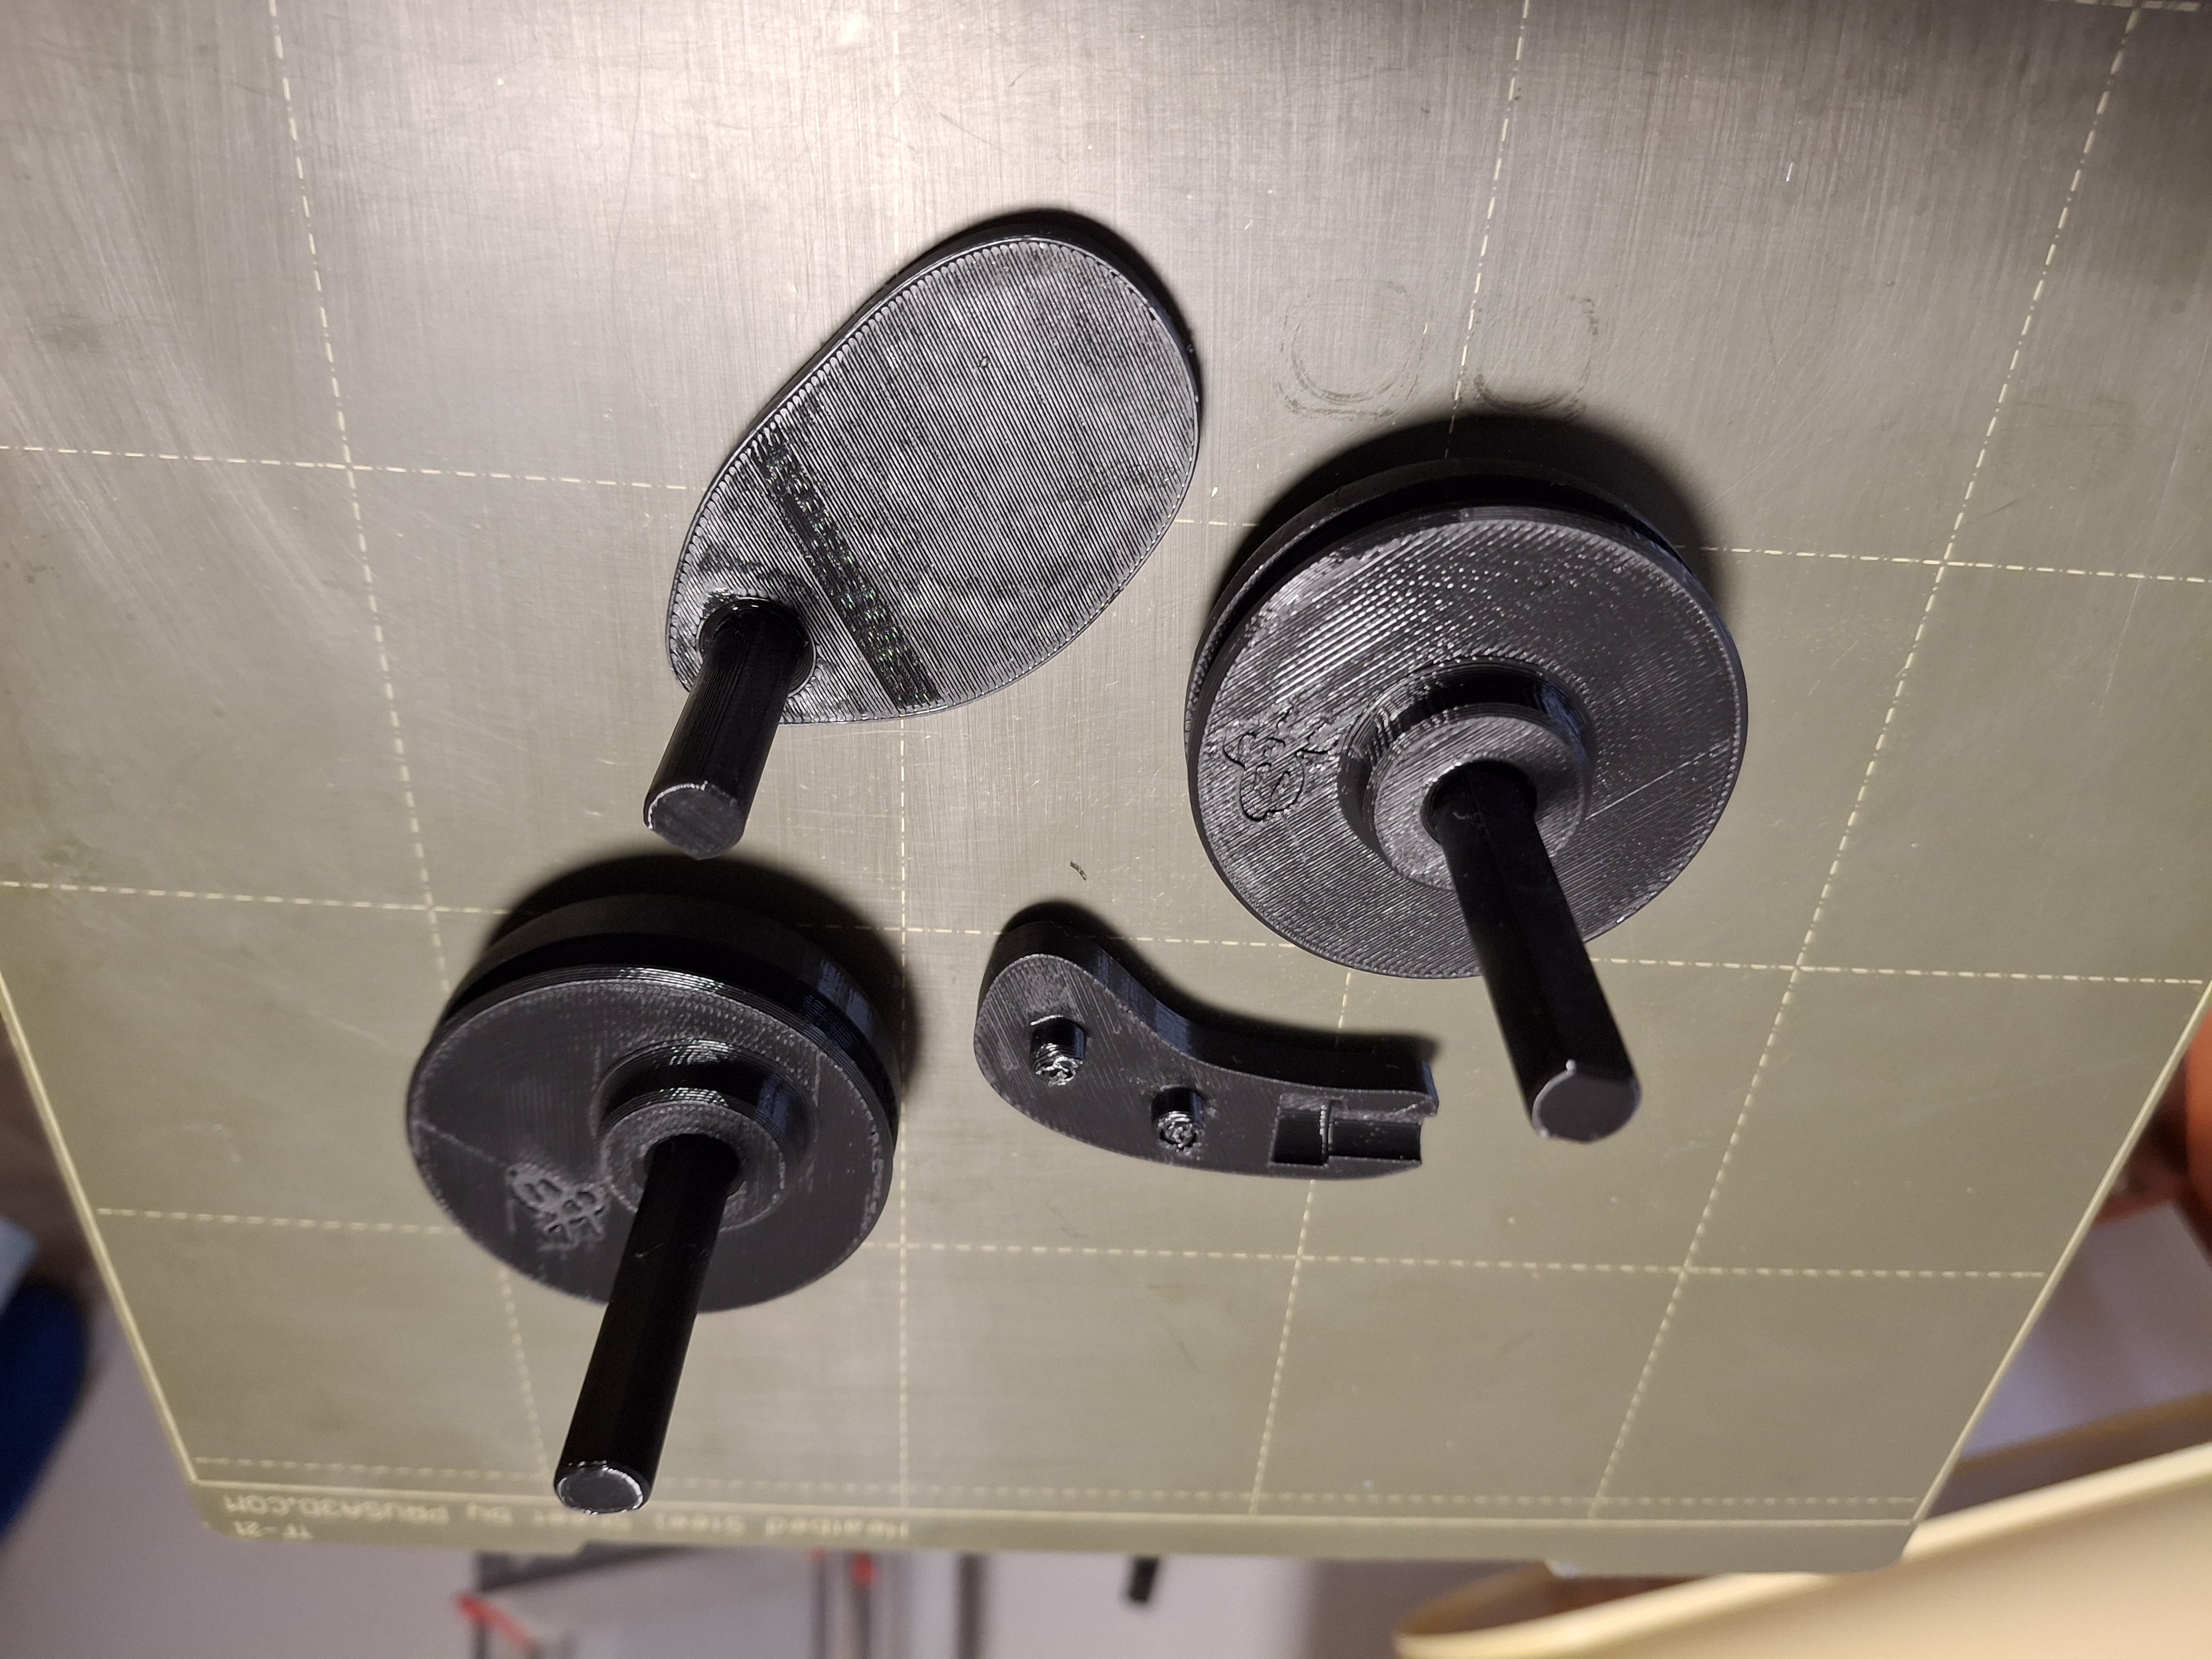
Joining: Assemble the right body with the head and back legs, then glue the left body half on top. Watch out for glue squeeze out. Do not let glue together the moving parts. If worried move the head and back legs around until the glue sets.

Details: Insert the ear and ear pin subassembly through the head and glue the second ear on the other side. Do the same for the front and back wheels with their corresponding pins.
Spring Mechanism: Screw the spring over the M6x10 bolt in the tail and secure it with superglue. Then screw it onto the bolt in the body and secure it again.
Final touches: Glue on the remaining accessories – nose, eyes, mouth, and spots. And slip the TPU rings on the wheels.
I hope your children enjoy it as much as mine does!