
PF-1 - A Simple, Easy-to-build Airsoft 40mm Rocket Launcher
We calculate the final price from your selected file. You review and accept it before payment.
Saved on this device.
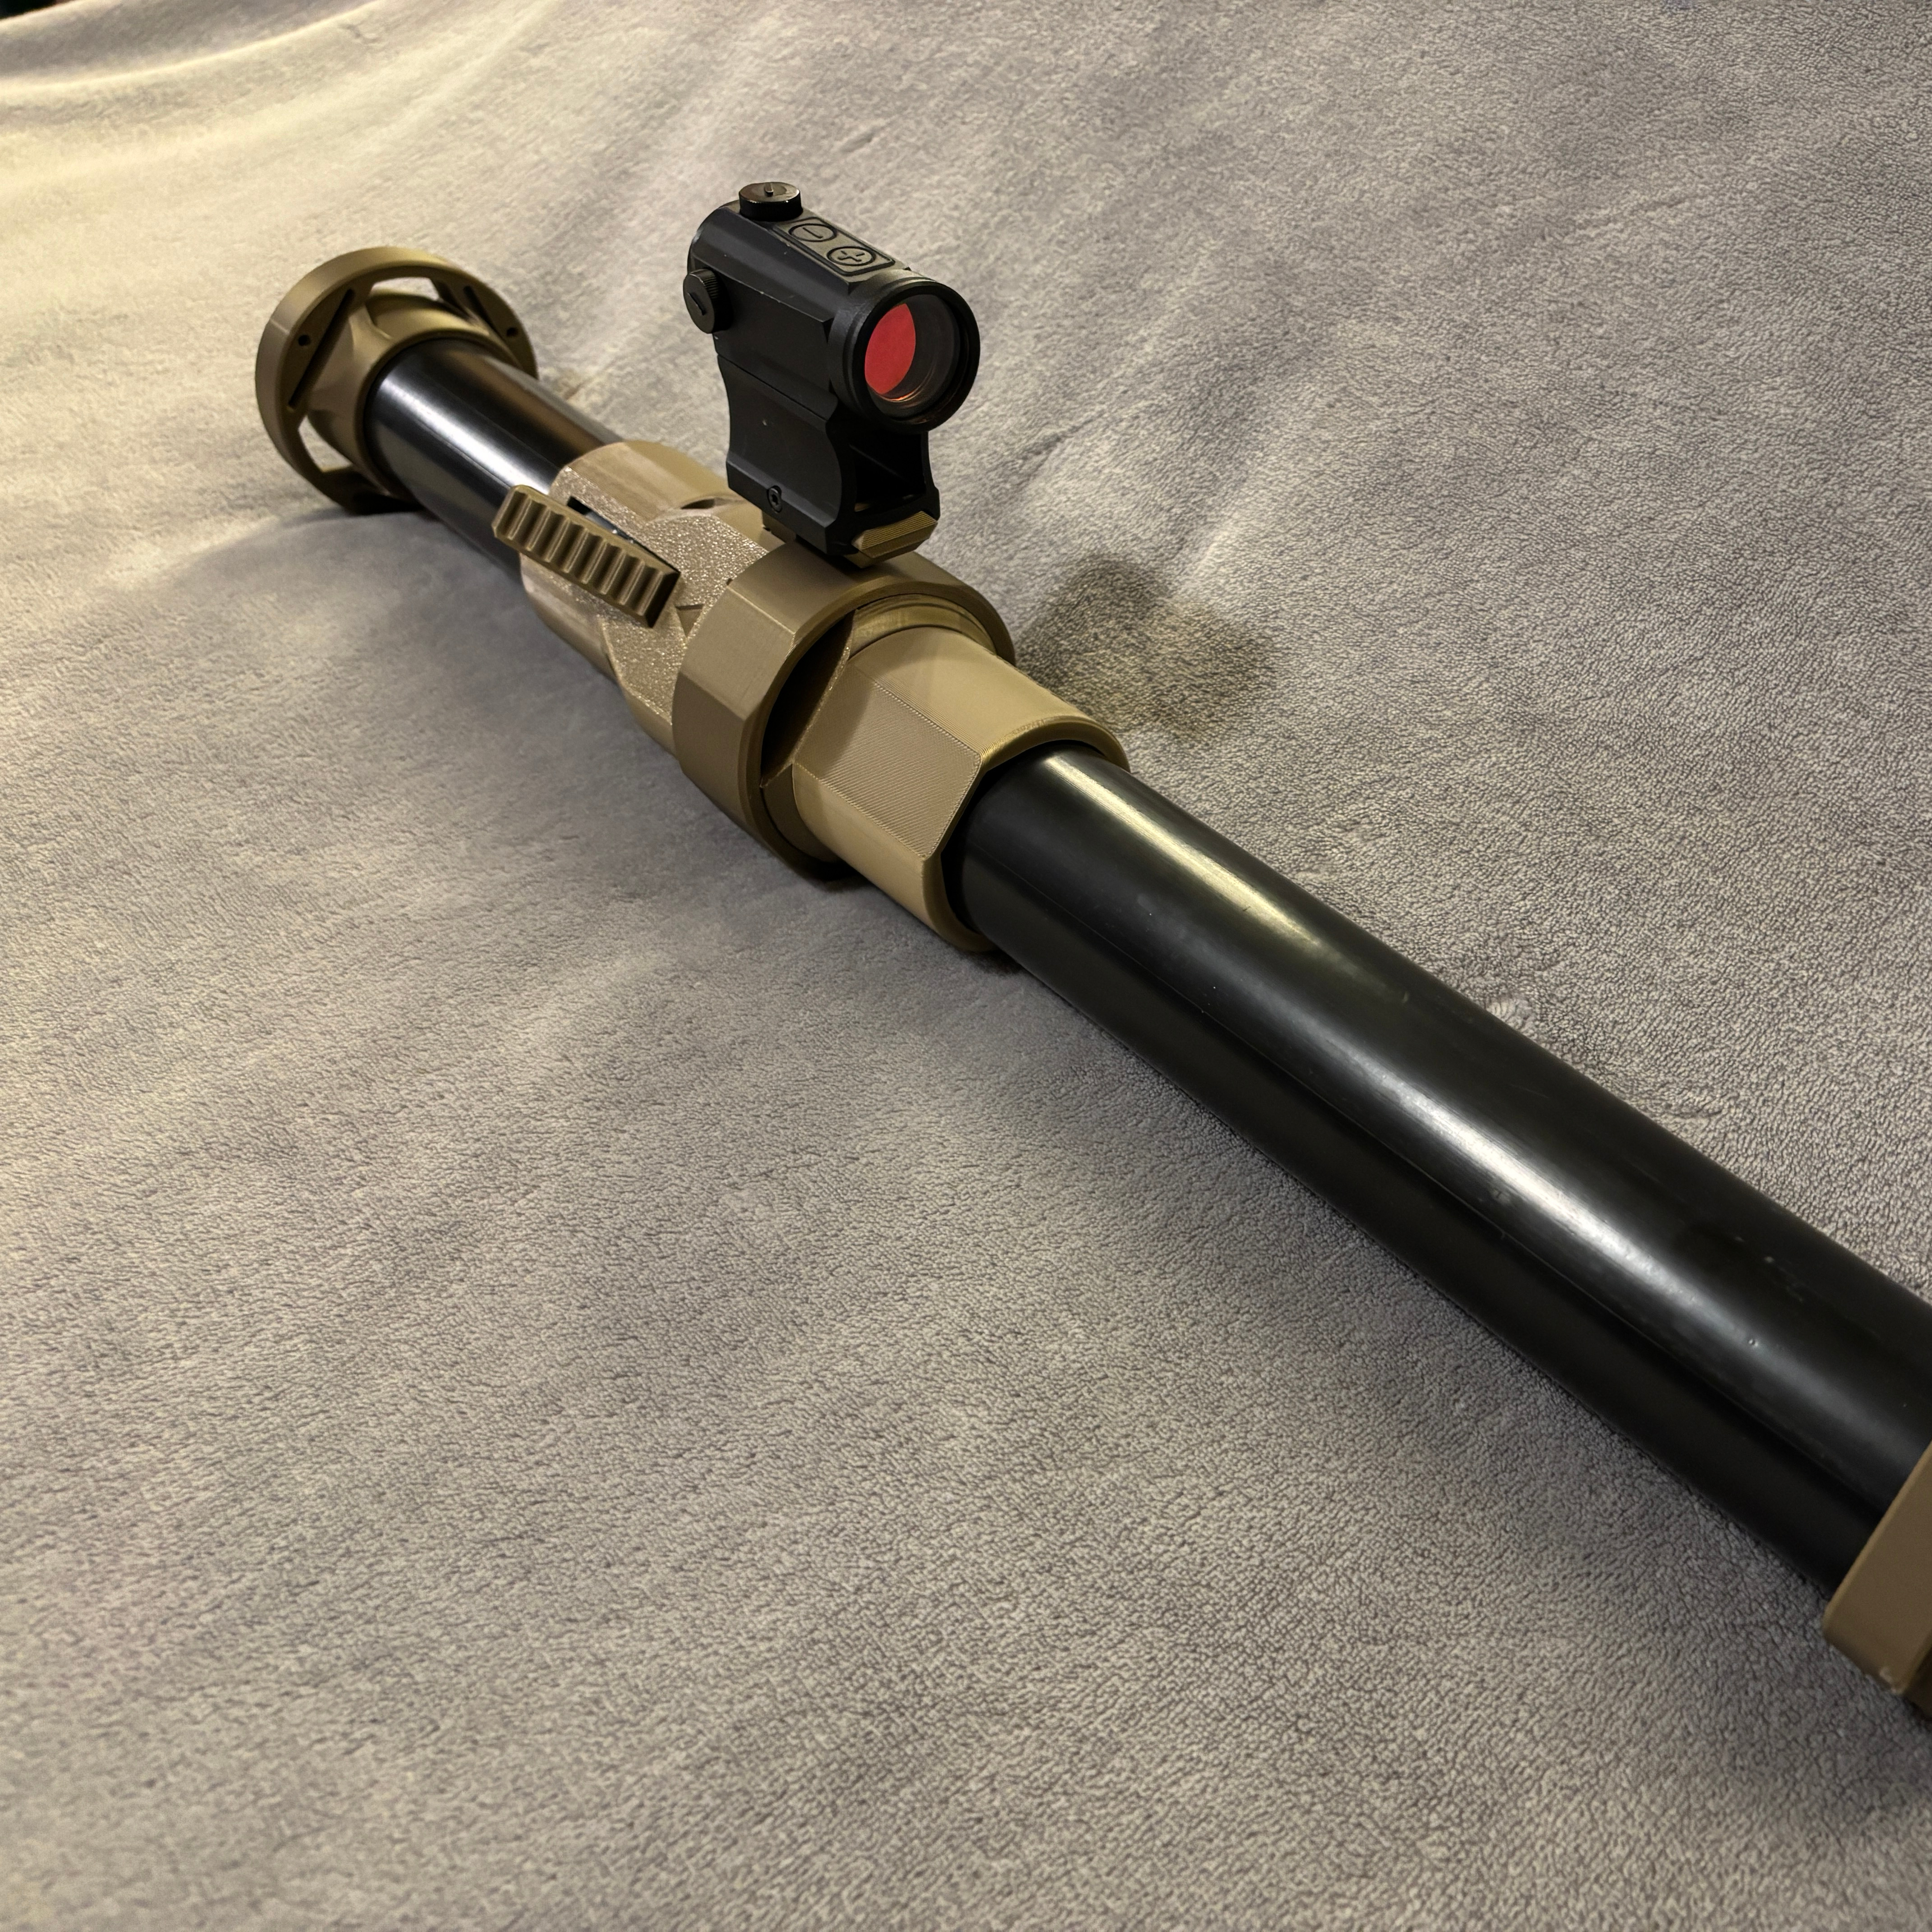
A simple airsoft rocket launcher for 40mm shells designed to deliver the easiest and cheapest path to airsoft artillery
- Rating
- 5 / 5
- Likes
- 27
- Downloads
- 138
- Makes
- 2
- Views
- 1,153
- Reviews
- 2
Updated at source:
Model information
- Source
- Printables
- Category
- Outdoor Toys
- License
- Creative Commons — Attribution — Noncommercial
PF-1 (PlinkerFaust 1)
Airsoft 40mm shells are not toys, and as such this launcher must be handled carefully and responsibly. Wear eye protection! Treat this launcher as you would any other airsoft replica - keep it out of public sight, transport in a case or gun bag, and only use in approved areas. Be aware of local laws and restrictions - the front cap may be printed in orange filament or painted if required.
Be smart and responsible - You are responsible for your actions!
An airsoft rocket launcher designed for the masses. This design was heavily inspired by the excellent XE-15 CAT - I wanted to further simplify the design to make the cheapest and easy-to-build and use launcher possible, while still keeping a somewhat realistic profile for use as rocket launcher. The launcher can fire any projectile used by standard 40mm airsoft launchers (using a shell with gas only to launch the projectile) or can be used to fire 40mm shells that launch BBs.
This design features:
Low parts count and print time
No supports needed
No hardware/fasteners required
Print orientations that maximize strength and avoid stresses across layer lines
Removable rail section for mounting optics
Sling loops on front and rear
Additional parts you need to purchase:
ABS pipe, approx. 3 ft length (1-1/2" or 50mm diam. depending on which version you're printing)
Contact cement, Acrylic adhesive, or other adhesive of your choice. Required to fasten printed parts to ABS pipe.
Assembly Document Included - Download the pdf for more info!
PF-1-15: Requires 1-1/2" OD ABS pipe
PF-1-50: Requires 50mm diam. ABS pipe
All parts should be oriented correctly for printing without supports by default. If the pins or breech lock nut are too tight, they can easily be scaled in the slicer to fit, without having to reprint the larger pieces. I found printing with 3 outer perimeters at 15% infil to be adequate.
Assemble the trigger mechanism. Insert the firing pin into the rear of the receiver, with the rounded notch facing up (towards the side with "Fire"). Insert the trigger from the top, and push in the trigger pin from either side.
Insert the safety from the bottom, and snap into place. Install the pin from the front to secure the safety.
Glue the ABS pipes into the breech and receiver, followed by the front and rear cap. The breech lock ring can be installed after gluing is complete, but it is a tight fit to prevent the ring from coming off accidentally.
Instructions For Use
Airsoft 40mm shells are not toys, and as such this launcher must be handled carefully and responsibly. Wear eye protection! Treat this launcher as you would any other airsoft replica - keep it out of public sight, transport in a case or gun bag, and only use in approved areas. Be aware of local laws and restrictions - the front cap may be printed in orange filament or painted if required.
Be smart and responsible - You are responsible for your actions!
Before beginning the loading procedure, ensure the safety is locked in the safe position and that the trigger does not move. Loading a shell while the safety is disengaged may cause it to fire prematurely!
To load a shell, unscrew the breech locking ring, disconnect the breech from the receiver and insert the shell into the breech (front - this is the side that says < ENEMY). Reconnect the breech to the receiver and screw the breech lock screw back in. The breech lock nut does not need to be screwed in tightly - just past finger tight is adequate.
To fire, first ensure the launcher is pointed downrange at the intended target. Pull out the safety tab located on the bottom of the receiver. The launcher is now ready to fire, and the safety will display the word "FIRE" in this state. Depress the trigger on top of the receiver to fire.
That's it! Please leave me a comment if you have any feedback regarding the design, or even if you enjoyed this model! I'd be happy to answer any questions. More to come soon!
Change log
2026-05-02: Uploaded assembly document
2026-06-13: New EU version for 50mm pipe added
2026-09-07: Updated description and file names - new naming convention in anticipation of scaling model to different pipe size in future
2026-10-29: Clarified description of ABS pipe sizing
2026-11-01: More robust firing pin design