
Easter Spawn Egg Magnetic Box
We calculate the final price from your selected file. You review and accept it before payment.
Estimated printing price per file
€0.44 – €0.54 net (excluding VAT)
For file: Lid A MINI_0.2mm_PLA_MK3S_32m.gcode
This is an estimate for one file. You’ll confirm the exact price before ordering.
File and estimate settings
File used for this estimate
Average indicative estimate: €0.49 excluding VAT (range midpoint).
- Weight reported by the author
- 5 g
- Print time reported by the author
- 32.4 min
- Source material
- PLA
- Estimate material
- PLA
- Estimate printer
- Bambu Lab P1S - 0.4 nozzle
- Estimate process
- 0.20mm Standard
Indicative estimate for the selected file only, based on the author’s weight and print time. File variants are not added together. The final price is calculated after file analysis.
Saved on this device.

A multipart magnetic box based on the spawn eggs from Minecraft. Perfect for Easter egg hunts!
- Rating
- 5 / 5
- Likes
- 89
- Downloads
- 123
- Makes
- 0
- Views
- 1,105
- Reviews
- 1
Updated at source:
Model information
- Source
- Printables
- Category
- Home Decor
- License
- Creative Commons — Attribution — Noncommercial
Happy Easter! I haven't posted here in a while. But I'm glad to be back! I usually make these spawn egg boxes as gifts, so I thought I might as well post them for other people to do the same, especially during the holidays! (I realize it's kinda late now, but they make nice decor, especially if you use pastel colors).
It's a simple box made to replicate the Minecraft Spawn Eggs. To open the box, you rotate the lid around an an axle at the top of the egg, and to close the box, two pairs of neodymium magnets snap the lid firmly back into alignment. (You can get away with one pair of magnets, but make sure they're 8x3mm magnets).
Printing and Assembly
There are only 3 parts: the Base, Lid A, and Lid B. I recommend printing the parts at 0.20mm. The basic assembly steps are:
- Insert magnets into Lid B
- Press Lid B into Lid A, making sure to push the axle carefully through the thin circle outline at the top of Lid B
- Insert magnets into the Base, making sure to use correct sides(e.g. Magnet side facing bottom of Lid B is opposite pole of Magnet side facing upward from Base B (e.g.e.g. they stick))
- Insert the axle of the Lid into the Base. You're done!
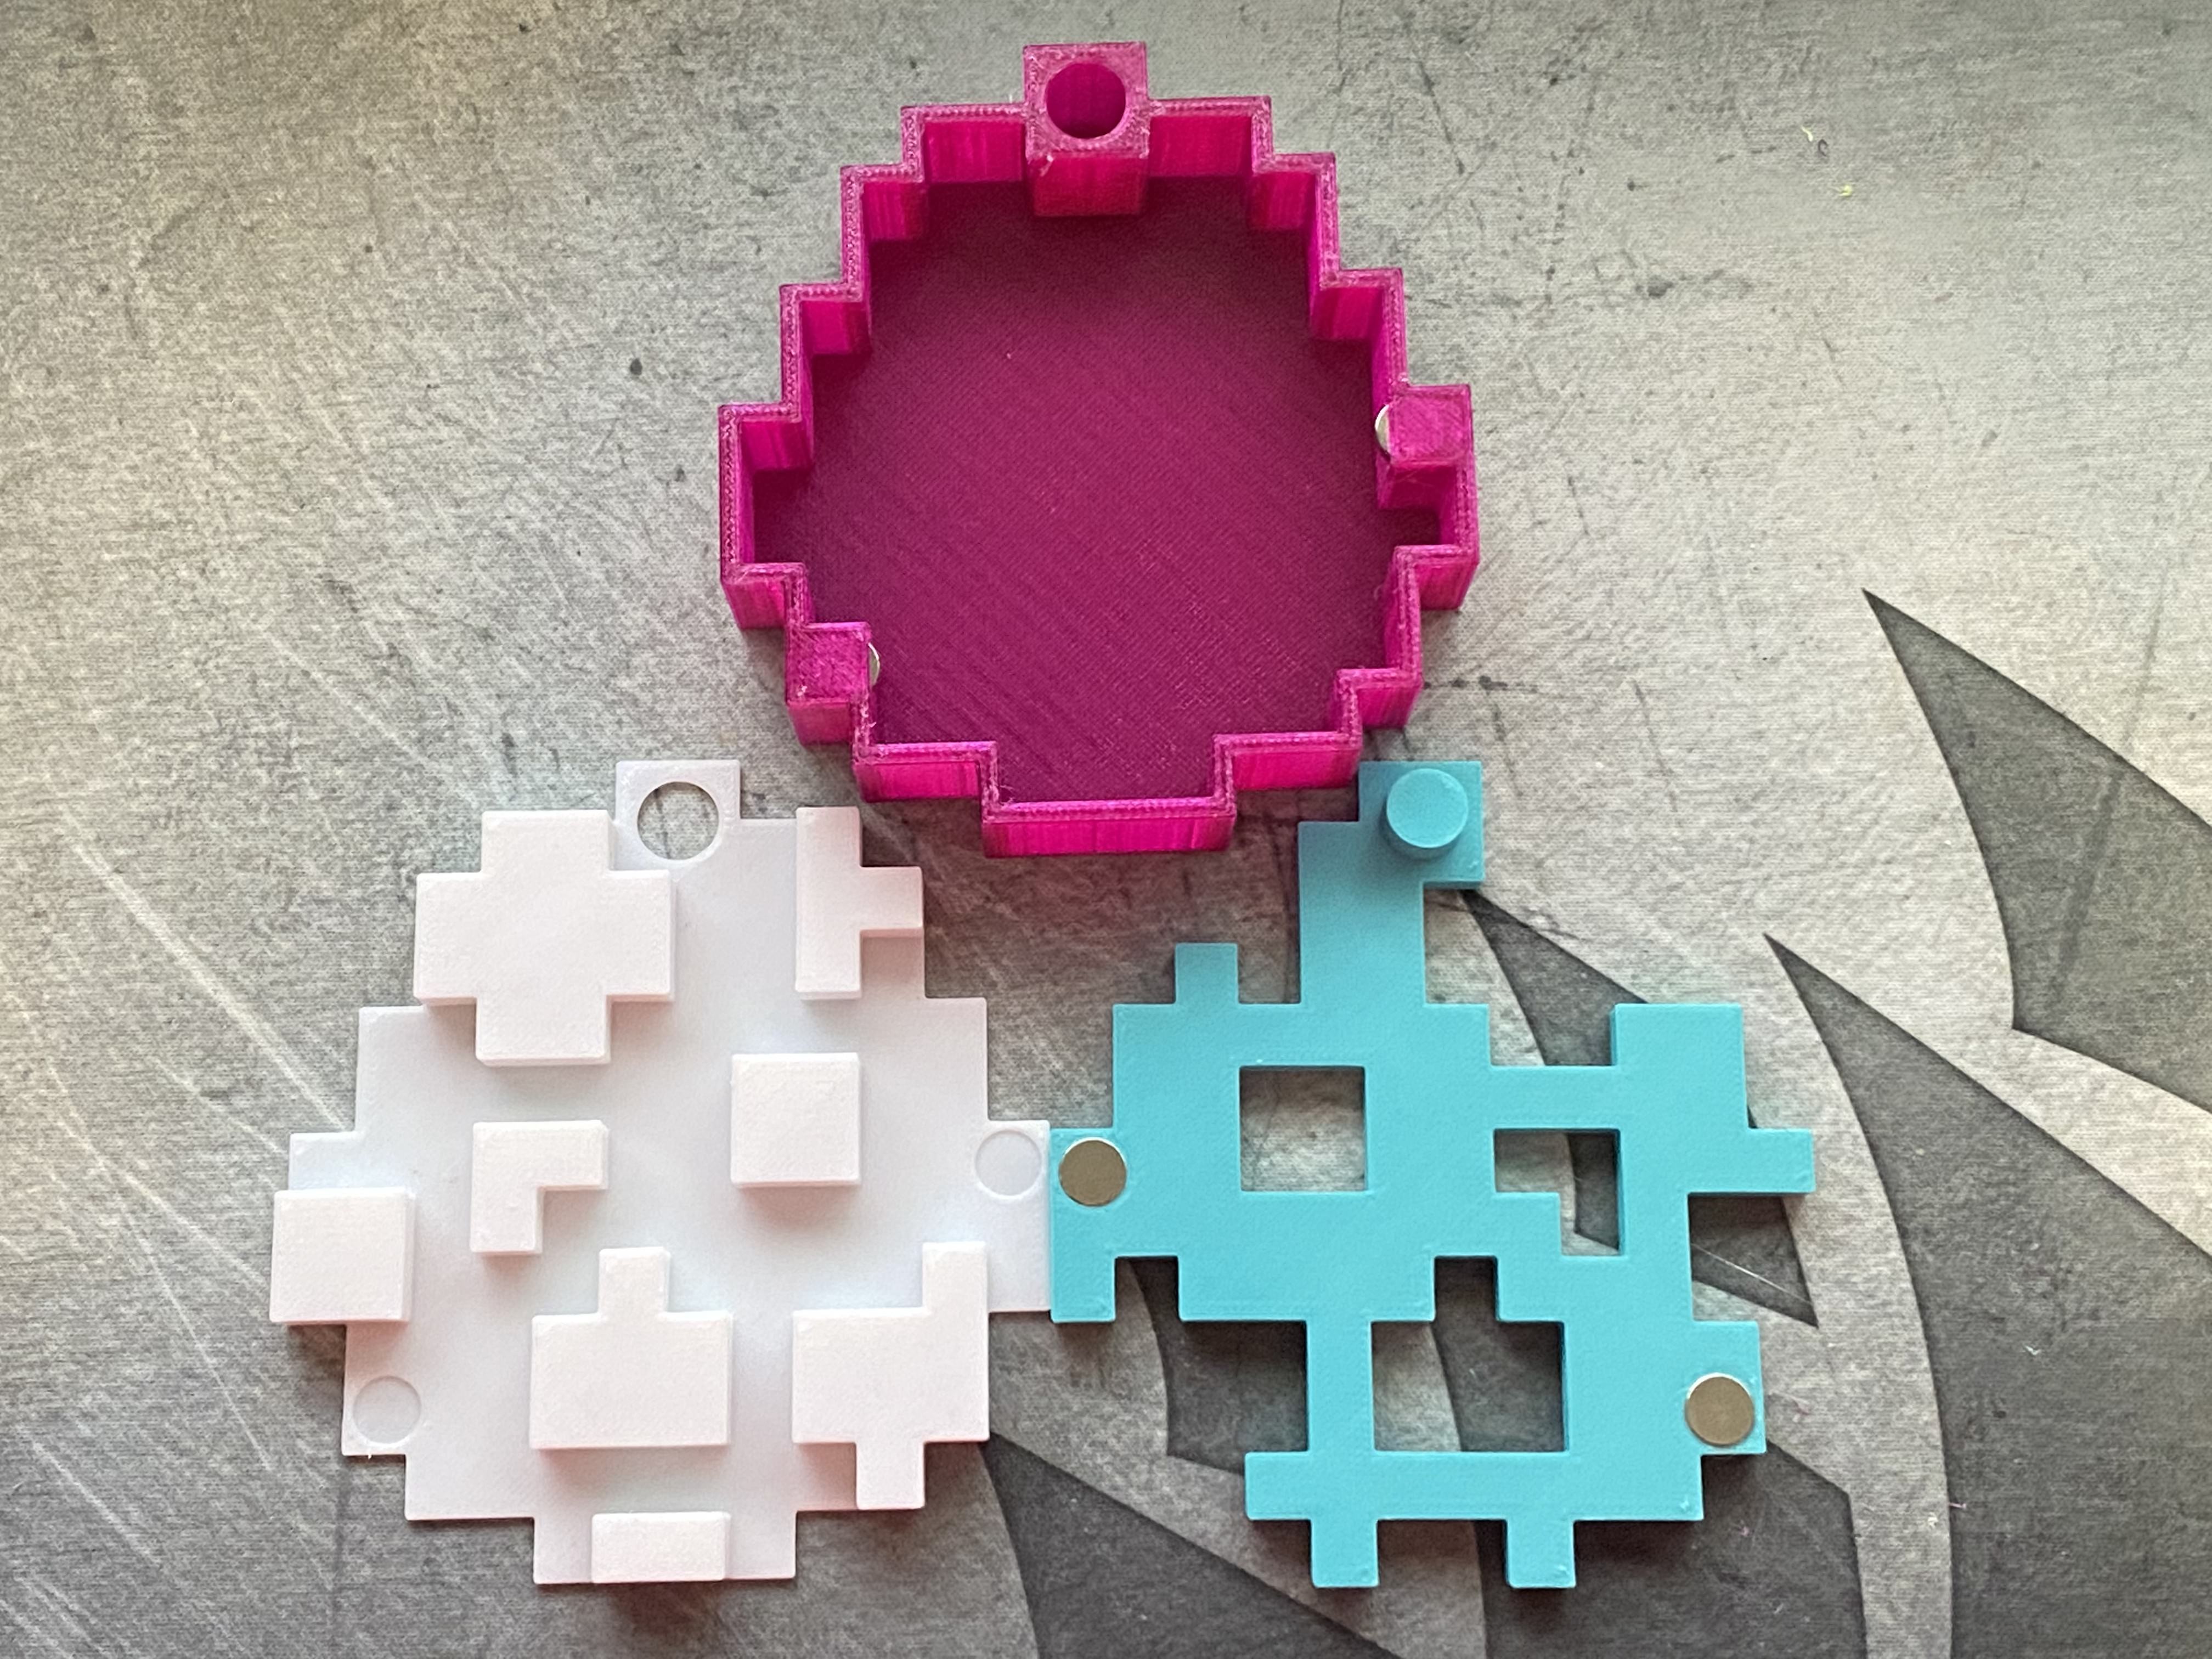
I have included several bases of different depths (Regular = 18mm, M = 28mm, L = 38mm).
There are also files for a Mini version that is 50% scale in X and Y directions (same depth). This version only needs one pair of magnets. It doesn't fit much but it's cute!
If you want any customizations to the dimensions, please don't hesitate to ask! <3