
Mobula sp. (Manta Ray) with a Remora remora (remora) Hiding in its Cloaca
We calculate the final price from your selected file. You review and accept it before payment.
Saved on this device.
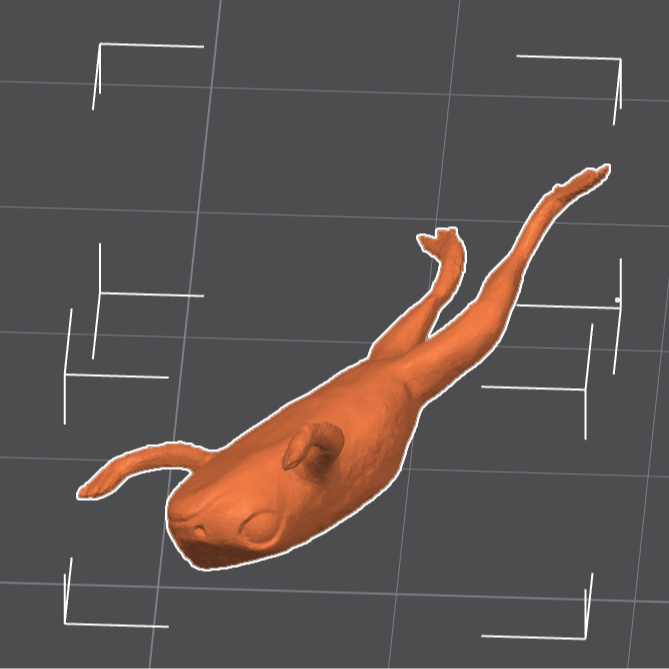
Here's a 3d printable sculpt of a remora hiding in a manta ray's everything hole, just like what's described in this art
- Rating
- 0 / 5
- Likes
- 3
- Downloads
- 22
- Makes
- 0
- Views
- 136
- Reviews
- 0
Updated at source:
Model information
- Source
- Printables
- Category
- Sculptures
- License
- Creative Commons — Attribution — Share Alike
Here's a 3d printable sculpt of a remora hiding in a manta ray's everything hole, just like what's described in this article.
Print and Assembly Instructions
Manta Ray
Requires 5mm diameter round magnets that stack up to:
3mm each for the 2 cloacal magnet holes so your remoras are less likely to slip out
6mm each for the 2 belly magnet holes so your remoras stick to the belly when they're not where the sun don't shine.
I like gluing them down first before assembling the two sides of the manta ray together. Also, glue each hole separately and start a new hole after the last one sets or you'll have glue-covered magnets flinging themselves to the nearest magnet and making everything a sticky mess.
Print the parts in the current orientation (you can rotate around the z-axis, KEEP X AND Y THE SAME): the back of the tail is facing UP, and the halves or the manta ray are flat-side down
Why, you ask, did I not just add pauses in a STEP file so you can add each magnet as it prints? Because they're all at slightly different positions and orientations and I also hate the anxiety of waiting for the prints to pause so I can add magnets.
Use a layer thickness of >0.2mm: any smaller and the print gets wibbly-wobbly because of the overhangs on the Bambu Labs P1S look worse with finer layers (I'm not happy with the current controversy, so I'll upgrade to a less problematic printer maker when I earn enough from sales/support to cover the cost)
MAKE SURE YOU ORIENT THE MAGNETS ALONG THE SAME POLARITY

Remoras
Requires 5mm diameter round magnets that stack up to 3mm
Print the parts in the current orientation (you can rotate around the z-axis, KEEP X AND Y THE SAME): the back of the tail is facing UP, and the halves or the manta ray are flat-side down
Use a finer layer thickness (<0.12mm if it's available for your printer) because these are very thin
MAKE SURE YOU ORIENT THE MAGNETS ALONG THE SAME POLARITY AS THE MANTA RAY'S. THE TOP OF THE HEAD (the ridged bit) SHOULD STICK TO THE MANTA RAY'S BELLY OR TO THE INSIDE OF THE MANTA RAY'S EVERYTHING HOLE.
