
4Runner Molle Panel
We calculate the final price from your selected file. You review and accept it before payment.
Saved on this device.
Model information
- Source
- Printables
- Category
- Automotive
- License
- Creative Commons — Attribution — Noncommercial — Share Alike
Molle panels for your 5th gen 4runner.
Print in a material that can withstand heat, it's in a car and will get hot. PETG for 3 months and had a few 100 degree outside temp days, no issues with warping on the panels.
These are not designed to replace a steel molle panel, you can't load it up with the same amount of weight. However, you can decently fill it up. See my picks. Bungee attachments work well. See my other post for attachment clips.
Right and left side files represent passenger and driver side respectively. I screwed up with what did and didn't need mirrored so you don't have to worry about it, that's why there are 2 files. The panel itself is oriented so you get the print plate texture side facing into the cabin. So if you have a cool plate and want some cool textures, just put your plate on and you're good to go.
TOOLS
10mm socket, phillips head screw driver
You do need to purchase some screws for installation. (4) M6x40mm and (14) M3.16 with nuts
For the M3's I used this kit on amazon, comes with the allen wrench you need.
JB Weld Plastic Bonder (tan colored wrapper)
ASSEMBLY
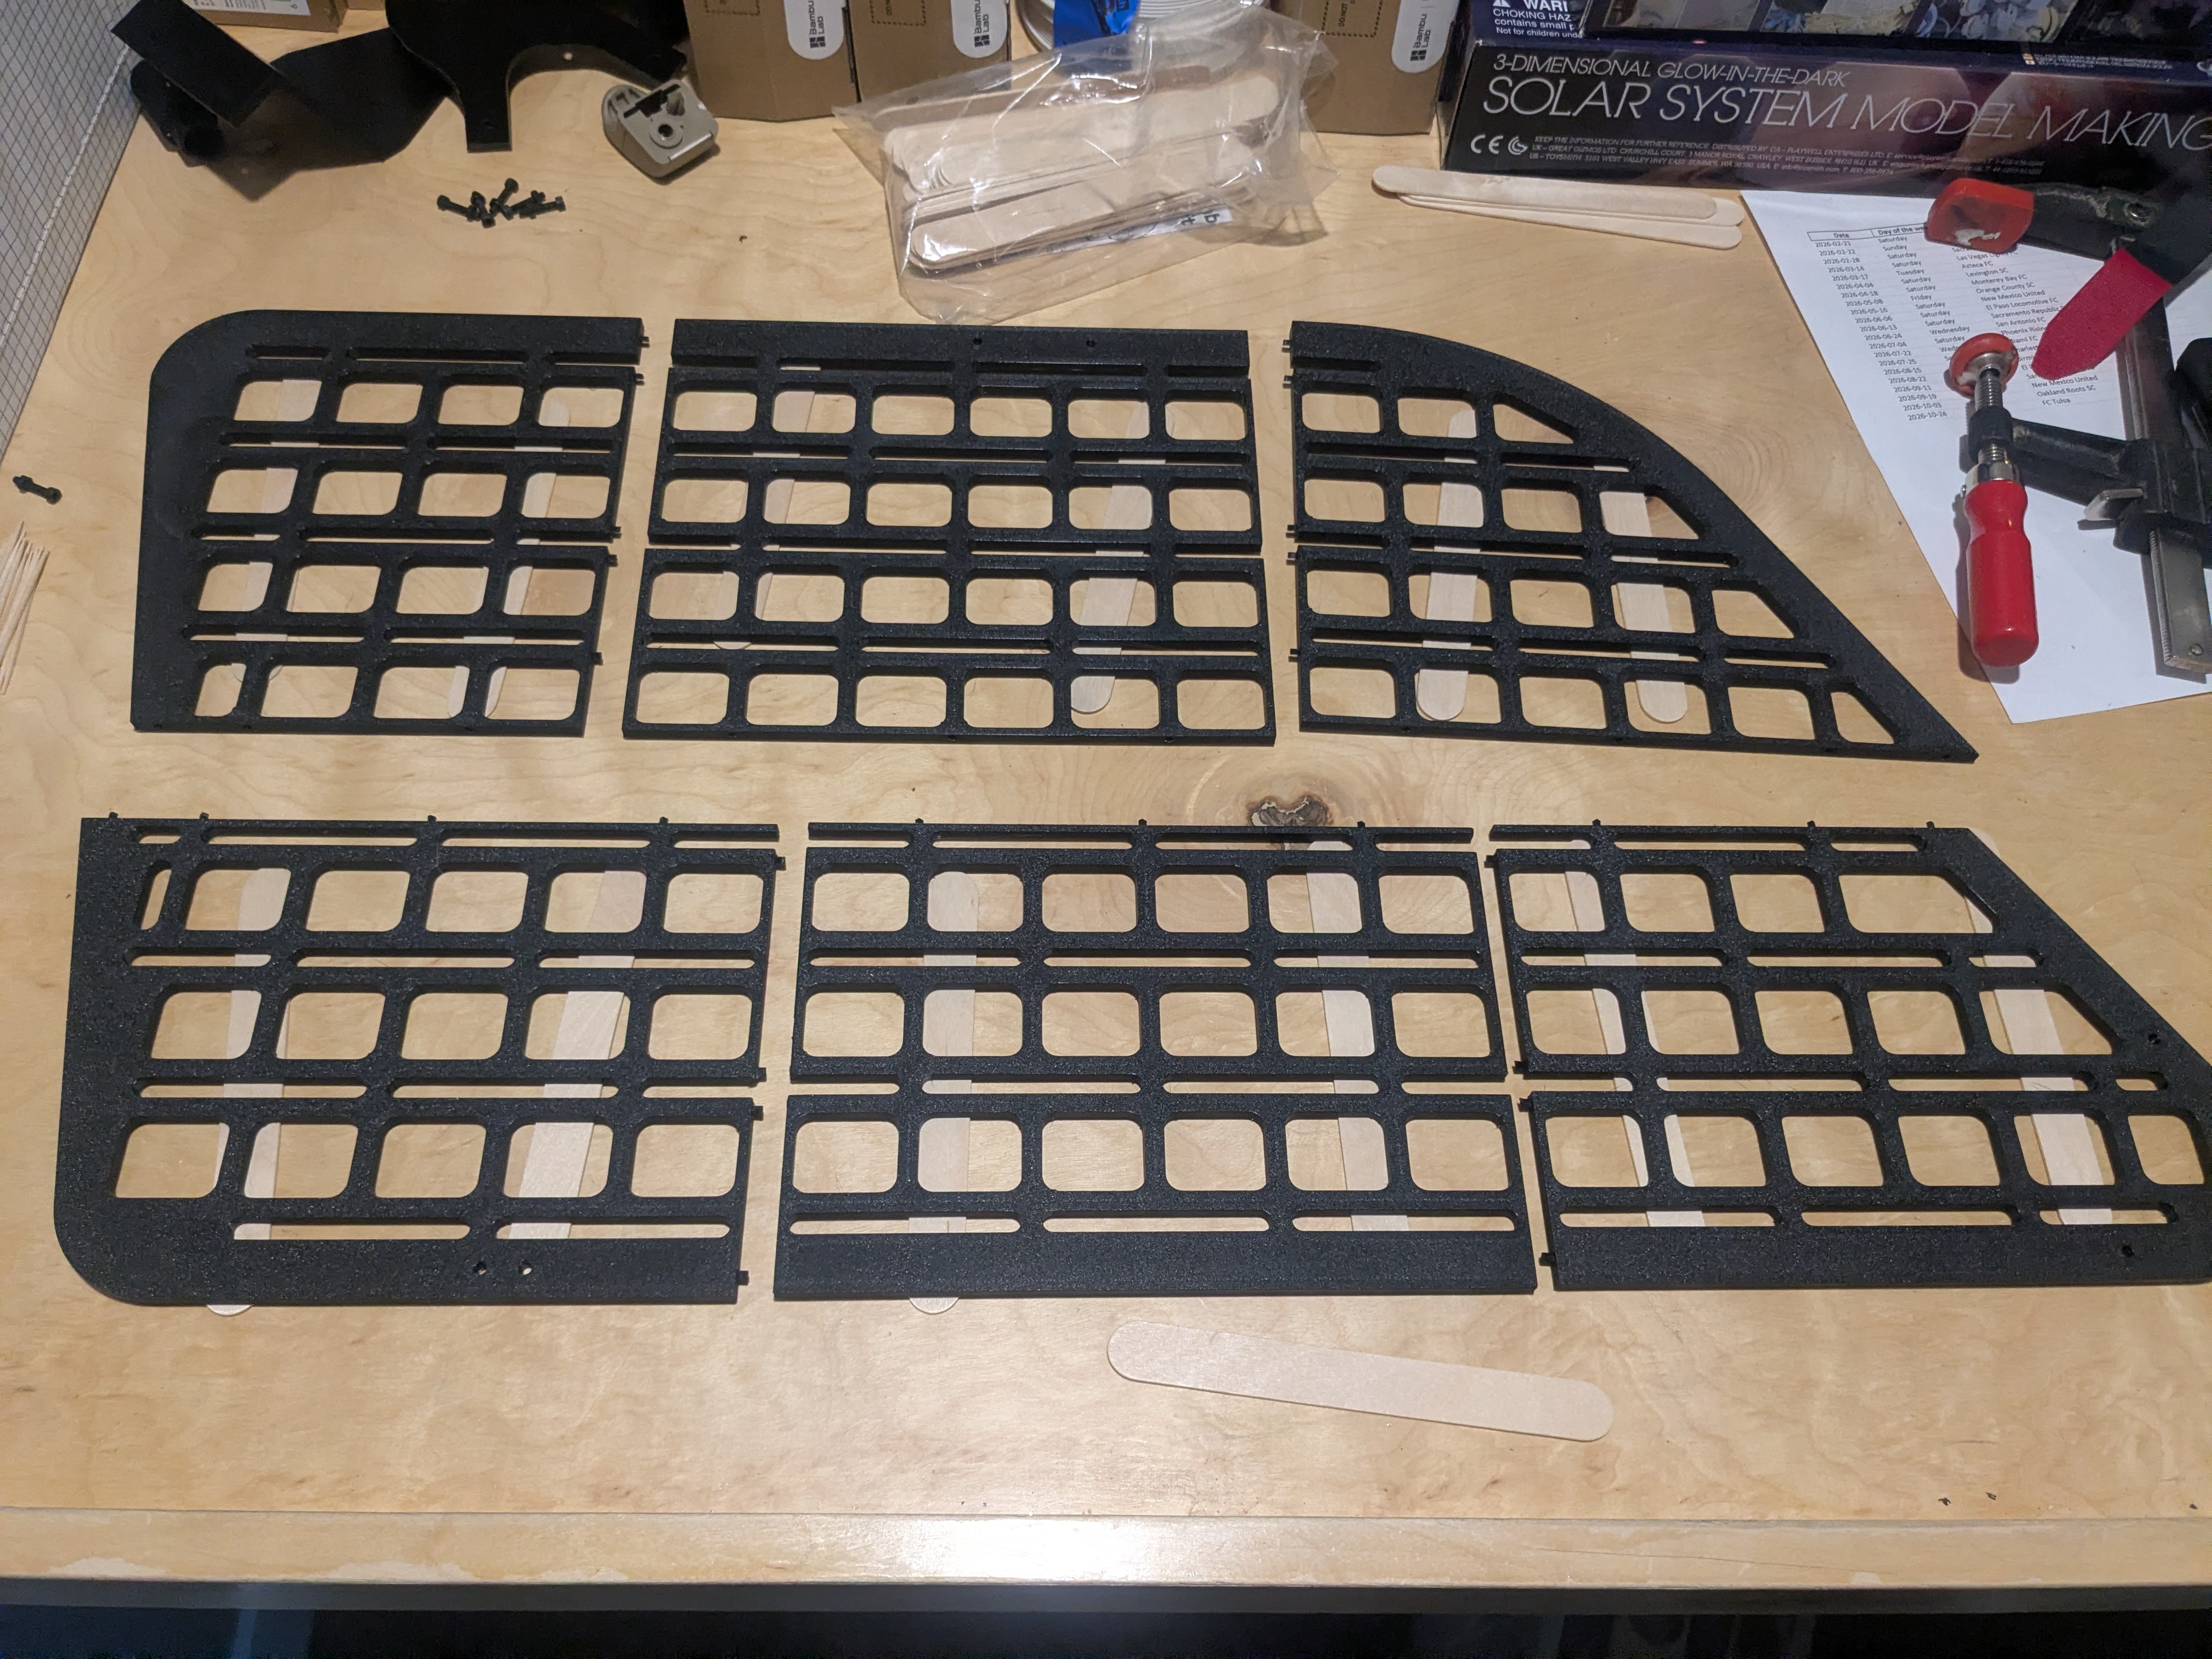
Print your stuff. On plates 5, 6, and 7 there are pegs for helping with alignment. The exact number is modeled.
Align your panel sections. Mix up some JB Weld, use a popsicle stick to coat the entirety of the joints, I also put some into the peg holes. My picture below shows the proper panel alignment with pegs epoxied in. Note the center panels and which is which. The peg alignment is different to help make sure you can't screw this part up.
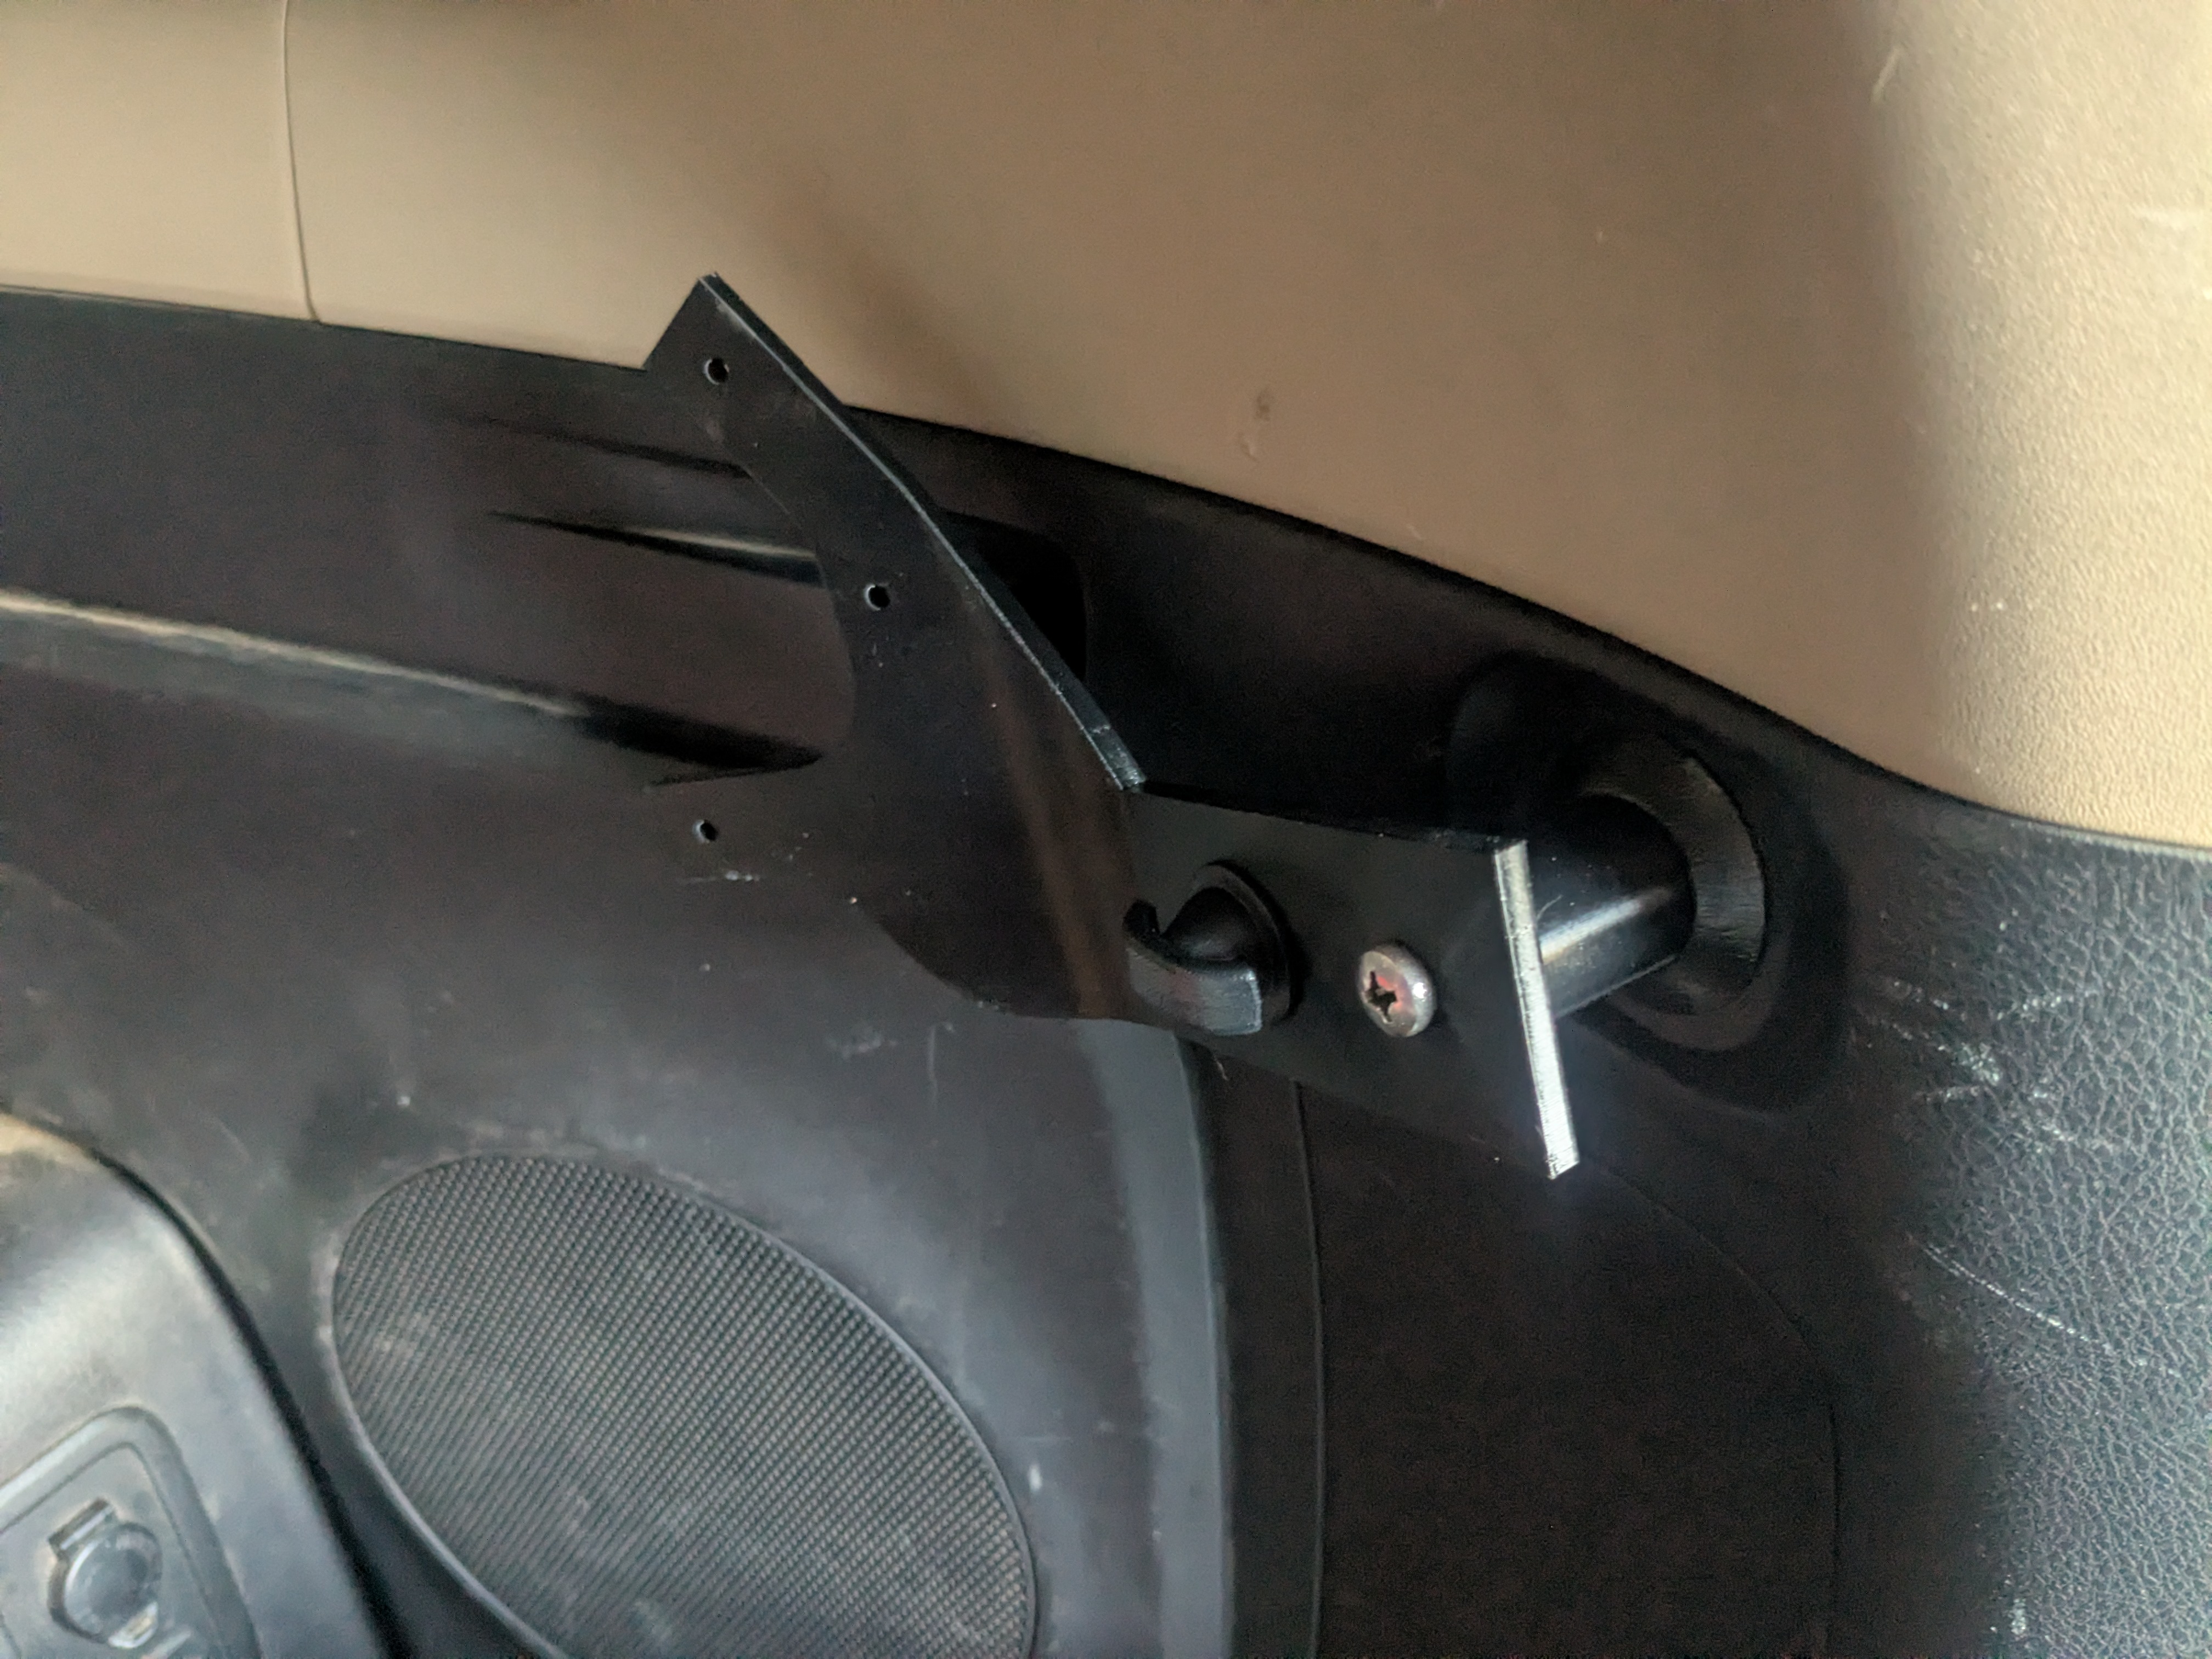
While your epoxy is drying, in the back of the vehicle pull out the cargo net hook (support 1) (the screw behind here stays in), hatch cover plug (support 2) and the screw behind it, and finally the clothes hook (support 3). Install your supports.
At support 1, the plug twists in just like your cargo net hook does. Then you can reinstall the net hook on the support.
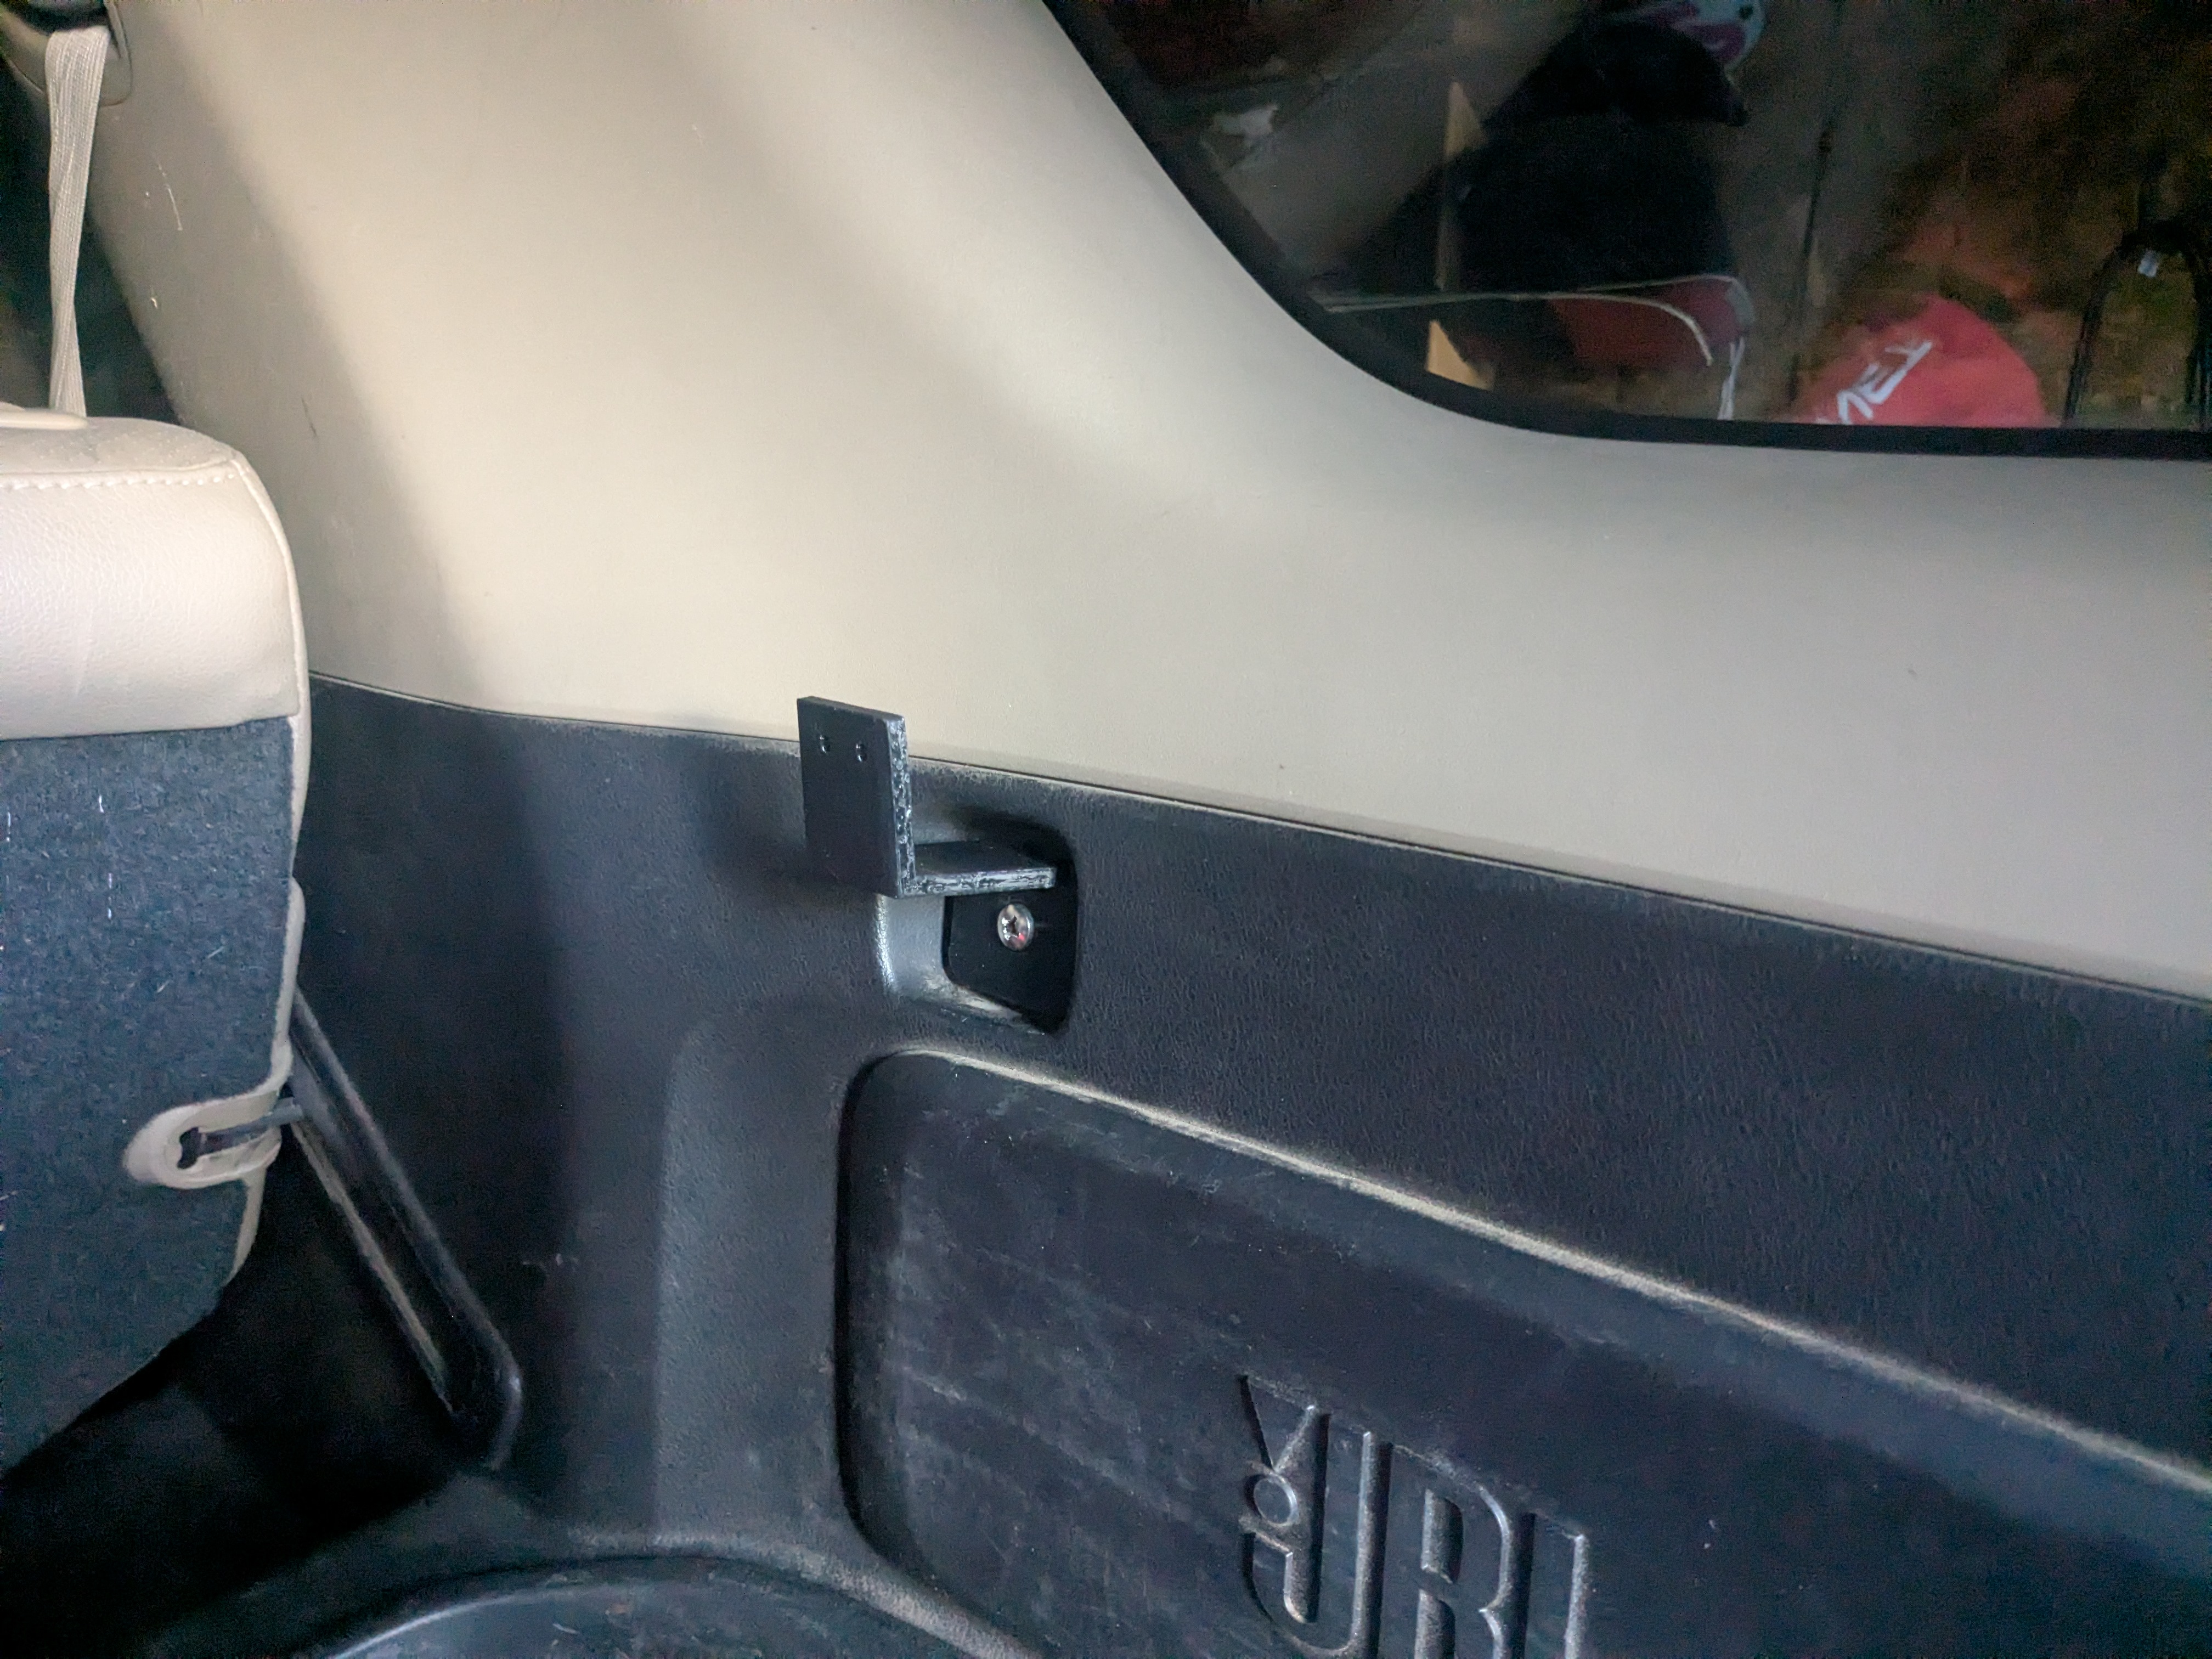
At support 2, install with the J shape reaching up. The shape of the support will help align with the screw hole to the vehicle.
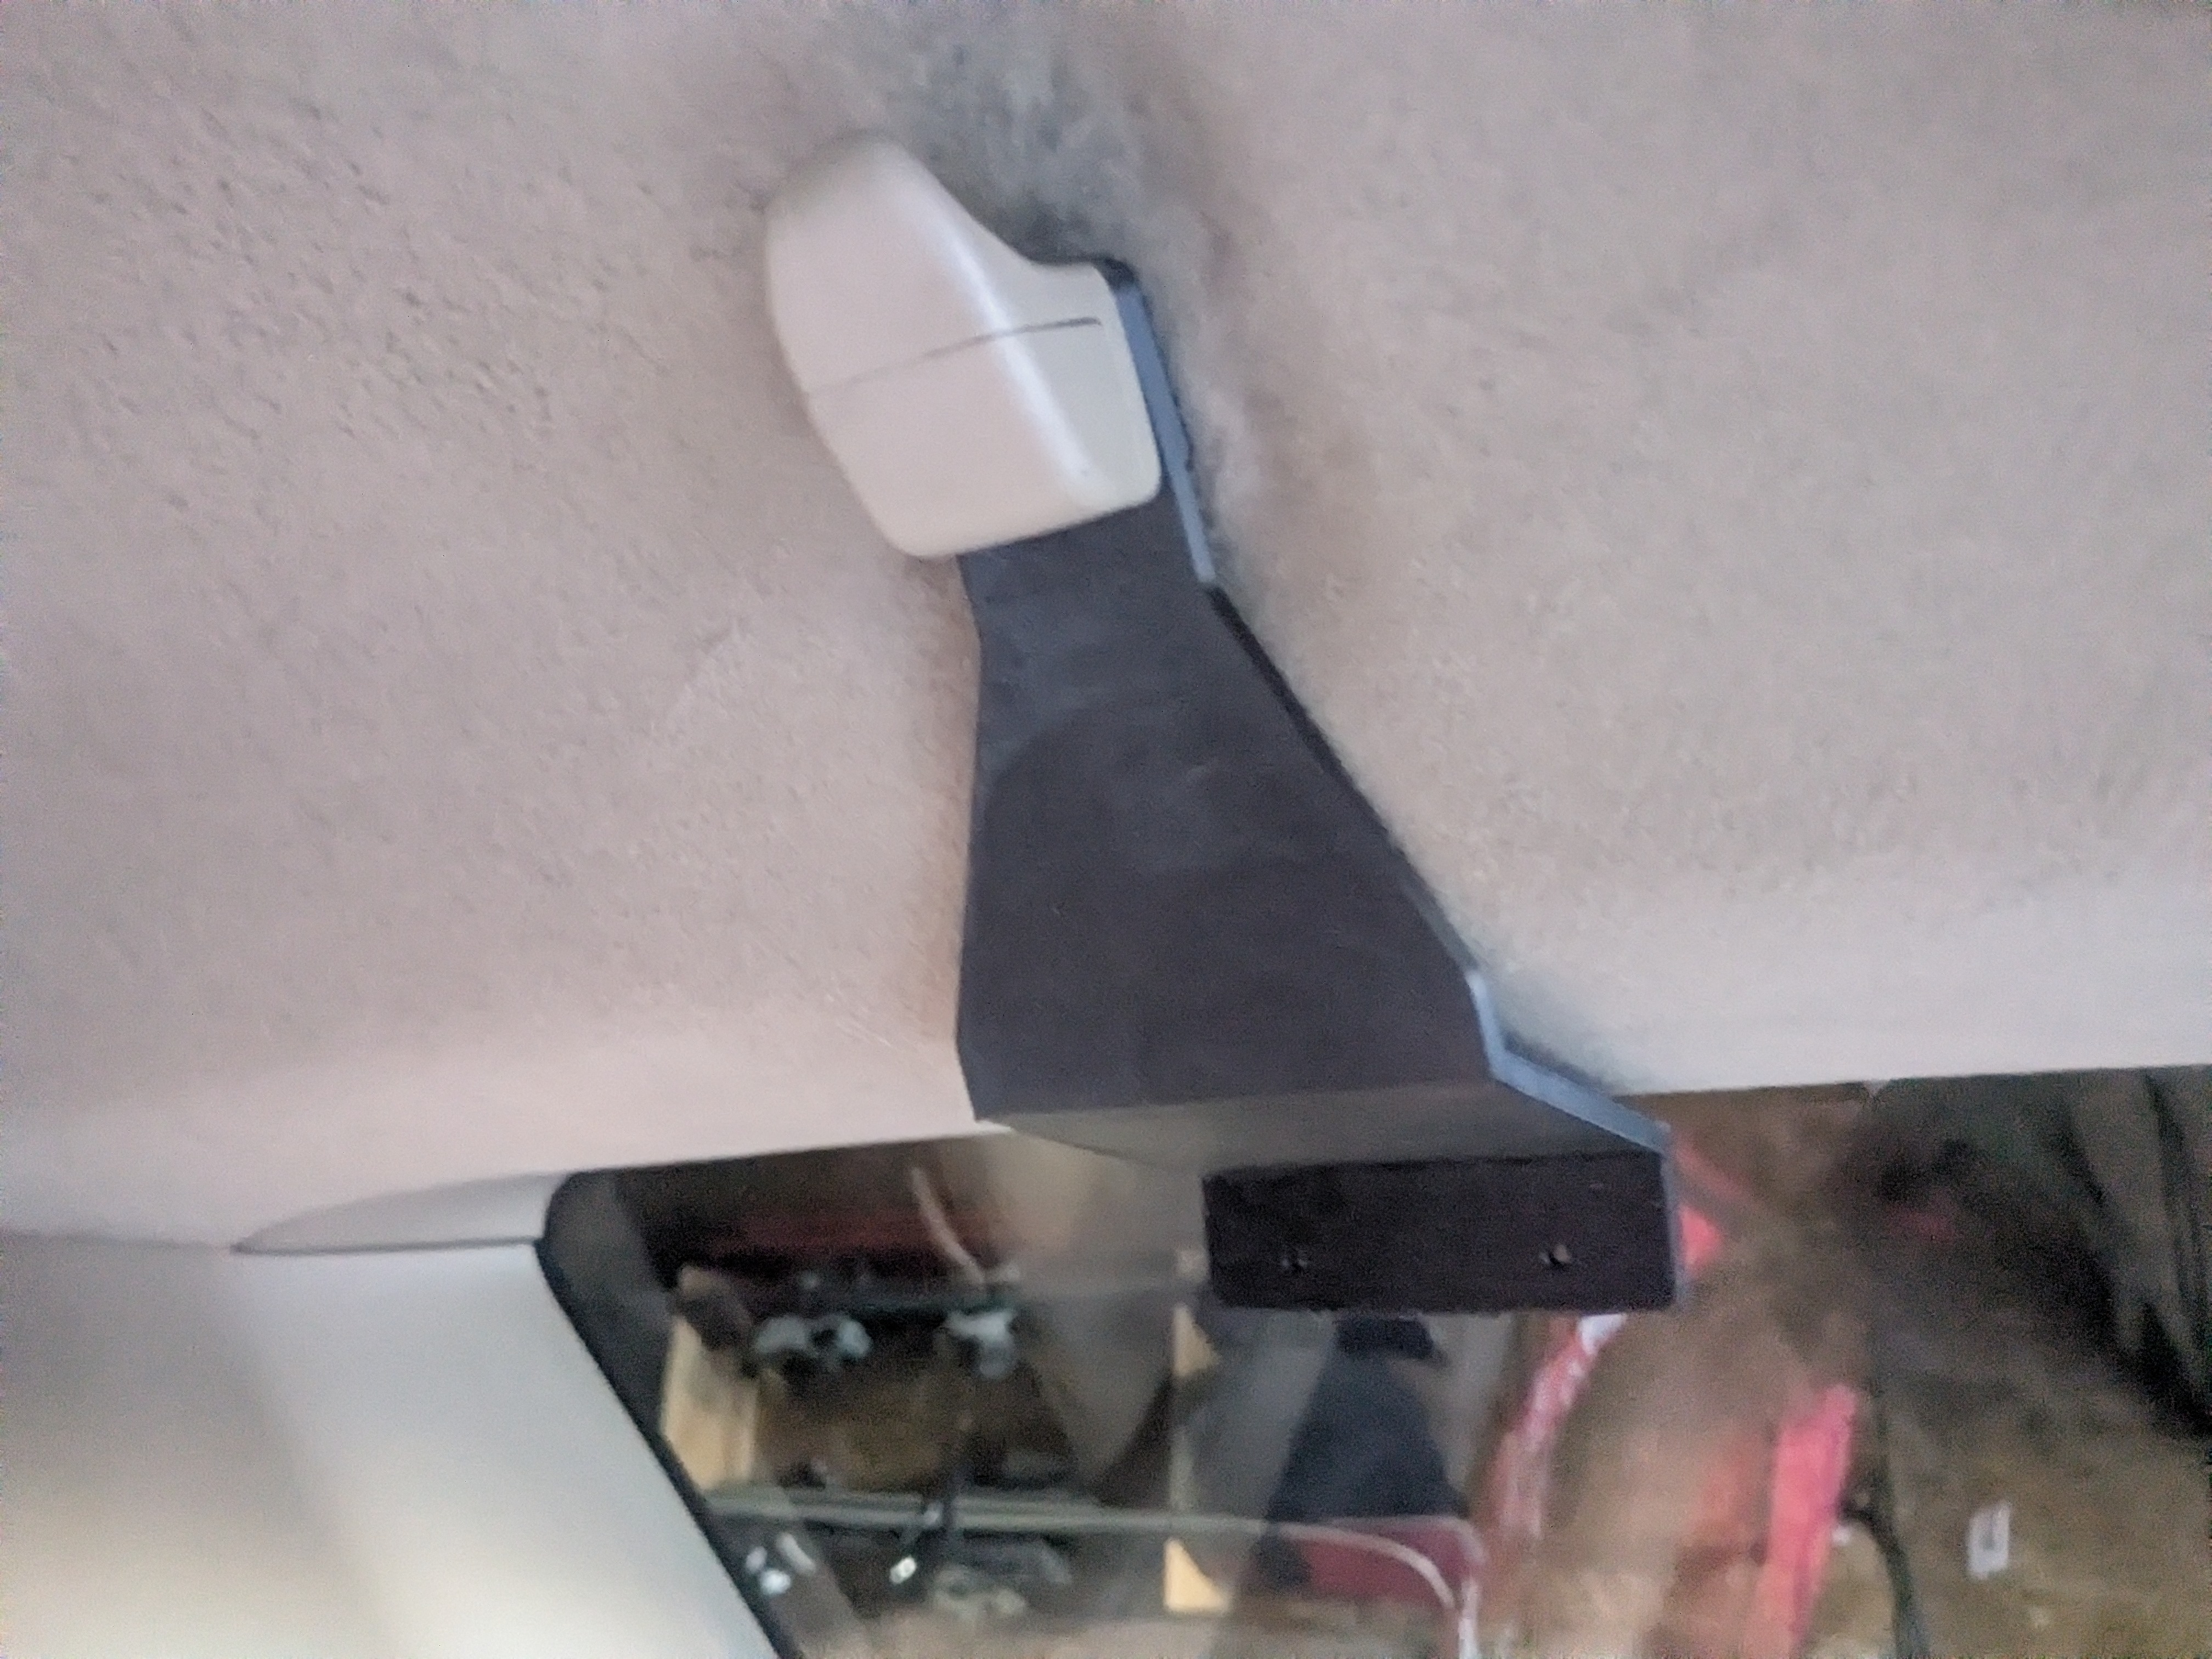
At support 3, these brackets are the same on each side of the vehicle, there is not a left vs right hand side. Yes I printed one mirrored assuming and was annoyed to wait another night to have to install it. The clothes hanger goes back over top for the install. Sorry about the photo, I guess my phone decided 2004 flip phone quality was sufficient.
Now for the fun part, take your assembled panel and just screw it onto the supports. I tried pre-assembling and assembling in place. I didn't fine one was easier. Just reach those dainty little fingers of your behind the panel and use the M3 screws, washers, and nuts to secure it. I accept no liability for lost M3 nuts during this process :)
Once it's in place, have fun hanging things. I do recommend keeping things tight to the panel. My hardhat bounces around a bit. The blankets will pull on it and make it shake on bumps if they aren't tight to the panel. The tighter things are attached, the more stable the system behaves.
I have not weight tested it, so good look if you try putting a mobile compressor on there.
Cheers!