
1 / 1
CR10s-Pro Filament Guide - EASY CLIP-ON - screw on - z-sync version
Order a print of this model
We calculate the final price from your selected file. You review and accept it before payment.
Saved on this device.
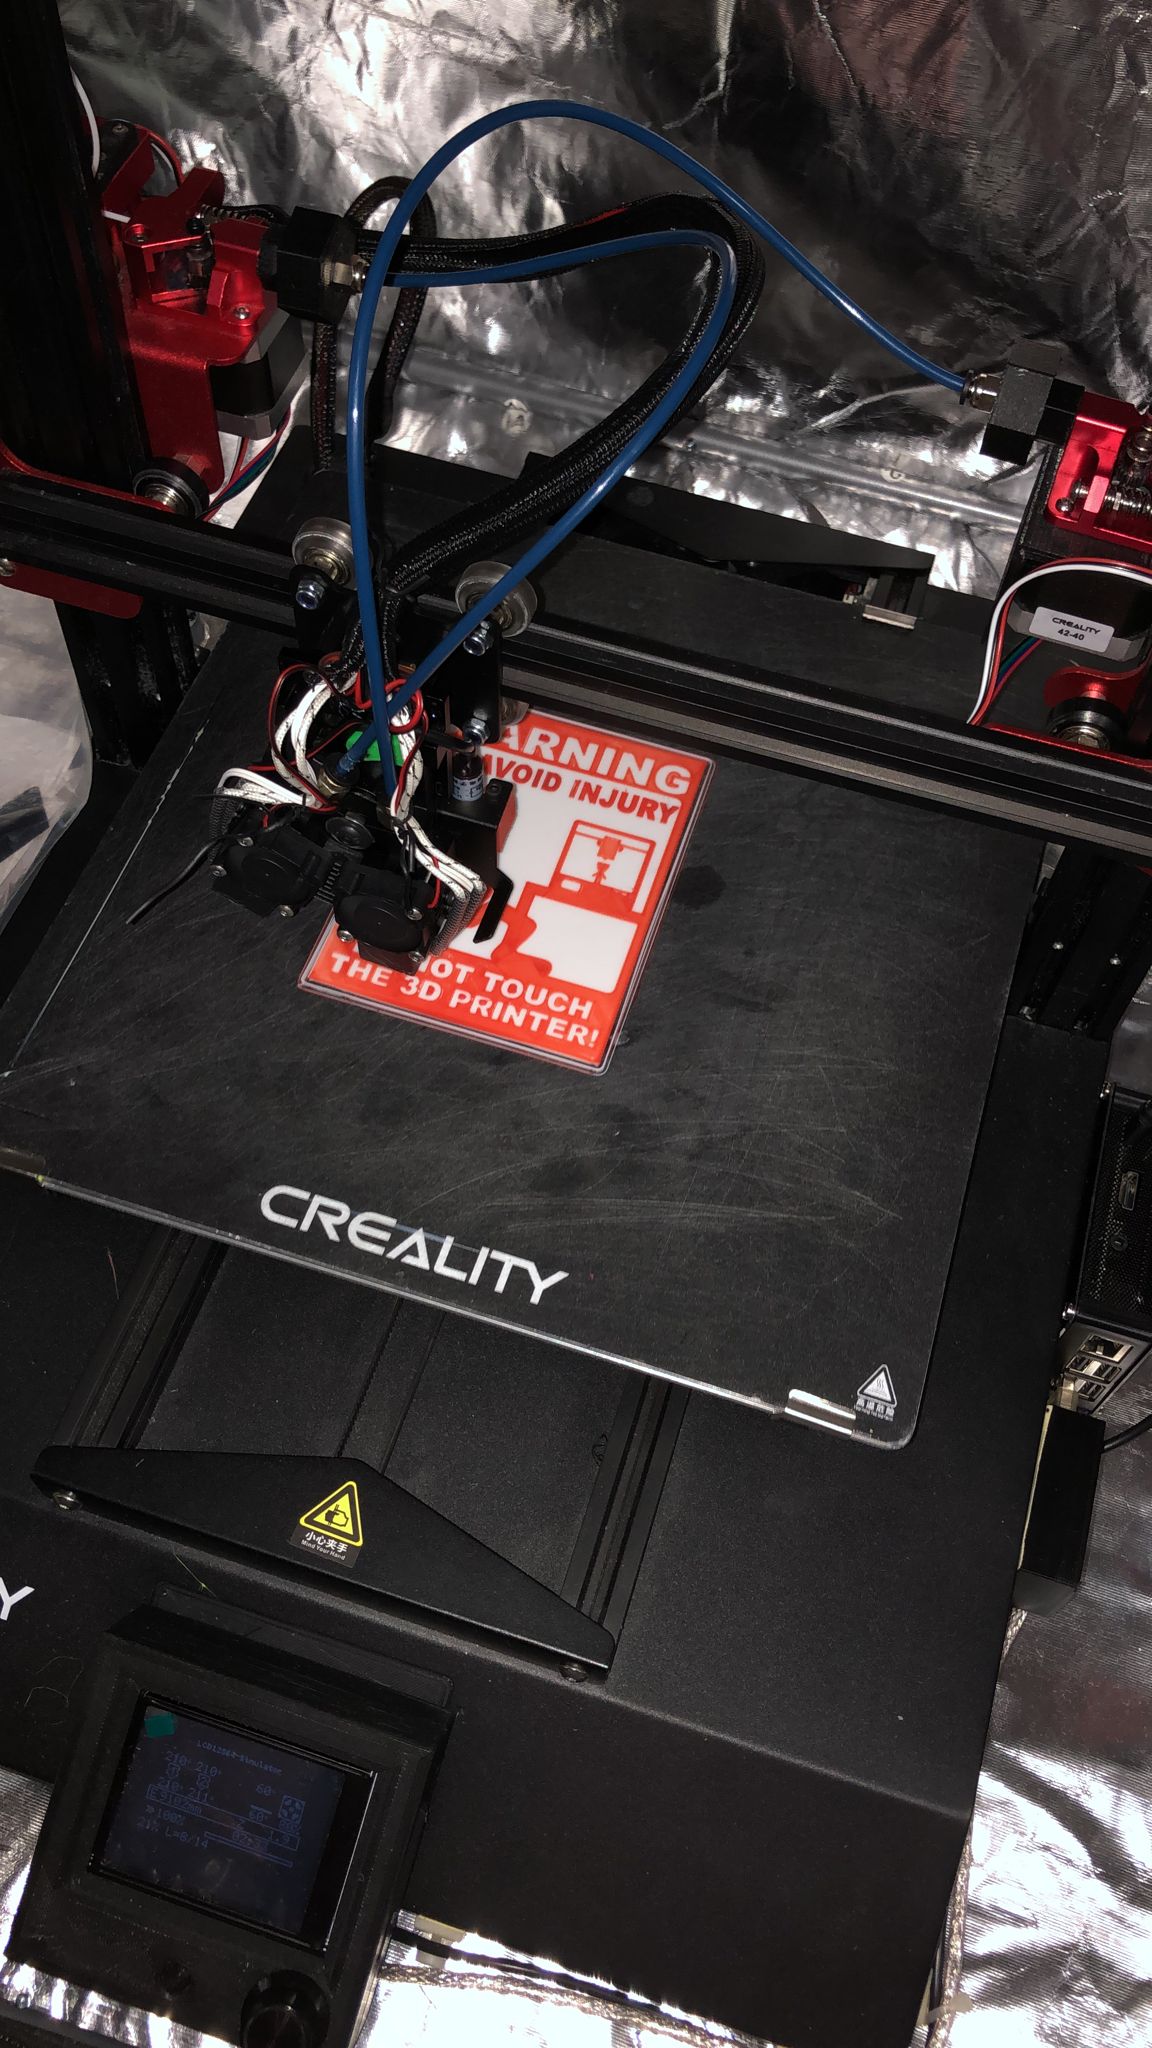
CR10s-Pro Filament Guide - EASY CLIP-ON - screw on - z-sync version
- Rating
- 0 / 5
- Likes
- 2
- Downloads
- 18
- Makes
- 0
- Views
- 468
- Reviews
- 0
Updated at source:
Model information
- Source
- Printables
- Category
- Other Printer Parts & Upgrades
- License
- Creative Commons — Attribution
..first thks to ToddsWorld for the great design...
I was using his design for all my stock CR-10s Pro, but when I started to add z-syn or even frame bracing, I needed to alter the design and finally decided to do a complete makeover.
Whats new:
You will get two clips:
- Clip.stl is for regular setup, which means the z-syn pulley is installed below the top lead screw anti wobble bracket.
- Clip_flipped_Bracket.stl is for a twisted bracket where you can mount the pulley on top not to loose any z height (check out details here https://www.printables.com/model/229079-cr-10s-pro-v1-cr-10s-pro-v2-and-cr-10-max-maintena)
a screw on mount if you are using frame bracing:
- Screwon_Mount.stl
a completely new loopeye which can also be done in a 2 pcs. print for better strength of the arm (glue required for assembly):
- Loopeye_V3.stl
- Loopeye_only.stl 2 pcs. print
- Loopeye_Arm_only.stl 2 pcs. print, print with support in the model orientation in order for the layer lines to be oriented where the bending force will be applied