
Xbox One mini wheel Evolution
We calculate the final price from your selected file. You review and accept it before payment.
Saved on this device.
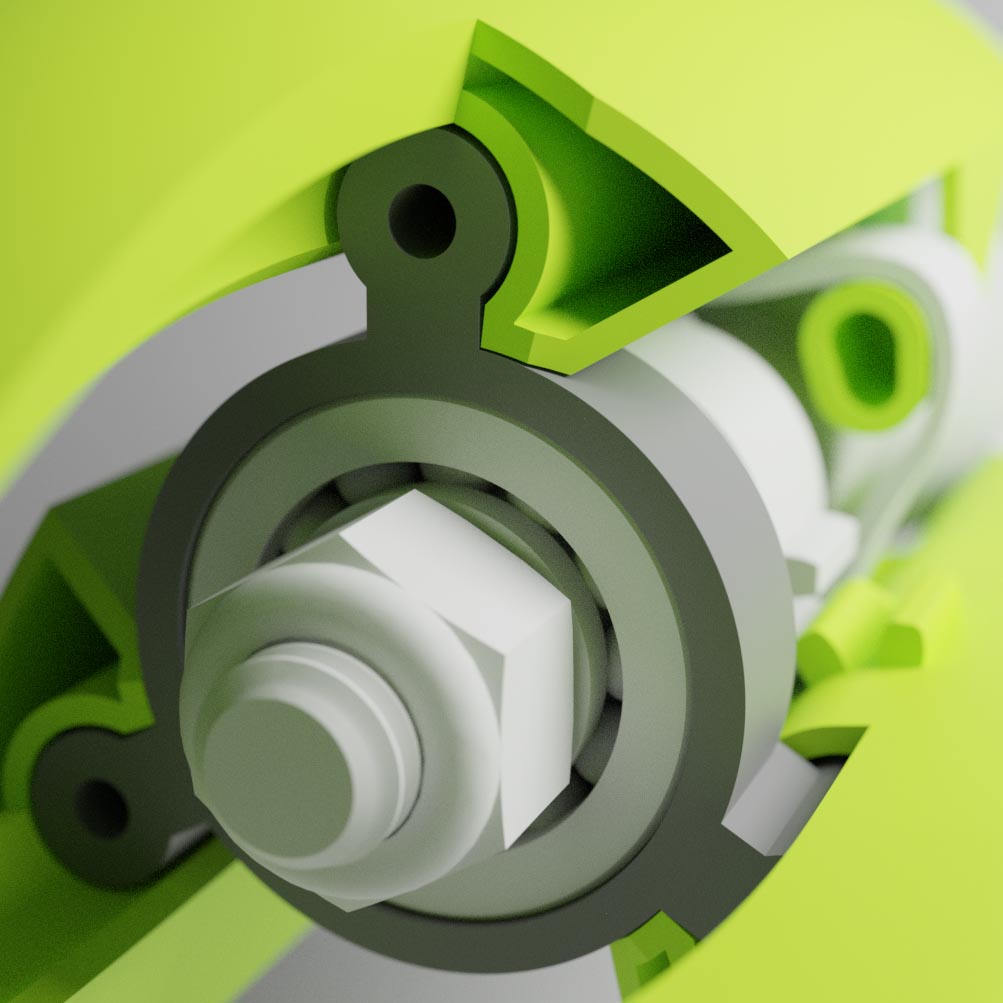
A remaster of the original mini wheel
- Rating
- 4.556 / 5
- Likes
- 139
- Downloads
- 1,358
- Makes
- 17
- Views
- 6,484
- Reviews
- 9
Updated at source:
Model information
- Source
- Printables
- Category
- Video Games
- License
- Creative Commons — Attribution — Noncommercial
The four year old design has been remastered for greater driving precision, faster printing and 97% less support material.
What you need:
608 bearing, 22mm diameter, 7mm thick, 8mm center. Get one from that dusty fidget spinner you have laying around...also skateboard bearings
superglue
piece of 1.75 filament/#16 finishing nail/M2 X15mm screw
Print Settings
.2 layer height (.4 nozzle)
0 top/bottom layers
15 walls - makes parts solid
supports are built in [turn them off in the slicer]
Tolerances are tight on this model and good layer adhesion is a must. Make sure your printer is properly calibrated before attempting this project.
Post-Printing
Break off the support piece.
Snap the button into the frame.
Attach the pivot to the rack. 3 methods:
Make a rivet from a piece of 1.75 filament.
Cut down a #16 finishing nail and glue the rack end
M2 X15mm screw.
Glue the top and bottom edge of the bearing into the frame. Wait for glue to dry. Superglue might leave a white haze on the controller if it's not dry.
Snap the rack onto the frame.
Attach the assembly to the controller. Slide the pivot on the left stick then hook the front of the frame into the USB port. Last, lock in the back tab.
The pivot should return to the neutral position when pushed to either extreme. If it's sticky, sand down/file the “T” section of the frame and test motion again.
Center the wheel on the rack and press it into the bearing.
Go into the game settings and turn up the sensitivity. 0 dead zone. Enjoy precision driving.
