
Desktop Machine With Roller Chain
We calculate the final price from your selected file. You review and accept it before payment.
Saved on this device.
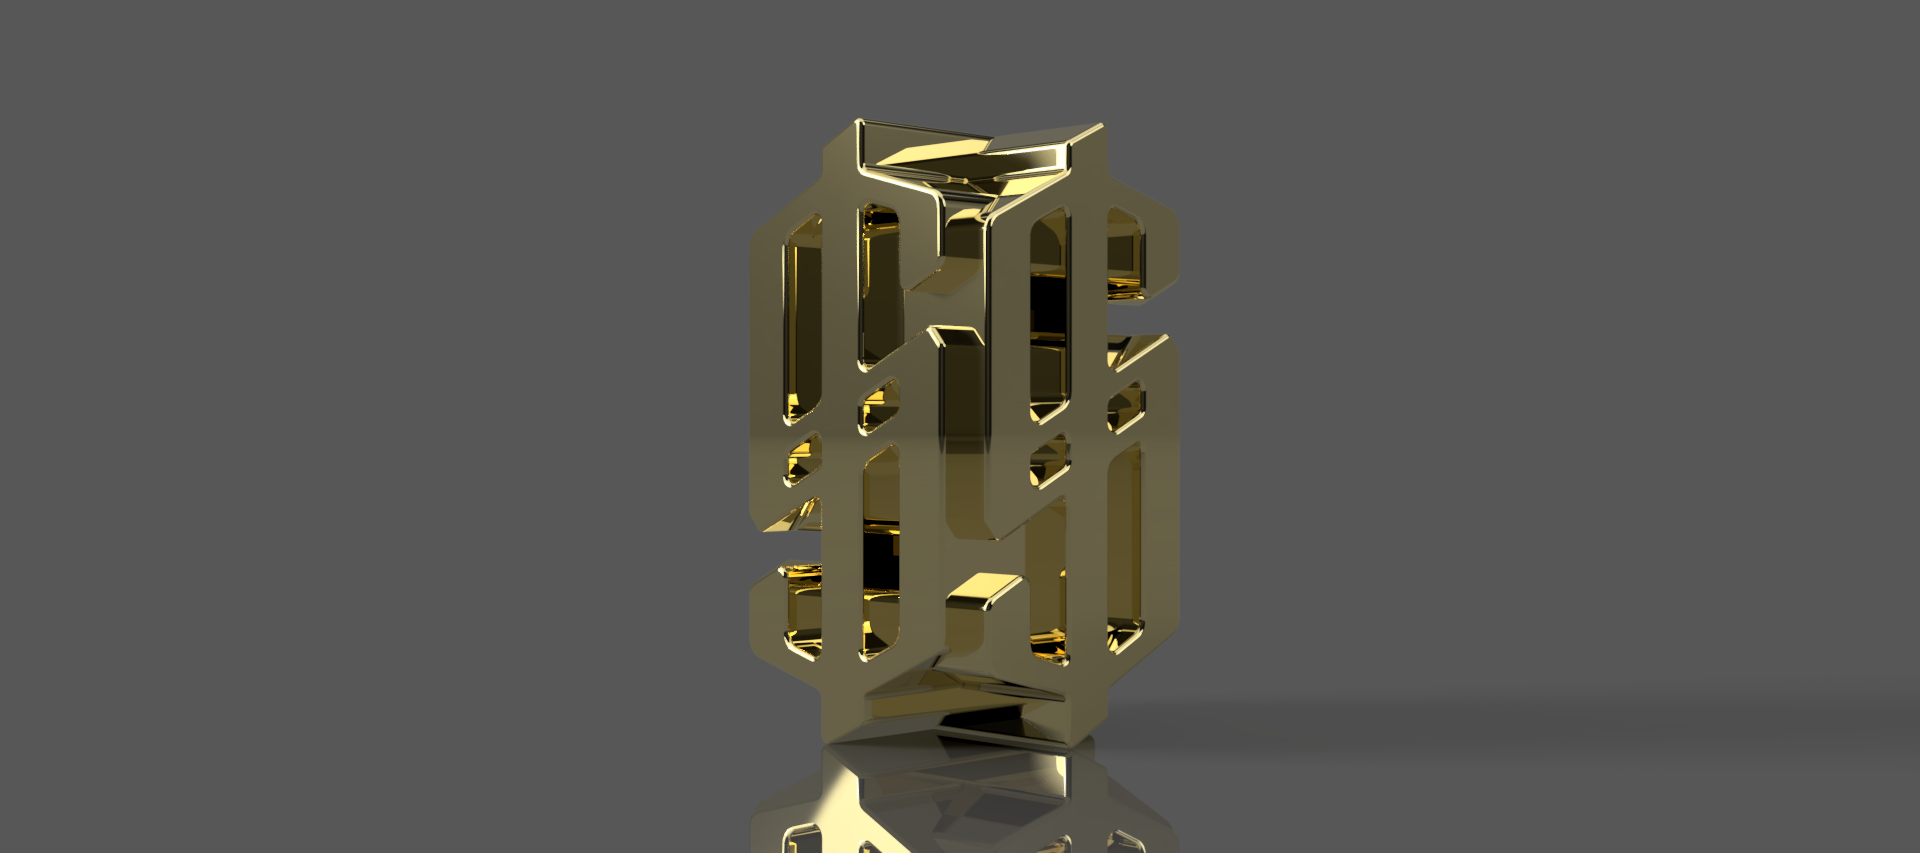
This piece is my take on a desktop, manual version of Arthur Ganson's "Machine With Roller Chain".
- Rating
- 4.81 / 5
- Likes
- 548
- Downloads
- 761
- Makes
- 27
- Views
- 16,417
- Reviews
- 21
Updated at source:
Model information
- Source
- Printables
- Category
- Action Figures & Statues
- License
- Creative Commons — Attribution
Ever since I saw Arthur Ganson's sculptures, I have wanted to make a version of my own. “Machine With Roller Chain” is a motor-driven sprocket that drives a length of chain up through a table and the chain is allowed to tumble onto itself in a hypnotic and organic motion.
With my version, my goal was to make a model that was entirely printable, without supports and created a satisfying assembly experience. This model consists of the Main, Top, Sprocket, Bolt and Links. You need one of every part except for the links. The amount of links you need is entirely up to you. For reference, my model uses 36 links and I printed them in 3 batches of 12. Feel free to experiment with more or less and see what you come up with!
I recommend printing theses parts at .2mm layer height or less and any infill percentage over 10% should be sufficient. My provided .gcode files are for .2mm layer height and everything works well. I suggest using PLA and I can verify that it works with PLA. If you print it in a different material, please let me know and validate that it works in other materials.
I have provided two different .gcode files for the Sprocket, one has a color change when the print reaches the “knob” area so you can highlight the “action” features. I have also included a single-color version if you would like to skip the color change.
When printing the links, make sure to position the flat side of the link down towards the print bed. Also, when assembling the links, make sure to keep all flat sides on one side of the chain and all rounded sides on the other side of the chain. When assembling, ensure that the round sides of the links are contacting the sprocket and the flat faces are facing away from the sprocket.
I typically design in imperial measurements. If a part comes in and it is too small, adjust the scale of that part to 2540% and it will be correct.
After you click everything together, slowly turn the sprocket and watch the chain click-clack onto itself and create a mechanical display.