
Mechanical Sun, Moon and Earth Orrery - Fully 3d Printable
We calculate the final price from your selected file. You review and accept it before payment.
Saved on this device.

Tabletop orrery thats fully 3d printable and uses gears to power rotation celestial objects
- Rating
- 5 / 5
- Likes
- 256
- Downloads
- 346
- Makes
- 1
- Views
- 6,408
- Reviews
- 2
Updated at source:
Model information
- Source
- Printables
- Category
- Physics & Astronomy
- License
- Creative Commons — Attribution — Noncommercial
Mechanical Sun, Moon and Earth Orrery - Fully 3d Printable
All parts are 3d printable, no screws or bolts required, only some super glue needed.
The orrery shows Sun, Earth and Moon orbiting around its axis while also orbiting other bodies. Moon orbits Earth and Earth orbits Sun.
10. 9. 2022 Warning: version 1 has some problems, that need fixing, remixes will be allowed, I will also do some corrections myself. I managed to print it myself but I needed to sand some parts down and sometimes cut some parts of the parts to get them to fit. I will be correcting whole model later this month. BE AWARE THAT IF YOU PRINT IT NOW YOU WILL HAVE TO ADJUST PARTS YOURSELF - it will work if you do it correctly.
24. 9. 2022 Update: fixed most annoying bug on the design - holder for gear that holds planet. It used to not support the gear properly resulting in gear jamming under sun gear. Now it should be fixed. Update comes in two parts: updated part and add on. It should work without add on but I think it works better with it, you just have to glue it into place. Also some clearance issues were fixed but not all.
How to print it:
Some parts are designed to be printed without supports, some arent. Check the notes of all parts before printing because some of them need more strenght.
Material: PLA, PETG (anything that you can print good with)
Supports: some parts will need them, check notes
Layer height: 0.2 will do great for most, you can also spped proccess up with higher layer heights. I would recommend to print Moon, Earth and Sun with 0.12 layers for greater smoothness.
Infill: Normally 20%-25%, but some models will need higher infill for better strenght, check notes below files to see which.
Color is not necessary feature, but it is welcomed one.
How to assemble it:
Step one:
You will need: BaseBottom, GearBaseCrank, GearBaseMain
Put the gears with slotted surface facing downwards onto the base. Be aware, one pin is longer so you cant fit crank gear on it.
Step two:
You will need: BaseTop, 3 RodBase
Close previous step with the top and then put 3 pins in it.
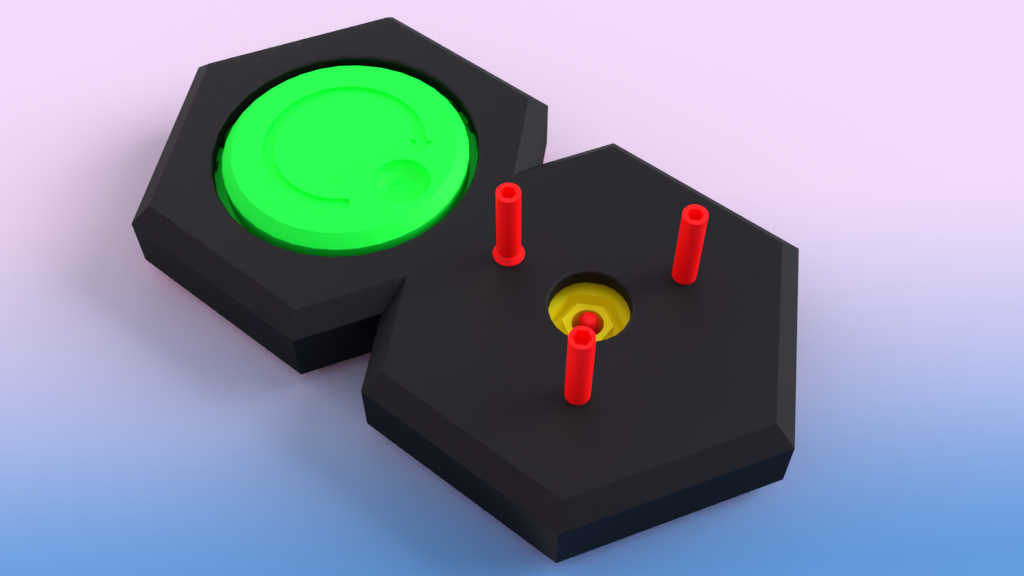
Step three:
You will need: 3 GearMiddlePlanetary, LinkBaseMain
Put 3 gears onto the rods and insert link into the slot of the gear.
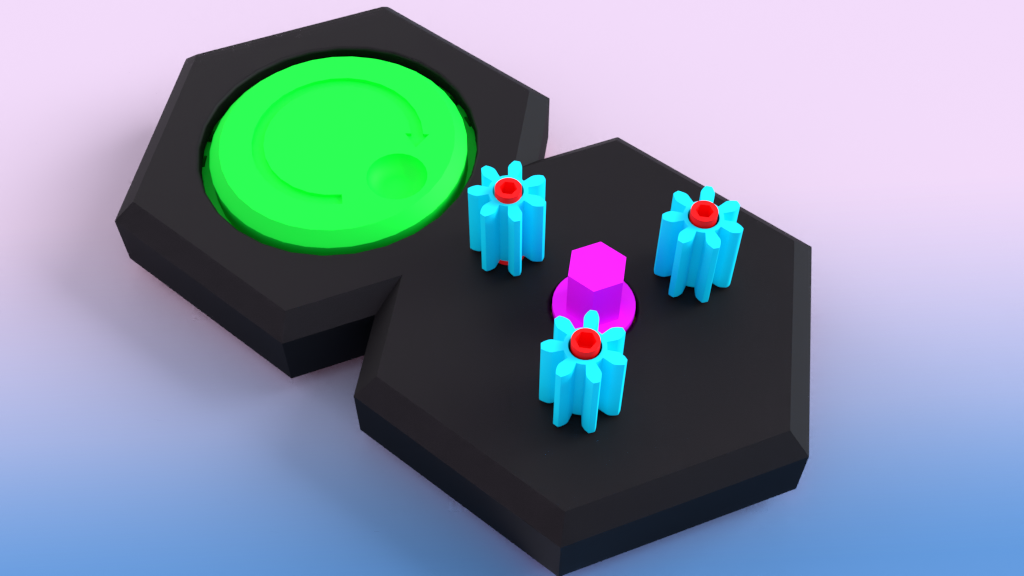
Step four:
You will need: GearInnerPlanetary, GearOuterPlanetary
Align some pins and put the gears on.
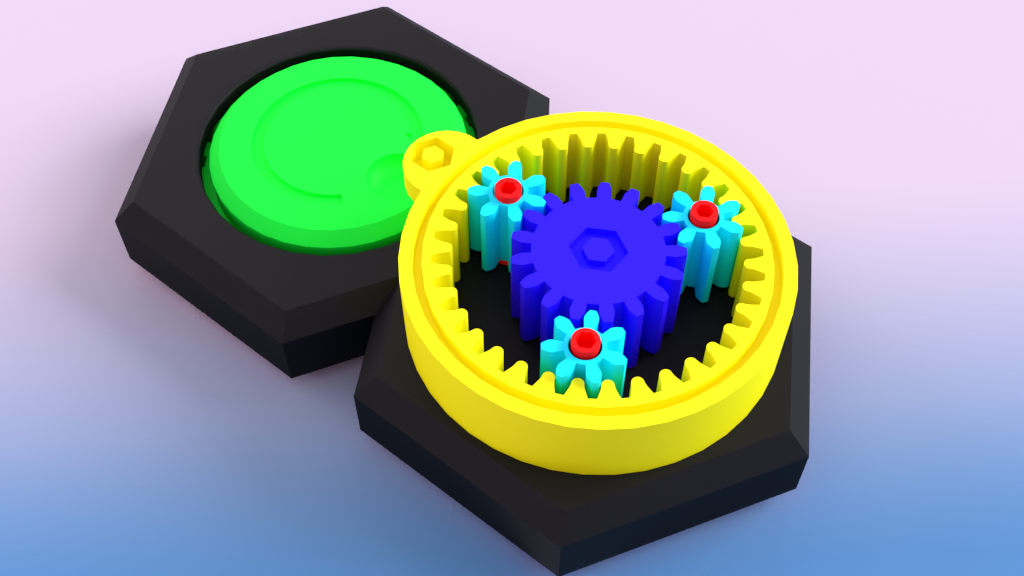
Step five:
You will need: ShieldPlanetary, ShieldGearPlanet, LinkSunGear
Put the link onto the inner gear and then add the shield. Then put the other shield facing correct direction(violet color).

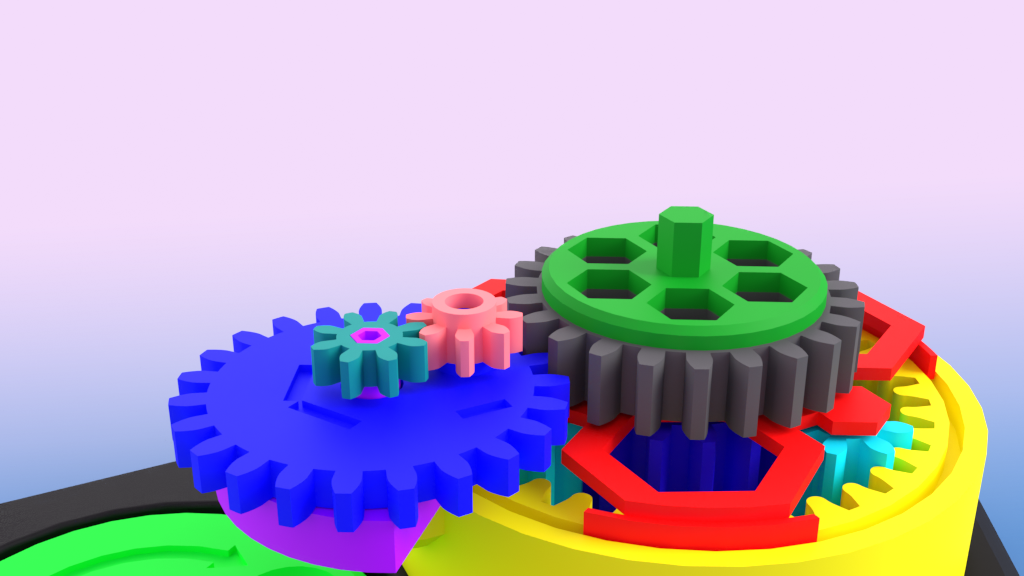
Step six:
You will need: GearPlanetSpinner, GearSunSpinner
Add gears as image shows.
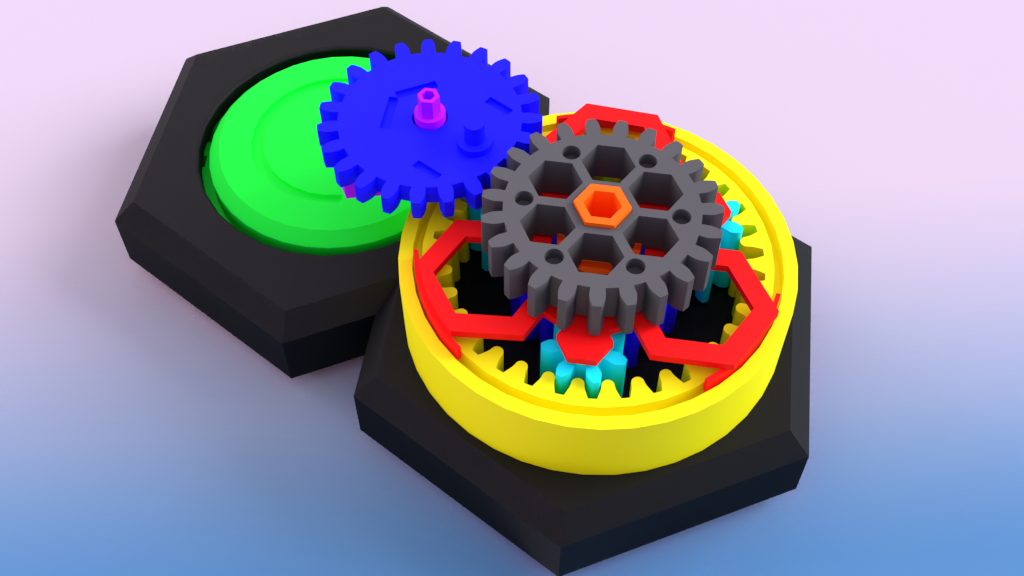
Step seven:
You will need: ShieldGearSun, GearMoonOne, GearEarthOne
Insert models as shown below, you can also pre glue together GearMoonOne with GearMoonTwo.
Step eight:
You will need: PinGearEarth, GearMoonTwo, GearEarthTwo
First glue pin to previous earth gear, then set gears as shown on the picture

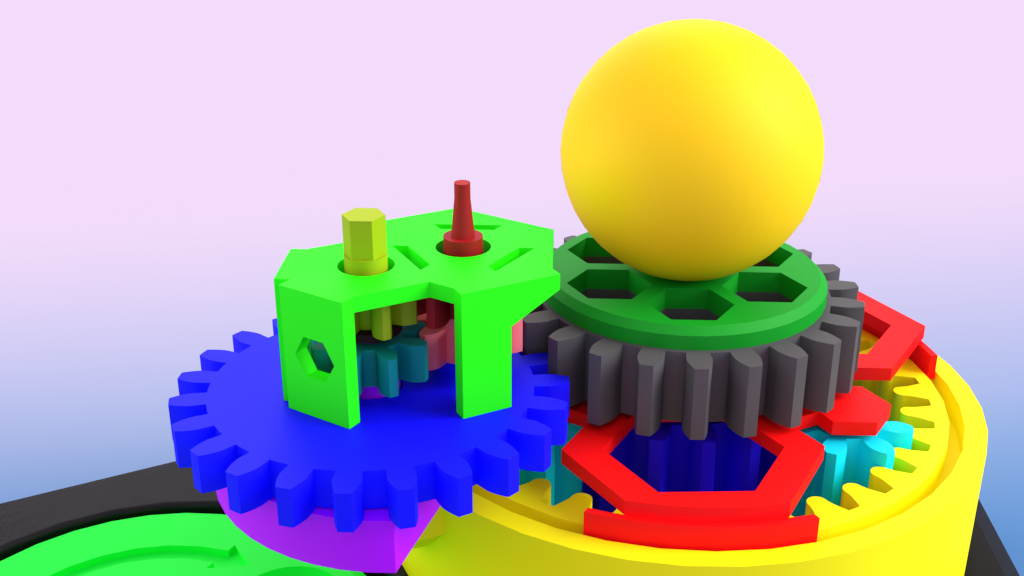
Step nine:
You will need: ShieldGears, SunDomeOne/Two
Glue halves of the sun together and put them on, also glue shield for gear on too.
Step ten:
You will need: EarthOne/Two, MoonOne/Two
Glue halves together and put them on correctly.
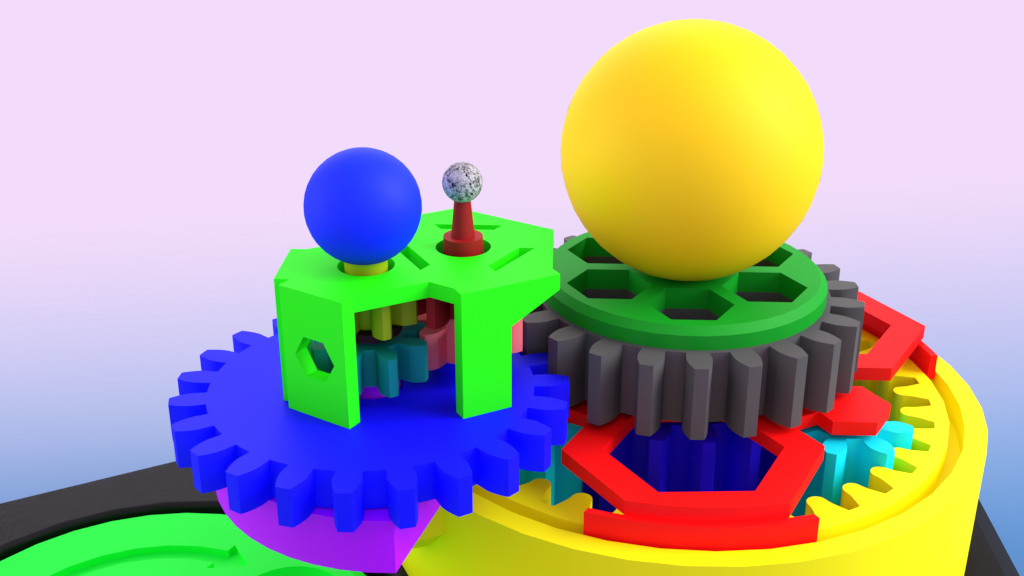
Step 11: Enjoy!
NOTE: the moddel isnt scientificaly correct and things dont rotate the way they really are.