Skadis Strong Universal Hanger
We calculate the final price from your selected file. You review and accept it before payment.
Saved on this device.

A very strong universal hanger for IKEA SKÅDIS pegboards that uses T-Nuts for a very strong hold.
- Rating
- 5 / 5
- Likes
- 96
- Downloads
- 230
- Makes
- 6
- Views
- 1,422
- Reviews
- 5
Updated at source:
Model information
- Source
- Printables
- Category
- Organizers
- License
- Creative Commons — Attribution — Share Alike
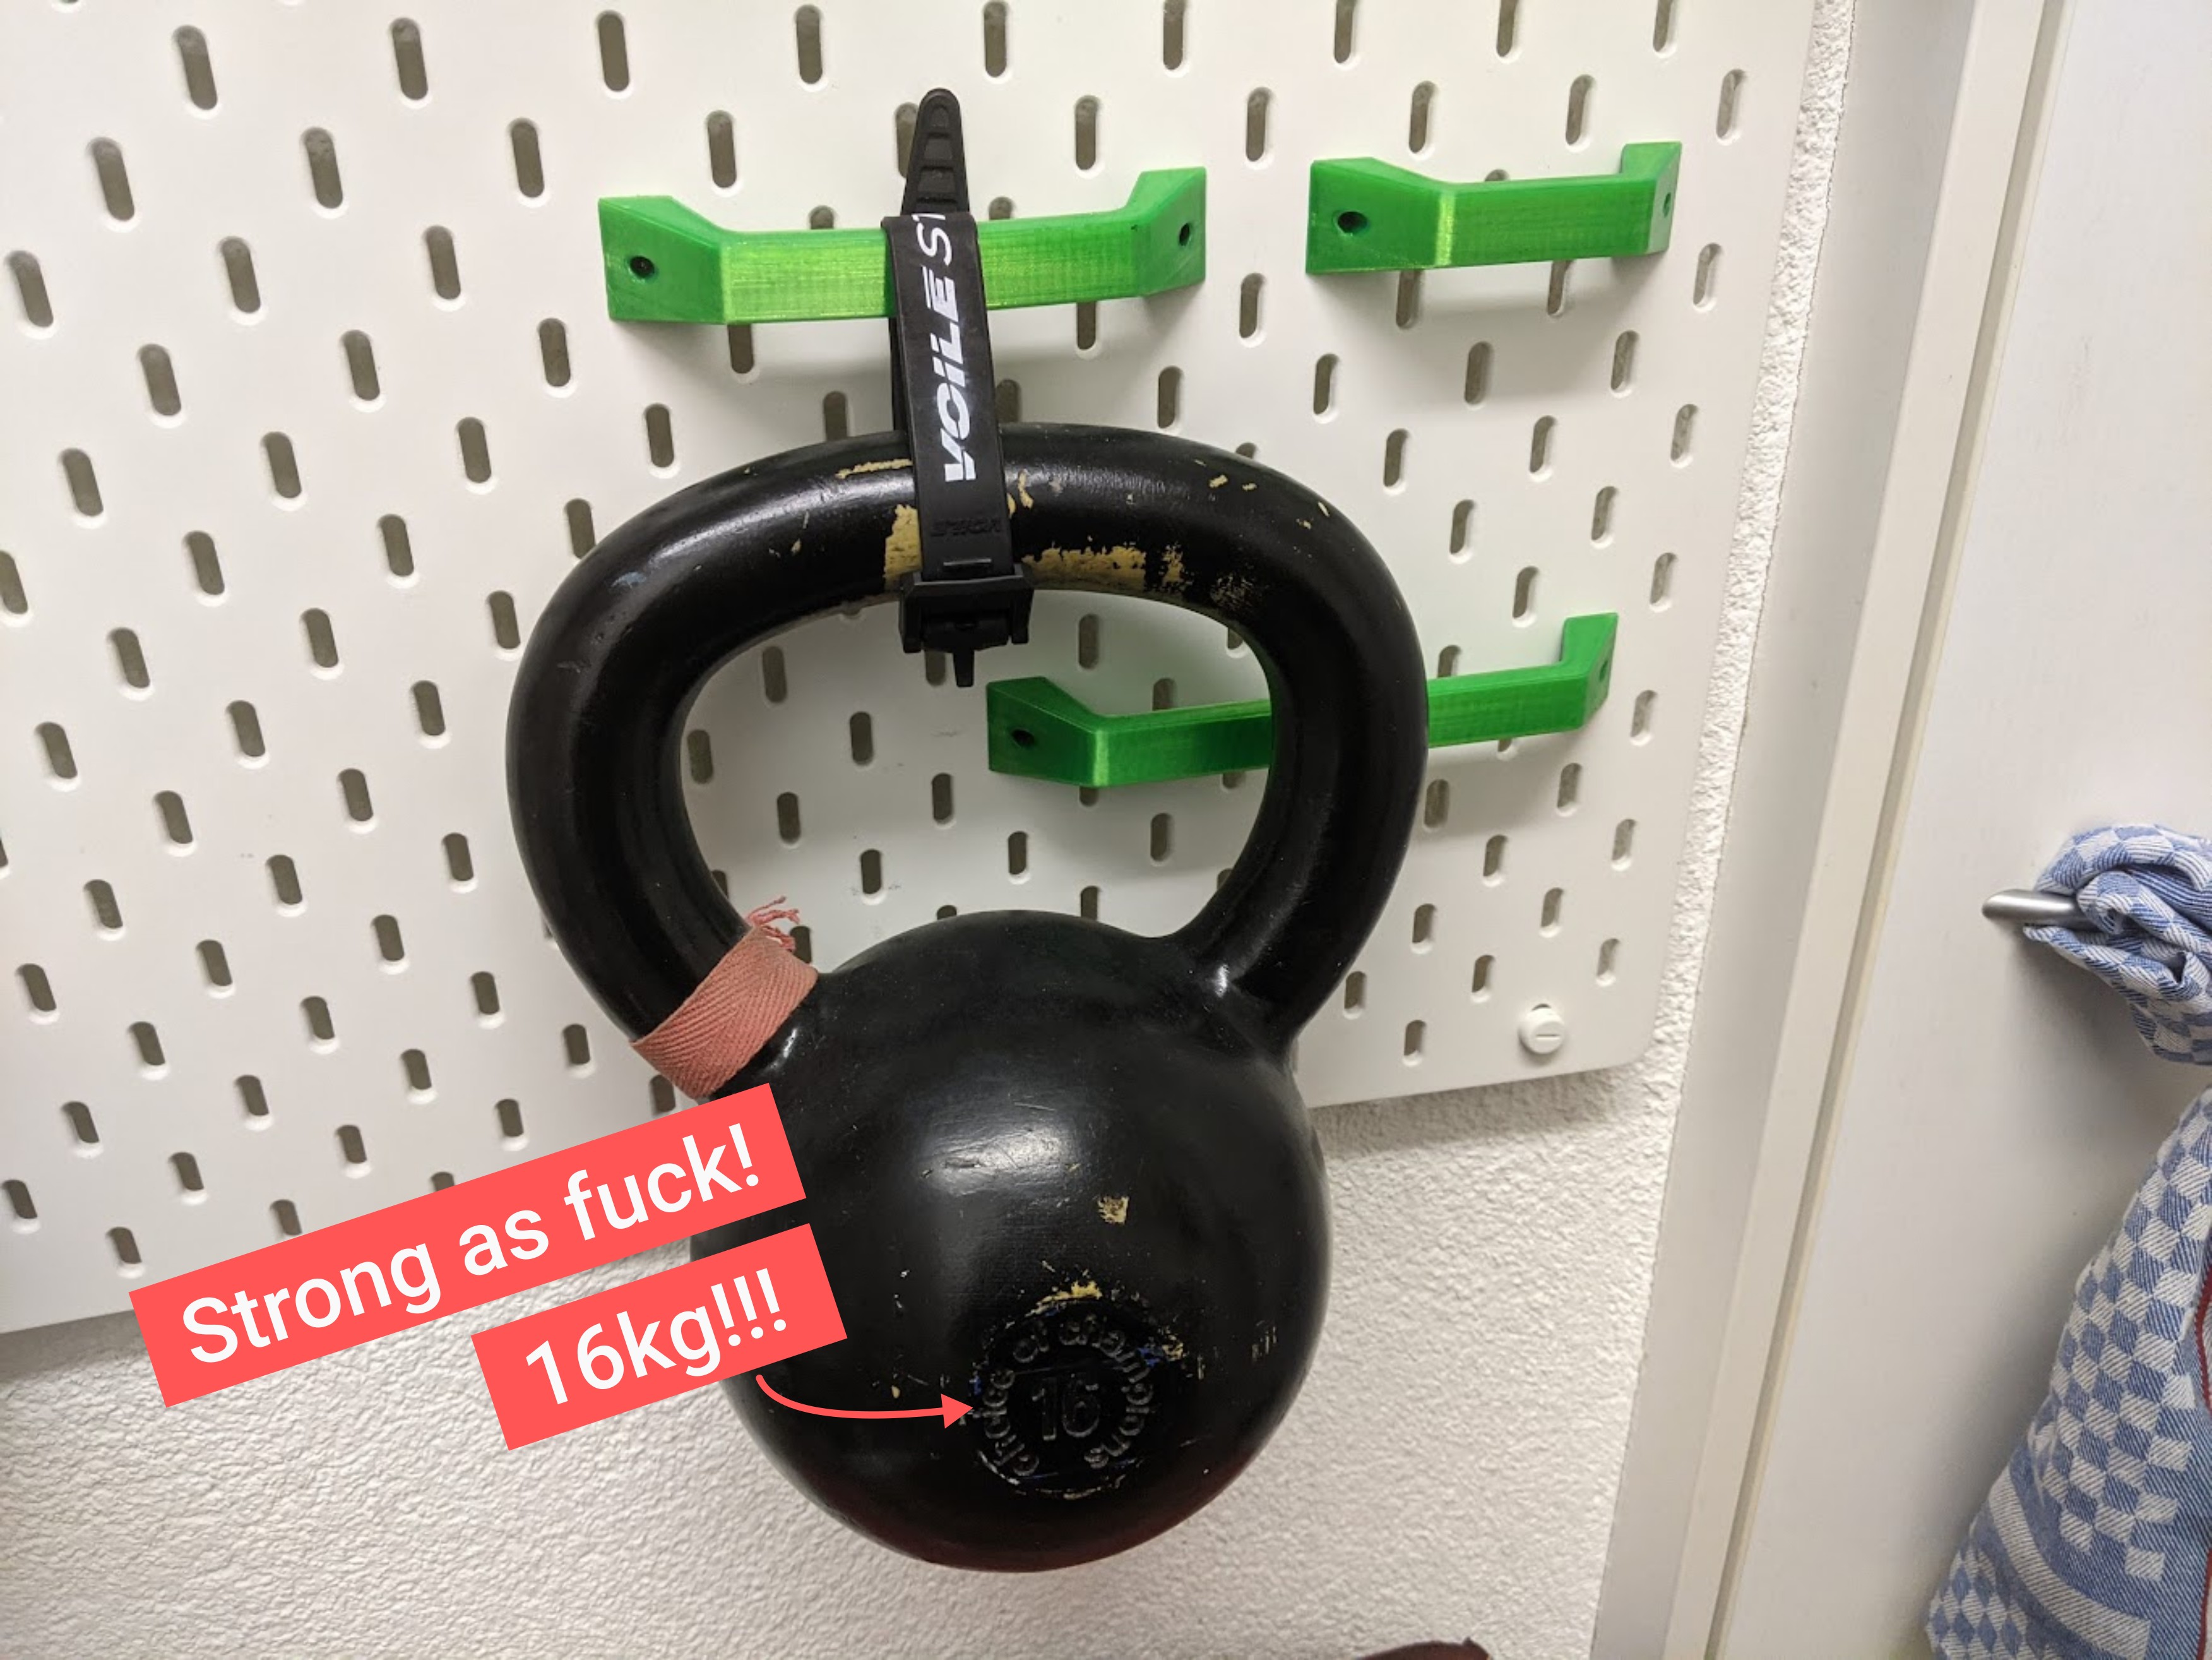
This is a strong universal hanger for IKEA SKÅDIS pegboards. It uses Skadis T-Nuts for a very strong hold and easy printing and installation. It does not wiggle or wobble and can hold quite some weight.
 | Read more about the Skadis T-Nuts Mounting System and check out the Skadis T-Nuts Collection for more Skadis accessories that use T-Nuts. |
This isn't for any particular purpose. It's what you make it. The shape is very universal and can be used for various things. It's ideal for things you use frequently and just want to chuck back onto the pegboard when you're done. You could use it as a carry handle too.
Sizes
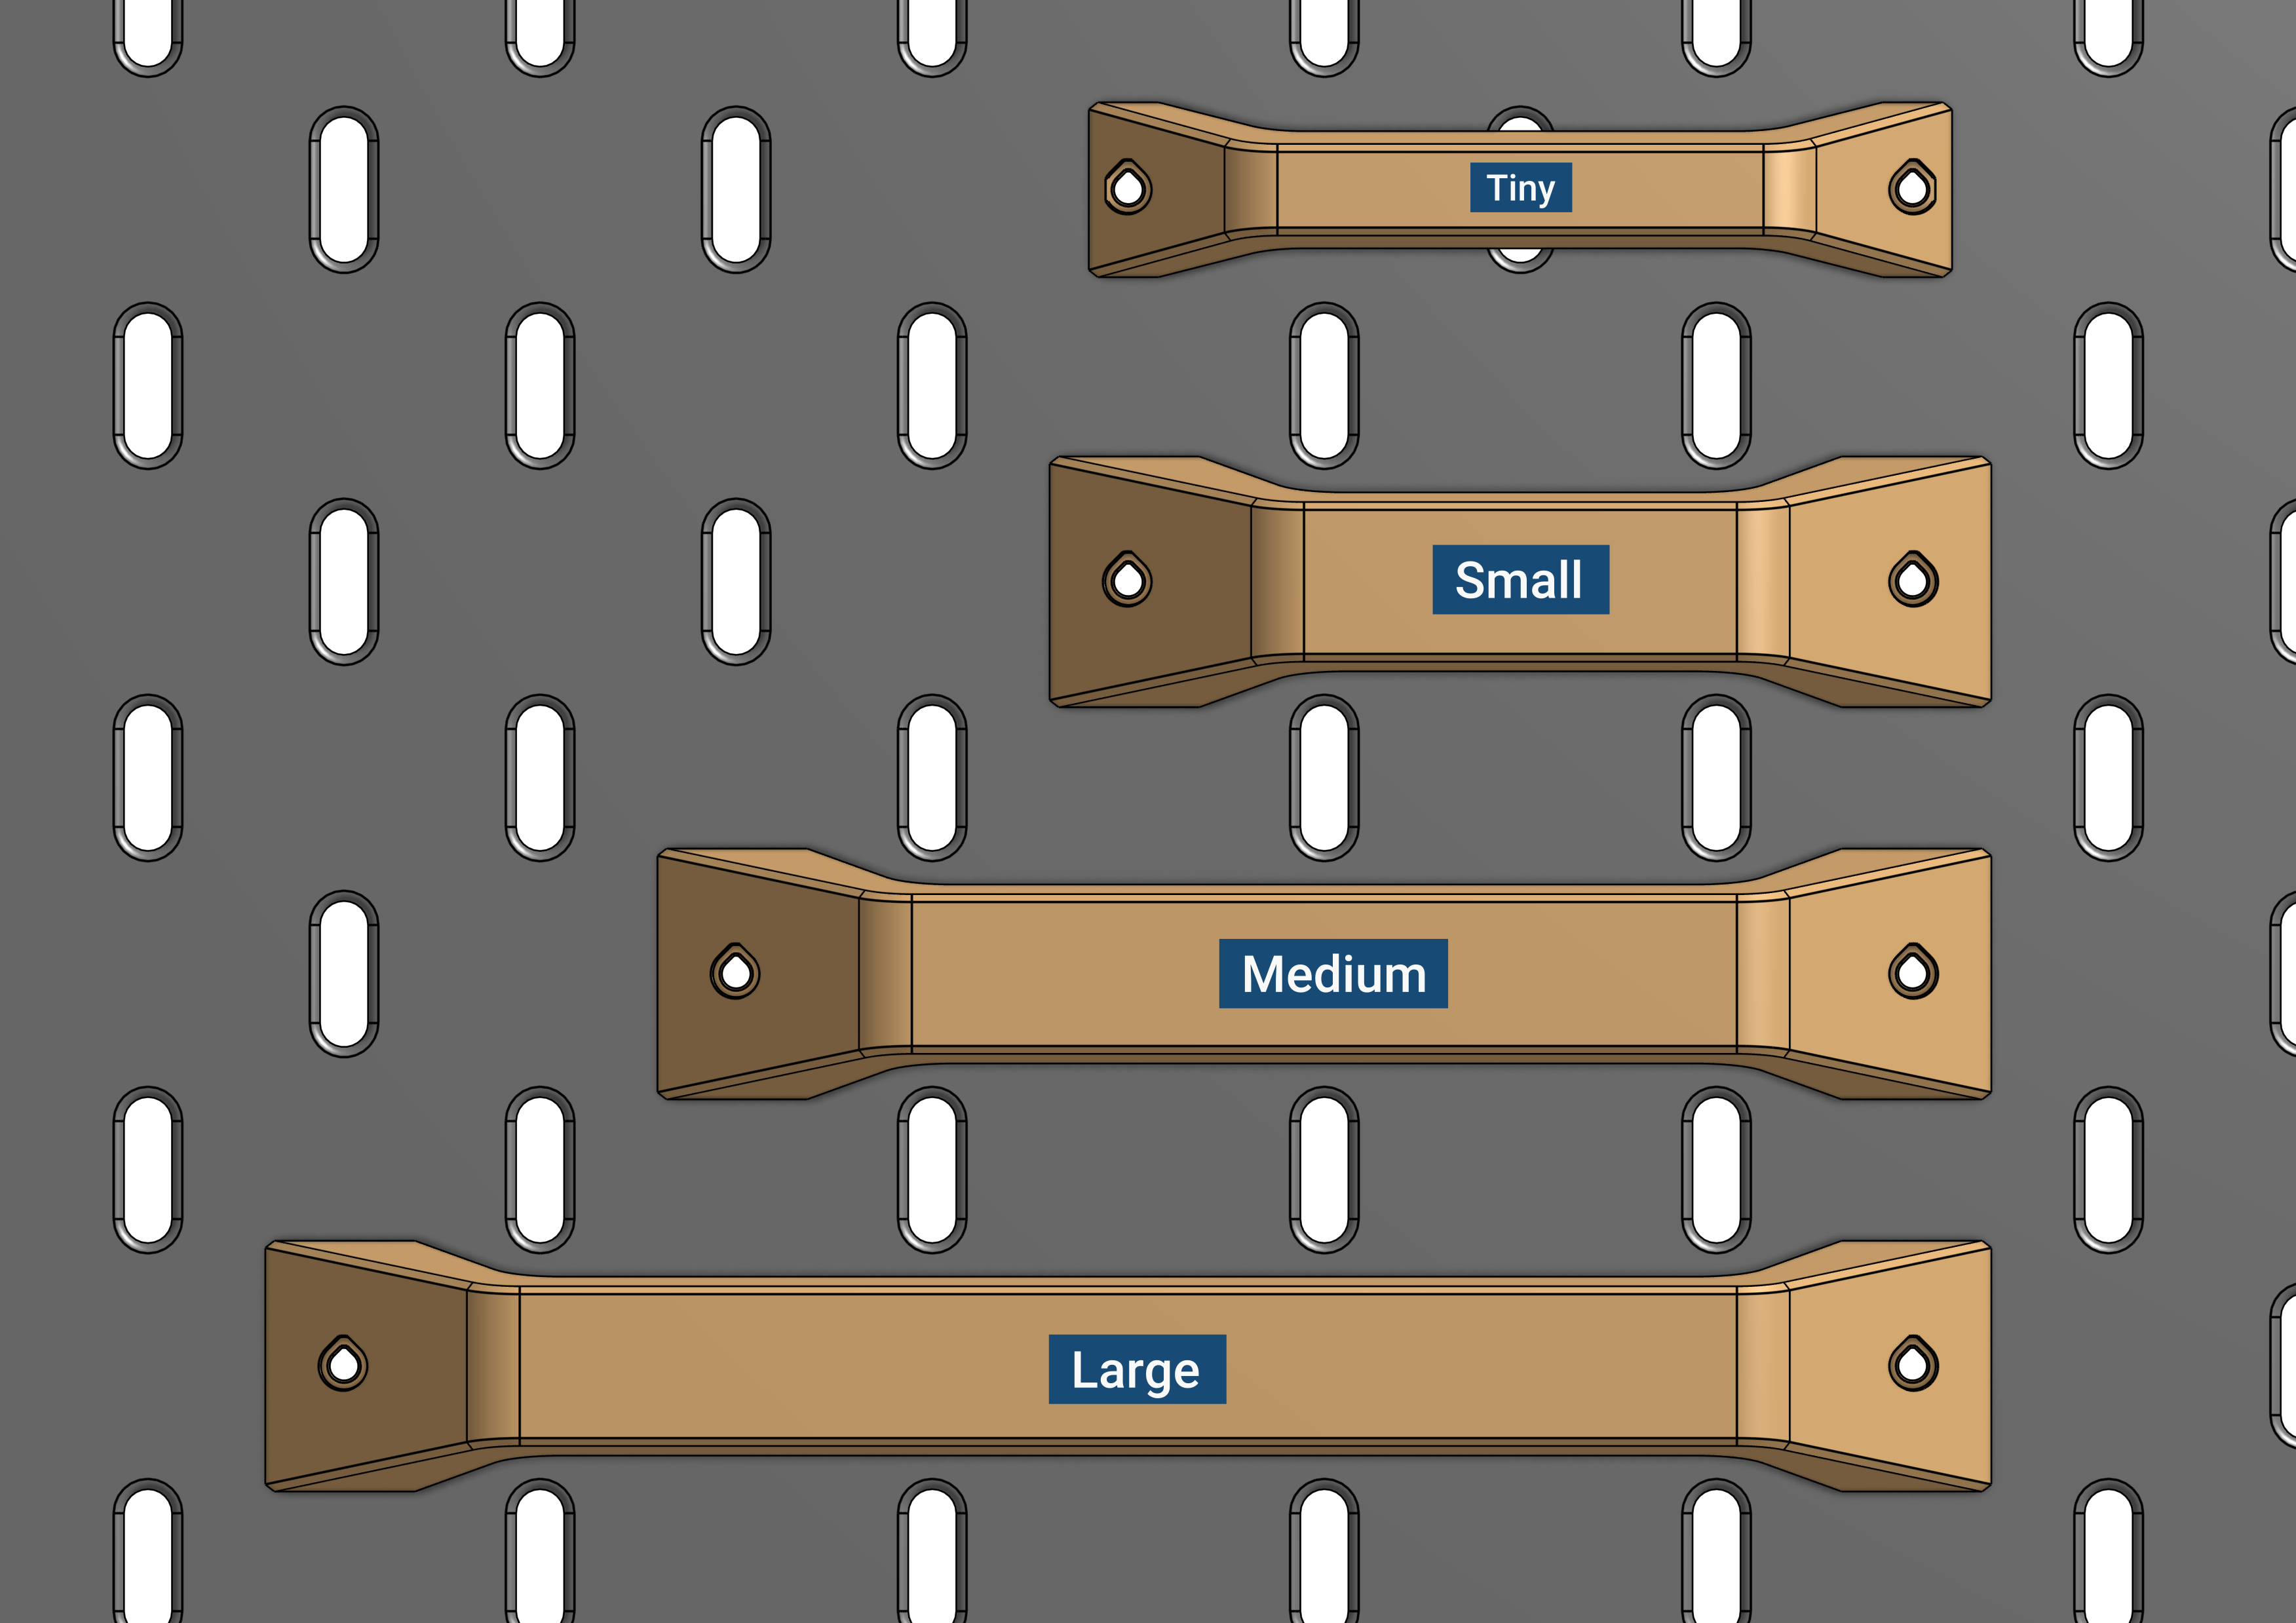
The hanger comes in 4 different sizes.
BOM
| Qty | Description | Sourcing |
|---|---|---|
| 2 | M2.5 DIN934 Hex Nut | Aliexpress |
| 2 | M2.5x12 (or longer) Socket Head Cap Screw | Aliexpress |
Printed Parts
| Qty | Part | Download |
|---|---|---|
| 1 | Universal Hanger | this project |
| 2 | Skadis T-Nut M2.5.stl | Download here |
Printing
Print the parts in the original orientation. All STL files are pre-rotated with the correct side facing the bed.
Note that, due to the shape, this is prone to warping and one of the “legs” might detach from the bed. If that happens, raise the bed temperature a little, use some printing adhesive, or use a brim.
- Material: PLA, PETG, etc
- Extrusion width: 0.45mm
- Layer height: 0.2mm
- Perimeters: 3 or more
- Infill: 15% or more
- Supports: No
- Brim: maybe
Assembly
Check out this video to see how to install accessories that use Skadis T-Nuts.
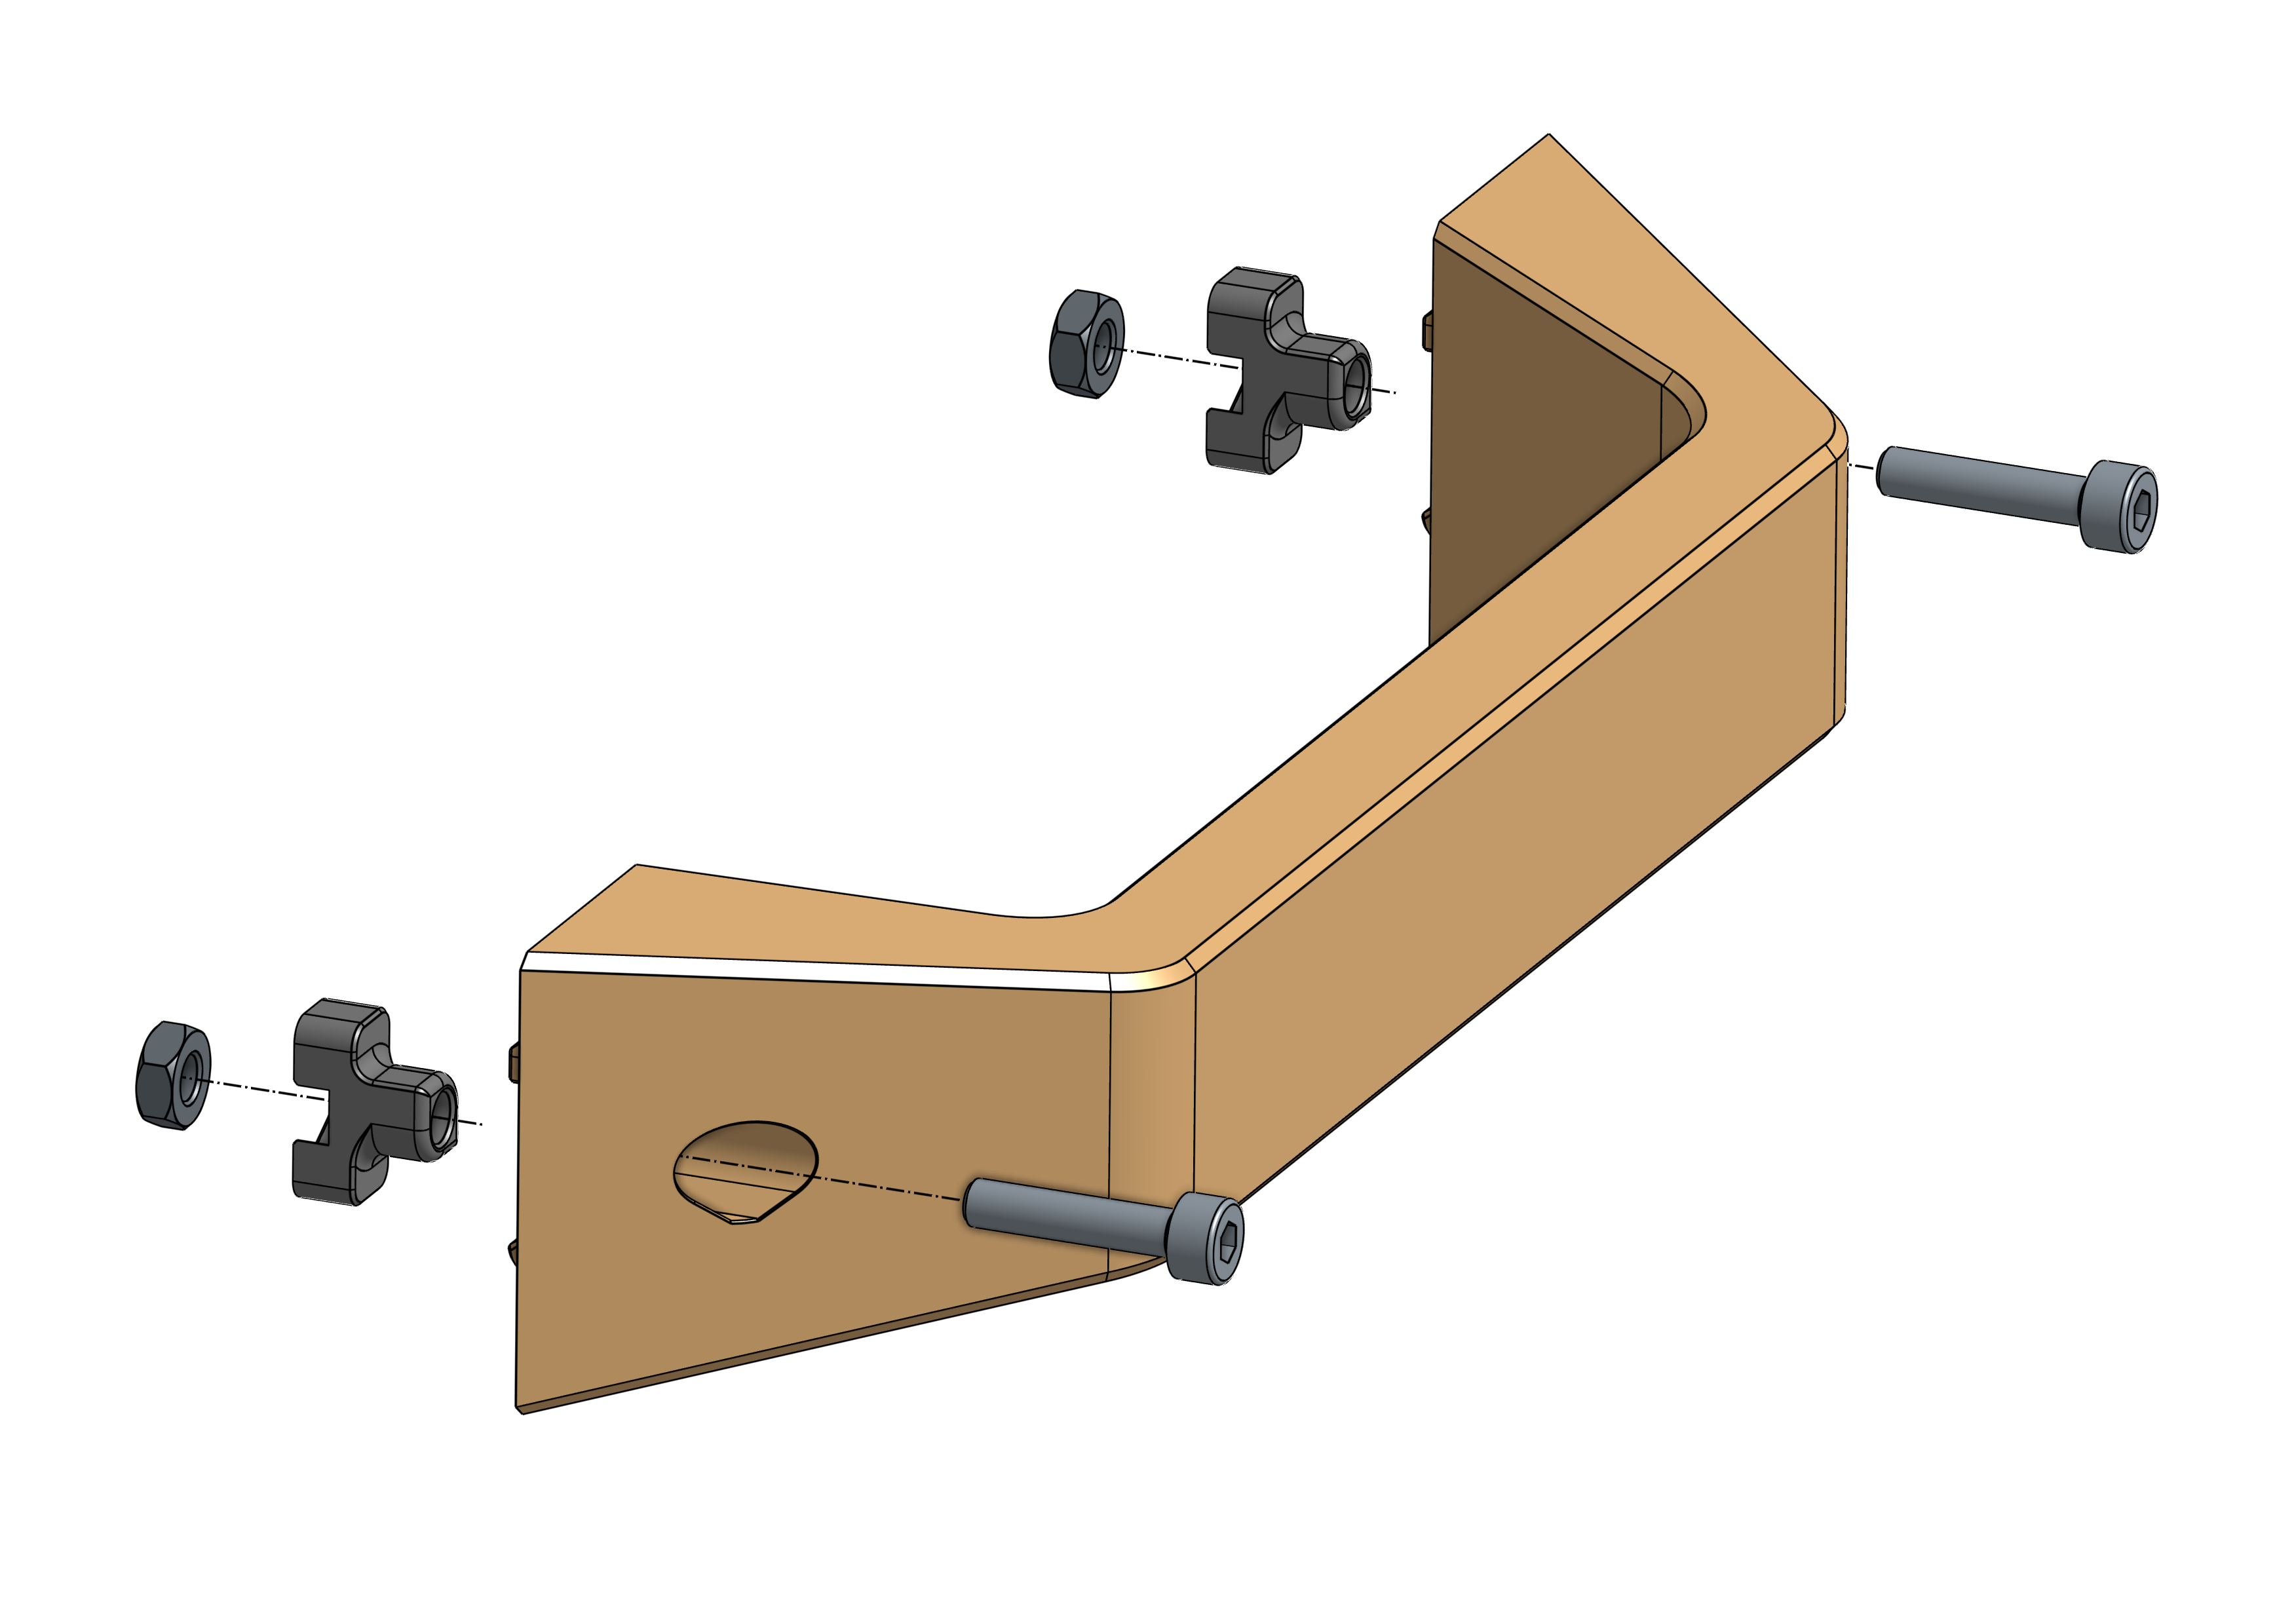
- Push the M2.5 hex nuts into the T-Nuts
- Stick the M2.5 screws through the holes in the printed part
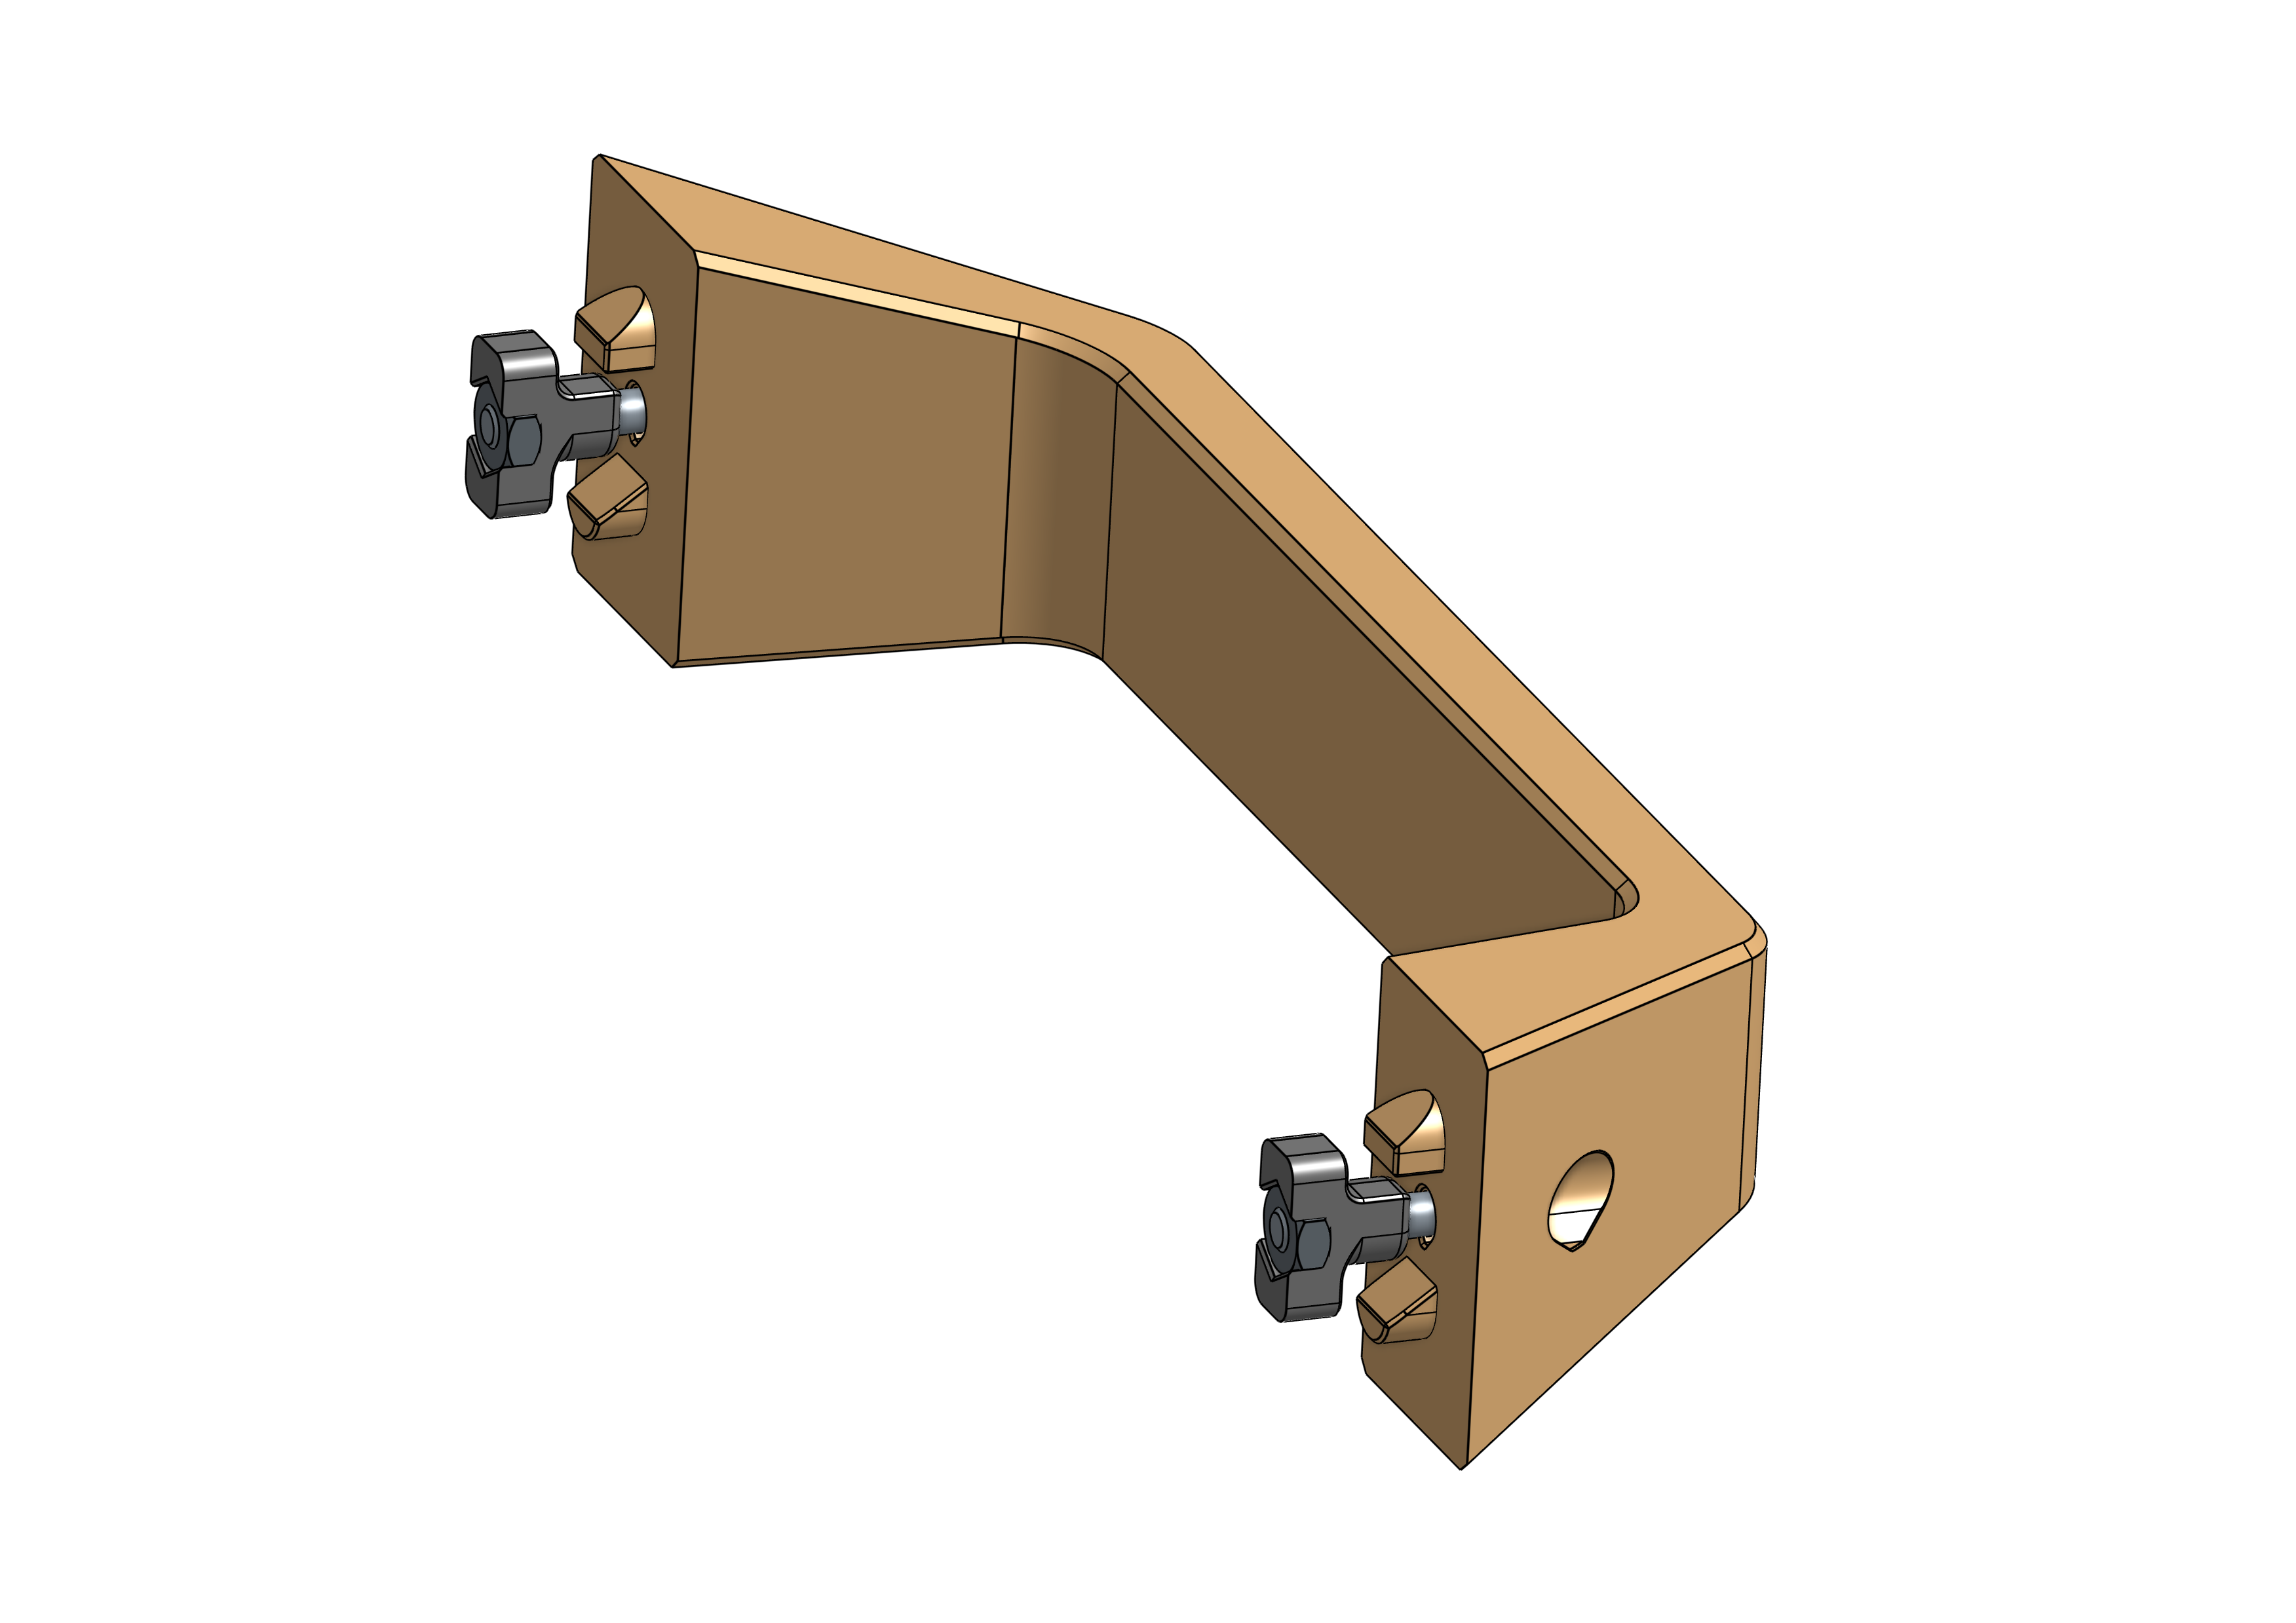
- Screw the T-Nuts onto the M2.5 screws until the distance between the bottom of the part and the T-Nut is about 2mm
- Orient the T-Nuts vertically
- Stick the assembly through the holes on the Skadis pegboard in the desired configuration. The part should self-align.
- Tighten the screws but do not over-tighten.