
The Metalworker’s Pacifier - A single-handed chip collector
We calculate the final price from your selected file. You review and accept it before payment.
Estimated printing price per file
€1.07 – €1.30 net (excluding VAT)
For file: ThePacifier_CaseBottom_0.15mm_PLA_MK3S_1h31m.gcode
This is an estimate for one file. You’ll confirm the exact price before ordering.
File and estimate settings
File used for this estimate
Average indicative estimate: €1.18 excluding VAT (range midpoint).
- Weight reported by the author
- 8 g
- Print time reported by the author
- 1.51 hr
- Source material
- PLA
- Estimate material
- PLA
- Estimate printer
- Bambu Lab P1S - 0.4 nozzle
- Estimate process
- 0.20mm Standard
Indicative estimate for the selected file only, based on the author’s weight and print time. File variants are not added together. The final price is calculated after file analysis.
Saved on this device.
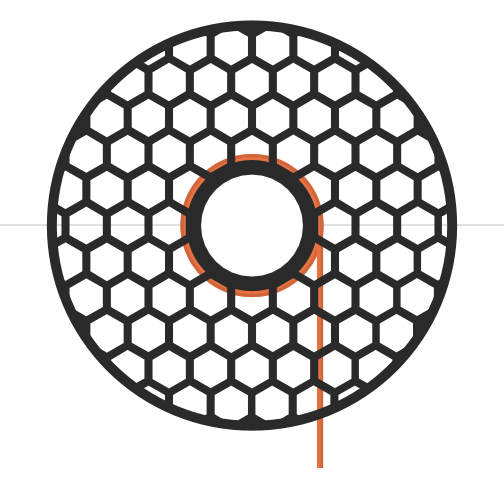
How do you calm down a metalworker? By removing all chips! This chip collector can be operated with a single hand.
- Rating
- 0 / 5
- Likes
- 28
- Downloads
- 69
- Makes
- 1
- Views
- 1,511
- Reviews
- 0
Updated at source:
Model information
- Source
- Printables
- Category
- Tools
- License
- Creative Commons — Attribution — Noncommercial — NoDerivatives
I created the Metalworker’s Pacifier when I was too cheap to buy a new chip collector, and I didn‘t like the large size they always came in.
Printing the parts:
The print is straightforward, but you need to make sure that the parts stay attached to the bed as the print height is pretty tall. You don’t need any supports, but brim is recommended.
I’ve included additional files you can use for the brims to minimise the cleanup after the print.
The text is also included in case you wish to have the awesome colourful name printed.
I’ve included two separate .gcode files if you don’t want to mess around with the brims and setting up the text;
- The “ThePacifier” -file doesn’t have the colourful text included, but does have the brims.
- The “ThePacifier_withColourText” -file includes also the colourful text. You don’t need MMU for this, it is for manual filament changes! The print starts with the text filament, and you need to change between the body and text filaments two times in total.
After printing the parts:
You need to clean-up the brims and you are ready to start assembling it.
You need to make sure to assemble it in the correct order! Make sure that the PlungerTop is through the CaseTop before gluing the the PlungerBottom in place. After that you glue the magnet to the PlungerBottom, and finally the CaseBottom to the CaseTop.

This is how it should look before you are gluing the final part.
If the plunger is not through the case when you assemble it, you will not be able to put it in place anymore!
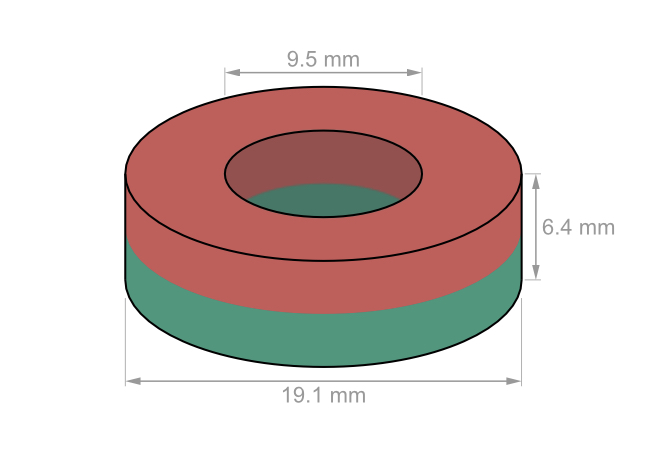
The magnet you need is the following ring magnet:
https://www.supermagnete.de/eng/ring-magnets-neodymium/ring-magnet-19.1mm-9.5mm-6.4mm_R-19-09-06-N
If you need the plunger fitting a different size magnet, please let me know.
That’s it, enjoy :)