
Micky Maus Puzzle - Multicolor
We calculate the final price from your selected file. You review and accept it before payment.
Saved on this device.
A Micky Maus Jigsaw with a single nonMulti-Extruder Printer
- Rating
- 0 / 5
- Likes
- 13
- Downloads
- 70
- Makes
- 0
- Views
- 824
- Reviews
- 0
Updated at source:
Model information
- Source
- Printables
- Category
- Puzzles & Brain-teasers
- License
- Creative Commons — Attribution — Noncommercial
Foreword
I made the puzzle for my godchild for Christmas. He is 3 years old and a Mickey Mouse fan.
I wanted to try my hand at multicolor Print but I don't have a multicolor Printer so I tried it with my Ender 3 S1 which was quite good with a few tricks and a lot of time changing the filament.
So I would like to share my experiences and the 3D Files with you.
Jigsaw Dimensions
503mm x 390mm x 2.7mm
30 Pieces
How to do whit a Singel nonMulti-Extruder
The Puzzle is printed in 6 different colors
The .stl files are labeled A1 and EX1 for example.
A1= The first part from the top left
EX1 = Extruder 1, color scheme
(You can find a pdf with the overview in the download area.)
Print and Printer settings
- First Layer 0.3mm
- Following Layers 0.2mm
- Infill 15%
- Nozzle 0.4mm

Extruders are 6, because it has 6 colors, and each extruder has its own color.
We don't use the “Singel Extruder Multi Material” setting, leave it empty.
If we turn on this setting, it will affect the wipe tower. the extruder will stop in the wipe tower and purge a lot of filament without moving.
Wipe Tower

Enable the Wipe Tower in the Print Settings → Multiple Extruders.
This setting automatically generates a Wipe Tower.

You can adjust the Purging volume of the Wipe Tower. You will find this setting on the “Plater” Tab. On the right side “Purging Volumes”. I have set all of them to 10mm3 in order to minimize filament waste, as I have already cleaned the nozzle of the previous filament when changing filaments.
Custom G-code

In the Custom G-code section at Printer Settings, you will find
“Tool change G-code”.
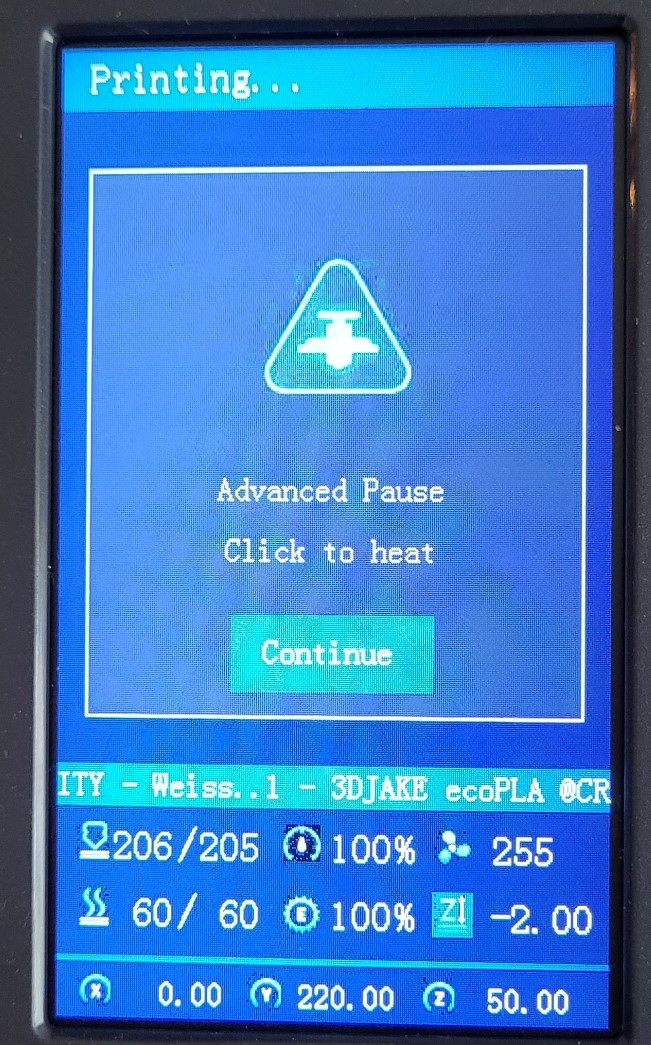
I used the M600 for a Filament change. The M117 will Display a message on the Screen if your Printer Supports the M117 command. With
“M117 [next_extruder] - [filament_preset]” will Display the next Filament you have to load.
I have also added the following command to the end of the start G-code:
“M117 [current_extruder] - [filament_preset]”
It's Displays to begin which Filmanet wants to start. After the Skirt line, the Printer will do a Filament Change so you can change it if necessary.
Import .stl

To import the .stl files, select all .stl files in this group. Prusaslicer asks you if you want to import a Multi-part object, say yes.

Select the correct Extruder/Color for that .stl. If you click on the Color behind, a drop-down Menu will pop on, there you can select the right Color for this .stl.
For example:
“A1_Michy_Maus_Jigsaw_EX1_Body” have EX1 = Extruder/Color - 1.
When you have assigned all the colors, Flip the Jigsaw piece at 180 degrees. So the top is now on the print bed.
Ready to Export and Happy Printing
Recommendations
- Make a flow cube for each Filament you use, to calibrate the flow of each Filament.
- Use a slow speed for the first layer. I used 15mm/s.
- Use a z hope after the first layer. I used 0.1mm
- If you have light Stringing, make sure you clean it off during the first layer so that it is not visible in the print image.
Side Notes
It has a few .stl files which Prusa thinks are in Inches. They are not! When the Warning pops up, don't recalculate! The measurements will mess up.