1 / 1
iOS Settings Extruder Rotation Visualizer
Order a print of this model
We calculate the final price from your selected file. You review and accept it before payment.
Saved on this device.

Extruder rotation visualizer in the theme of iOS settings icon.
- Rating
- 4.625 / 5
- Likes
- 65
- Downloads
- 153
- Makes
- 8
- Views
- 1,262
- Reviews
- 8
Updated at source:
Model information
- Source
- Printables
- Category
- Accessories
- License
- Creative Commons — Attribution
This is an extruder rotation visualizer in the theme of iOS settings icon for NEMA 17 motors on the Original Prusa i3. This is a remix of Extruder Visualizer from GerryPB.
Video Clip
Remix Changes
Made the printing and assembly more easier.
- Front gear backing and the front gear are separated. No need to change filament mid print.
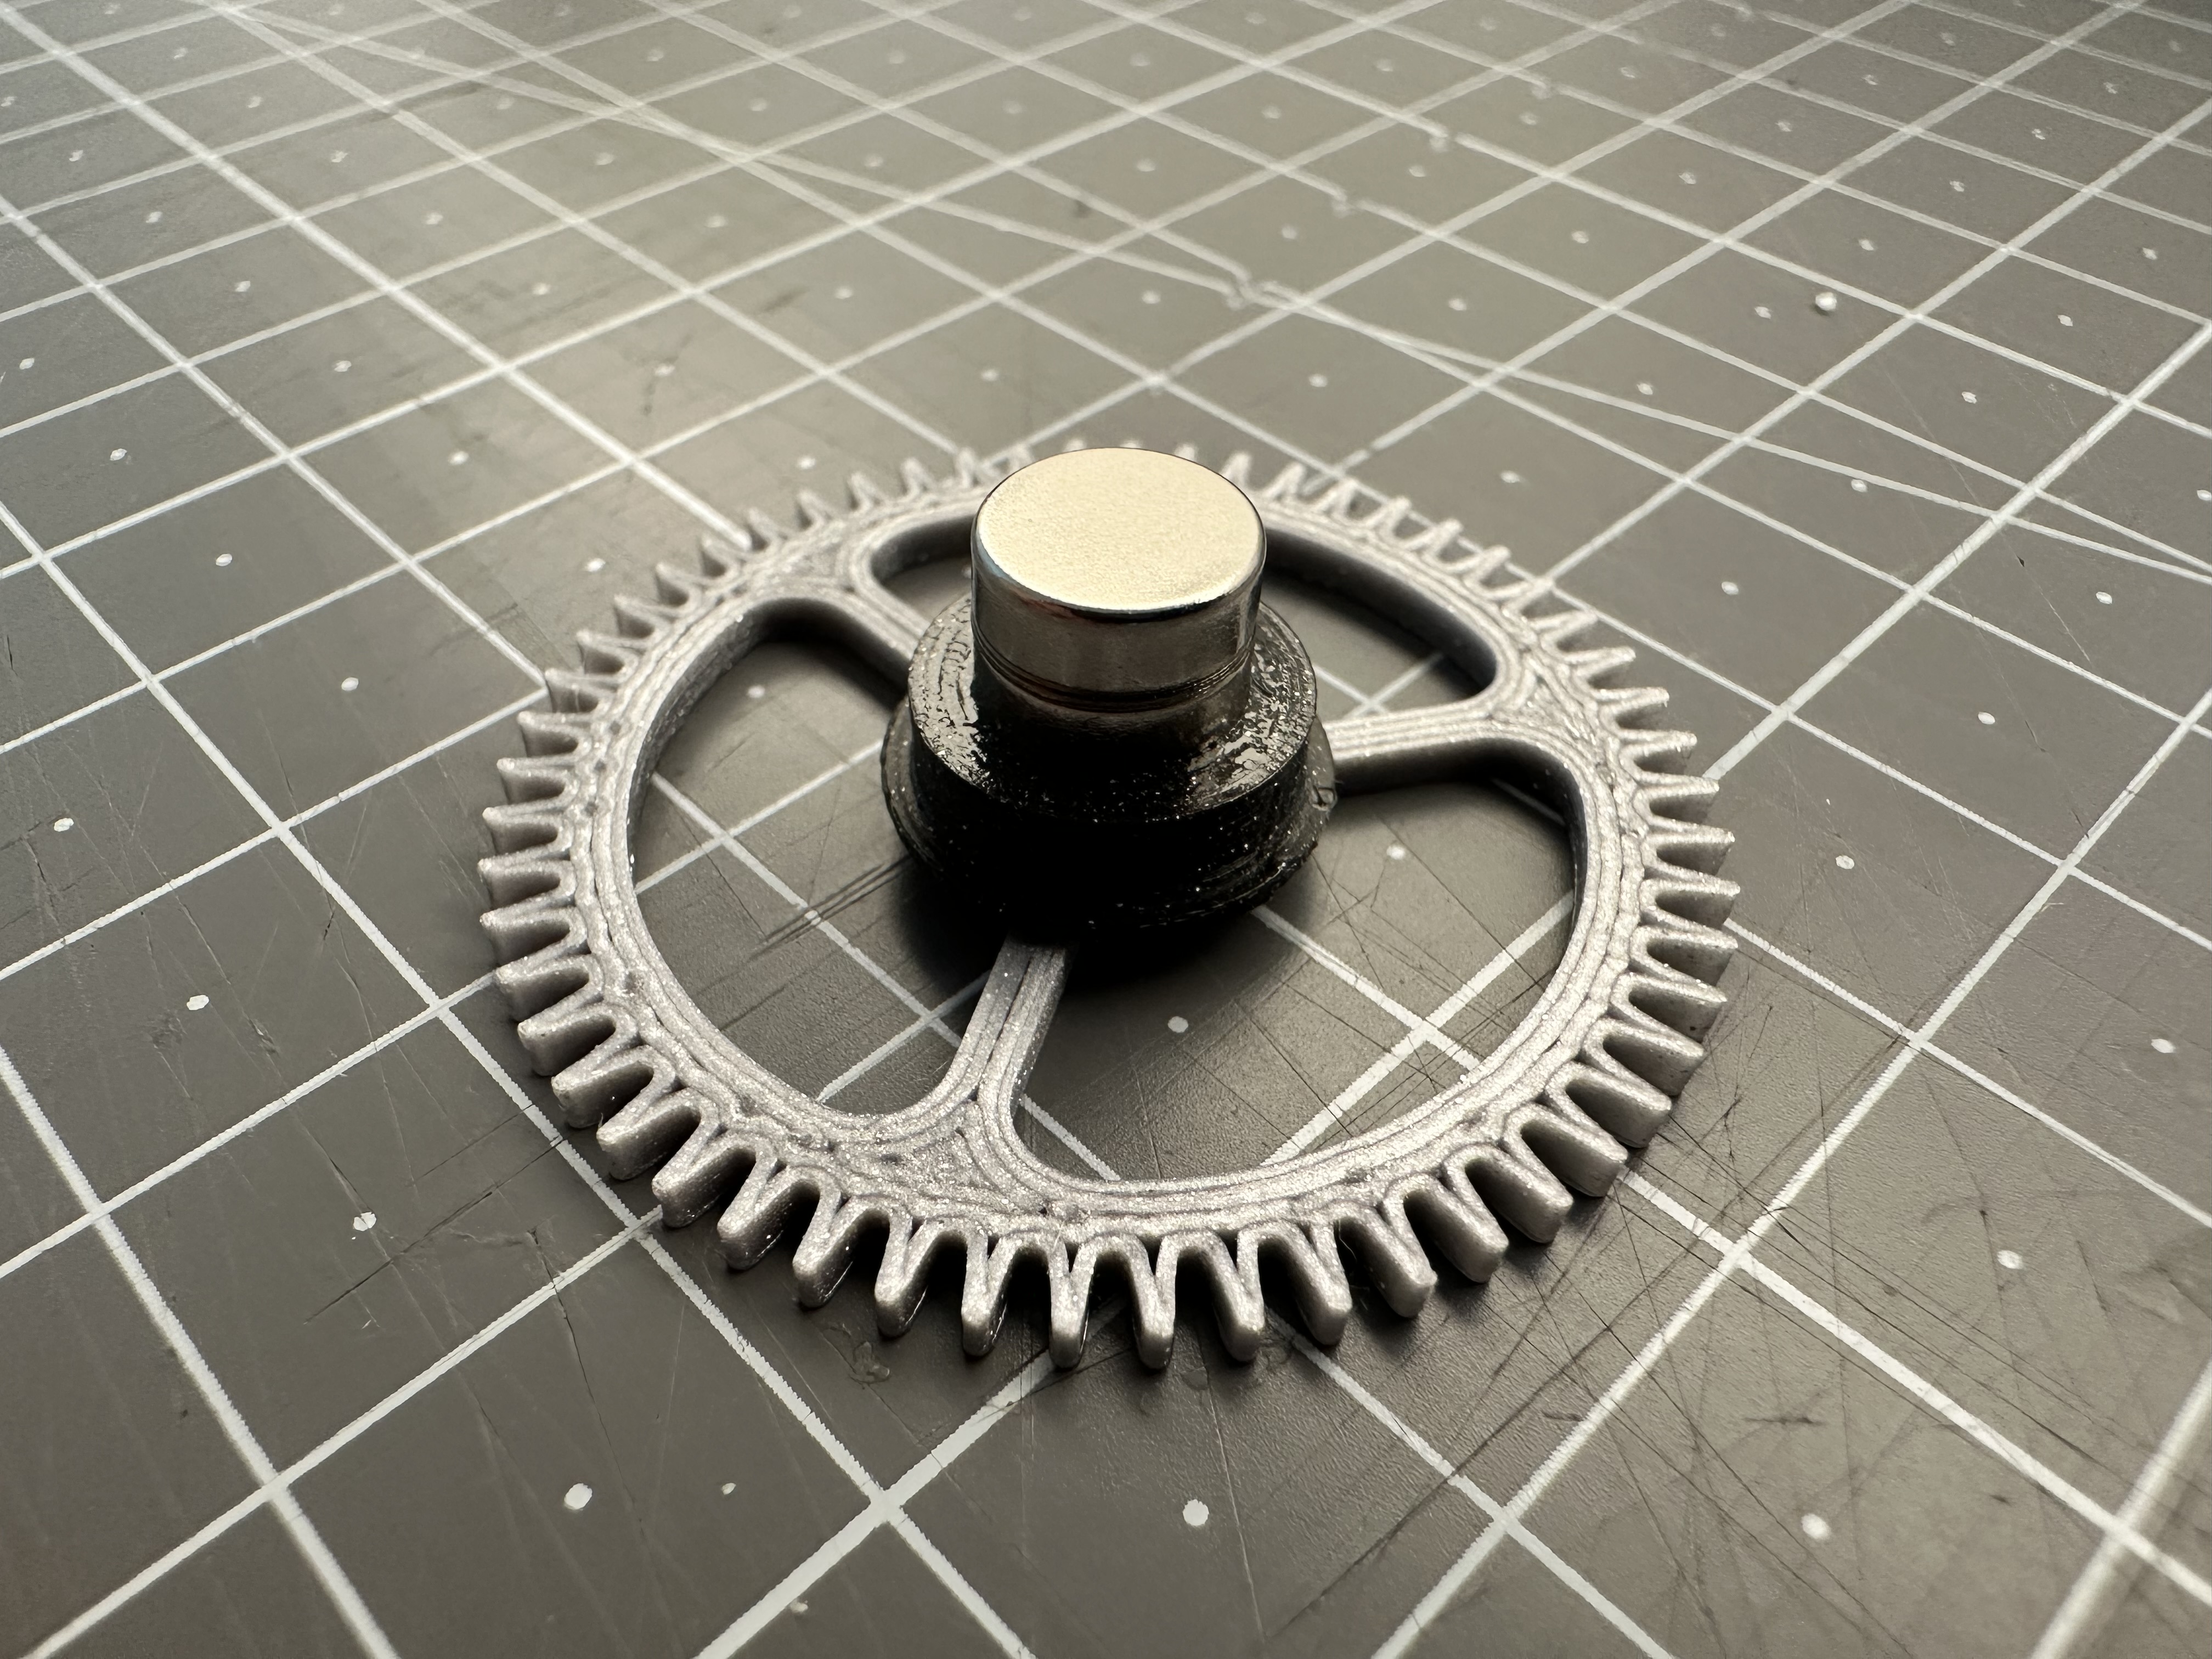
- Only two magnets needed to attach front gear, originally it needed three magnets.
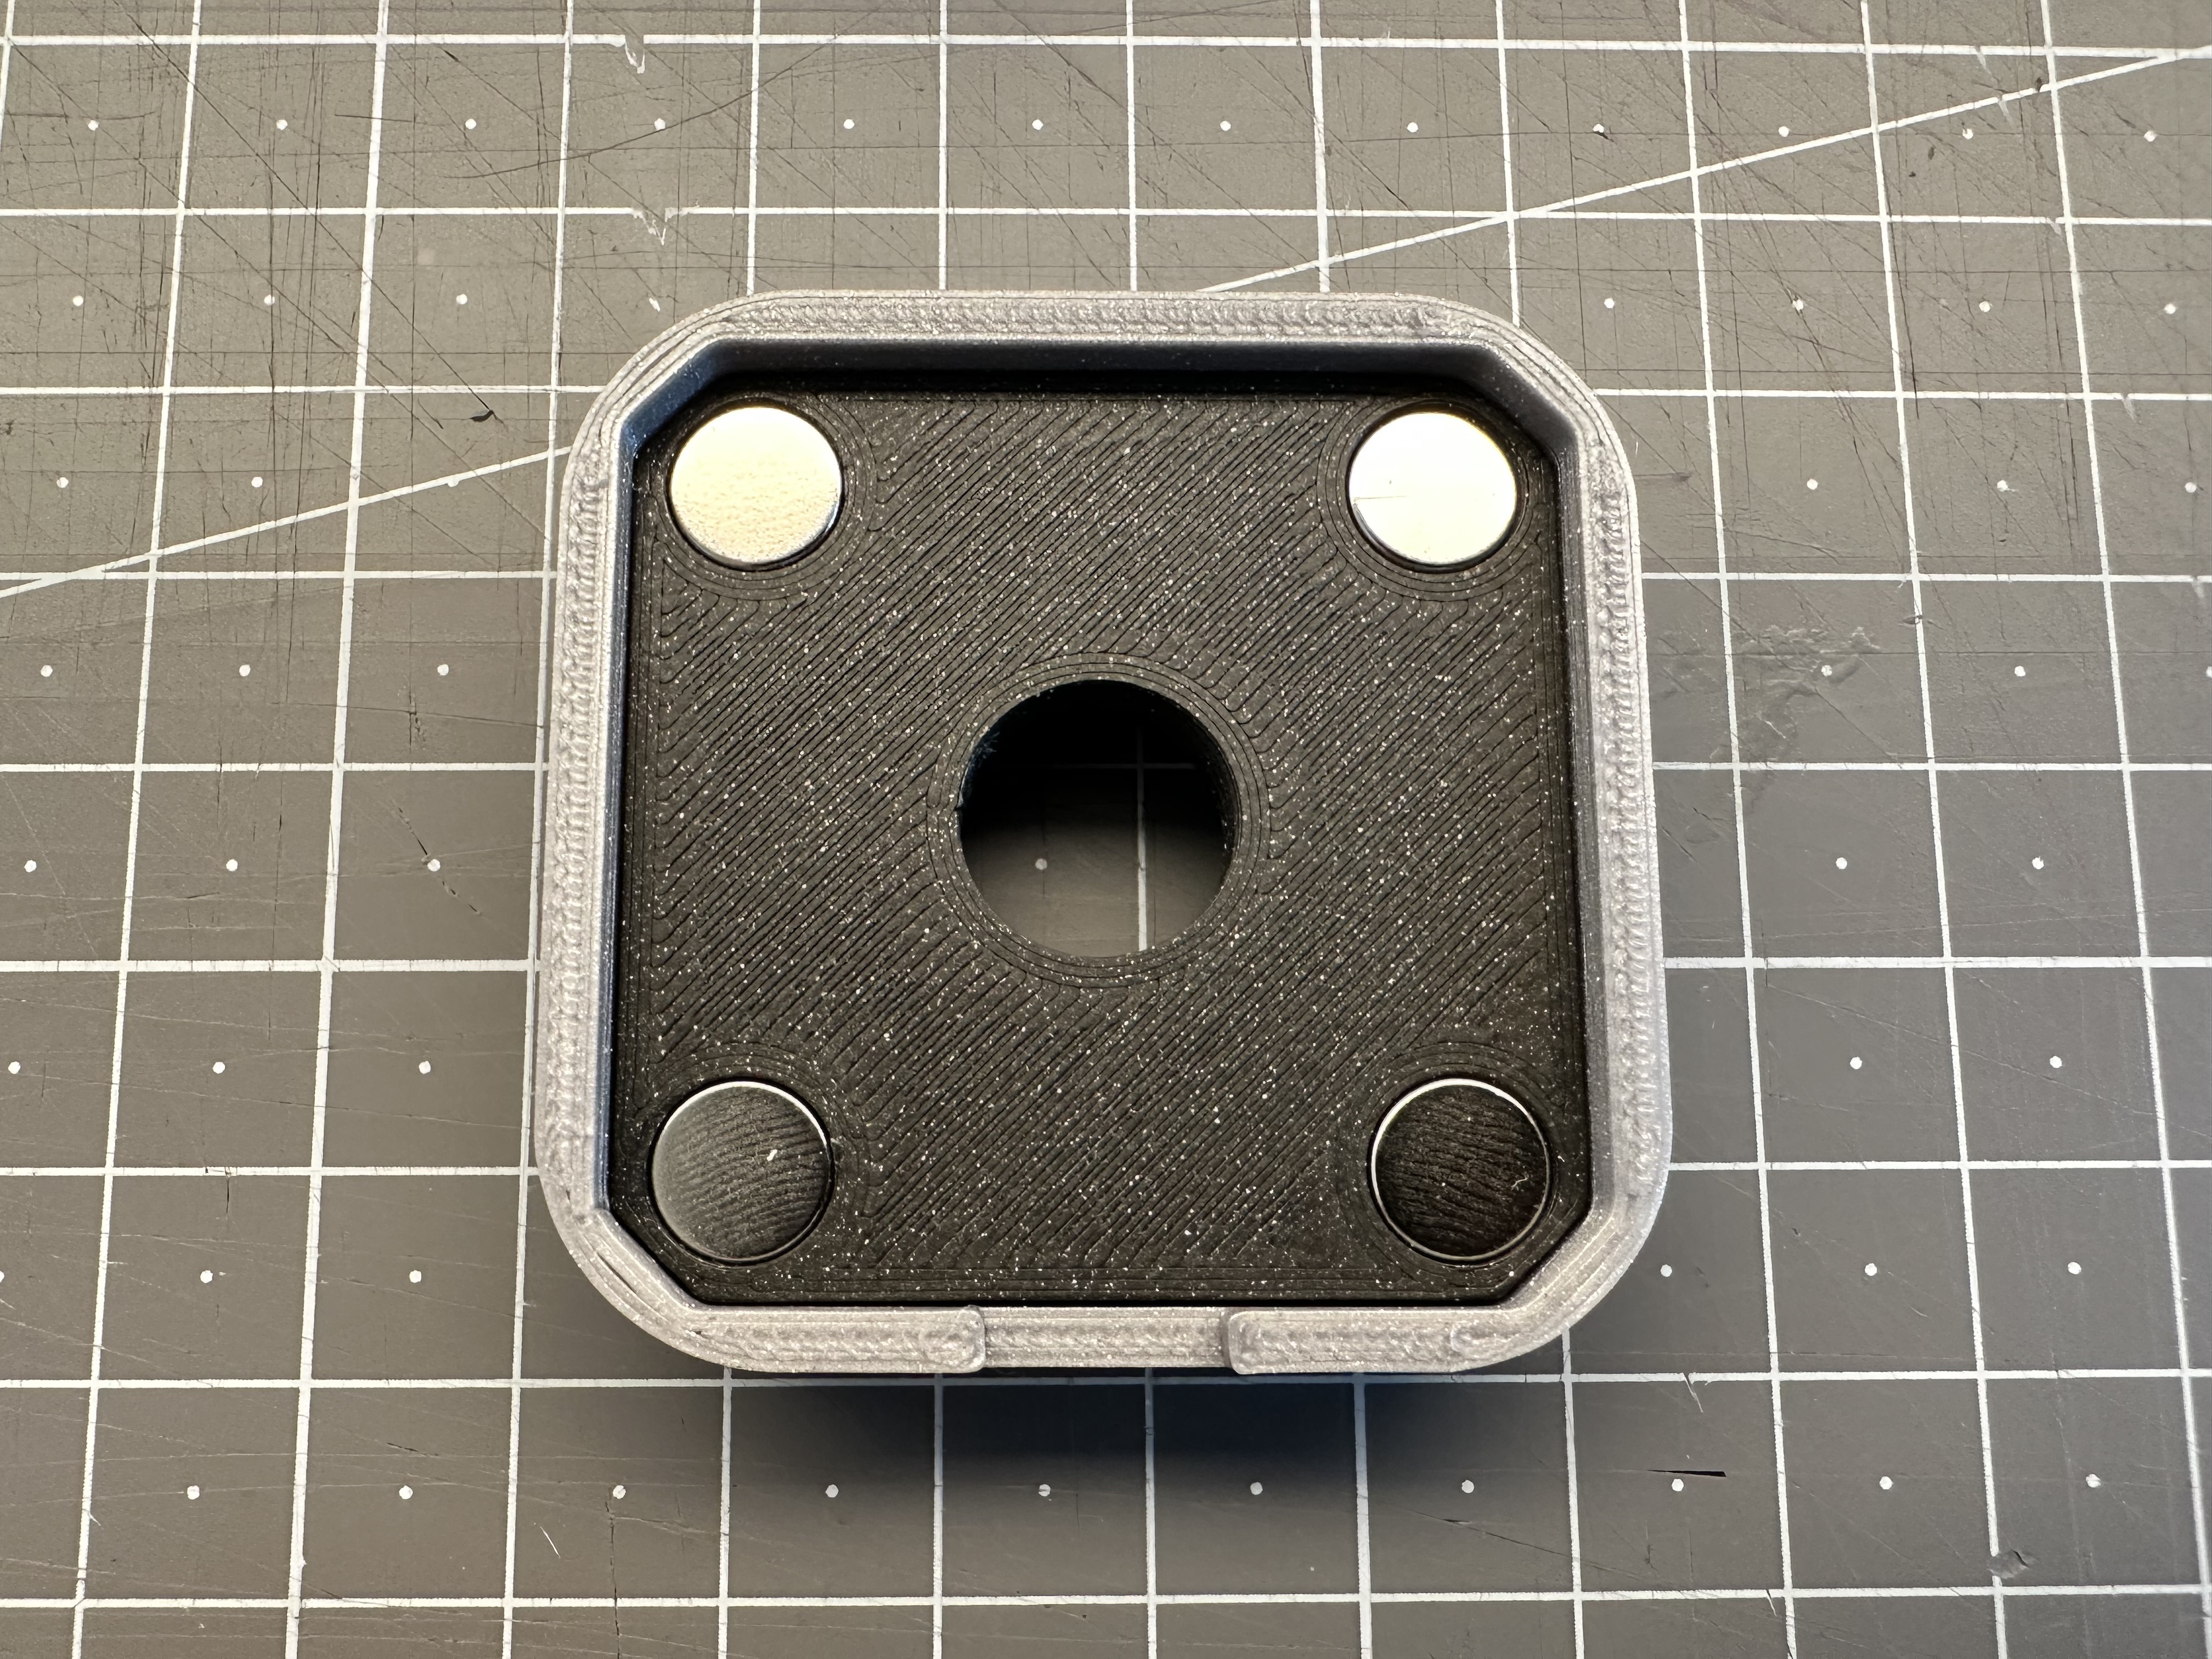
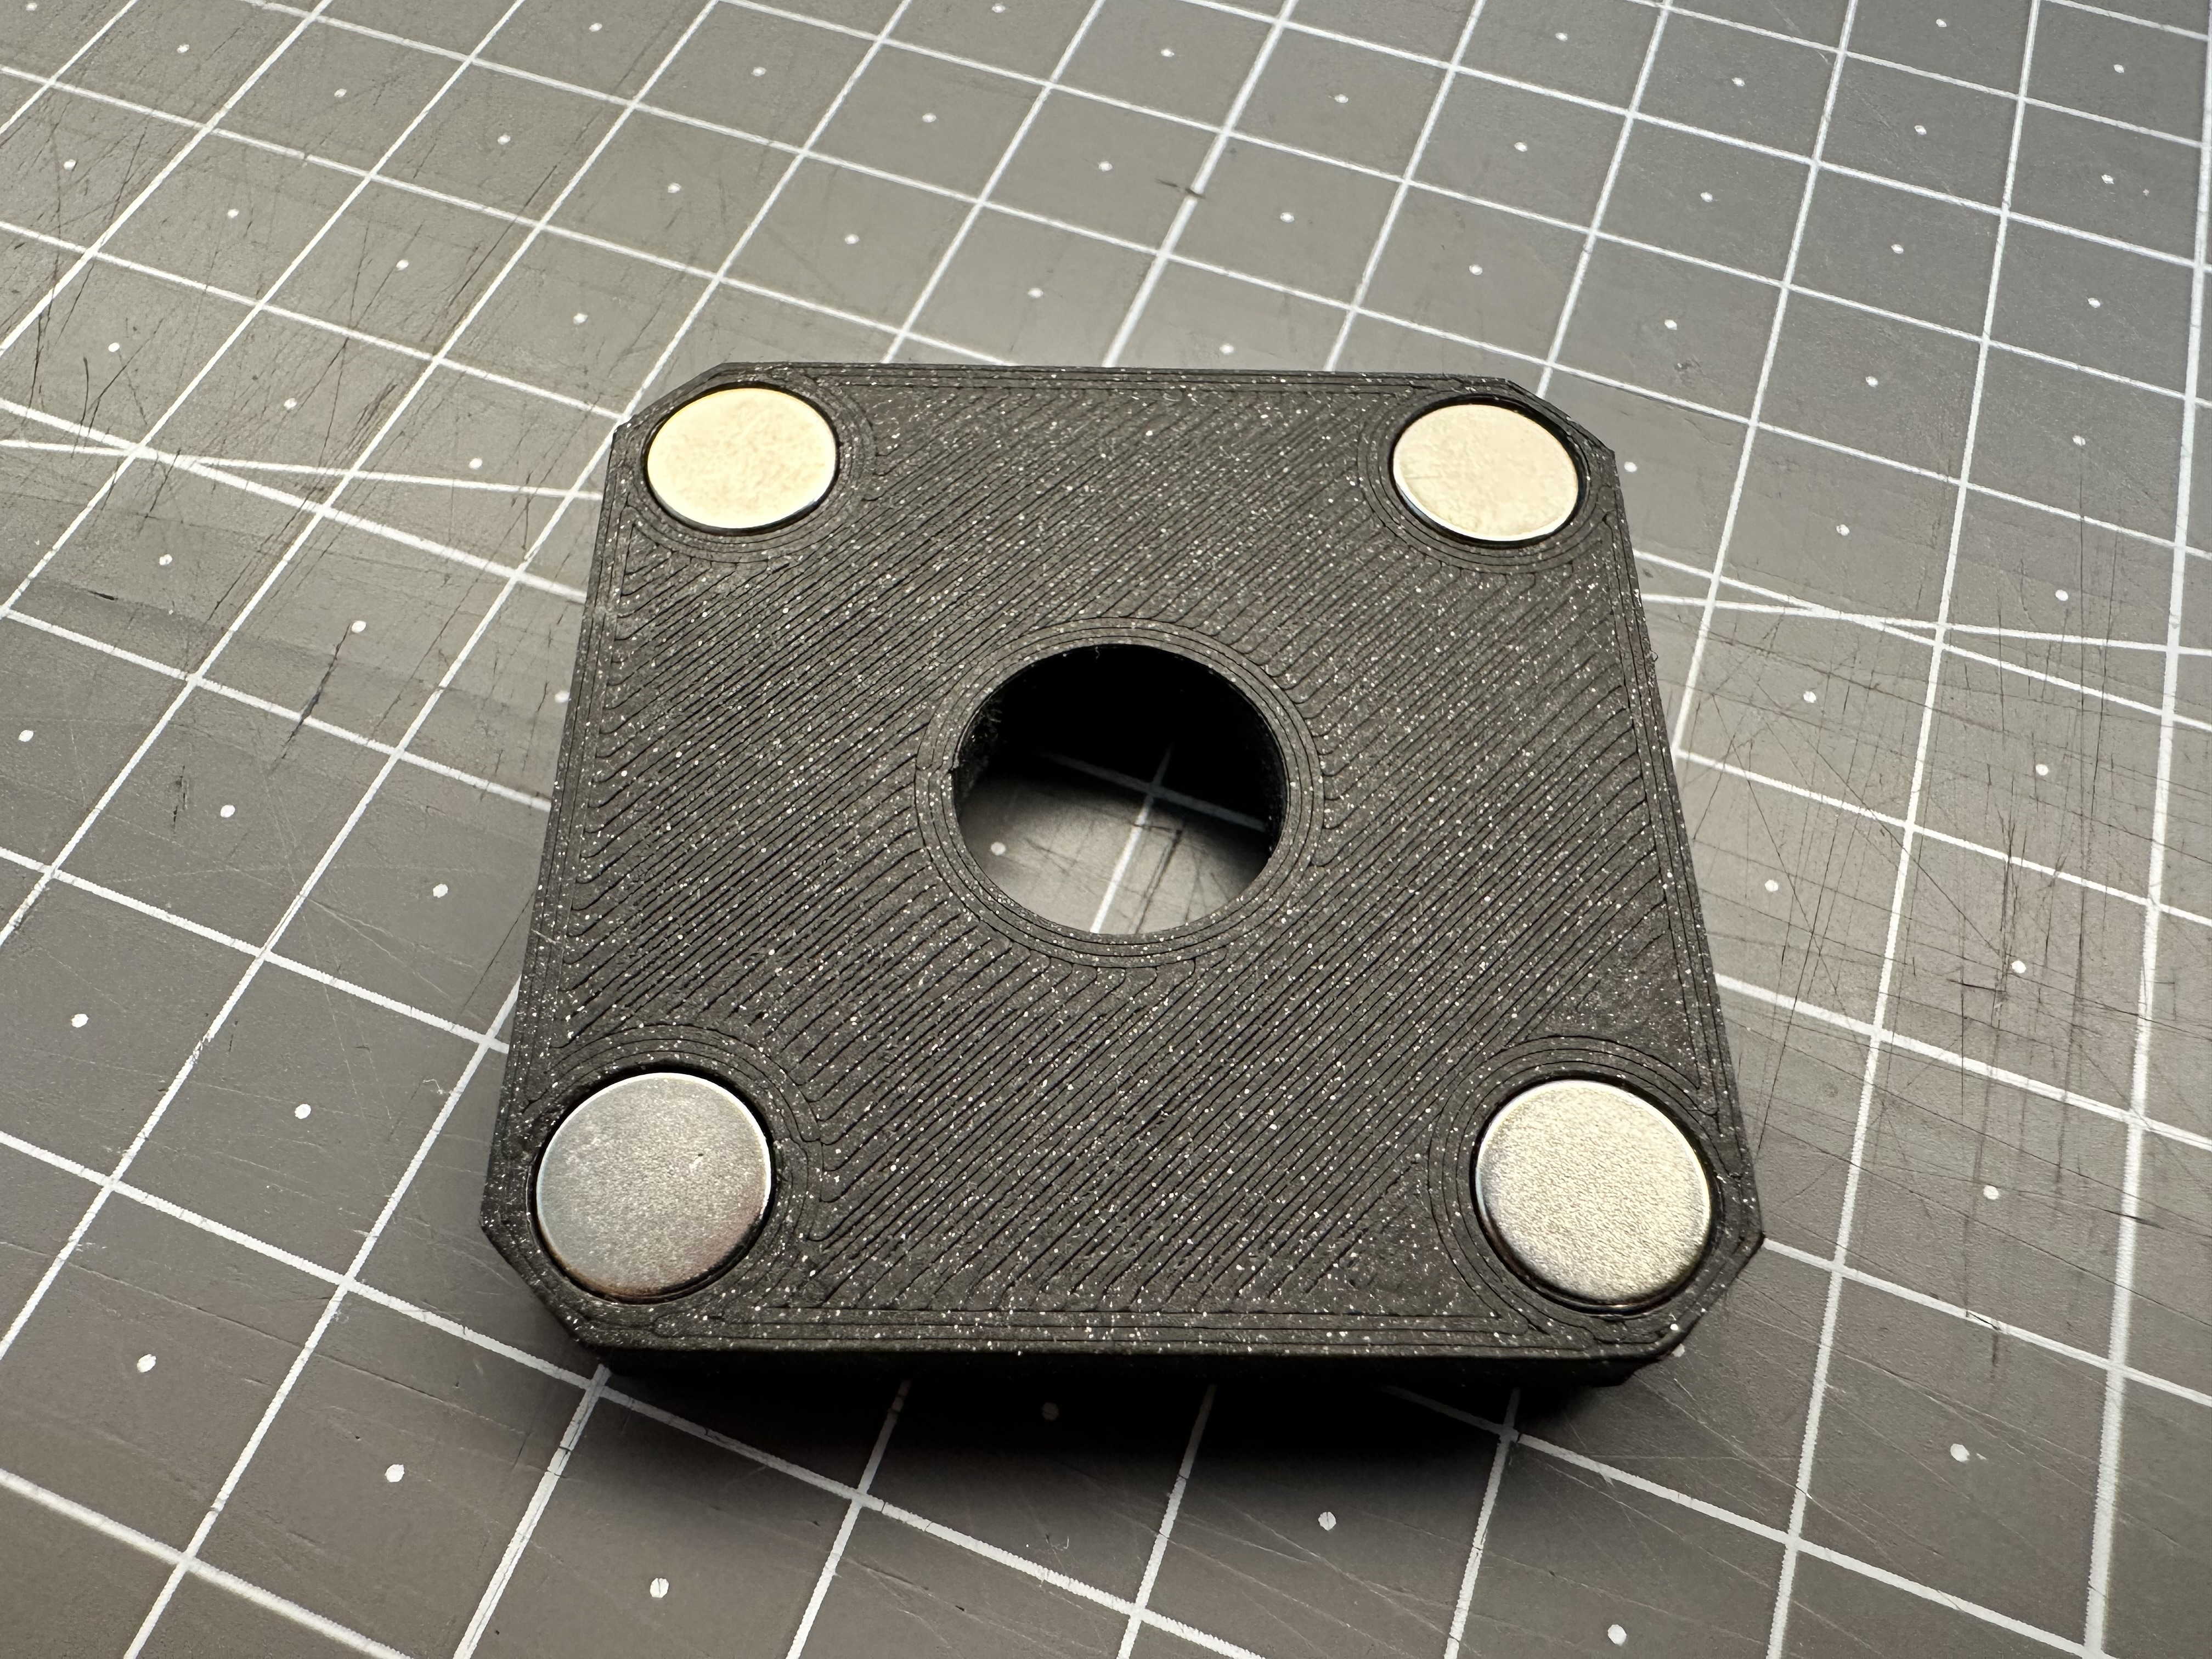
- Four magnets attached to the backplate is now pressure fit for 8x3mm magnet.
- Model tolerances tuned to be printed on 0.4mm nozzle.
BOM
- 6x 8x3mm magnets
- Super glue
- (Optional) Epoxy glue
Printing Guide
Print in 0.4mm nozzle or smaller. Print gears in 0.1mm layer height.
- Print back.stl, frontgear_backing.stl in black. Note to orient parts sensibly to the print bed correctly. I used Prusament ASA Galaxy Black.
- Print frontgear.stl, backgear.stl, trim.stl in silver or color of your liking. I used Prusament PLA Galaxy Silver.
Assembly Guide
- Glue frontgear and frontgear_backing together.
- Glue two 8x3mm magnets to the frontgear_backing. Epoxy glue is recommended. As CA superglue tends to not work really well on magnets. And the extruder heat also tends to weaken CA glue.
- Glue four 8x3mm magnets back.
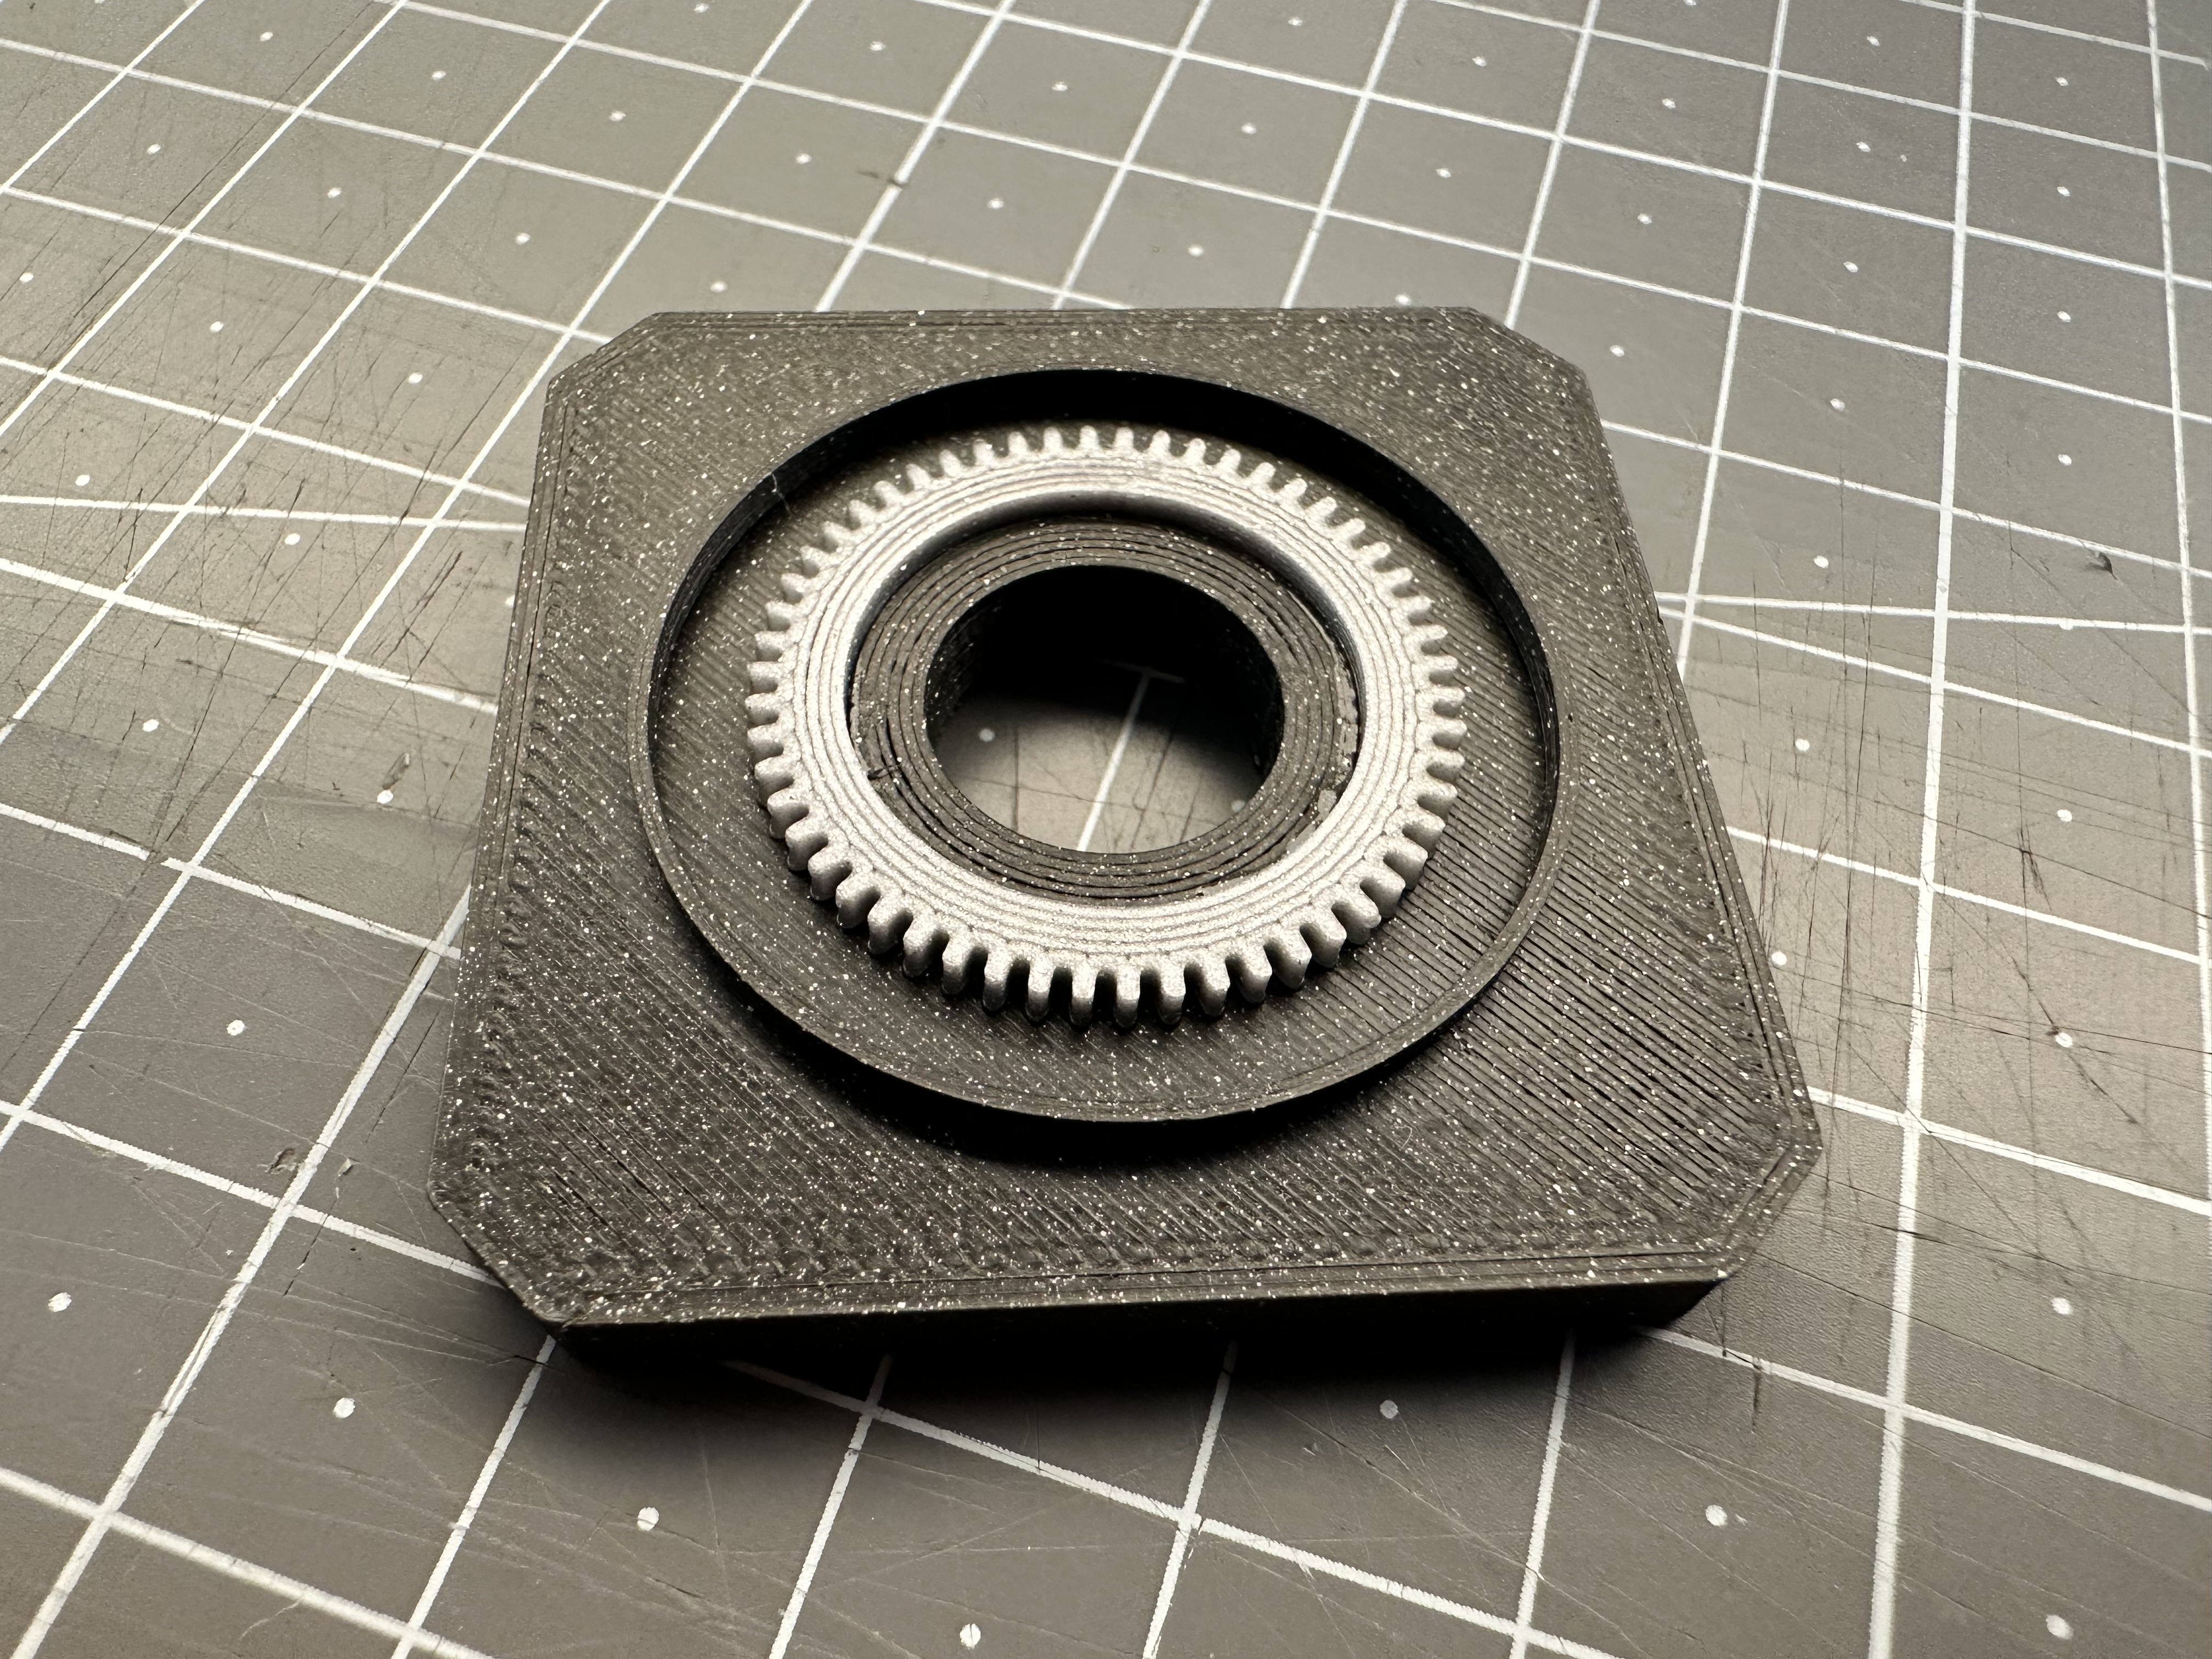
- Glue backgear to back.
- Glue back to trim.