
1 / 13
Braiding machine
Order a print of this model
We calculate the final price from your selected file. You review and accept it before payment.
Saved on this device.
Model information
- Source
- Printables
- Category
- Tools
- License
- Creative Commons — Public Domain
Video
Video with thread
Squarebraider Video
| This is an advanced print with complex mechanics - if you are not experienced with printing and engineering, please start with the 2 gear (flat braider) version! |
- Bobbin pins are 4mm so you can replace them with a M4 bolt if you want.
Assembly in 5min
- Use a little grease on all moving (sliding, clip in, rotating) surfaces.
- Print the main Gear 2×
- You need to print the bobbin pins 3× (incl. lens guide, spool and cap
- Press one gear onto the arbor.
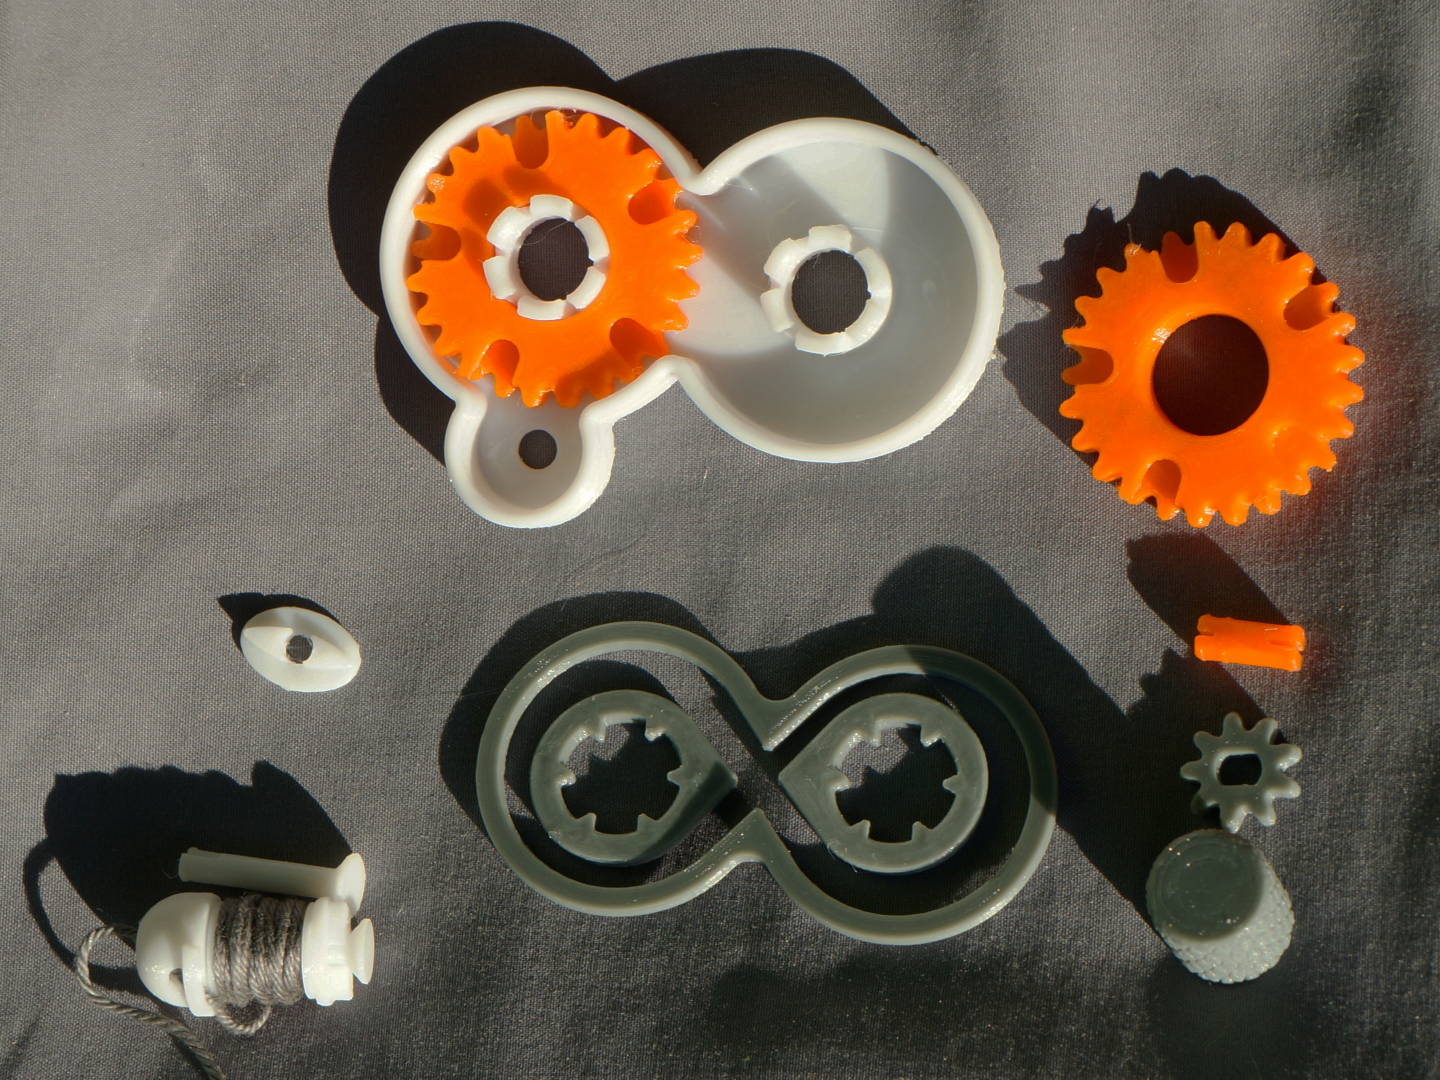
- Align the second gear so the bobbin notches match together and press in.
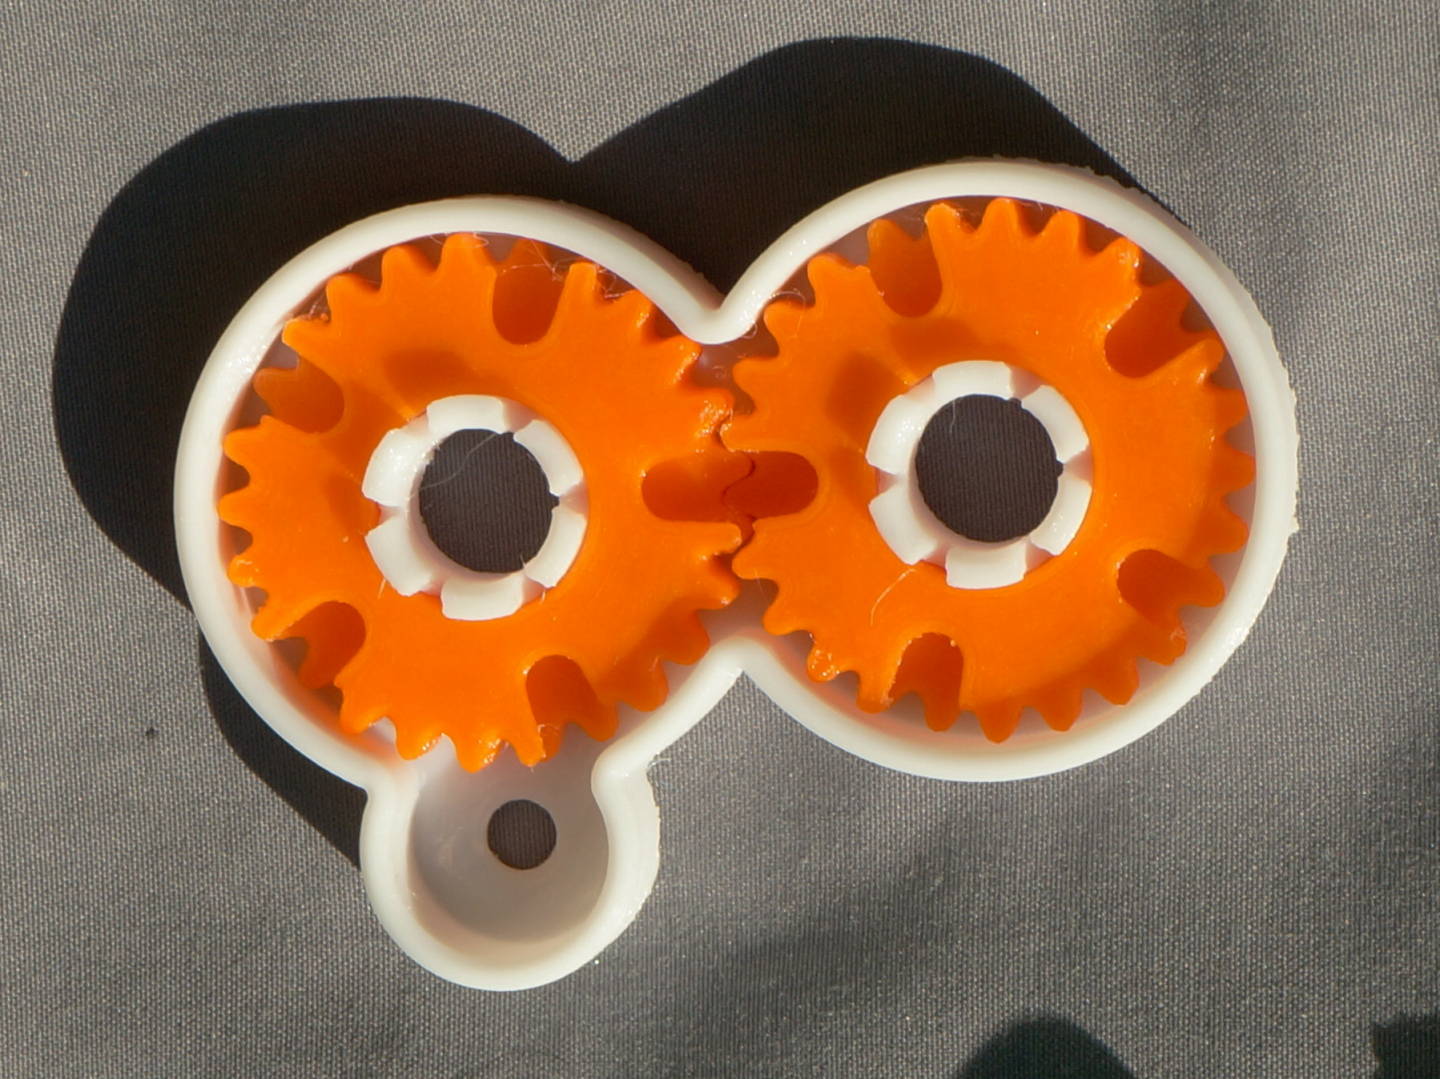
- Clip the center diverters onto both arbors facing to each other.

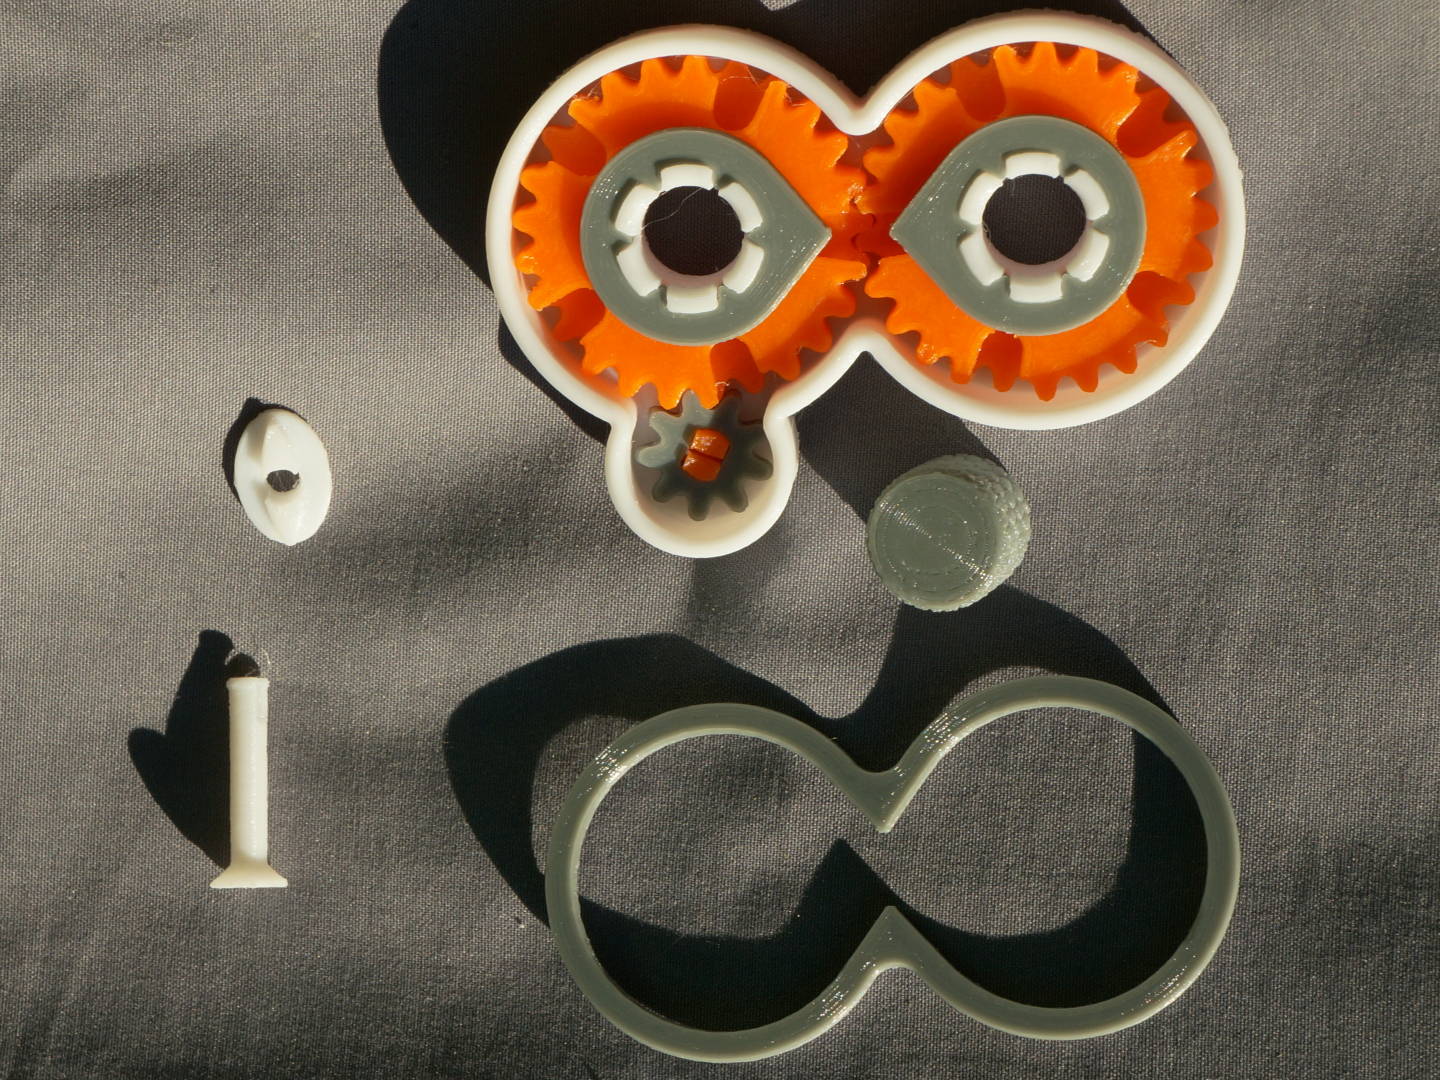
- Add the small input gear
- either add the motor Mount into the center and add the half hole input gear.
- or the gear with square hole for manual drive with the grip or ¼" hex shaft
- press in the flat pin
- insert in the hole to intersect with the big gear
- hold and press the grip or the hex shaft from below onto Insert the bobbin pins via the gear port into the first gear.
- or the gear with square hole for manual drive with the grip or ¼" hex shaft
- either add the motor Mount into the center and add the half hole input gear.
- Distribute the bobbins, while each of the 5 positions or notches can only take one spool, so if notch №1 is filled on gear A it must be empty on gear B as spools switch gears not positions (as they do for the square braider with more gears) :
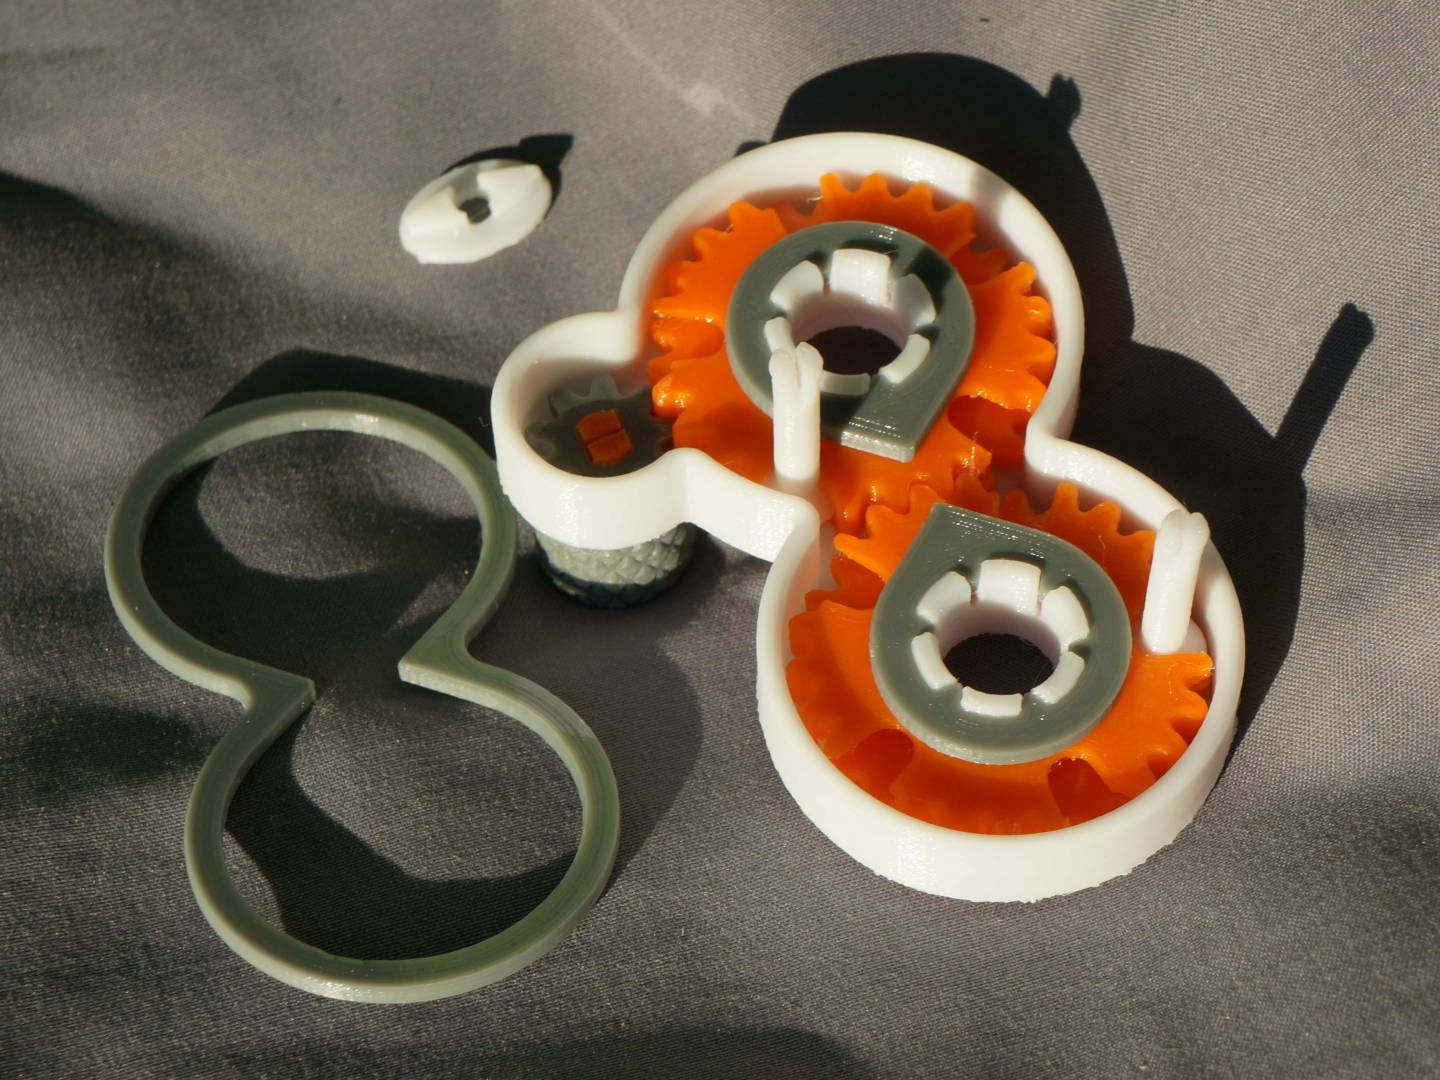
- Two on one gear - one on the other for 3 spools.
- Alternating 3 on one - 2 on the other for 5 spools.
- Put the diverter ring (figure 8 shape) onto the gears.
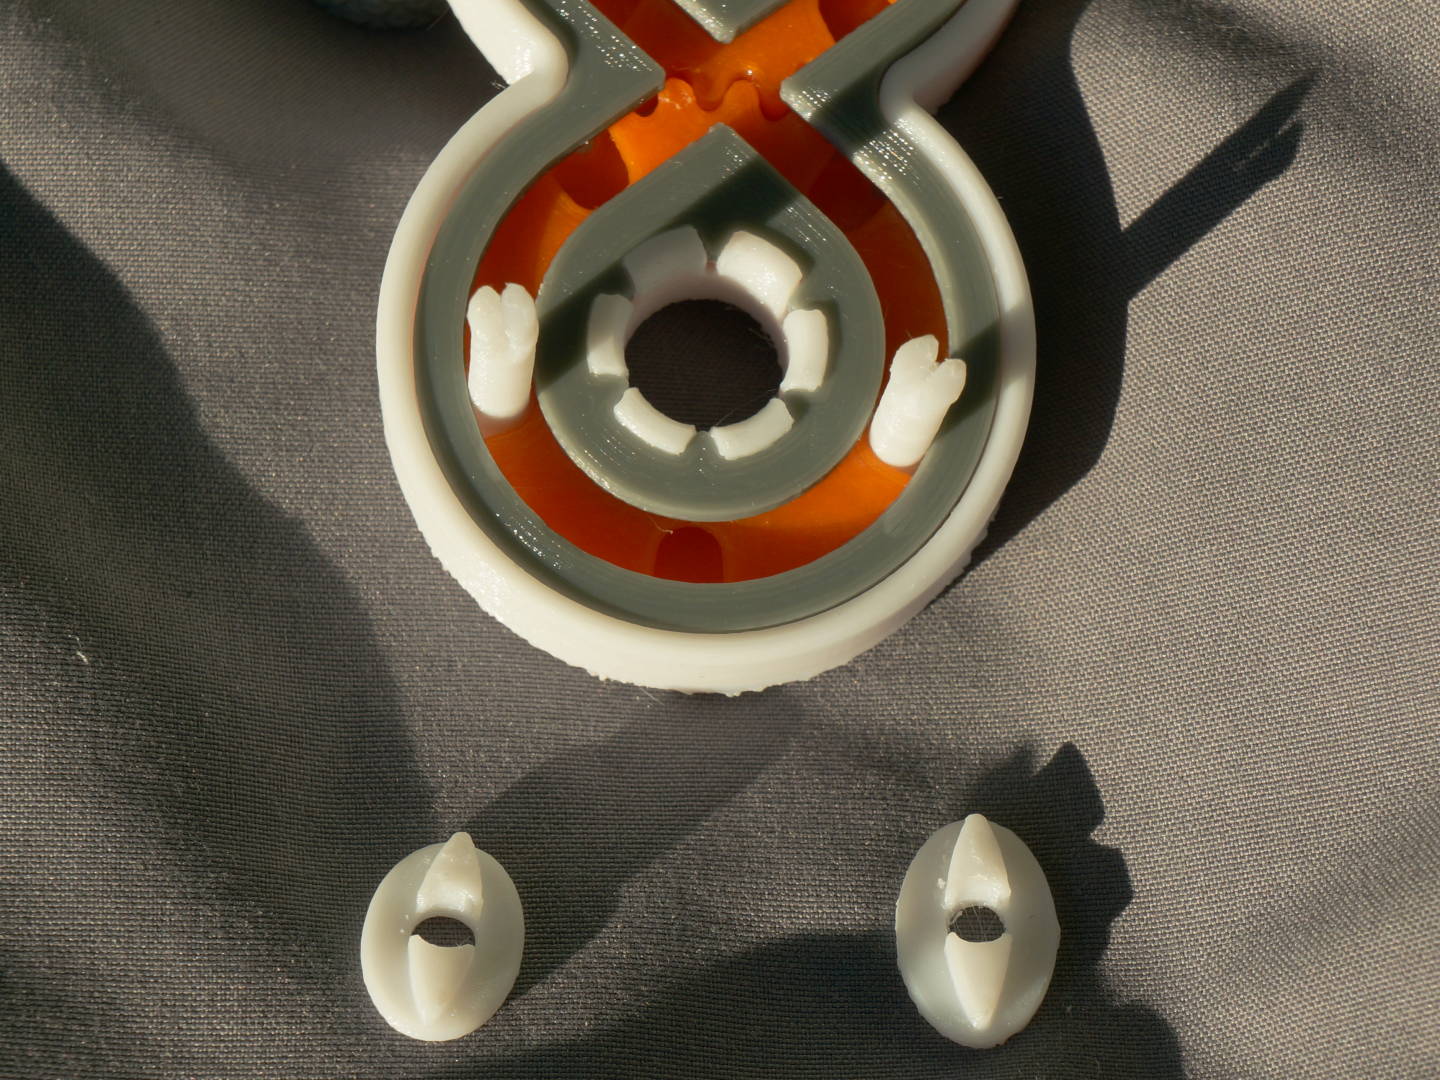
- Slide the lens shaped guides in the groove onto the pins while none is in the crossing.
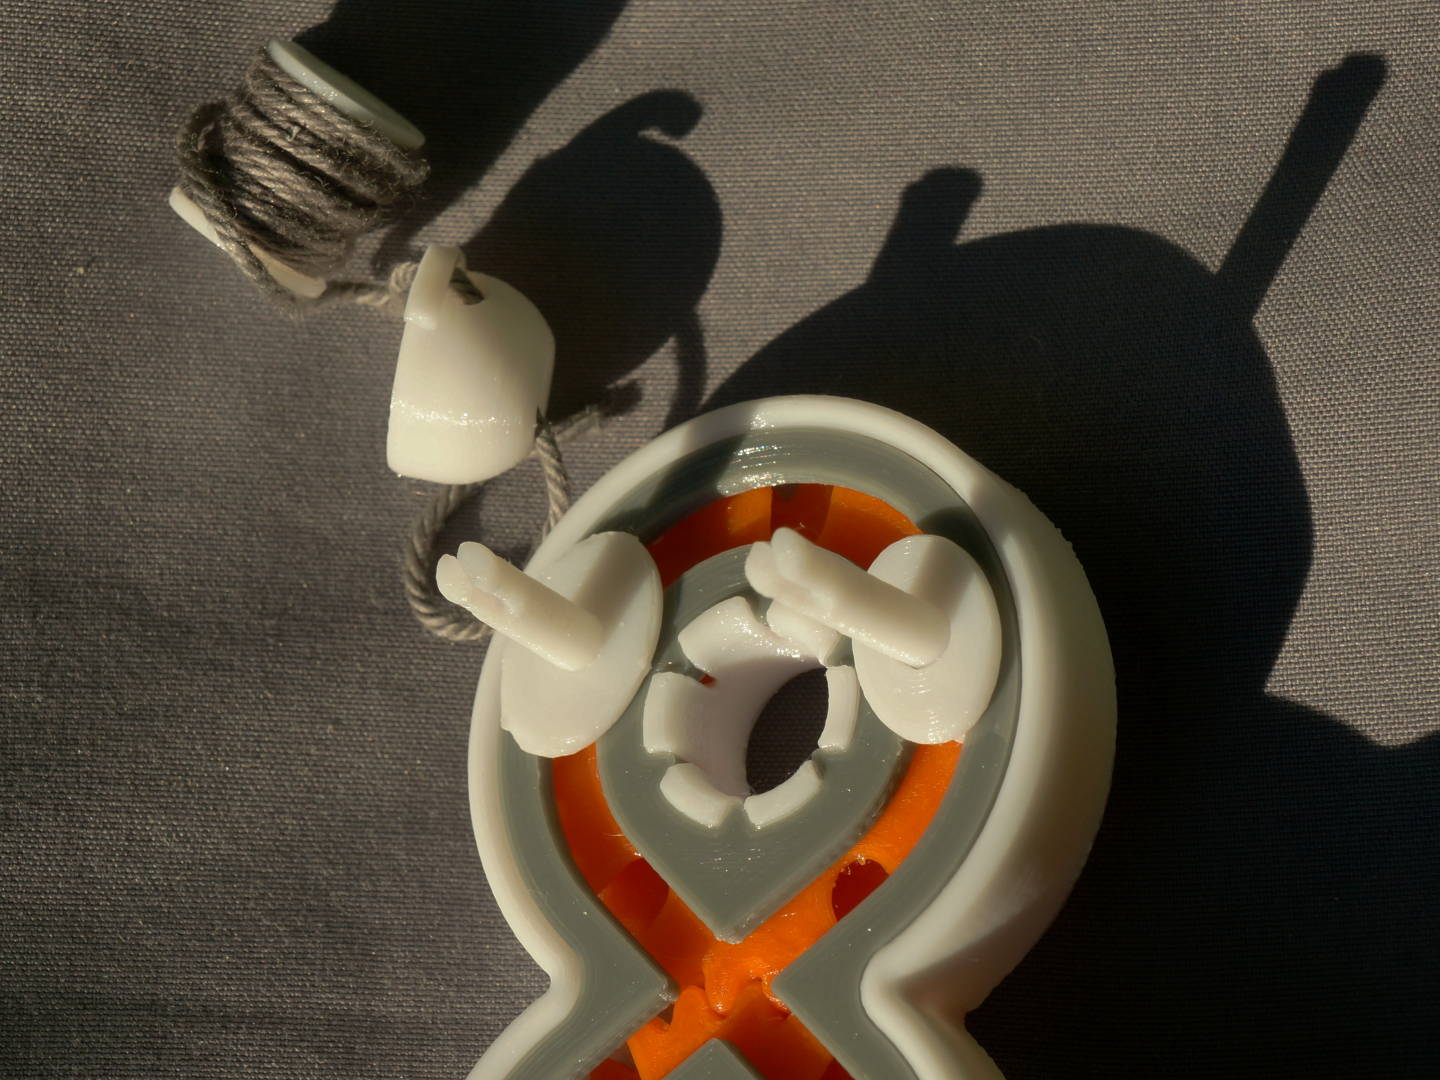
- Load the spools with ~60cm (2ft) (1m 3ft v2.5) crochet thread, satin floss or similar each.
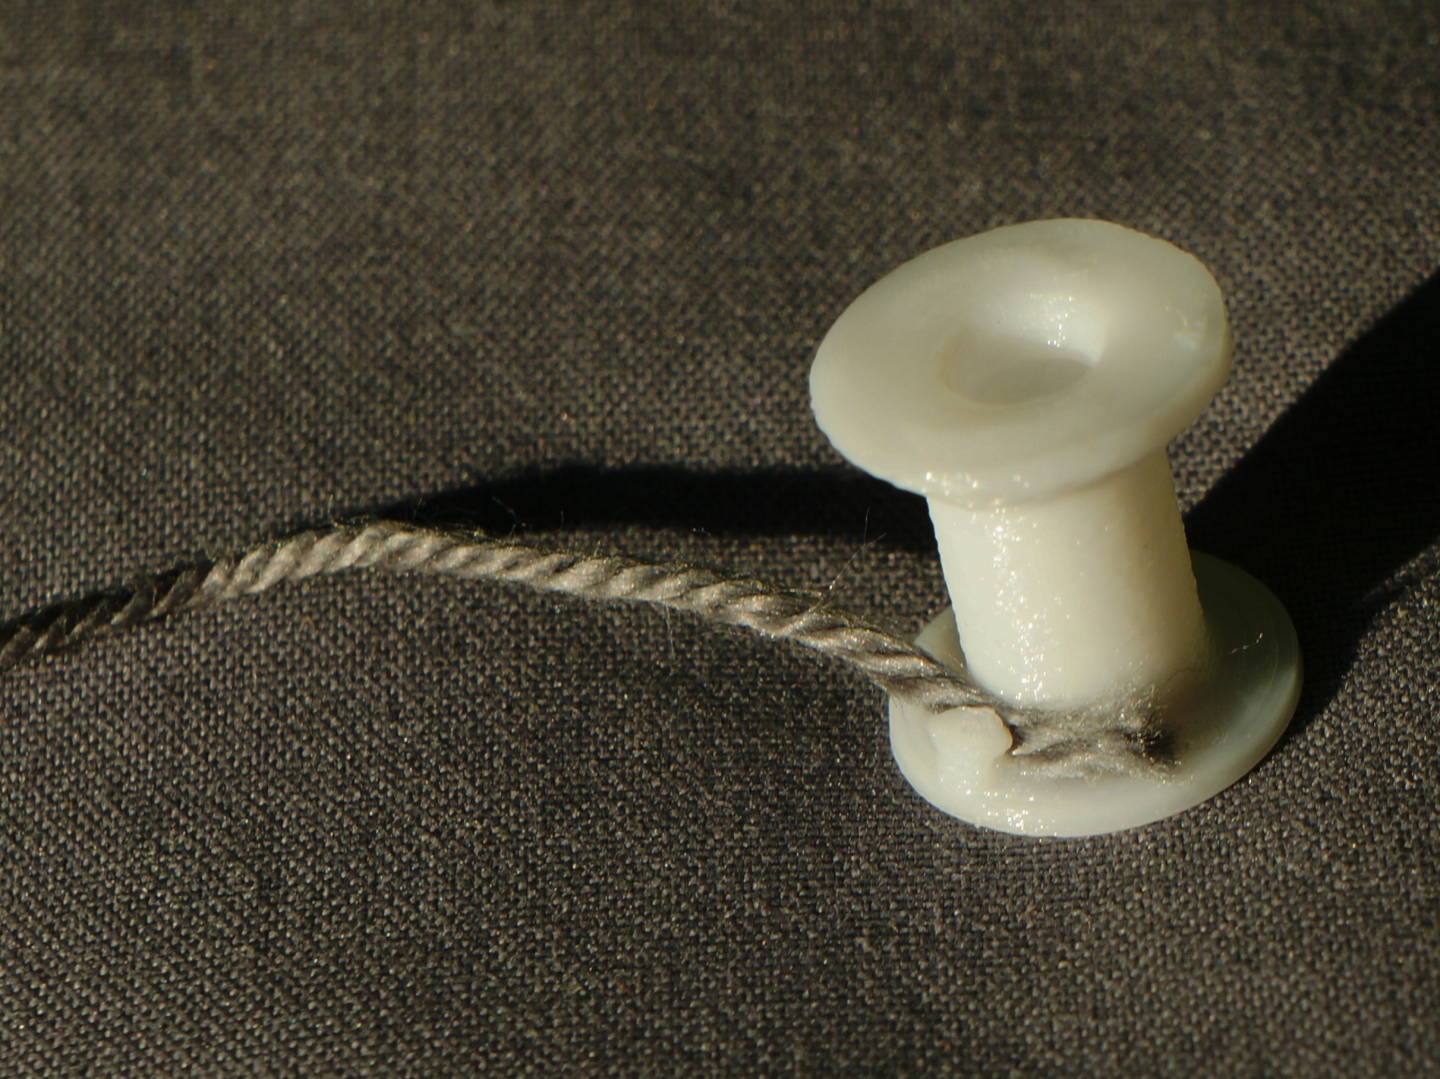
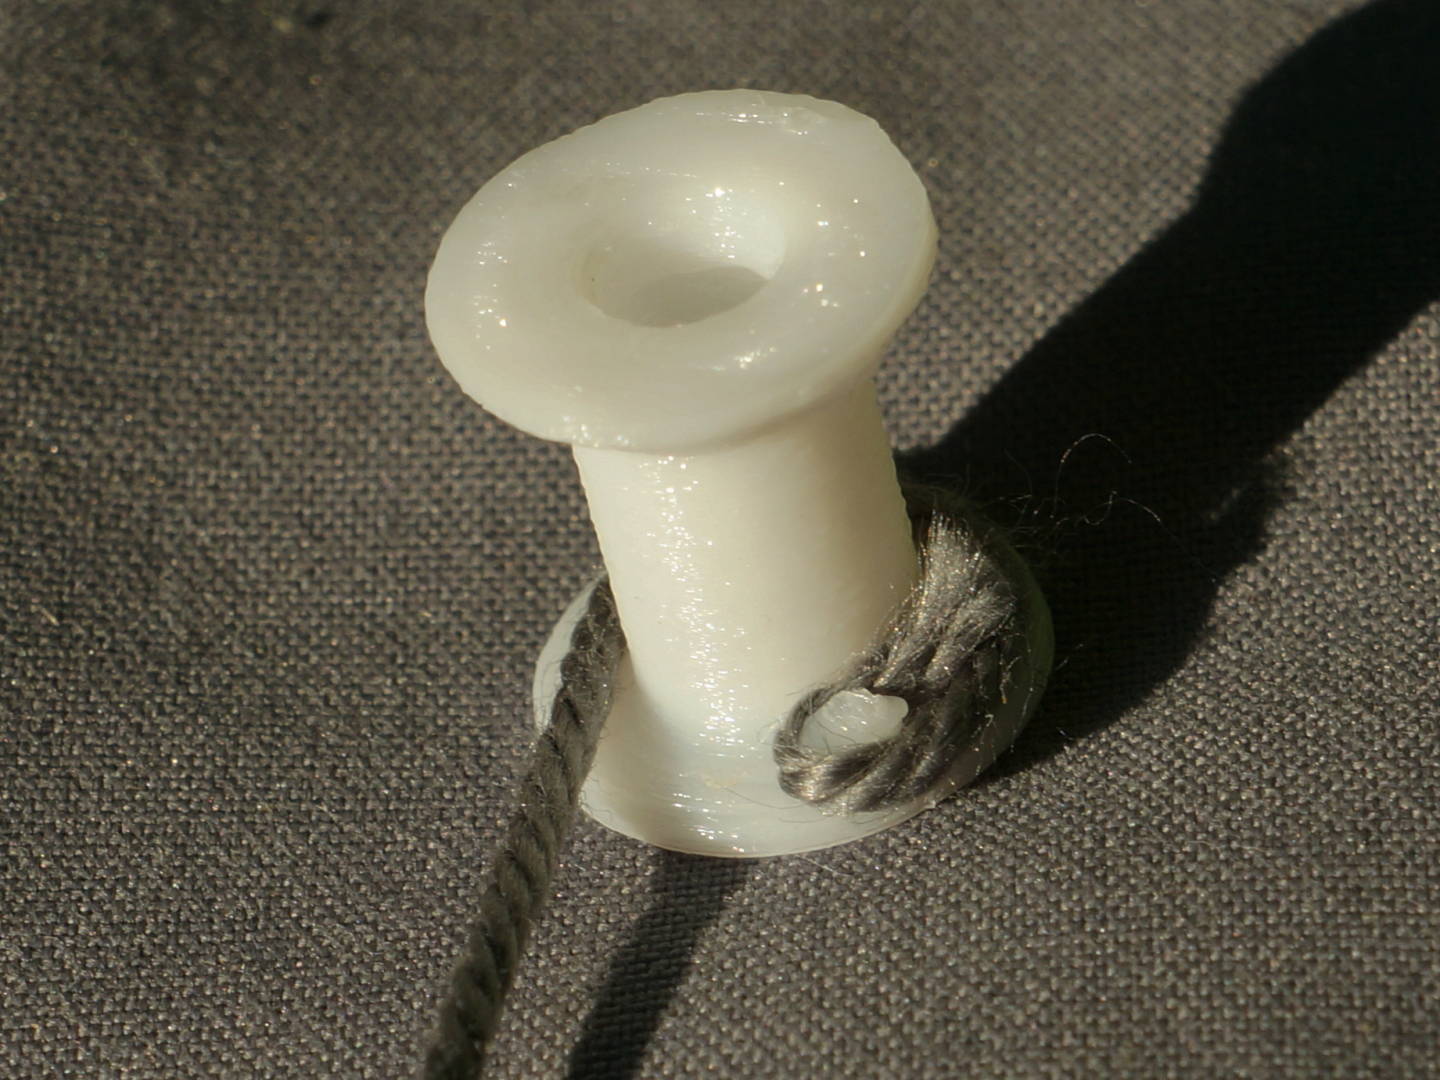
- Slide the loaded spools onto the pins.
- Thread the end through the side of the caps so exit is the center and clip onto the pins.

- Check smooth running
- hold the thread ends together make a knot and hang on a door or window handle and pull out 10cm and braid away. The braiding point should be 10cm above the spool caps to minimize the different angles and lateral forces.