
Gridfinity x SMD Magazine
We calculate the final price from your selected file. You review and accept it before payment.
Saved on this device.
Convenient access and organization for your SMD components.
- Rating
- 5 / 5
- Likes
- 61
- Downloads
- 334
- Makes
- 3
- Views
- 2,149
- Reviews
- 3
Updated at source:
Model information
- Source
- Printables
- Category
- Electronics
- License
- Creative Commons — Attribution — Noncommercial
Tired of endless bags of 0603s and SOD123s with no order to them? Looking to speed up your assembly by bringing order to your components? Look no further! :)
Introduction
This model is a improved and heavily reworked version of Robin Reiter's SMD Component Magazines: https://hackaday.io/project/168275-smd-component-magazines.
Ok for real tho, what is it? The original author of the design that this is based on shows this excellently in his YouTube video:
Instructions
Print as many casettes as you need for your various components and tape types. Pick and chose the rail types that you want, you don't need to print all of them.
SMD Casette
You're expected to use the parametric Fusion 360 files and adjust the tape_width and tape_thickness parameters to fit your component tapes. The tolerance value can be adjusted to suit your printer's characteristics if the tapes fit too loosely or too tightly.
If you're unable to use Fusion 360, then you can use the provide STEP file to make adjustments. But it's not parameterised and is exported for 8 mm tape that is 1.1 mm thick and for printers that can keep a tolerance of 0.2 mm. This casette fits most 0603 passive component tapes.
An STL is provided as an example with the same parameters as above. No other STLs will be provided for other tape dimensions.
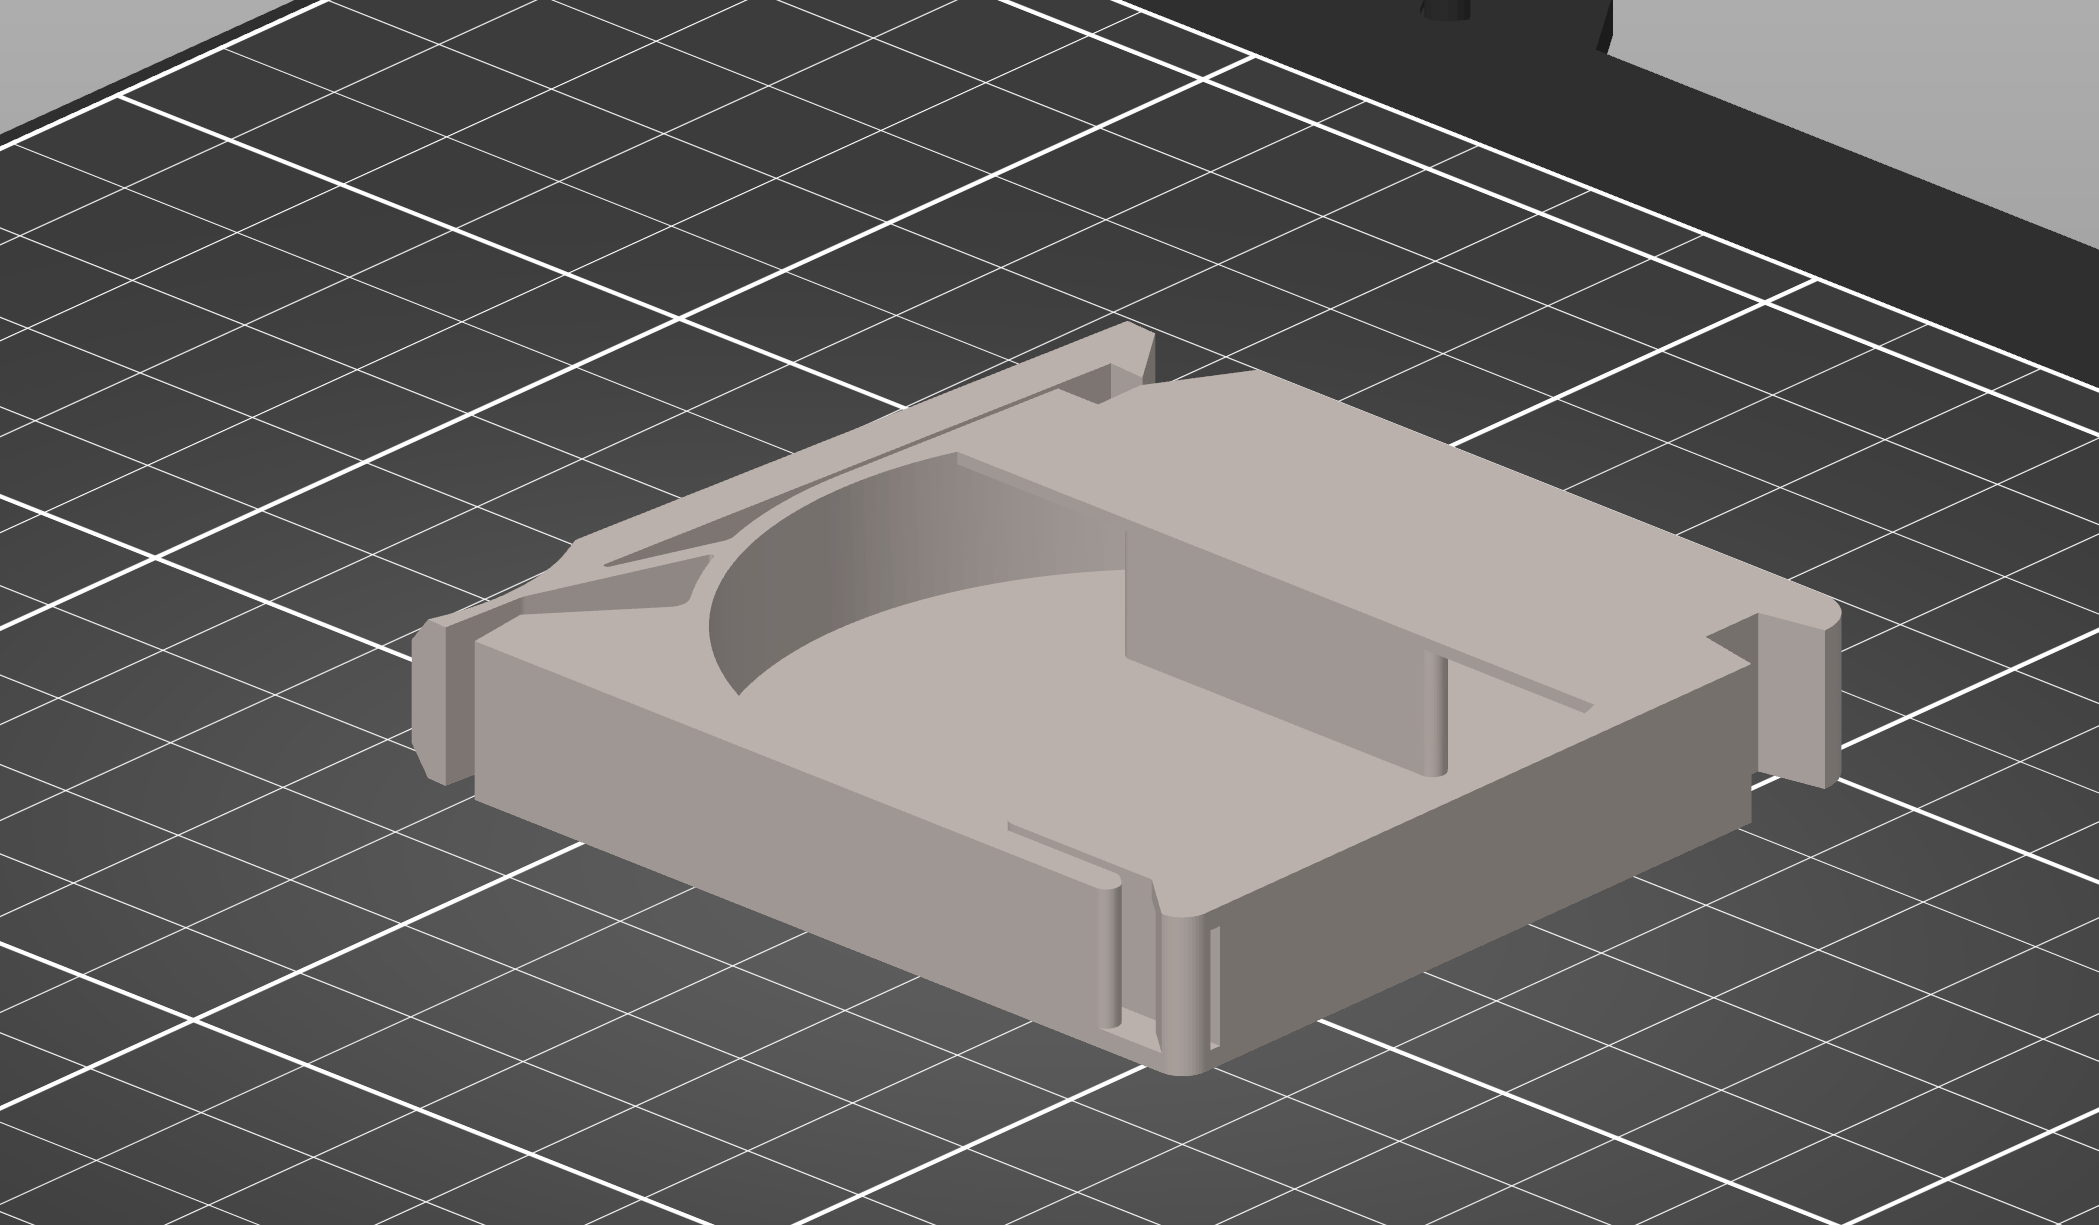
Recommended settings:
- Material: PLA
- Print Bed: Smooth PEI
- Perimeters: 2
- Infill: Doesn't matter
- Layers: The model is designed for 0.2 mm.
- Print Orientation: Obvious, see picture.
Note: Even though these casettes are heavily reworked from the original, they are still compatible with the original rails, and the rails included here are compatible of the original casettes.
Gridfinity Rail V2
The Fusion 360 file is parameterised, dovetail_clearance and foam_thickness should be adjusted for your needs. The other parameters will break the model and shouldn't be adjusted unless you're confident in being able to repair the breakage.
The STEP and STL files are provided with a foam_thickness of 6 mm and a dovetail_clearance of 0.04 mm. The minimum print-bed is 210 mm x 85 mm. You will need 6mm foam or slightly thicker that is cut into a 59x206 mm sheet if you print the STEP/STL files directly.
Note that the dovetails are intended to be a “press fit”, i.e. take some force to insert and not move once in place. On my MK3, 0.04mm is the right value for dovetail_clearance but you will likely need to adjust.

Recommended settings:
- Material: PLA
- Print Bed: Smooth PEI
- Perimeters: 2
- Infill: 15% Rectilinear.
- Layers: 0.1 mm because of the dovetails.
- Print Orientation: Important, see picture.
The V2 improves on the V1 design by eliminating the need for supports. The model is instead printed in three parts that press fit (and/or glue) together with dovetail joints. I also removed the magnets as I don't think they're used commonly and they increase the print time.
Gridfinity Rail V1
I recommend that you use the V2 as it is less cleanup and produces a nicer result thanks to the top surfaces not showing stair stepping. However you may want to print this if you cannot get the dovetails to work or want magnets.
The STL files are provided for a foam_thickness of 6mm. The minimum print-bed is 210 mm x 85 mm. You will need 6mm foam or slightly thicker that is cut into a 59x206 mm sheet if you print the STEP/STL files directly. There's also space for up to 40 (but you probably don't want that many) 6x2mm round neodymium magnets in the rail, as is common for gridfinity modules.
Recommended settings:
- Material: PLA
- Print Bed: Smooth PEI
- Support: Yes, Organic
- Perimeters: 2
- Infill: 10% Rectilinear.
- Layers: 0.1 mm to reduce stair stepping on the sloped surfaces.
- Print Orientation: Flat, as oriented
Standalone Rail
Compared to the GridFinity version, this rail has internal cavities for ballast making it nice to use on your desk when working. Print vertically as shown and instert a “Pause Print (M601)” before the top is capped off and fill with your favourite ballast. I recommend fine sand.
The three ribs on the top (circled in the picture below) are build-in supports and should be cut away once the print finishes.
The Fusion 360 file is parameterised, you can change the rail_angle, rail_length, and foam_thickness values to your liking.
The included STL is 200 mm long and requires a sheet of foam that is 59x197 mm and is a little bit thicker than 6 mm. I recommend getting some small rubber feet to stick on the under side to make it stay put on your desk.

Recommended settings:
- Material: PLA
- Print Bed: Smooth PEI
- Brim: Yes, high aspect model.
- Perimeters: 2
- Infill: 10% Rectilinear.
- Layers: 0.15 - 0.3mm
- Print Orientation: Standing upright.