
DTZ541 IR head magnet mount ESP01
We calculate the final price from your selected file. You review and accept it before payment.
Saved on this device.

Variation of DTZ541 power meter IR transceiver head with extra nodges for board with stacked ESP01.
- Rating
- 0 / 5
- Likes
- 0
- Downloads
- 45
- Makes
- 0
- Views
- 376
- Reviews
- 0
Updated at source:
Model information
- Source
- Printables
- Category
- Electronics
- License
- Creative Commons — Attribution — Noncommercial — Share Alike
The DTZ541 is a common meter in Germany that provides an infrared transceiver to read information off the reader, e.g., for integration with Home Assistant. There are several IR heads available that can be bought preassembled, often variations of the Volkszähler design (I'm using the Hichi head).
The sensors are generally mounted with a magnet (meters have the counter part integrated). However, the round head was finicky to position correctly and a pull on the cable can cause bad readings.
The DTZ541 has extra nodges next to the IR window. This model is a case for the IR head with stacked ESP01_1m (tested with the Hichi one) that takes advantage of these nodges for easy and more robust positioning.
I have custom code to read the meter via ESPHome available in my meters repo.
Print Instructions
This should be an easy print. I have used PETG, but any other material should work just as well.
| Printer | MK3s+ |
| Filament | Prusament PETG |
| Infill | 15% |
| Supports | None |
Assembly Instructions
1- Print and layout parts
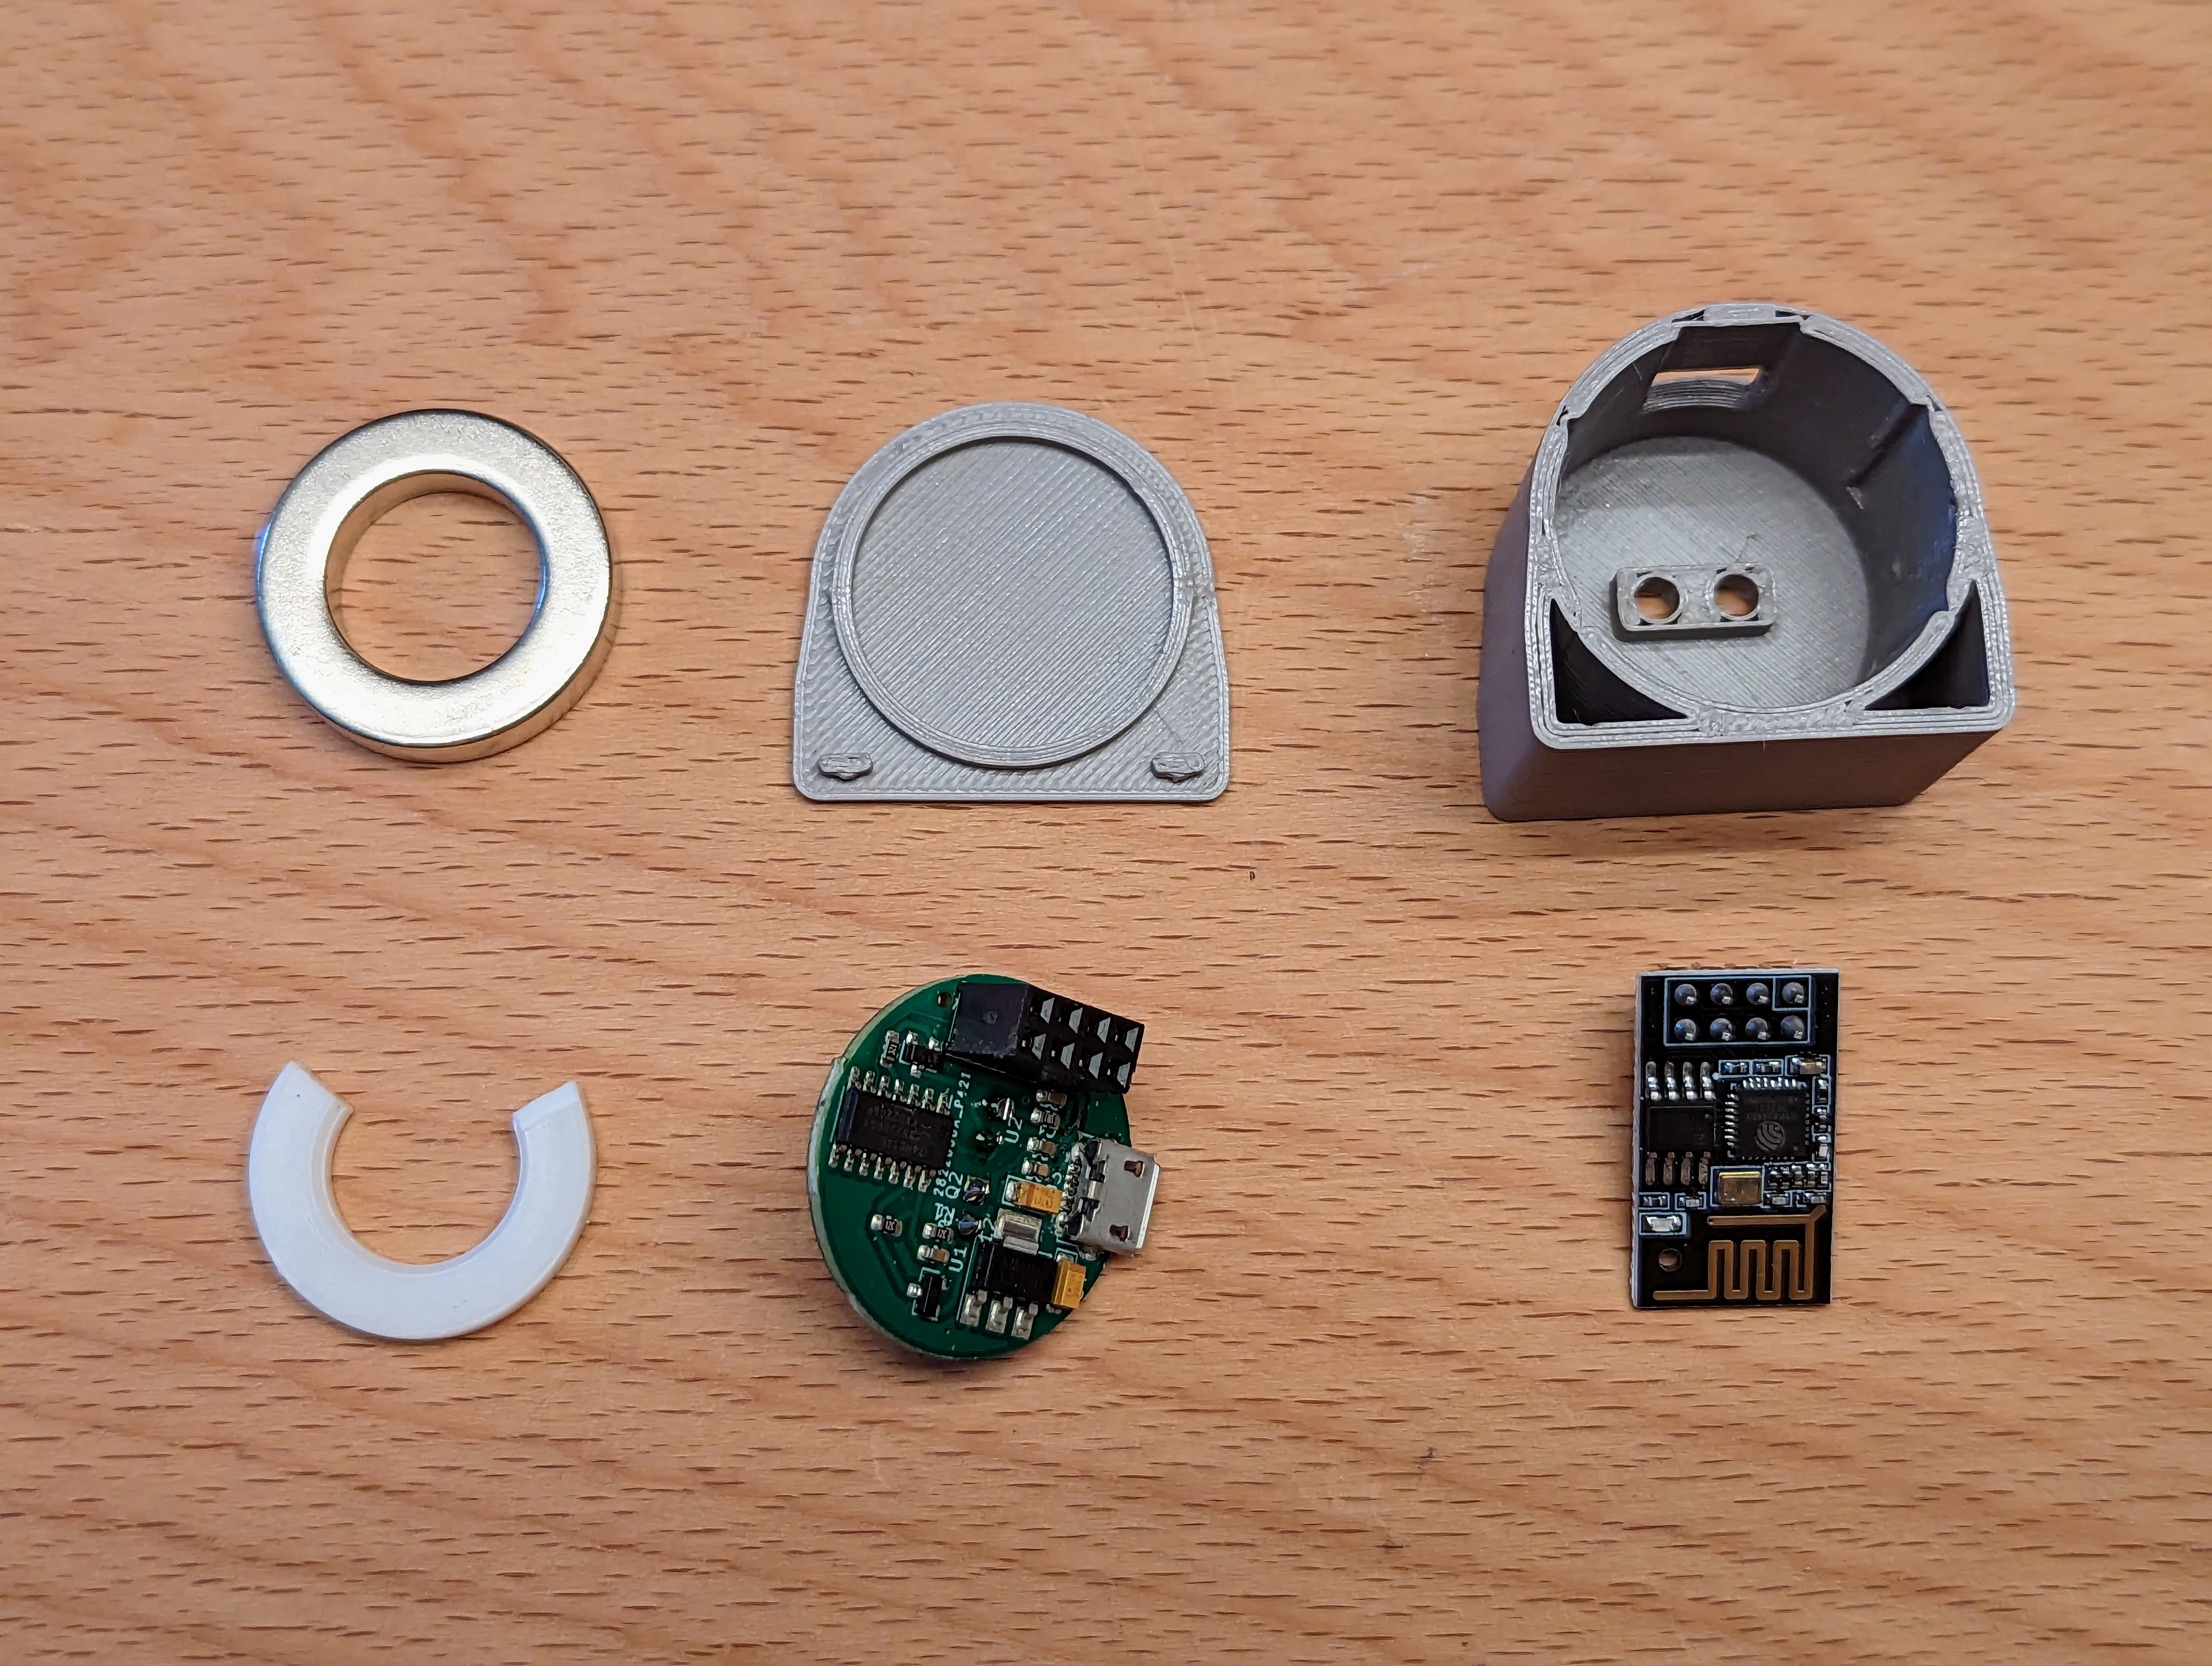
2- Place magnet at bottom
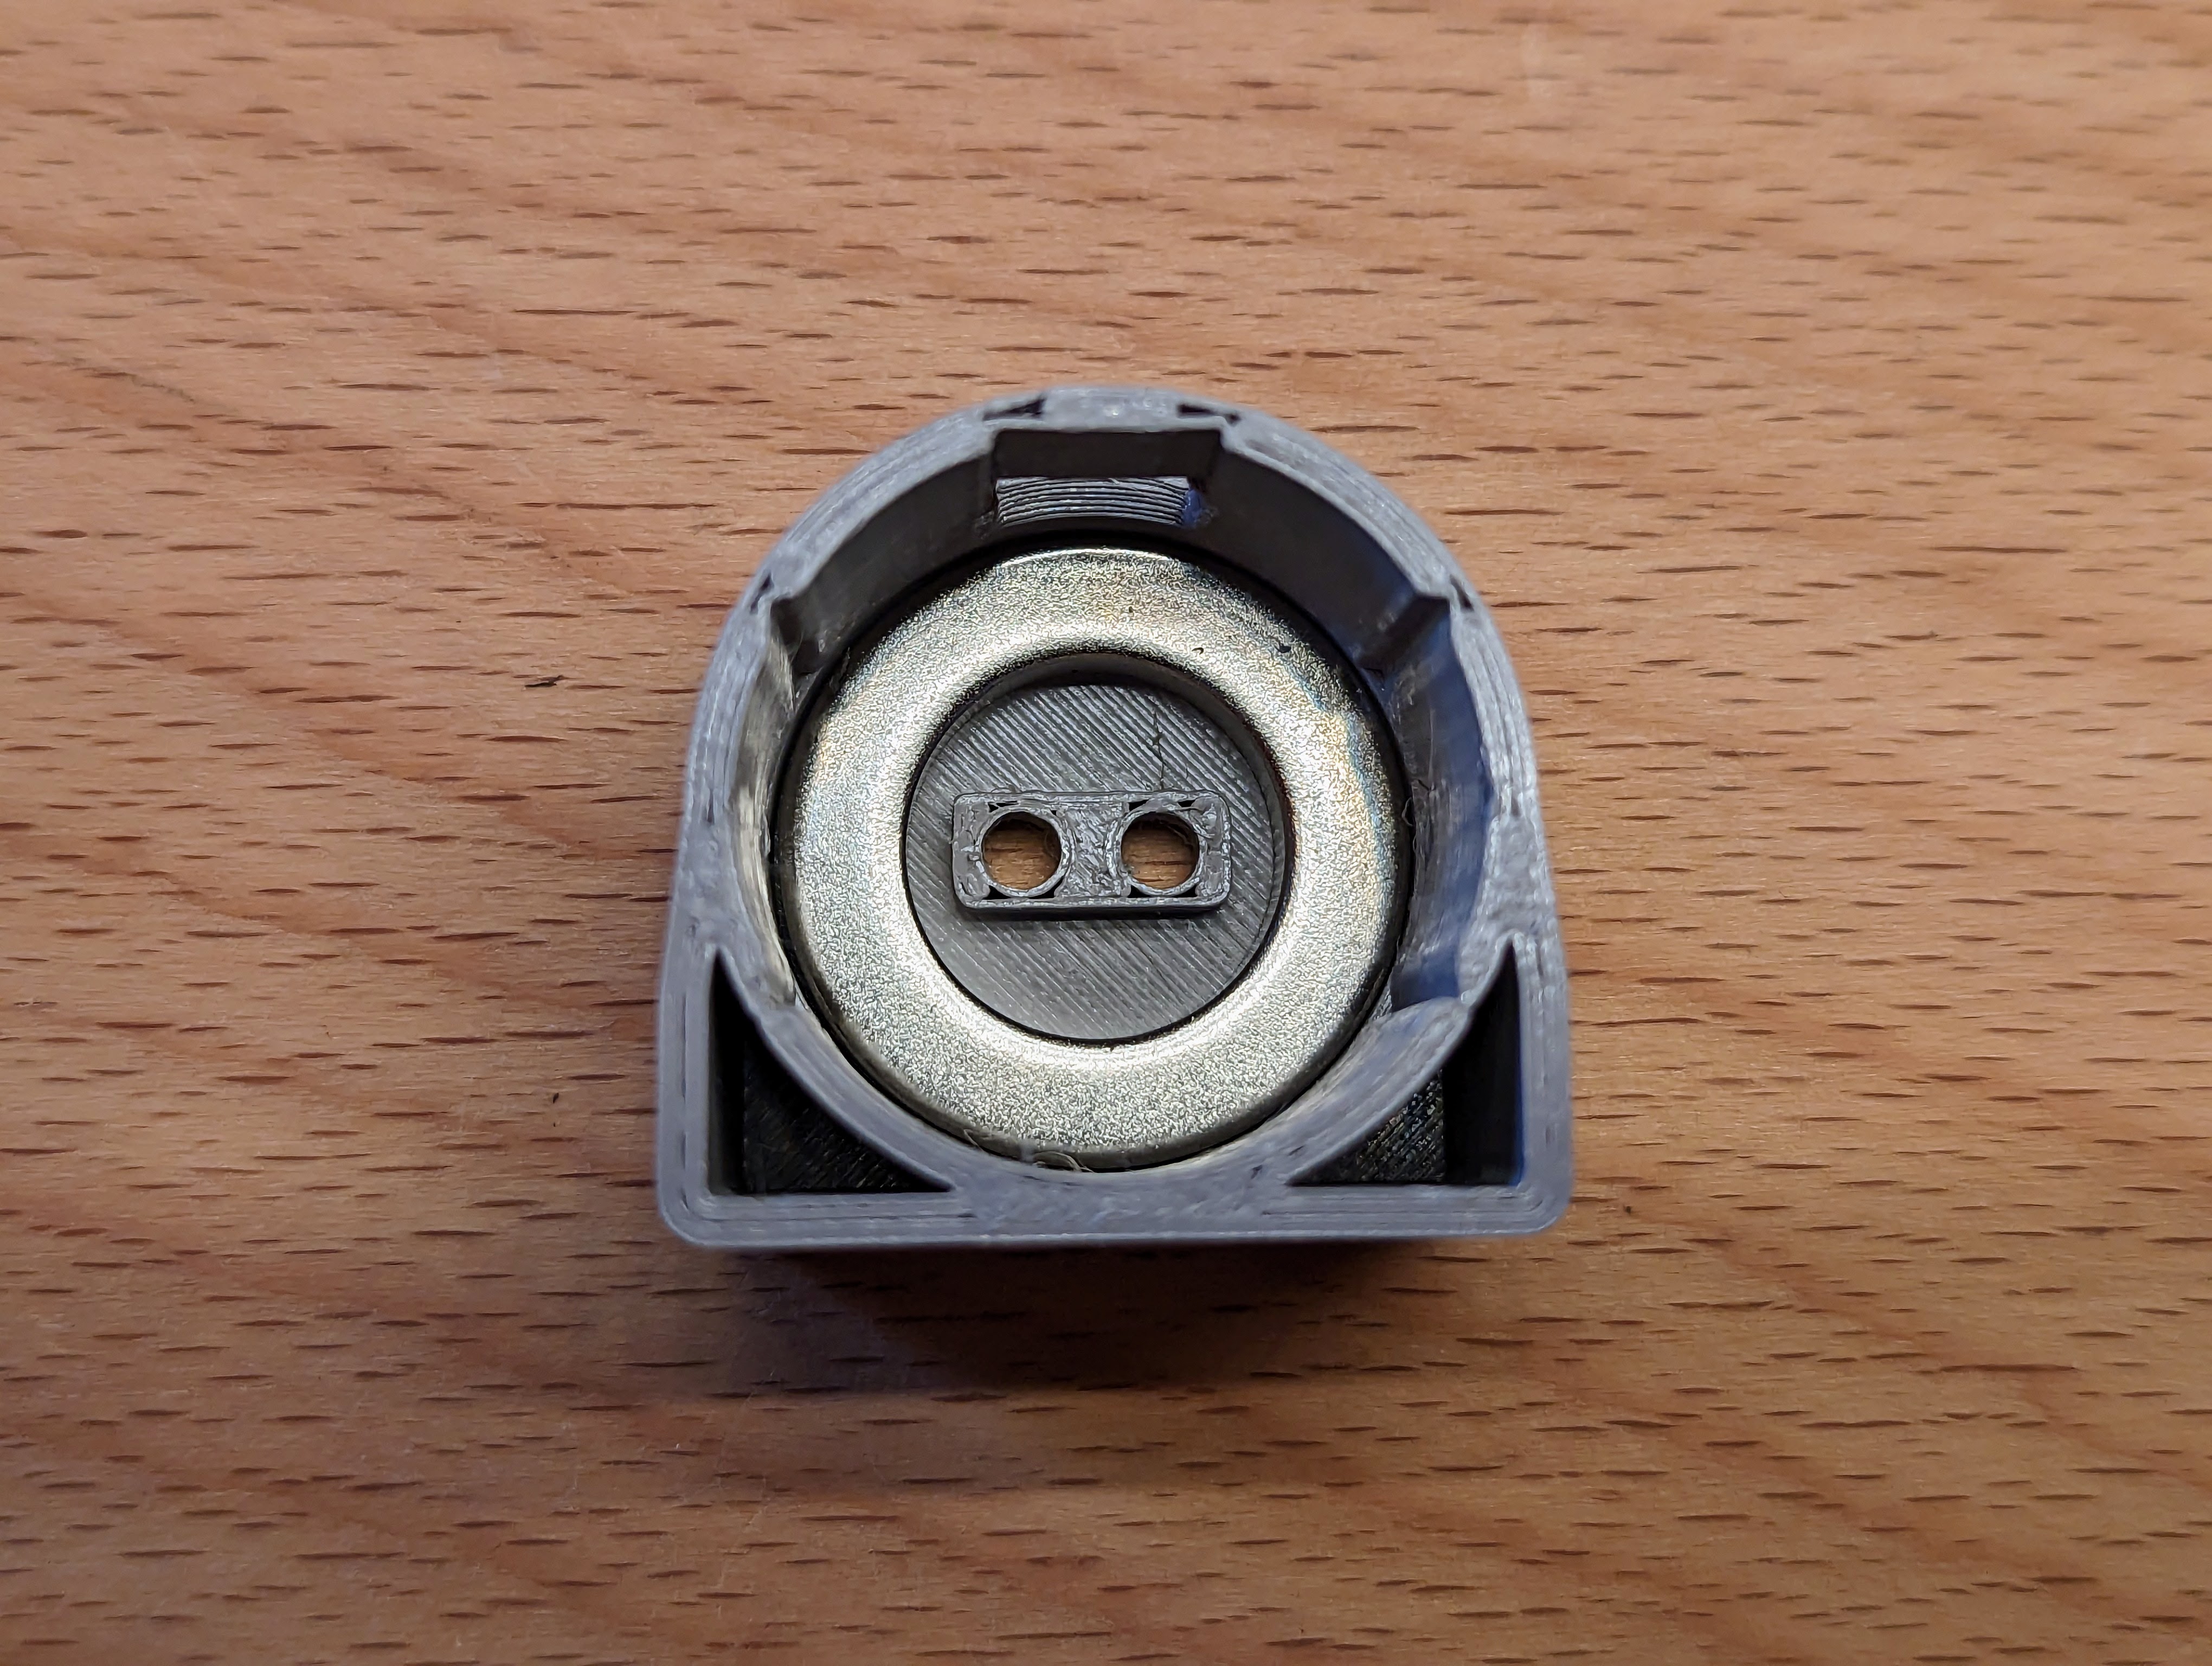
3- Add partial plastic circle on top (the open wedge goes under the ESP01 connector to prevent the solder connections to touch the magnet).

4- Insert IR sensor board. It's tight (by design), try to push down evenly. Be careful with the LED and sensor at the bottom of the port that they properly insert into the case. Go slow to avoid damage to the board.

5- Stack the ESP01_1m on top. Be careful when adding it, it's a tight fit so that it doesn't move. If you think you cannot sink it in enough chances are the LED and sensor are not properly settled in the housing.

6- Place the lid (snap fit), connect a USB cable and mount on power meter.
The wifi connection may require for the fuse box door to be open. If you want to place the controller outside the metallic fuse box consider using an ESP32 board. I also have a case for a ESP32 board with external antenna and a case for the soldered head.
You can find an ESPHome config for the ESP01 in my meters repo.