
Infill Hexagon Wall Art - for any Slicer
We calculate the final price from your selected file. You review and accept it before payment.
Saved on this device.

Infill pattern overview to learn more about the different types of infill.
- Rating
- 5 / 5
- Likes
- 98
- Downloads
- 197
- Makes
- 1
- Views
- 1,990
- Reviews
- 1
Updated at source:
Model information
- Source
- Printables
- Category
- Test Models
- License
- Creative Commons — Attribution — Share Alike
general information
- there are 3mf files for PrusaSlicer, Cura, BambuStudio
- you can print that into any slicer. (more below)
- you can arrange the hexagons as you like
- if there are any problems with printing, slicing, or anything else → write me
Slicer Information
PrusaSlicer |
|
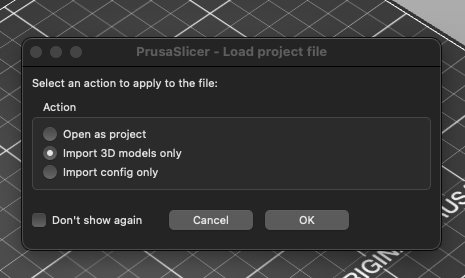 |
PrusaSlicer logo and text “Infill Pattern”
*Prusa support has given me permission to use the PrusaSlicer logo and the word "PrusaSlicer” if I credit the source. : https://www.prusa3d.com/de/page/prusaslicer_424/ |
BambuStudio |
|
Cura Slicer |
|
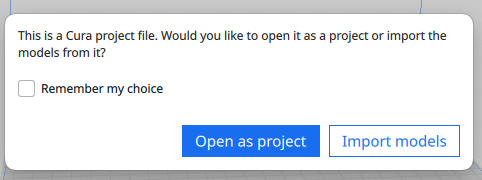 |
any slicer
- load the Hexagon Body into your slicer.
- set the number of top layers to 0
- I recommend 10% Infill, you learn so much about the density of each infill pattern....
Assembly
- I glued the individual parts together on the side with superglue.
- I attached a bracket to the back, a nail holds the overview on the wall.
I have added a version for the Prusa Slicer (Logo), to hang it on a nail → I recommend 25% Infill (Grid) or more
Thank you.
I had the idea in April 2023 I was inspired by the great Prusa Knowledge Base page.
https://help.prusa3d.com/article/infill-patterns_177130
Happy Printing
Thank you.
*megalog_