
Tanay Das Dallas Cowboys replica
We calculate the final price from your selected file. You review and accept it before payment.
Saved on this device.

Made a multiple piece replica on solid works
- Rating
- 0 / 5
- Likes
- 21
- Downloads
- 204
- Makes
- 0
- Views
- 879
- Reviews
- 0
Updated at source:
Model information
- Source
- Printables
- Category
- Other Printer Parts & Upgrades
- License
- Creative Commons — Public Domain
Summary Section:
The function of this project was to recreate a famous design or logo using solid works to 3D print the replica. However, rather than having it print out as one piece, it would have to be printed out as multiple pieces which can be assembled into the logo. Also, the model should have a flat back; detail will be on the front side, fit inside a box that is no bigger than 225cm^2 in area with no dimension longer than 25cm, and when assembled, should be no more than 1cm in total thickness
Lesson Plan and Activity:
You will design a “2D” placard using Solidworks. Your will have a design which meets the constraints below, and you will use Solidworks to create your design.
Assembly/Construction Instructions Section:
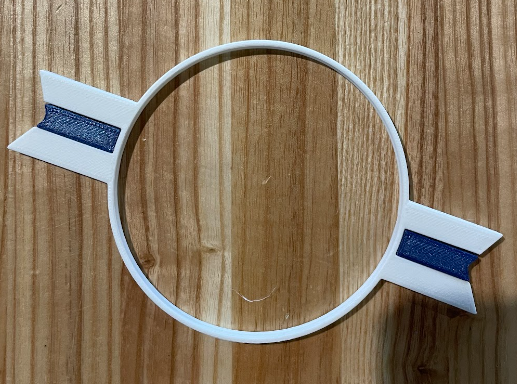
When assembling the pieces together, start by a strong outline. To do this, first take the white piece which looks like a circle with wings sticking out, and fit the smallest two blue pieces inside each of the wings of the white piece.
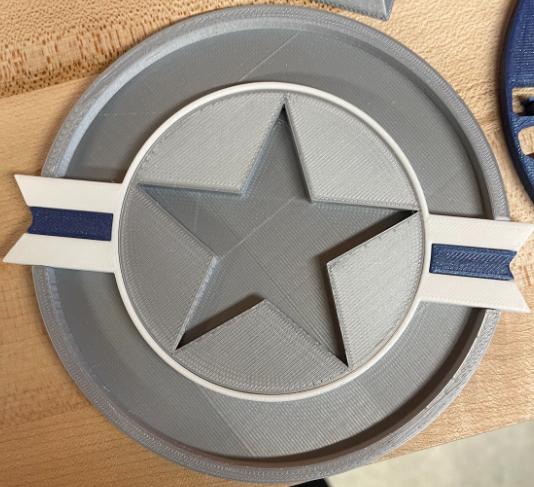
Then, place the white piece holding the two blues into the gray backplate.
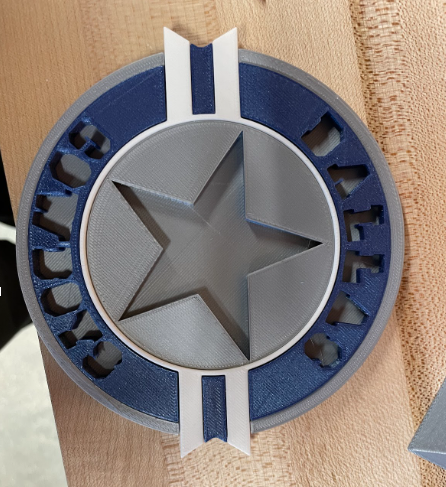
After, take the larger two blue pieces each with letters outlined and place one on the top of the back plate, and one on the bottom, each one should lock in between the outer gray and inner white part. When doing this, make sure the Dallas outlined in the piece is on top, and Cowboys on the bottom and that neither are upside down.
After that, move onto the stars. There are multiple star outlines. First, start by placing the biggest white star outline in the middle portion of the gray backplate.
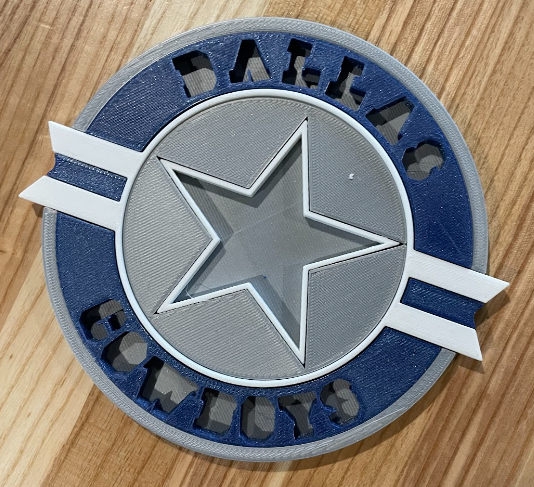
Within the white star place the second biggest star outline which is blue, inside the white star.
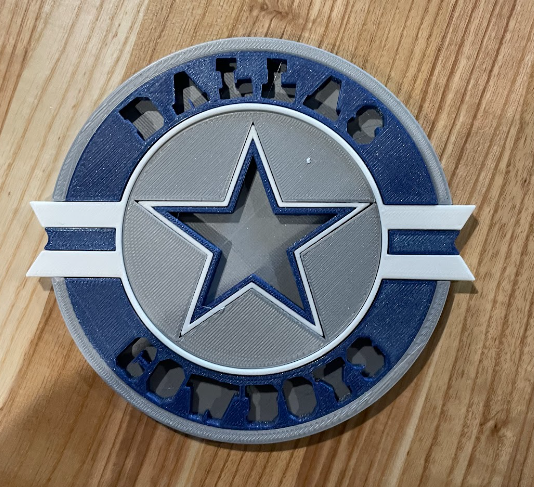
Then placing the only white star outline left inside the blue outline.
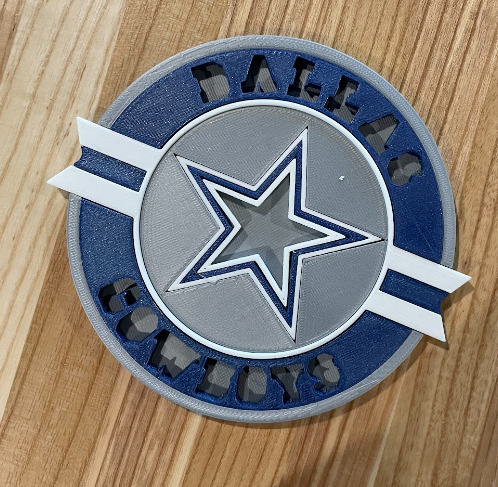
Finally, place the fully filled blue star into the center. When placing the blue star, it can be diffucult to fit in, so first align the blue star with where its supposed to fit, then turn the replica over, and press down onto it to force the blue star into place.
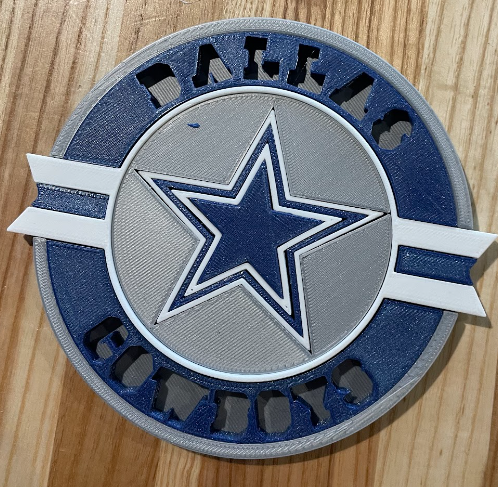
After all this, you are left with the easiest part, the letters. For the letters, simply place each corresping letter into the outline it goes with. If you have to letters, for example two A's, try both A's in the same spot and see which one fits better. After placing in all the letters, you should be left with a complete replica.

Design choices:
When, making this project, each piece would get printed out slightly larger or smaller than anticipated. To combat this, I printed multiple different offsets for certain pieces which wouldn't fit into certain places to find the one that would fit. I also knew that I would have to make each part of this project its own piece. As a result, I chose a logo with multiple different sections in the logo so there would be lots of different outlines.