
Sun Moon Earth Orrery
We calculate the final price from your selected file. You review and accept it before payment.
Saved on this device.

This is a Sun Moon Earth Orrery Model, in which one rotation of the earth is 1/28 for the moon.
- Rating
- 4.4 / 5
- Likes
- 67
- Downloads
- 334
- Makes
- 4
- Views
- 4,472
- Reviews
- 5
Updated at source:
Model information
- Source
- Printables
- Category
- Other Printer Parts & Upgrades
- License
- Creative Commons — Attribution — Noncommercial — Share Alike
Summary
The overall goal of the Sun Moon Earth Orrery is to keep things simple the earth completes a full orbit around the Sun for every 360 turns of the crank and the Moon takes 30 rotations of the crank to orbit around the Earth, which one rotation of the earth is 1/28 for the moon.
Lesson Plan
We need to make a Sun Earth Moon Orrery Model table top size, 1.5 ft diameter, one rotation of earth is 1/28 for the moon, and detachable layers would be cool, but not a priority.
Overview and Background
Projects that closely relate to the picture below:
and some useful websites that inspired us:
https://www.thingiverse.com/thing:3756876
Moon: https://www.thingiverse.com/thing:2771919
In-Depth Sun Model: https://www.thingiverse.com/thing:5416502
Orrery outer planets: https://www.thingiverse.com/thing:3704298
The final model we used: https://www.thingiverse.com/thing:3928677
Assembly Instructions:
Upper Frame Assembly Instructions:
- Attach parts M3 X 35 and M3 Nut through Upper Frame’s hole protruding upward.


- Attach M3 Nut, Lunar Gear C, and M3 Nut with parts M3 X 35, Lunar Gear D, and M3 Nut through Upper Frame.

3. Attach parts M3 Locknut, Lunar Gear B, and M3 Nut together with part M3 X 35 through part Upper Frame.

4. Attach part M3 x 50 through part Upper Frame, and connect parts M3 Nut, Lunar Frame, and M3 Locknut.

5. Final upper frame achieved.

Lower Frame Assembly:
6. Put part M3 Locknut into part Crank Handle with part M3 Nut behind and connect them with part M3 X 35 through part Crank. Put part M3 X 50 into part Crank and attach parts M3 Nut, M3 Locknut, M3 Washer, and M3 Nut. Then, insert the lower frame into the side holes, connecting it with parts Bevel Gear A, M3 Washer, and M3 Nut.
7. First, take part of the lower frame and put screws into the holes. Attach parts M3 Nut, Bevel Gear B, and M3 Locknut to part M3 X 30. Attach parts M3 Nut, Gear A, and M3 Locknut to part M3 X 50.

8. Attach parts M3 Nut, Gear A, and M3 Locknut to part M3 X 30.
Attach parts M3 Nut, Gear A, and M3 Locknut together.
Attach parts M3 Nut, Gear B, and 5(M3 Locknut together to part M3 X 30.
Attach parts M3 Nut, Gear C, and M3 Locknut to part M3 x 50.

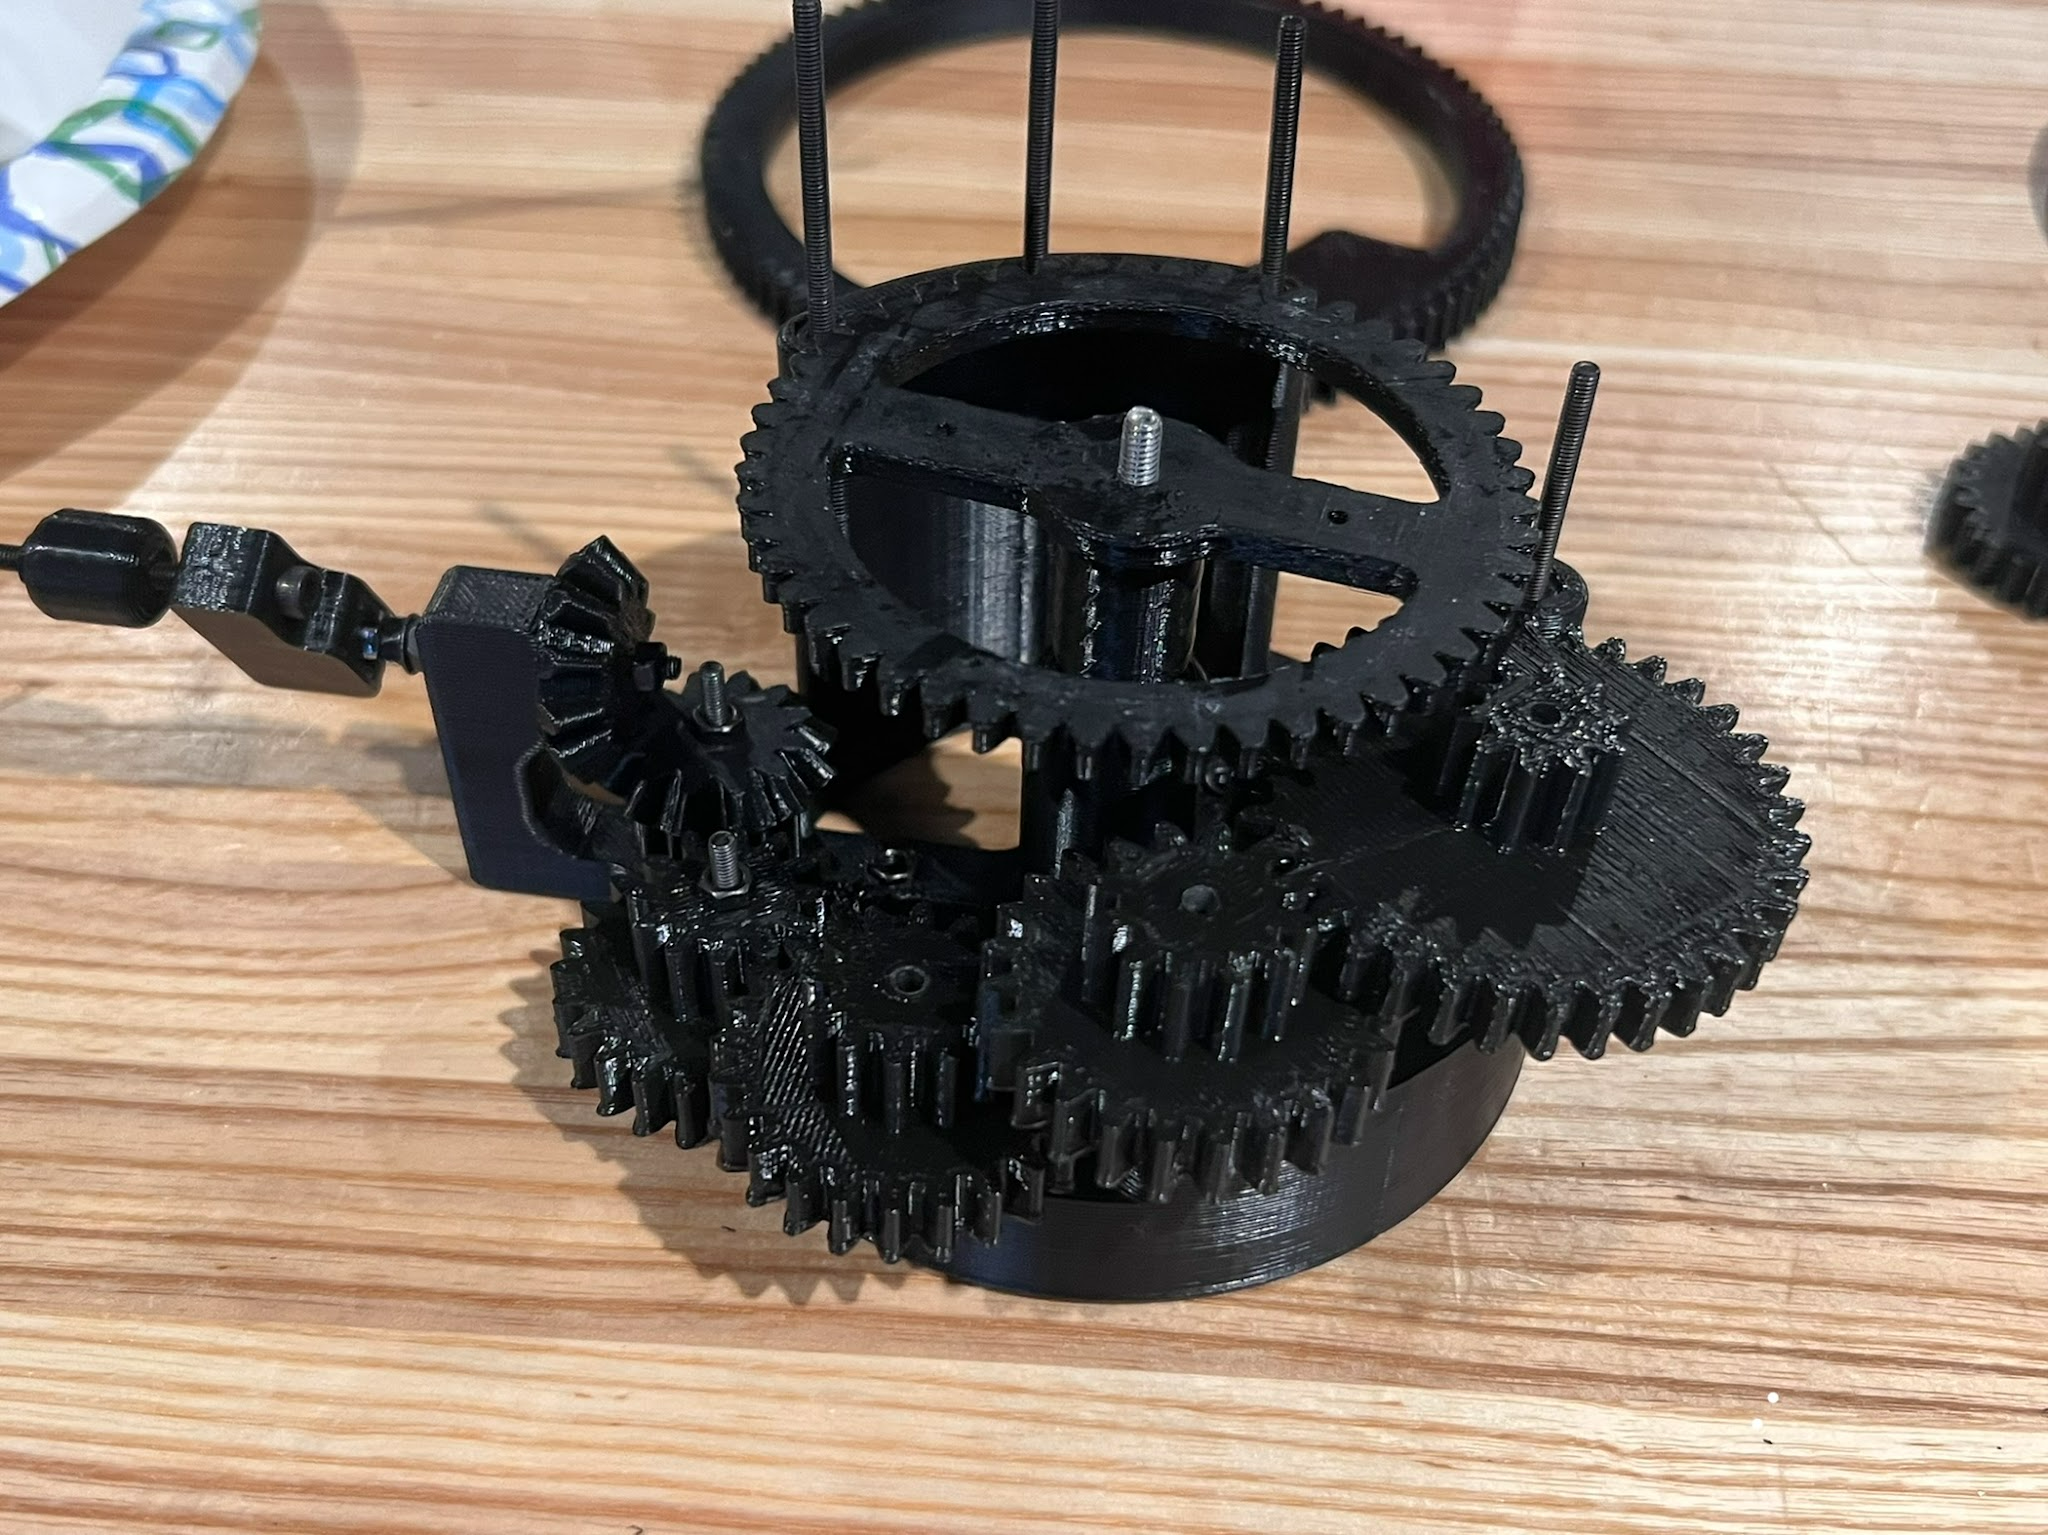
9. Attach part Earth Gear onto part M3 X 30, then attach part M3 Nut onto part M3 X 30.
Place theLunar gear onto parts M3 X 30, M3 X 30, and M3 X 30.
10. Last, put parts 50(M3 Nut) onto part 24(M3 X 30), part 51(M3 Nut) onto part 25(M3 X 30), and part 52 onto part 26(M3 X 30).

Full Assembly:
11. Attach M3 Washer, M3 Washer, and M3 x 20 on part Stand, and attach parts M3 Washer, M3 X 20, and M3 X 20 through them.
12. Attach M3 Nut, M3 Nut, and M3 Nut on the top of the Stand
13. Attach Lower Frame Assem above M3 Nut, M3 Nut, and M3 Nut
14. Attach M3 Nut and M3 Nut on top of the Lower Frame Assem
15. Attach M3 X 30 and M3 X 30 through the part Upper Frame Assem and M3 Nut and M3 Nut
16. Attach Sun on the Upper Frame Assem screw, and the final assembly is achieved.
