
Toothpick Pocket Ballista
We calculate the final price from your selected file. You review and accept it before payment.
Preliminary estimate for PETG
€1.09 – €1.33 net (excluding VAT)
For file: ToothpickPocketBallistaKitCard_0.4n_0.2mm_PETG_MK3S_1h18m.gcode
This is an estimate for one file. You’ll confirm the exact price before ordering.
File and estimate settings
File used for this estimate
Average indicative estimate: €1.21 excluding VAT (range midpoint).
- Weight reported by the author
- 14 g
- Print time reported by the author
- 1.31 hr
- Source material
- PET
- Estimate material
- PETG
- Estimate printer
- Bambu Lab P1S - 0.4 nozzle
- Estimate process
- 0.20mm Standard
Indicative estimate for the selected file only, based on the author’s weight and print time. File variants are not added together. The final price is calculated after file analysis.
Saved on this device.

Unleash the power of ancient warfare in pocket size. Assemble, load, and let fly with the Toothpick Pocket Ballista.
- Rating
- 4.927 / 5
- Likes
- 1,324
- Downloads
- 3,594
- Makes
- 64
- Views
- 16,877
- Reviews
- 55
Updated at source:
Model information
- Source
- Printables
- Category
- Office
- License
- Creative Commons — Attribution — Noncommercial — Share Alike
Travel back to the siege warfare era with the Toothpick Pocket Ballista. This miniature mechanical marvel takes inspiration from the powerful weapon of ancient times, perfectly sized to fit in your pocket. Ideal for history enthusiasts, budding engineers, or anyone with a passion for unique, tactile toys.
Printed parts needed to make this
| 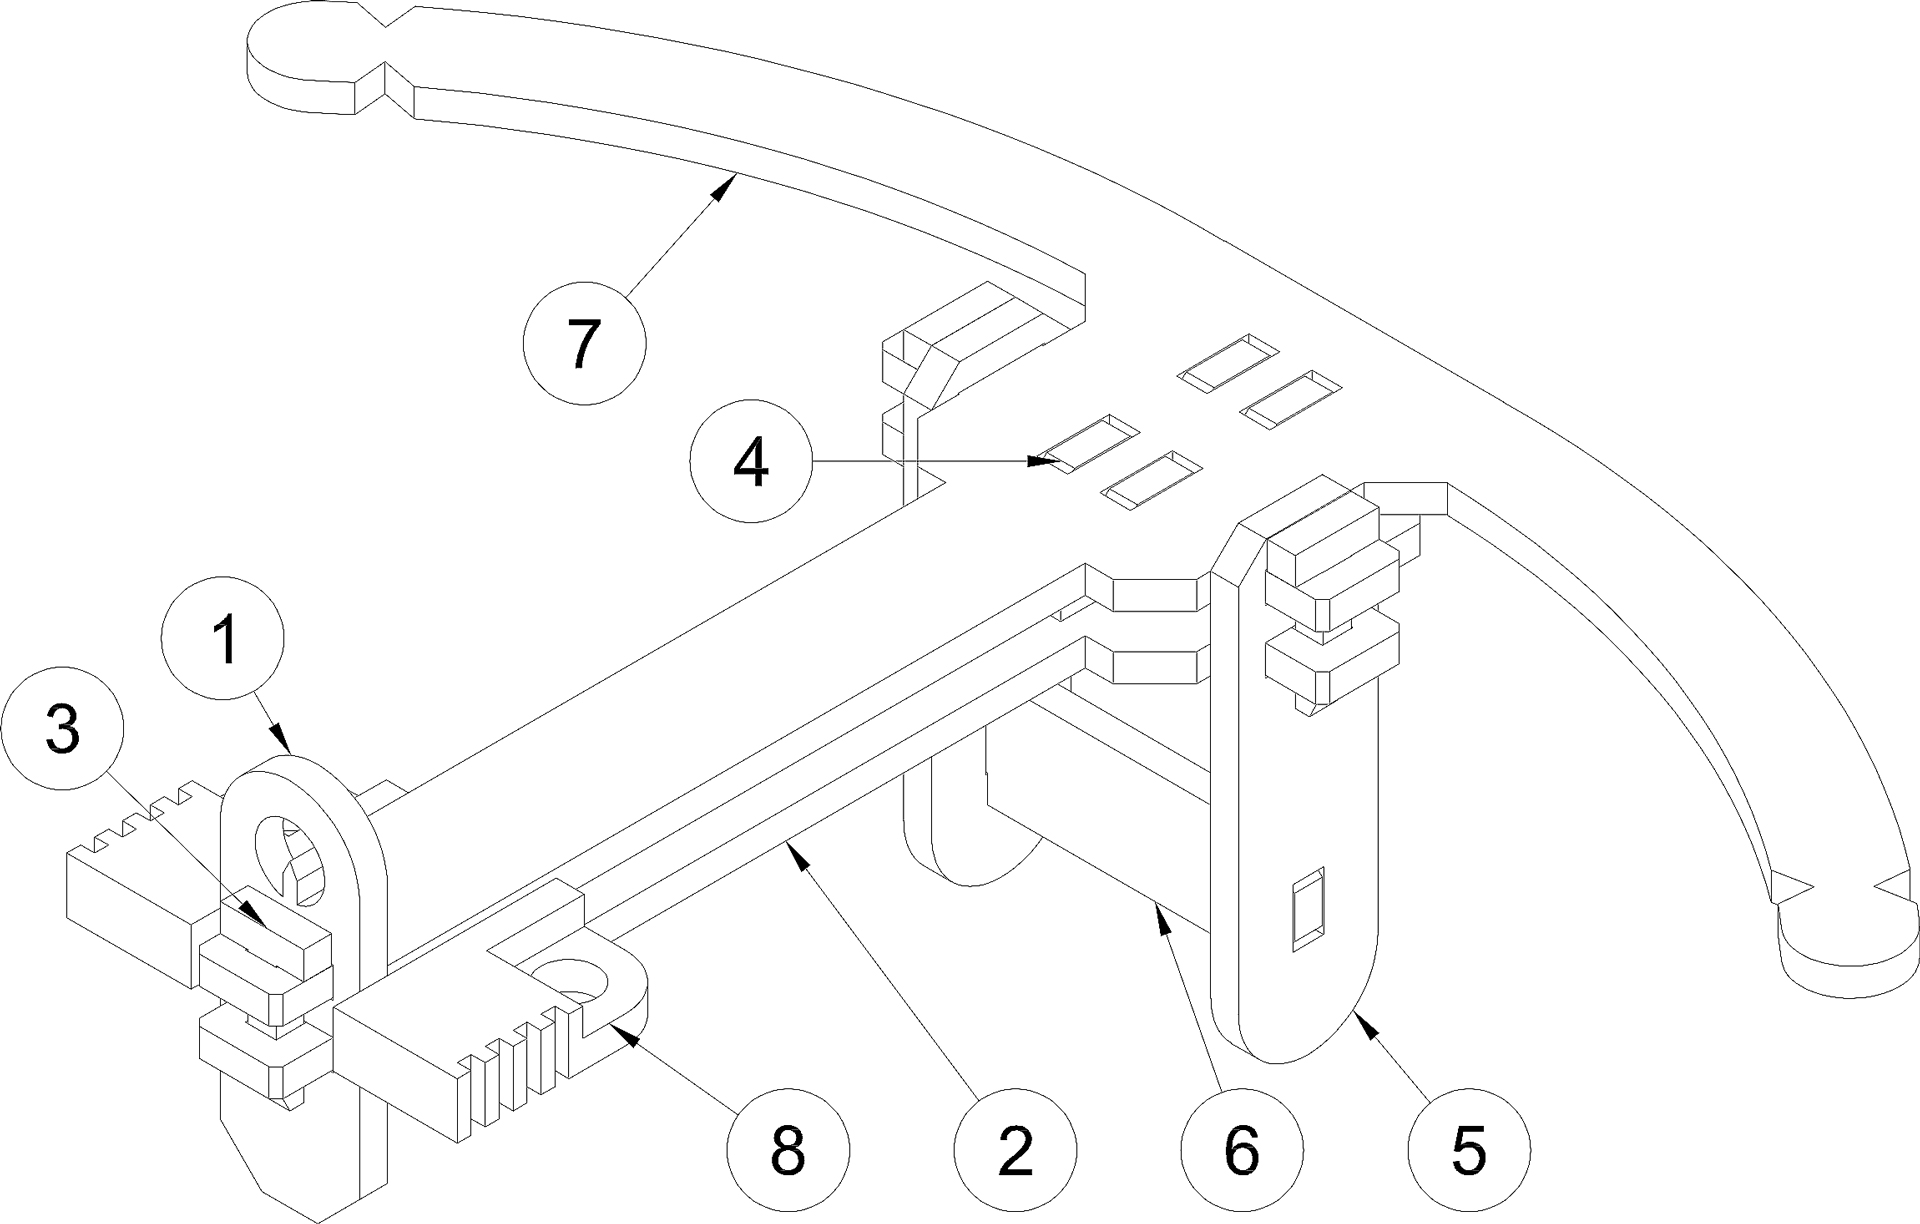 |
Other parts needed
- 2 x rubber band
Assembly instructions
 | Carefully remove all components from the card. Ensure all pieces are accounted for. If there are any remnants or debris left from the extraction process, neatly trim these off using a pair of precision scissors or a hobby knife. Insert the two guides into the designated slots on the top piece. |
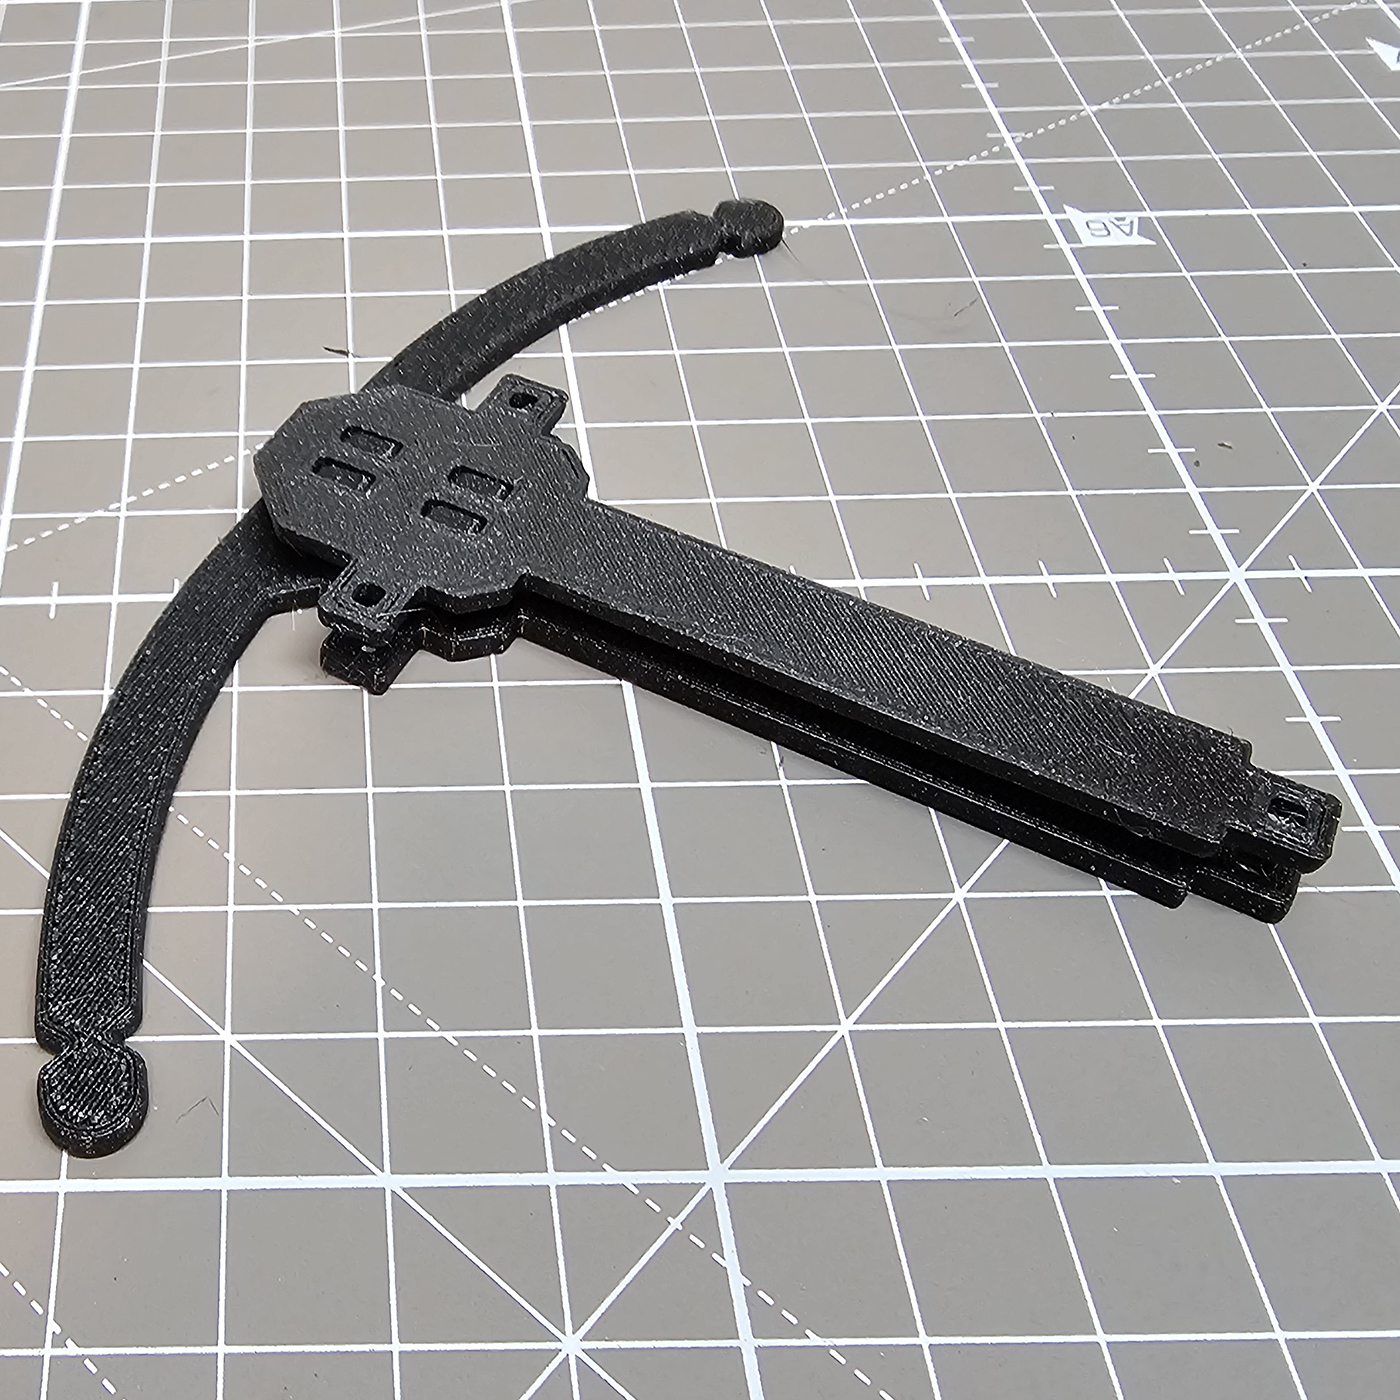 | Continue by mounting the bottom on top of the guides. |
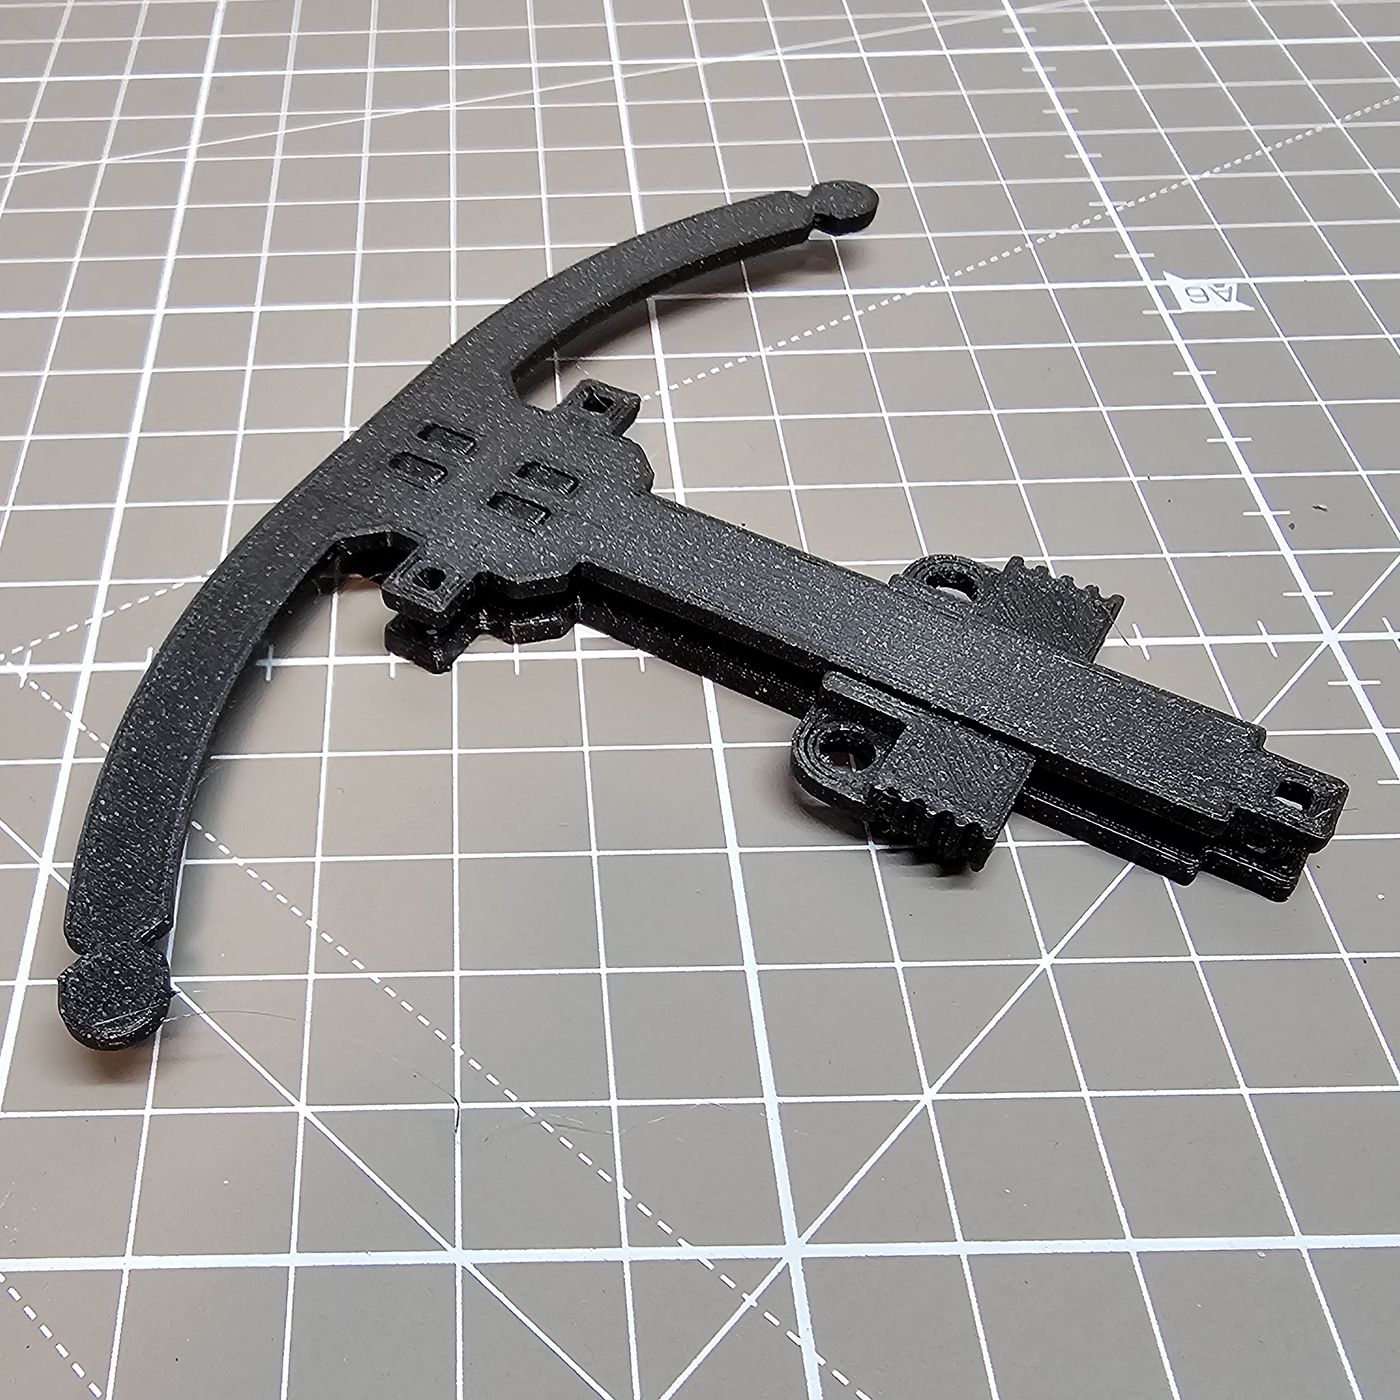 | Next, position the trigger between the top and bottom pieces. Pay attention to the rotation and alignment - refer to the provided image for correct positioning. Insert accordingly. |
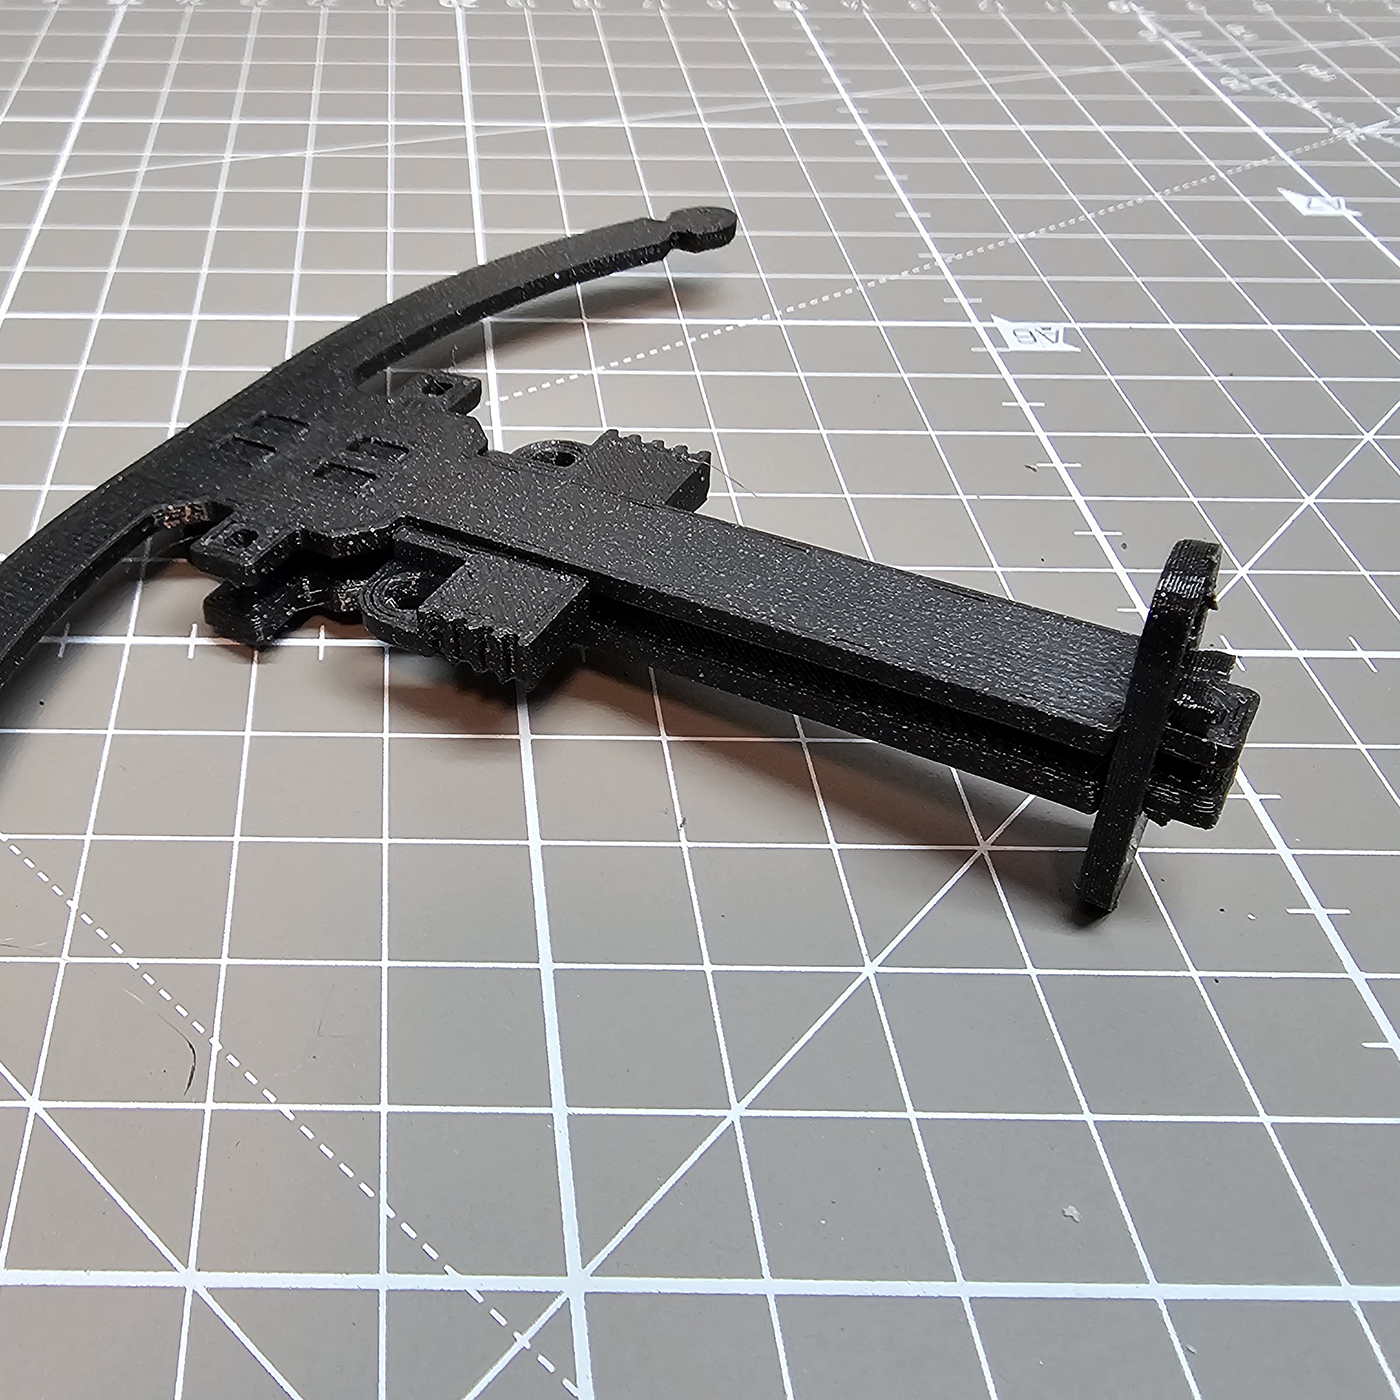 | Now, attach the back piece to the top and bottom. Ensure proper alignment, then secure it using the provided fastener. |
 | Proceed to attach one of the sides to the assembled structure and insert the strut in its designated position. |
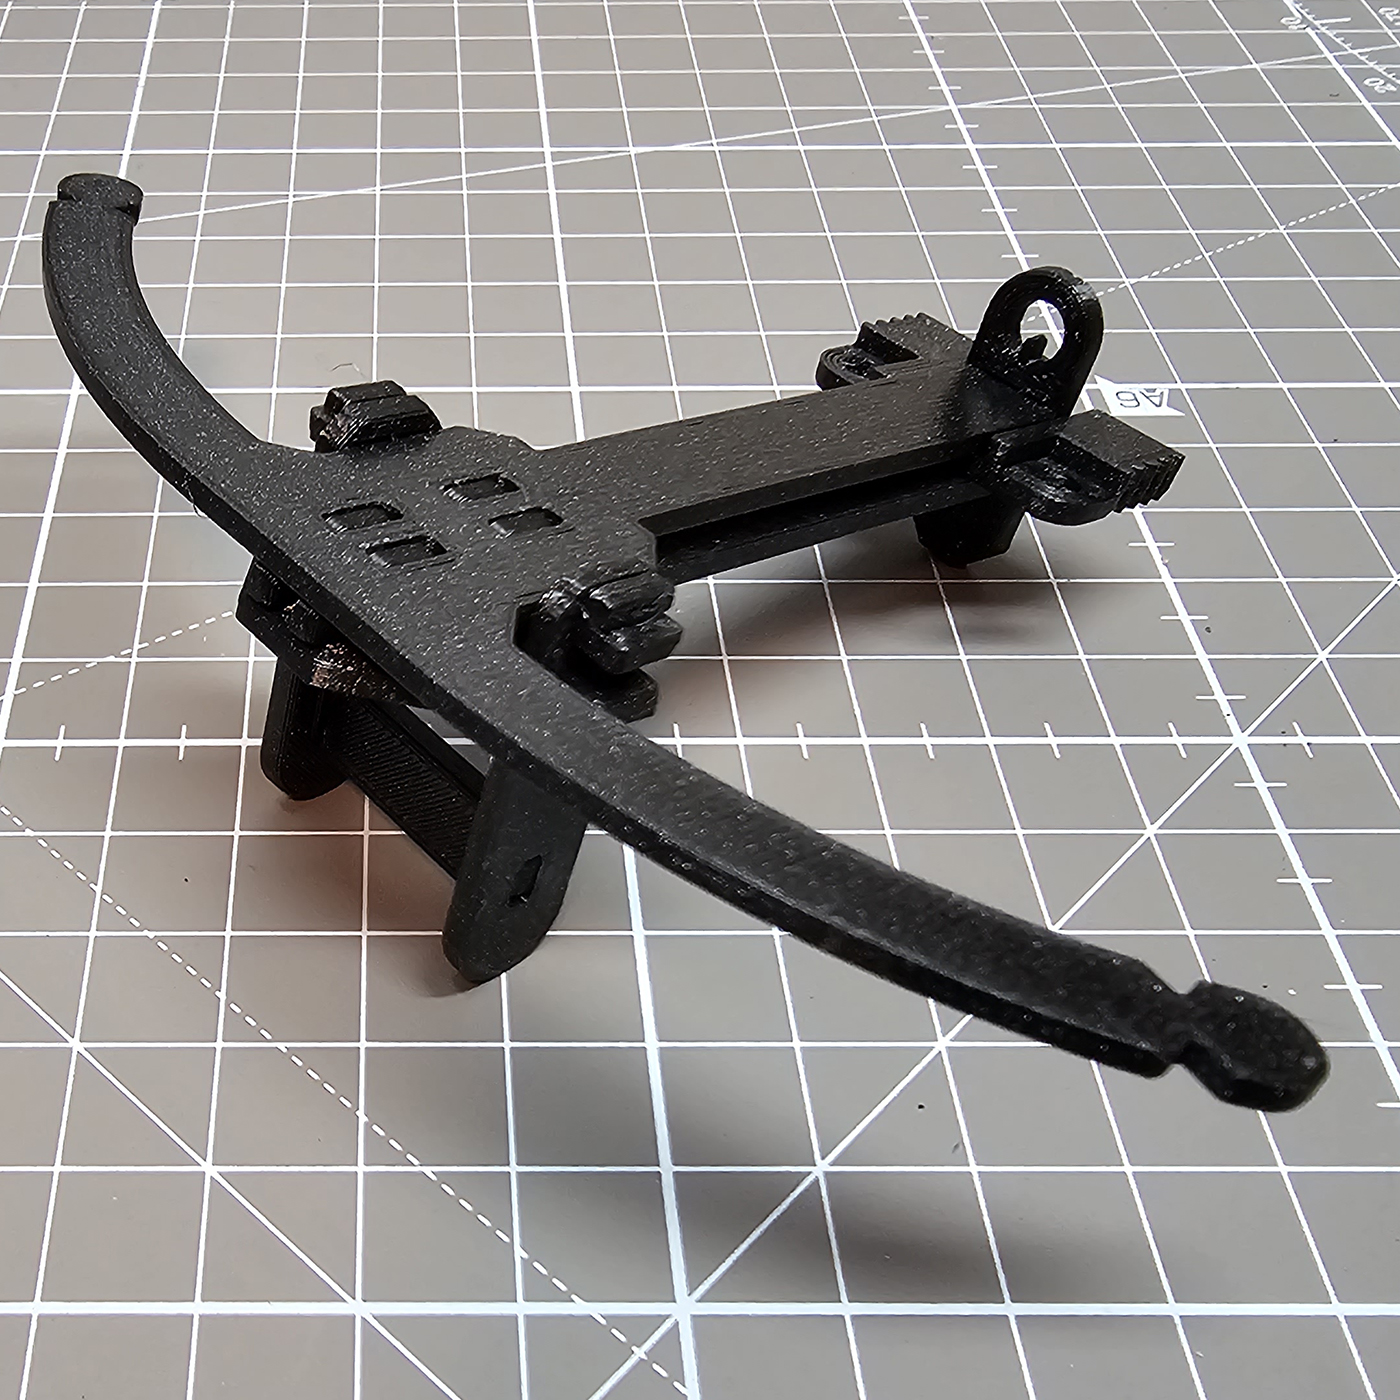 | Finally, attach the remaining side to the structure and secure both sides using the provided fasteners. Ensure all parts are firmly fastened and the structure is stable. I leave it up to you to decide which rubber bands you are going to use. Congratulations, your Toothpick Pocket Ballista is now fully assembled. Good job! |
As always, .step file is included so you can make your own modifications with ease.
See it in action here: https://www.youtube.com/shorts/4rCjav8_Czk