
LaserPecker 4 Positioner Sliding Guide
We calculate the final price from your selected file. You review and accept it before payment.
Saved on this device.
With the sliding guide you will be able to position your products fast and easy. Ideal for batch productions.
- Rating
- 0 / 5
- Likes
- 42
- Downloads
- 222
- Makes
- 0
- Views
- 1,156
- Reviews
- 0
Updated at source:
Model information
- Source
- Printables
- Category
- Tools
- License
- Creative Commons — Attribution — Noncommercial — Share Alike
With the sliding guide you will be able to position your products fast and easy.
Ideal for batch productions.
Additional hardware needed:
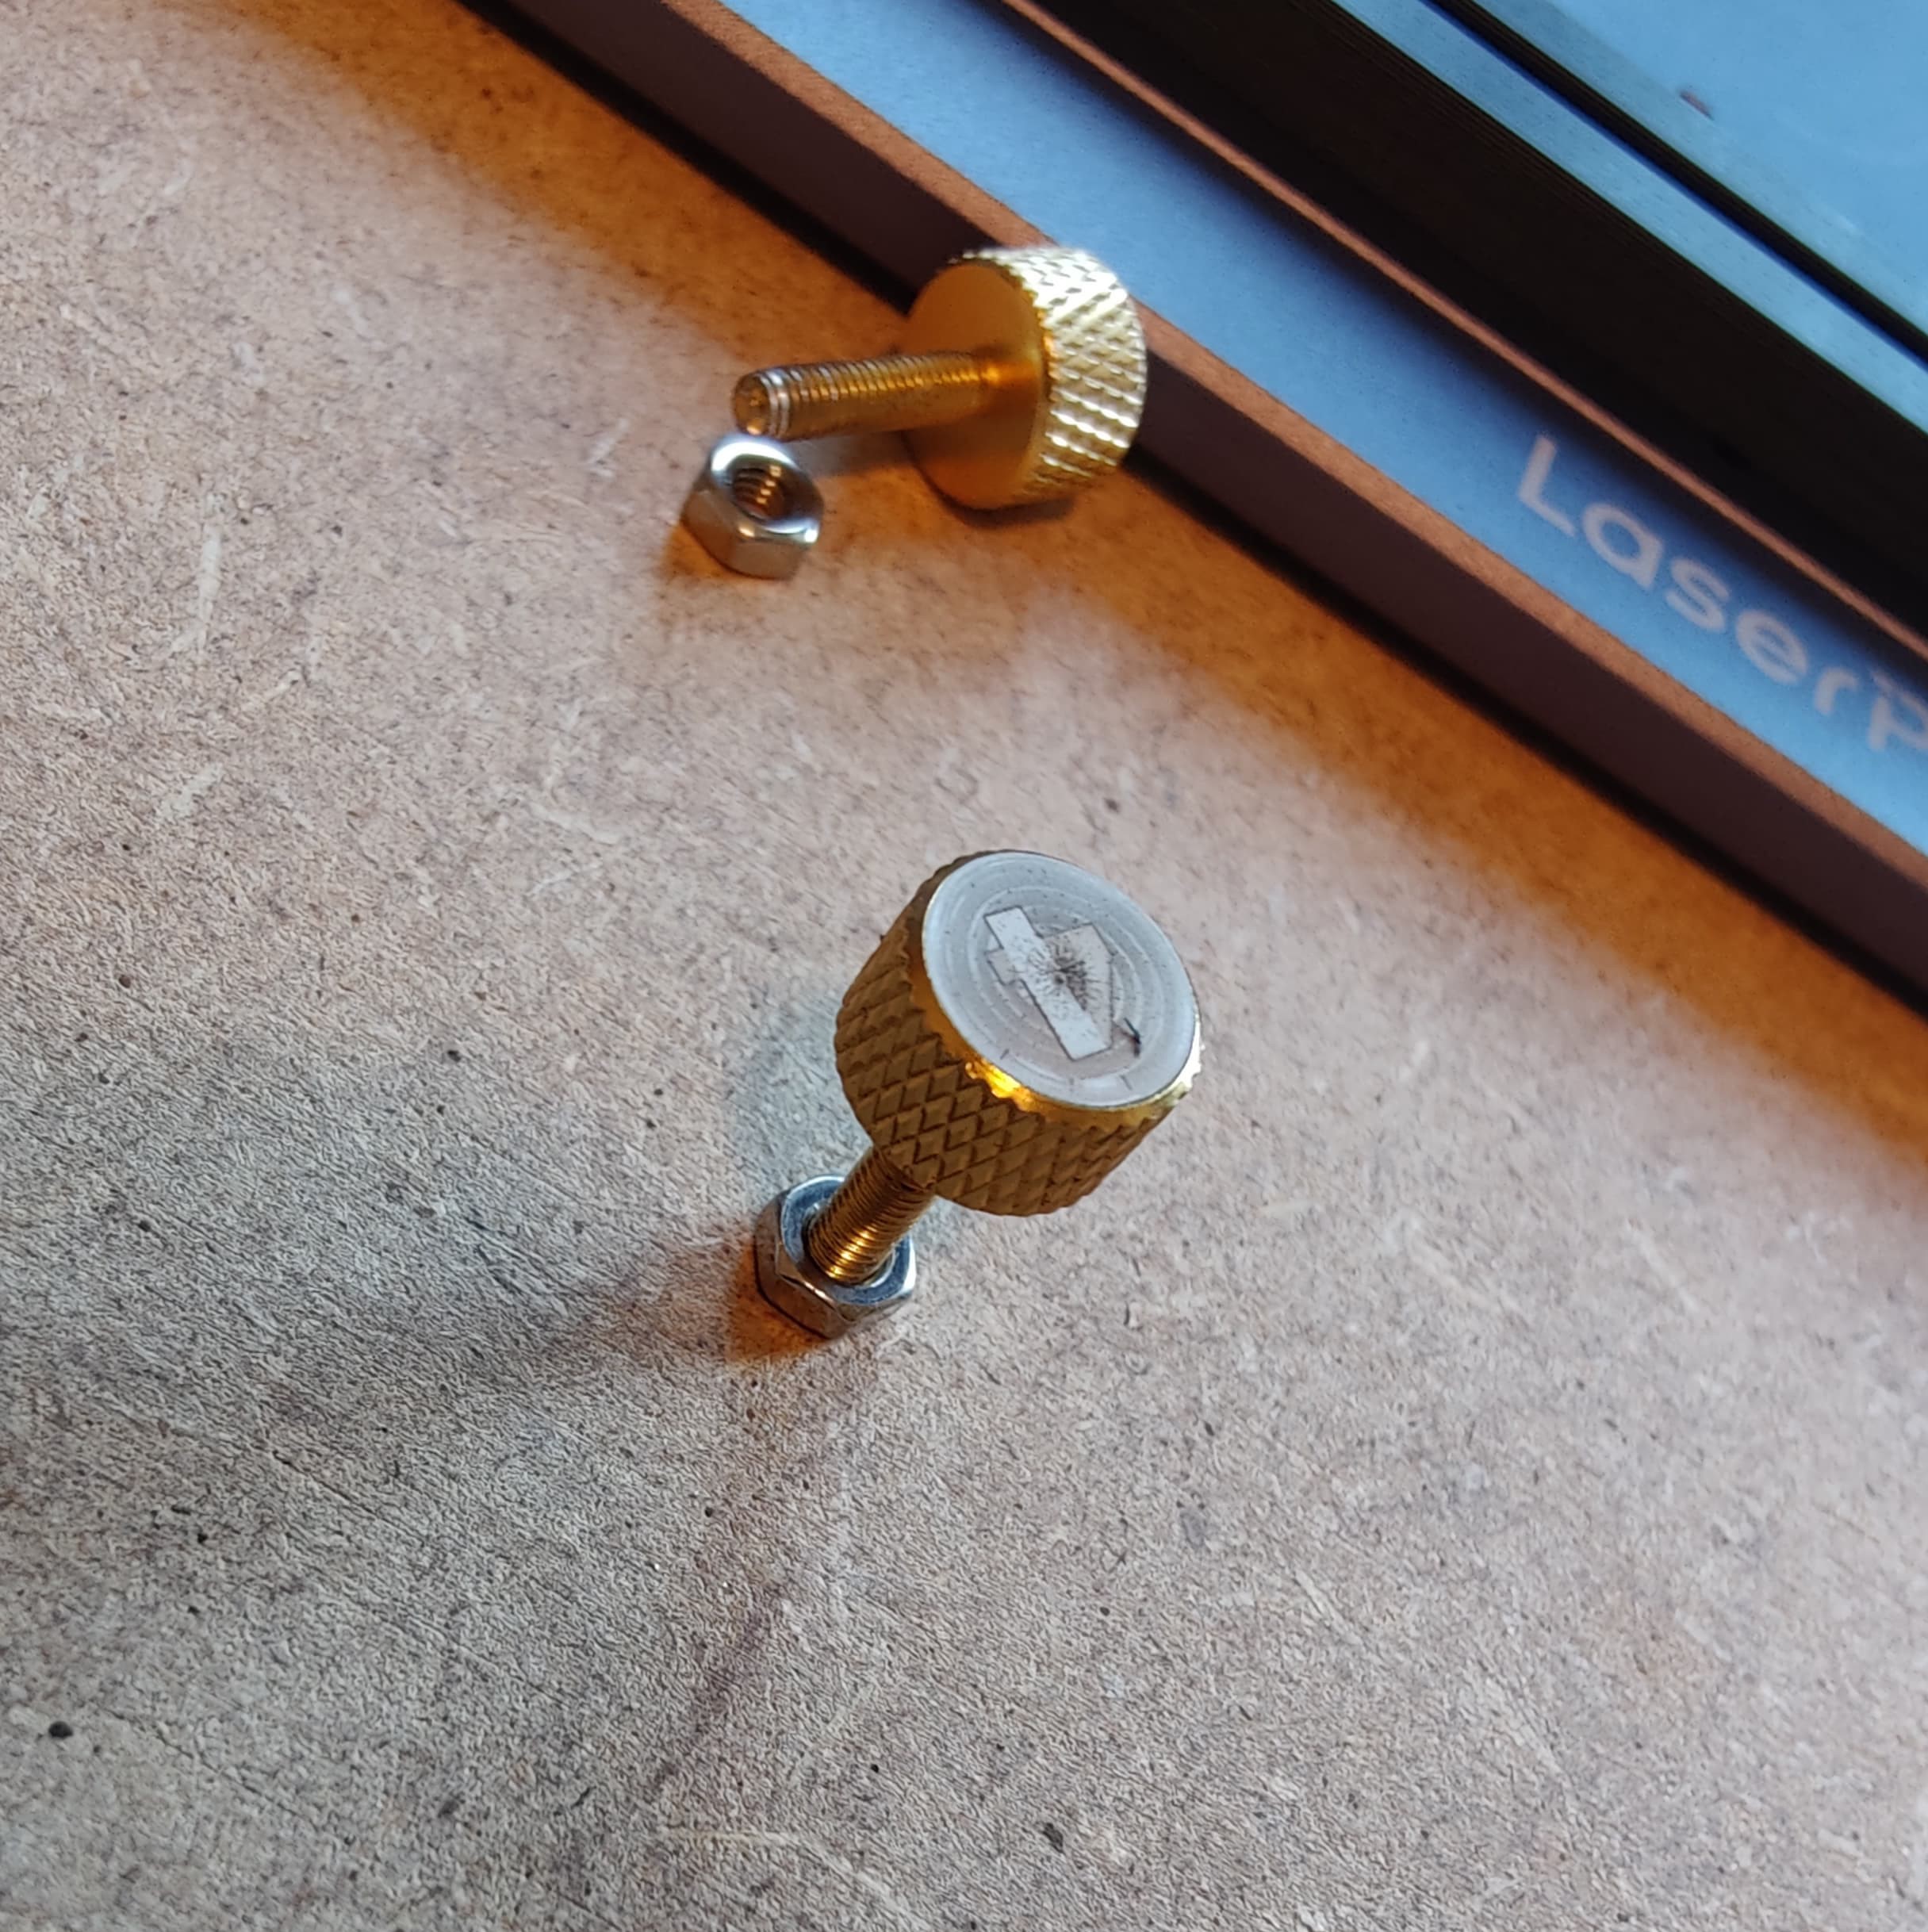
2x M3 bolts (minimum length 5mm, max 10mm) for securing the slider guide to the plate.
1x M3 nuts for clamping down the positioner. (You can put two nuts in the slider for additional positioners.)
Printing instruction:
Place the slider with the hex slot facing upward, this way the overhang inside the slot is compensated with the chamfer. So no support needed.

Installation is straight forward:
ALWAYS PUT THE LENS CAP ON WHEN WORKING ON YOUR PLATE TO PREVENT TOUCHING OR DAMAGING THE LENS.
Put a nut slightly on a bolt and place it on the far end of the guided slot. Here you can push the nut in the guide. Unscrew the bolt and repeat if needed.
Then turn around the slider and place it on each side like in the picture.


Use the positioner tool for clamping your object in the right position: https://www.printables.com/model/548594-laserpecker-4-positioning-square
Check out my other designs for LaserPecker here: https://www.printables.com/@Robin_25811/collections/788369
Disclaimer: I am in no way responsible for any damage to your machine. Use at your own risk, I do too.