
Prusa Lack Enclosure Adding Mass
We calculate the final price from your selected file. You review and accept it before payment.
Saved on this device.
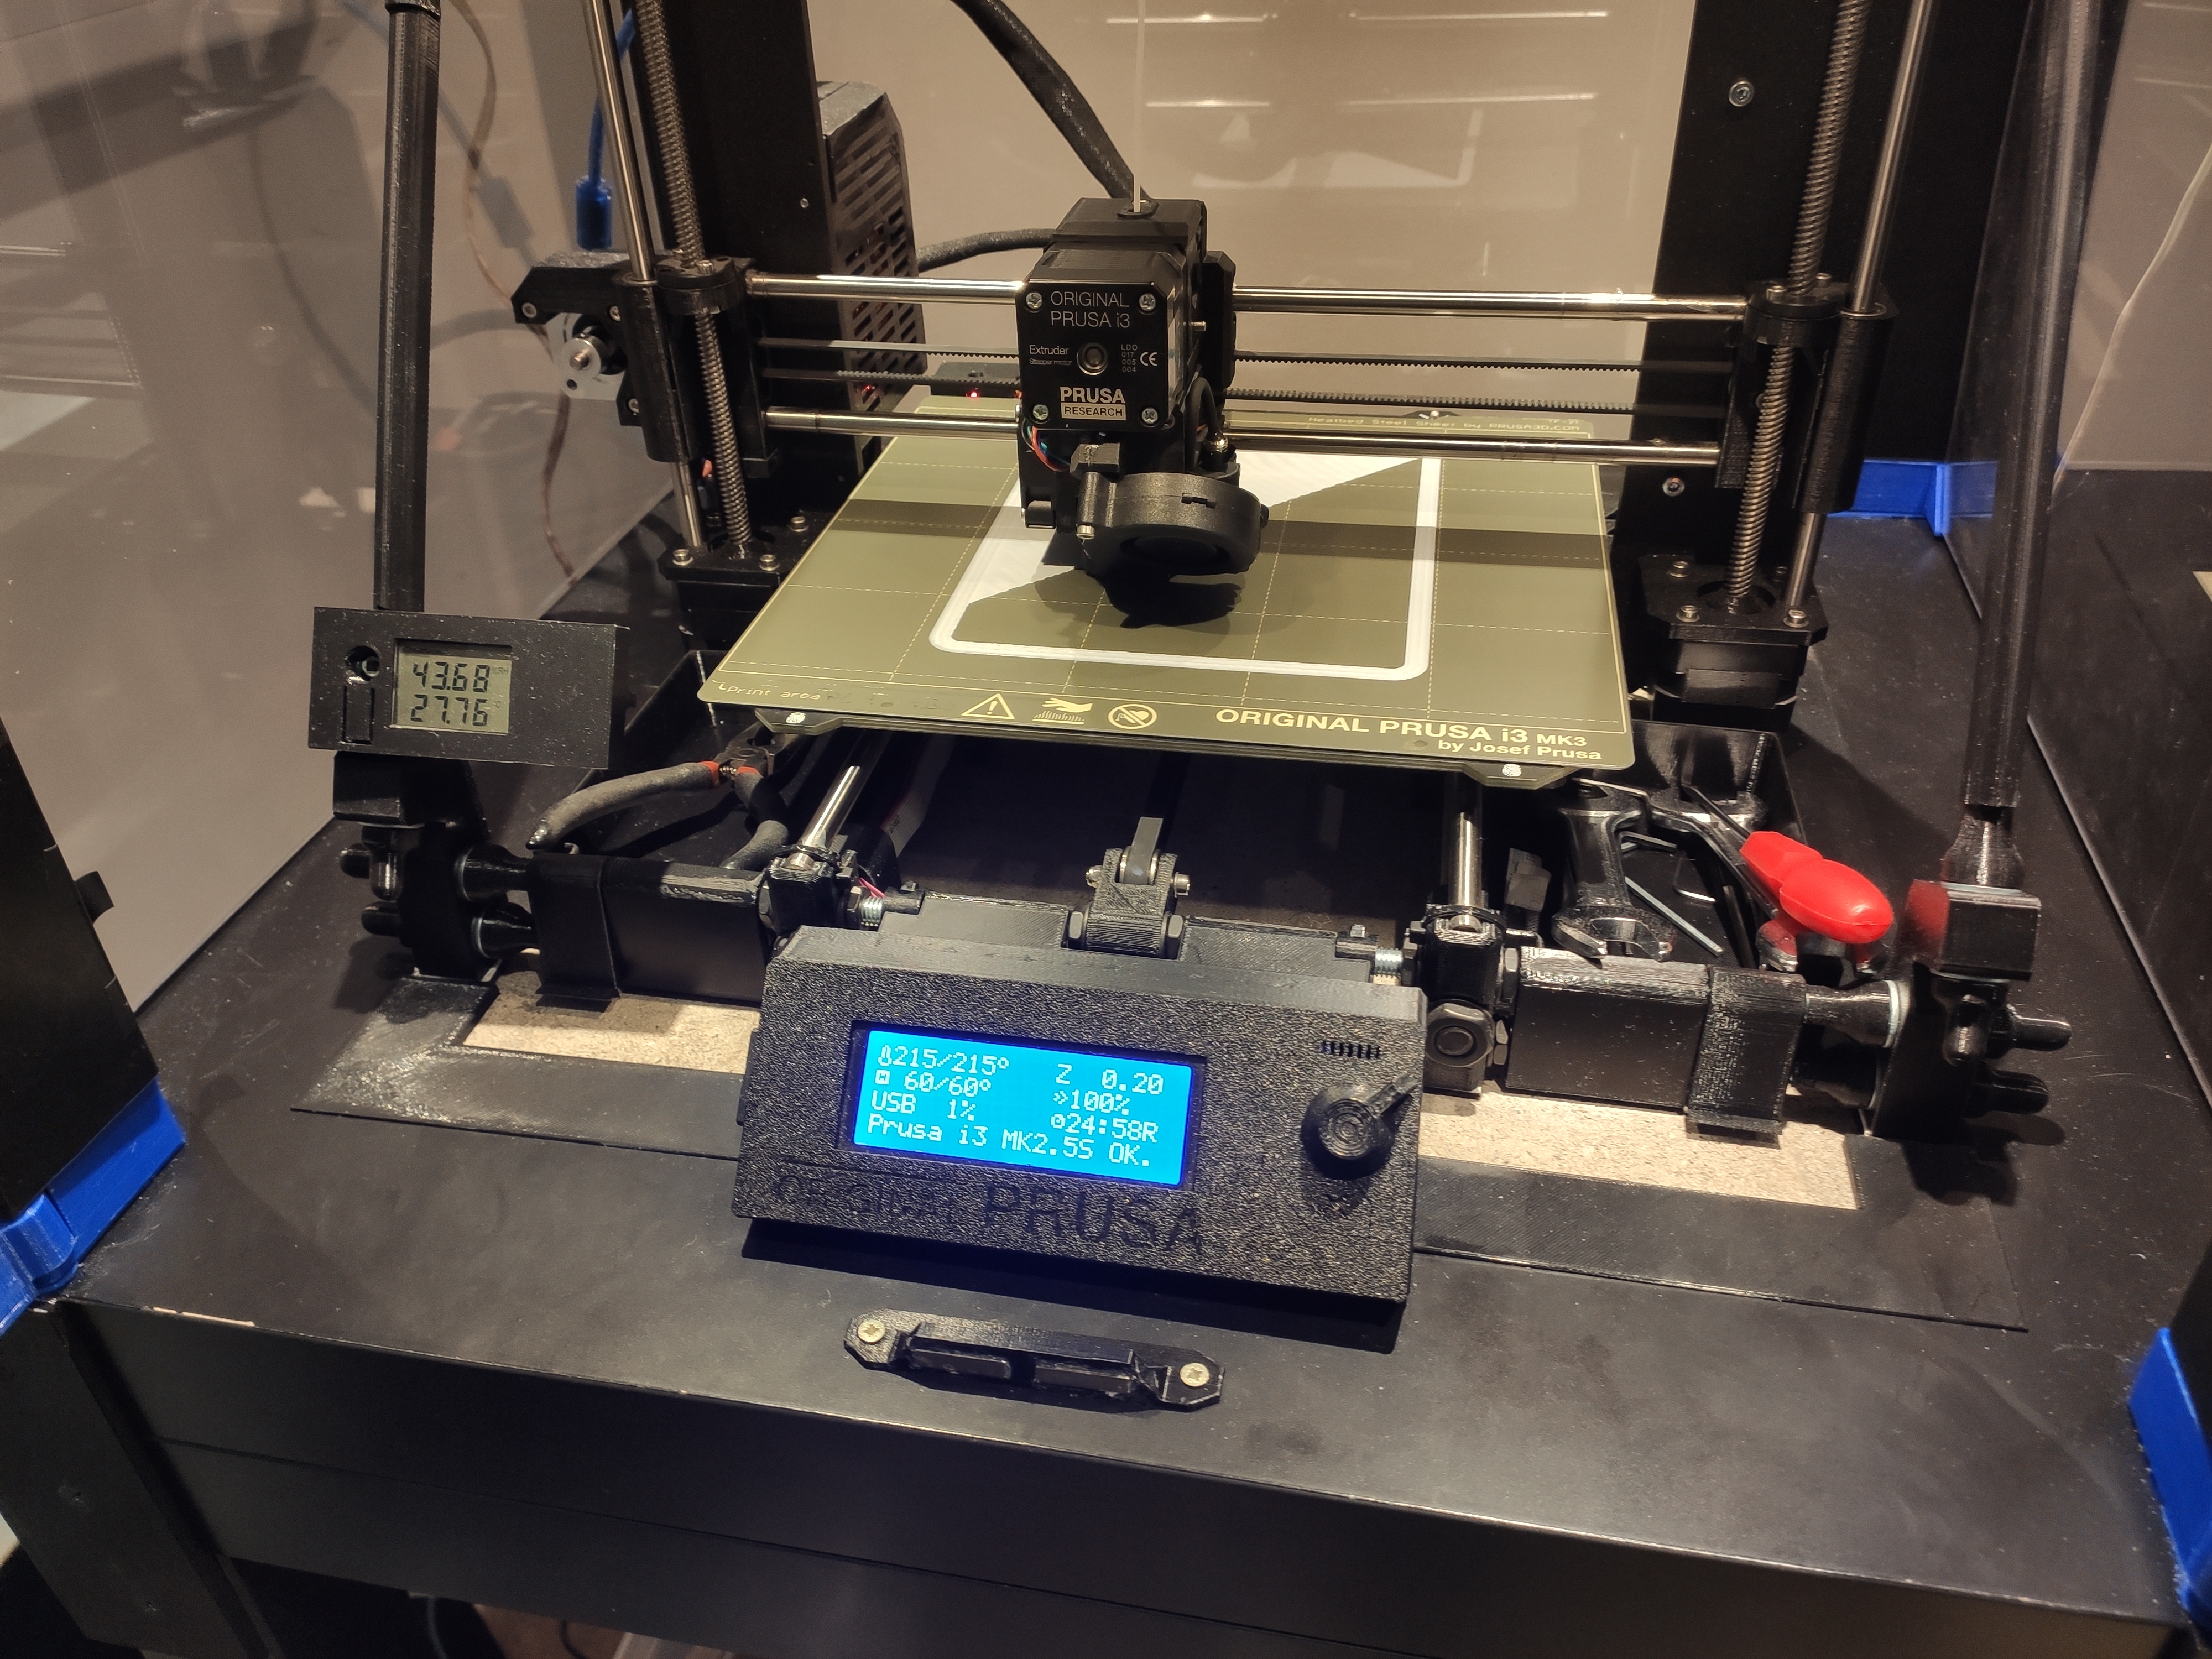
Adding substantial mass under the printer helps to quite down the operation and improves print quality. The ghosting…
- Rating
- 0 / 5
- Likes
- 5
- Downloads
- 25
- Makes
- 0
- Views
- 897
- Reviews
- 0
Updated at source:
Model information
- Source
- Printables
- Category
- Prusa Parts & Upgrades
- License
- Creative Commons — Attribution
Adding substantial mass under the printer helps to quite down the operation and improves print quality. The ghosting will be less visible.
I got another Lack table, but didn't mount the feet, instead I took a circular saw and cut a 40x40 cm window in the top side. Removed all stabilization material visible in the cut window, but leave the floor unharmed.
Remove the most top table from your printer enclosure tower and place the cut table directly on the other table.
Put a 40x40 cm concrete platter inside the cut window. Do not try to do it the other way around, lifting the cut plate with the concrete inside will lead to cracks on the underside of the table.
Apply chair glides felt under all contact patches of the printer. The felt improves contact with the concrete and brings down vibration.
Print out SchnittverblendungSLDPRT.STL 4 times, 2 of them have to be mirrored.
Place them in the edges of your windowcut, align the 3d Printer and meassure the missing gap. A Combination of the 143mm and 144mm streight filler will fill the gap. The 126mm version is for the back side.
Print Settings
Printer Brand:
Prusa
Printer:
Mk2.5s
No
Supports:
No
0.15
Infill:
20%
Filament:
Prusament PETG Black
Category: 3D Printer Accessories