
The CatOmater V 1.9 - A Cat automater? Maybe. Ceiling/Wall mounted cat laser toy (IoT)
We calculate the final price from your selected file. You review and accept it before payment.
Saved on this device.
A pan/tilt mechanism to mount a laser pointer, controlled with e.g. Home Assistant.
- Rating
- 5 / 5
- Likes
- 114
- Downloads
- 471
- Makes
- 5
- Views
- 4,865
- Reviews
- 5
Updated at source:
Model information
- Source
- Printables
- Category
- Pets
- License
- Creative Commons — Attribution — Noncommercial
30. Jan. 2024 v1.9:
- New examples of scripts with variables, ranges and random values.
16. Okt. 2023, V1.8:
- Fewer parts and bolts, combined parts to a new socket base
- Larger holes for servo cables added (less jamming, larger motion range)
- Replaced all other cable holes on the socket base
A remix of: https://www.thingiverse.com/thing:1799905
I designed the extra parts and did some research, and here we are. A cat laser toy, easy to print, easy to program, sturdy and remote controlled.
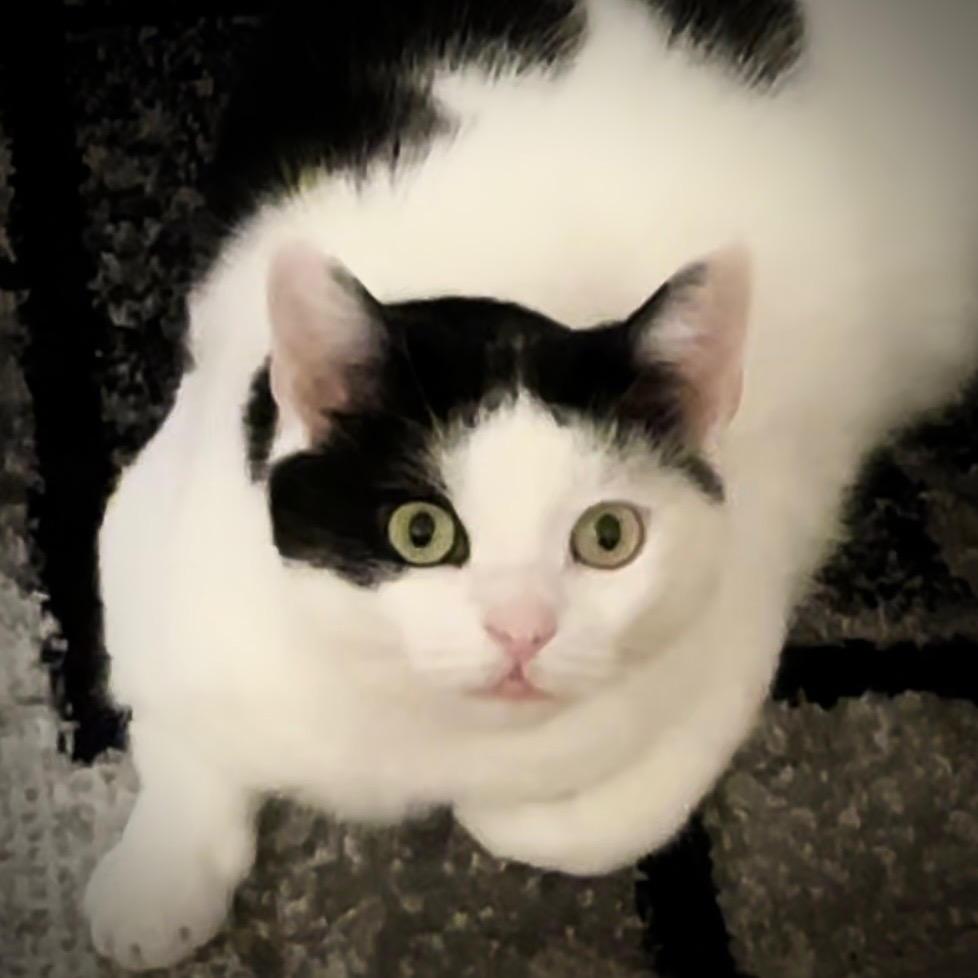
As soon as my cat hears the sound of the servos, she runs into the living room looking for the red dot. That sounds like "cat automation" to me ;)
My CatOmater is mounted on the ceiling, activated by a zigbee button lying around.
Next step: teach the cat to push the button ;)
You need M2 screws and a few extra small screws for the original parts as I didn't change the original holes and cutouts.
What you need:
- 2x SG90 servos
- 1x ESP8266 (e.g. Wemos D1 mini, as it has an USB port with built-in UART which also acts as 5V power source)
- Home Assistant + ESPHome Addon
- LASERFUCHS 650nm 1mW 3-12VDC - 70103984 (certified class 2 laser)
- You can support me by using this affiliate link: https://amzn.to/3ztJcfg
Printing:
The 3MF file is intended for combining the print-ready aligned parts. Activate supports as required.
ESPHome & Homeassistant:
I used this instruction as a template: https://siytek.com/esphome-servo-example/
I have found a much better way to use the ESPHome service directly and using variables in scripts . (see script example below)
ESPHome example configuration:
transition_length:
- This value defines the time the motor needs to perform a complete movement from 0%-100%. A higher value reduces the movement speed.
auto_detach_time:
- This value defines the time after which the motors are "released" to avoid the clicking noise when the system is switched on but not in operation.
esphome:
name: cat-laser
friendly_name: Cat Laseresp8266:
board: d1_mini
Enable logging
logger:
web_server:
# https://esphome.io/components/web_server.html
port: 80
local: true
ota: true # Enable OTA
Enable Home Assistant API
api:
encryption:
key: "<YOUR KEY>"
services:
- service: servo_y
variables:
level: float
then:
- servo.write:
id: servo_y
level: !lambda 'return level / 100.0;'
- service: servo_x
variables:
level: float
then:
- servo.write:
id: servo_x
level: !lambda 'return level / 100.0;'
ota:
wifi:
https://esphome.io/components/wifi.html
ssid: !secret wifi_ssid
password: !secret wifi_password
Optional manual IP
manual_ip:
static_ip: 192.168.1.40
gateway: 192.168.1.0
subnet: 255.255.255.0
ap:
ssid: "Cat Laser Fallback Hotspot"
password: "<YOUR PASSWORD>"
captive_portal:
output:
- platform: esp8266_pwm
id: pwm_1
pin: D5
frequency: 50 Hz
- platform: esp8266_pwm
id: pwm_2
pin: D6
frequency: 50 Hz
servo:
- id: servo_y
output: pwm_1
transition_length: "10s"
auto_detach_time: 1s
- id: servo_x
output: pwm_2
transition_length: "10s"
auto_detach_time: 1s
Example configuration entry
switch:
platform: gpio
pin: D7
name: "Laser Pointer"
restore_mode: ALWAYS_OFF
Examples of scripts in Homeassistant:
Of course you need to adjust the values, but should give you a feel for how you can automate patterns (now with variables).
See how to use variables, ranges, random values and the ESPHome services directly.
Go to the park position and switch off the laser
alias: Cat Laser - Park position
sequence:

service: switch.turn_off
data: {}
target:
  entity_id: switch.cat_laser_laser_pointer

variables:
  park_x: -25
  park_y: 75

service: esphome.cat_laser_servo_x
data:
   level: "{{ park_x }}"

service: esphome.cat_laser_servo_y
data:
   level: "{{ park_y }}"
mode: single
icon: mdi:cat
The laser moves randomly within the defined coordinates (new example).
This is just an example. You must define the values within the range(min, max) command for the desired x/y range yourself!
The value can be between -100 to 100. I used this values for a small area where my cat can chase the laser.
What this example does:
- Switch on the laser
- Move to a randomized x/y position within the range
- Wait for 500ms (delay)
- Repeat
- Stop after 500 x/y moves (count: 500)
- Switch off the laser
alias: Cat Laser - Chase random
sequence:

service: switch.turn_on
data: {}
target:
  entity_id: switch.cat_laser_laser_pointer

repeat:
  sequence:
- service: esphome.cat_laser_servo_x
  data:
    level: "{{ range(-68, 13) | random |int}}"
- service: esphome.cat_laser_servo_y
  data:
    level: "{{ range(5, 22) | random |int}}"
- delay:
    hours: 0
    minutes: 0
    seconds: 0
    milliseconds: 500

  count: 500

service: switch.turn_off
target:
  entity_id:
- switch.cat_laser_laser_pointer

data: {}
mode: single
icon: mdi:cat