
1 / 3
Pawb Pad 8 - Pi Pico Macropad
Order a print of this model
We calculate the final price from your selected file. You review and accept it before payment.
Saved on this device.

A Raspberry Pi Pico based hand-wired macropad with 8 keys.
- Rating
- 4.5 / 5
- Likes
- 40
- Downloads
- 90
- Makes
- 2
- Views
- 807
- Reviews
- 2
Updated at source:
Model information
- Source
- Printables
- Category
- Computers
- License
- Creative Commons — Attribution — Share Alike
A Raspberry Pi Pico based hand-wired macropad with 8 keys that runs on KMK Firmware. .STEP and .F3D files are included for remixing purposes.
Also happens to be in the shape of a paw.
Materials:
- 2x M3*10 socket head screws
- Raspberry Pi Pico
- 8x diodes
- Wires
- 8x Cherry MX compatible keyswitch
Printing:
- All files are preoriented
- 0.2mm layer height
Post Printing Instructions:
- Punch out supports in screw holes
- Insert key switches into their mounts
- Wire the keys (If you don't know how to, see the wiring guide for the VOID9 by @VOID as it is pretty similar to this one, just with 1 more key)
- Insert the micro-usb end of the Pi Pico into the cutout in the case and snap the other end onto the 2 posts (Remove the posts and use hot glue if it does not snap in properly)
- Close and screw the 2 parts of the case together with two 10mm long M3 screws.
- Attach keycaps
- Install KMK Firmware to the Pi Pico (KMK Firmware Guide)
- Drag and drop the included code.py file into the Pi Pico
- Reprogram the macro keys to your liking (The defaults are arrow keys, shortcut to YouTube and Printables, win+d , and alt+f4).
Wiring Guide:

Support to be punched out:

Internals:
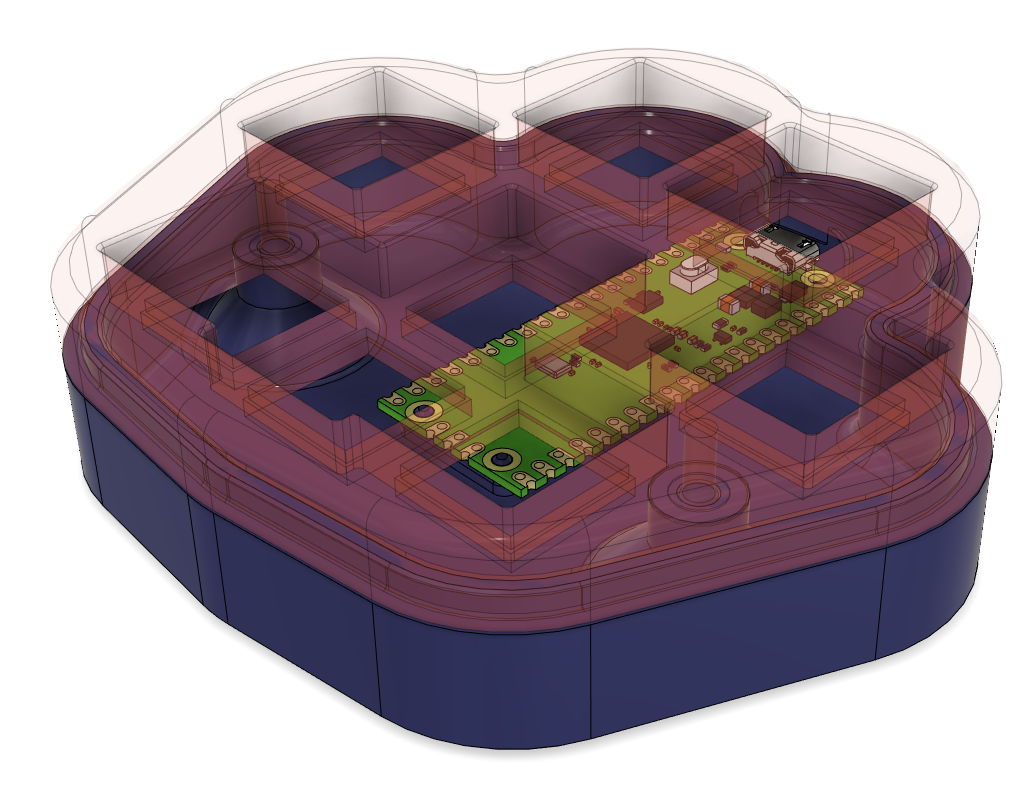
Pi Pico Model Used: https://grabcad.com/library/raspberry-pi-pico-r3-1#