1 / 4
Upgrades for Filament Dry Box
Order a print of this model
We calculate the final price from your selected file. You review and accept it before payment.
Saved on this device.
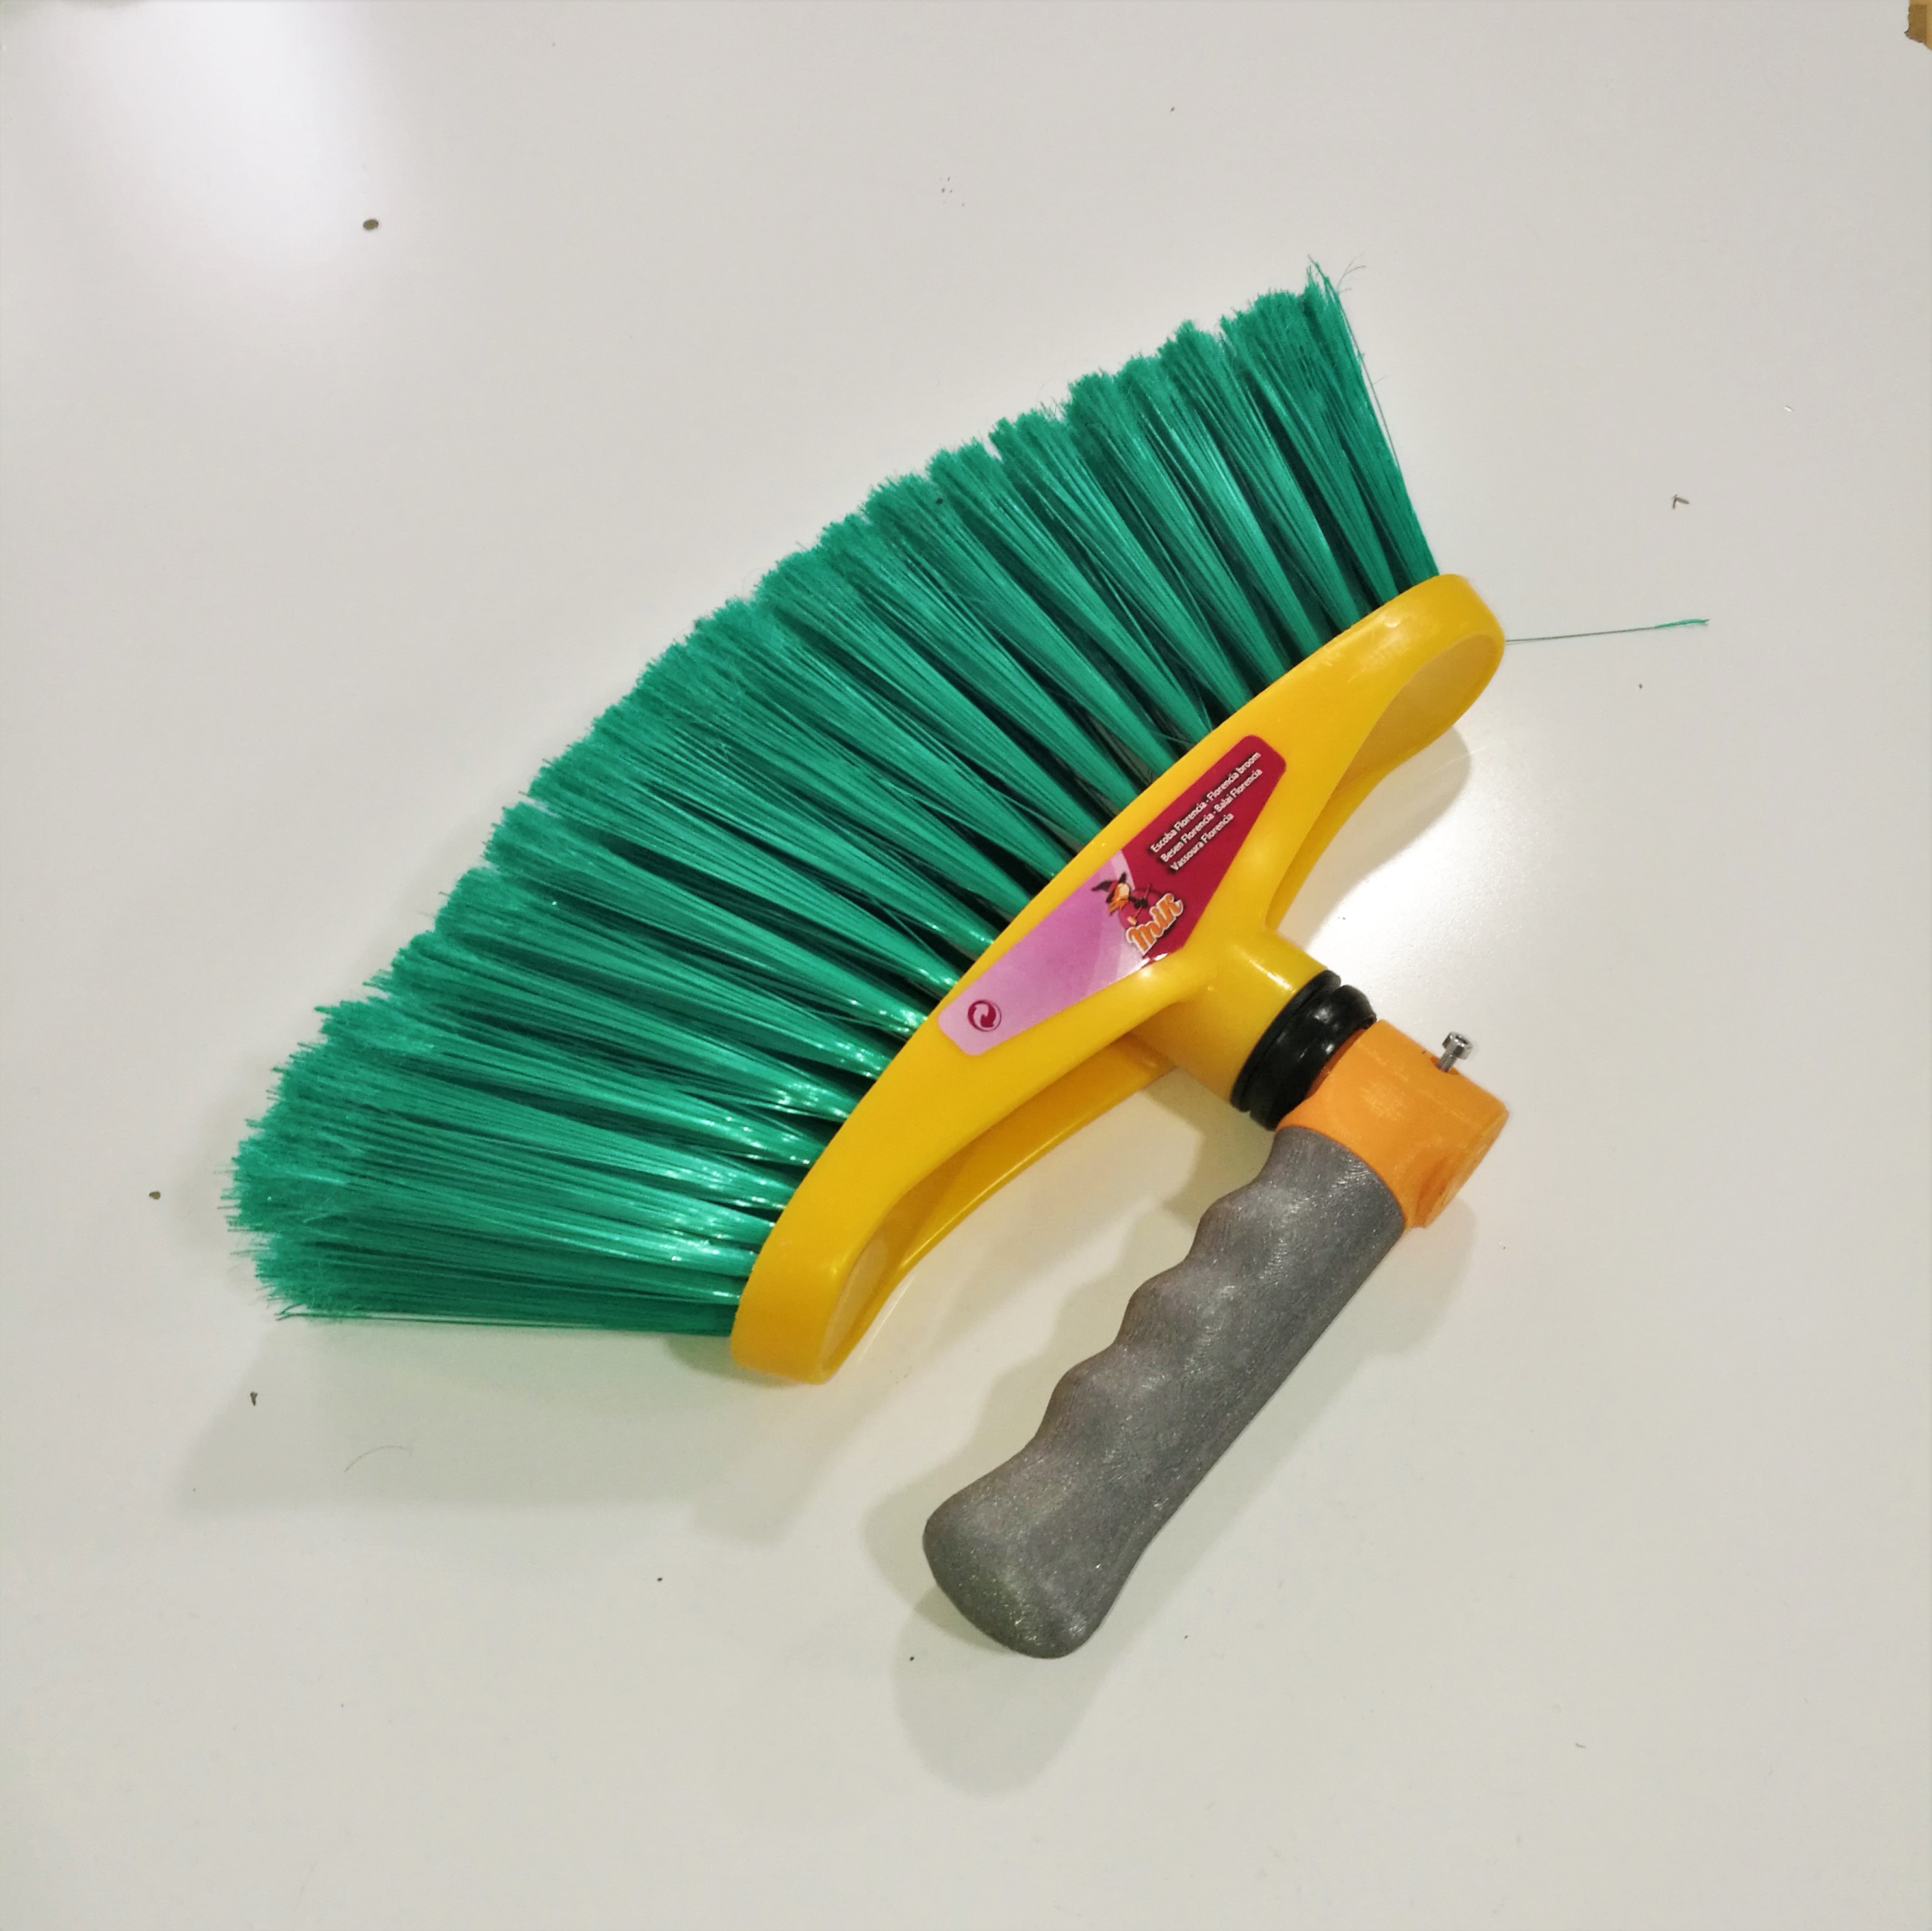
Some upgrades to parts of @werner_rh 's "Filament Dry box cheap and simple".
- Rating
- 5 / 5
- Likes
- 73
- Downloads
- 381
- Makes
- 2
- Views
- 5,150
- Reviews
- 3
Updated at source:
Model information
- Source
- Printables
- Category
- Accessories
- License
- Creative Commons — Attribution — Noncommercial — Share Alike
Print instructions for "fullbody" roll adapters with open faces
So you want to print the proposed open-faced roll adapters? Here is how:
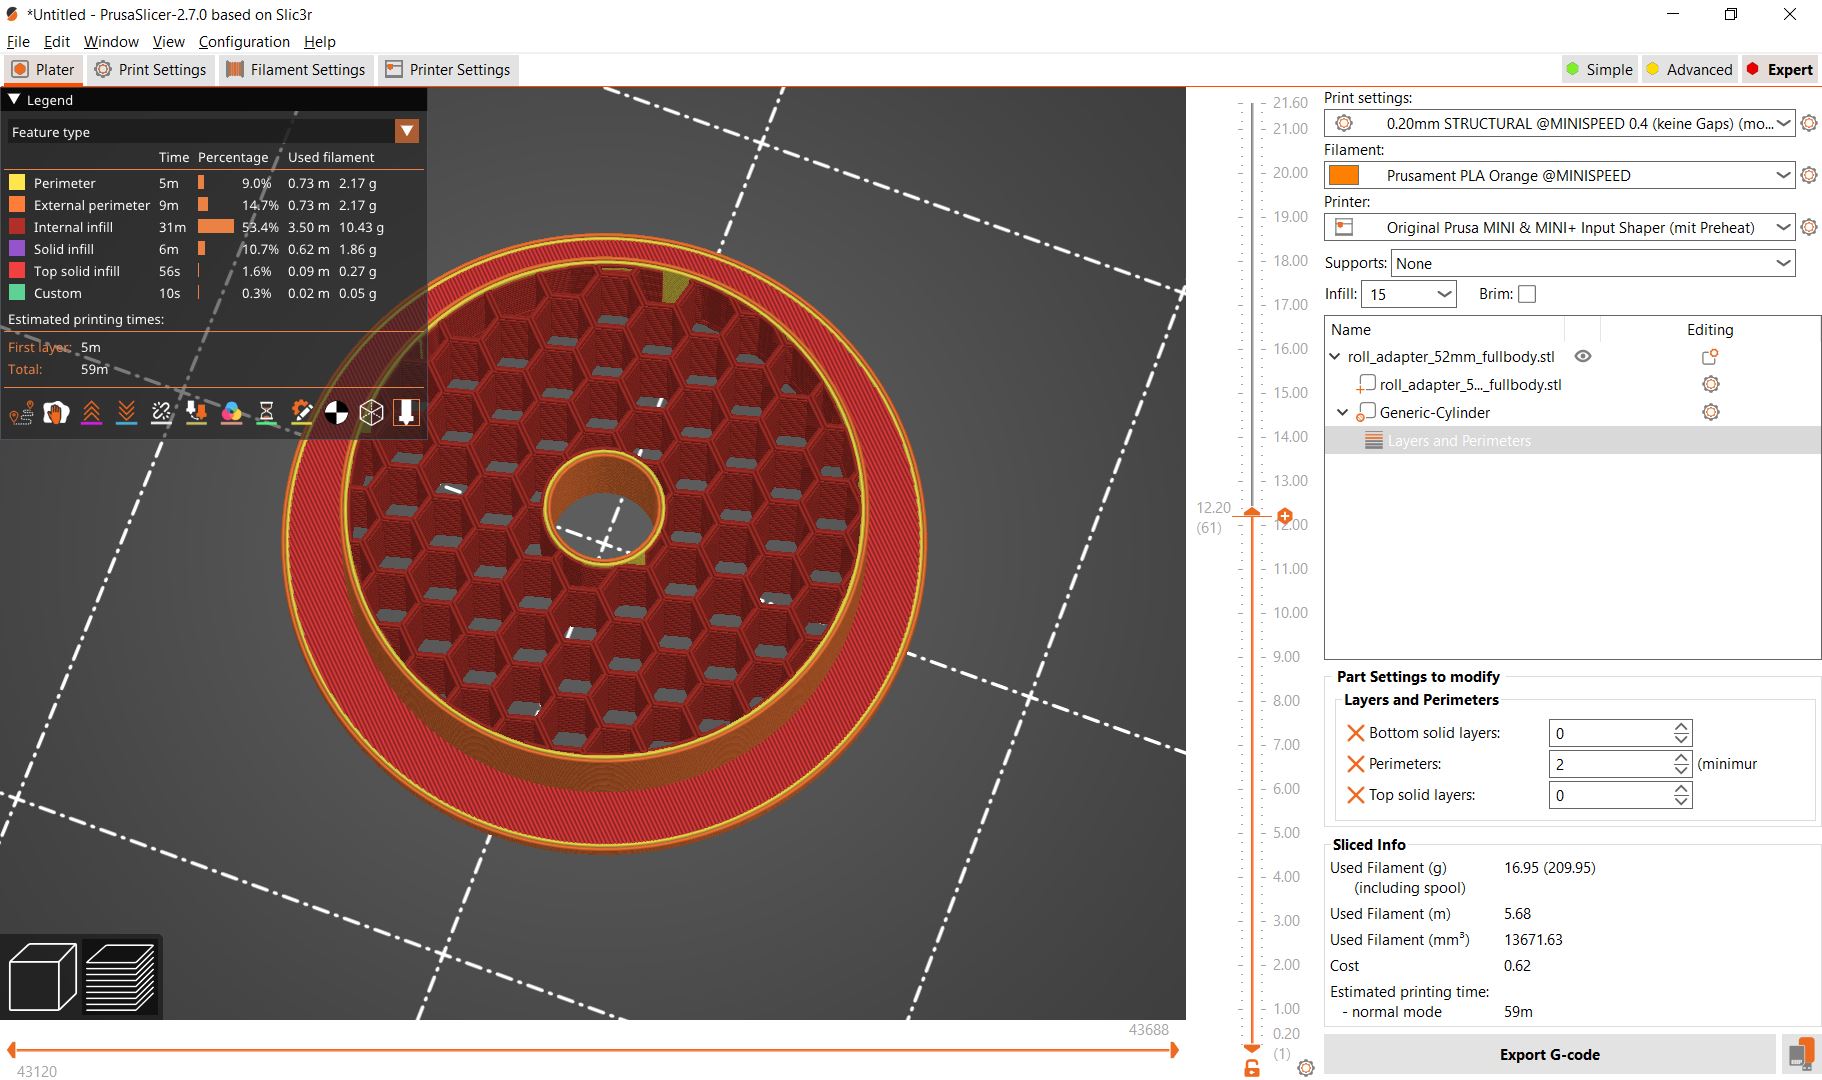
- Rightclick on your part and add a cylinder modifier. Change its X and Y size to the diameter of the the roll adapter you want to print minus 2x your perimeter thickness. You can find that value in “Print settings/Layers and Perimeters” in the lower part of the "Vertical shells" dialog (it says recommended thin wall thickness).
In my case I want to print a 54 mm roll adapter with 2 perimeters. The recommended thin wall thickness for 2 perimeters is given as 0.86 mm so I substract:
54 mm - 2 x 0.86 mm = 50.28 mm
This means my modifier has to be 50.28 mm wide and deep.
- As your Z size put value bigger than 21.5 mm (that's the total height of the roll adapter) and then center your modifier, in my case that would be 90/90/11 in the "Position" dialog.
- Then rightclick on your modifier and choose the option "Layers and Perimeters". There, set your bottom and top solid layers to 0.
- Slice your part and have a look at what it will look like. Maybe play around with the infill pattern and density. In my case I went with the honeycomb pattern at 15% infill