
Wandering hour wall clock
We calculate the final price from your selected file. You review and accept it before payment.
Saved on this device.

A wandering hour wall clock driven by a cheap quartz movement.
- Rating
- 4.941 / 5
- Likes
- 301
- Downloads
- 999
- Makes
- 19
- Views
- 7,748
- Reviews
- 17
Updated at source:
Model information
- Source
- Printables
- Category
- Home Decor
- License
- Creative Commons — Attribution
I've always been intrigued by the wandering hour complication and this competition was a great excuse set some time aside to design and build a wall clock based on this complication. You can find more background information on this complication at the DWISS website.
Design
The wandering hour complication can be implemented with any number of arms that divides twelve, but the most common choice is one with three arms. With which the clock has a 120 degree minute area, which I placed at the upper one third of the clock.
I chose a readily available quartz mechanism to run the clock, but since one hour now only sweeps 120 degrees I needed to reduce the rotation speed to one third. For this I chose a "planetary gear train" design, in which the ring gear is fixed and the sun gear is driven by the quartz movement. The planet gears are mounted on a carrier, which turns at one third of the speed of the sun gear.
On each of the three arms a disc is mounted with the digits of 4 hours, each 3 hours apart. With every 360 degree revolution each disc has to rotate 90 degrees in the time between the disk leaving and entering the minute area. This means we need an intermittent rotation mechanism. Initially I was thinking of using a Geneva drive for this, but that didn't work and I ended up using a cam mechanism instead. Cam mechanisms are usually used to convert rotary motion into linear motion, but can be used for the inverse purpose just as well.
Required
- 3D Printer - accommodating a build size of at least 210x80mm
- Filament: no specific requirements I used mainly Prusament PLA, but PETG for signal white.
- 4x M2*16 Hex socket head screws
- 6x M2*4 Hex socket head screws
- High torque quartz movement with threaded shaft, I got mine from Amazon.
- 1x L-shaped screw hook for mounting the clock on a wall
Printing
I used the default settings from Slic3r for most prints. Any deviations from the default can be found in the comments column.
| filename | preview | sheet | layer height (mm) | comment |
|---|---|---|---|---|
| clock_motor_holder_2.stl | 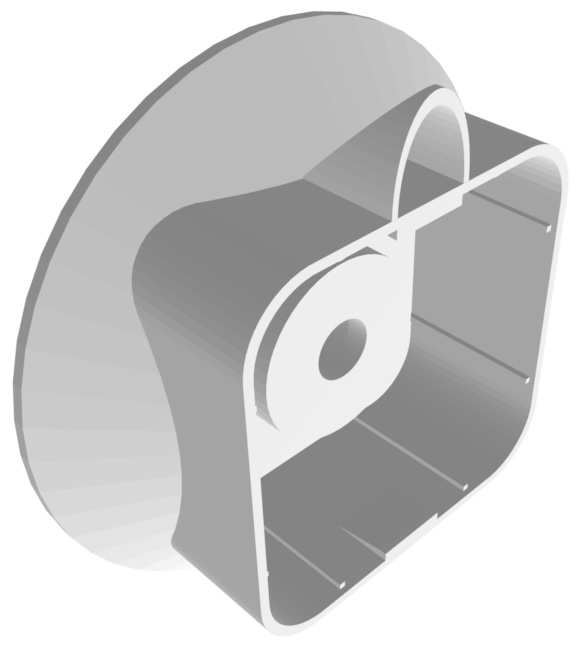 | smooth | 0.20 | This print needs the “support on the build plate” option turned on. |
| clock_minute_dial_mount.stl |  | textured | 0.20 | |
| clock_ring_gear.stl |  | smooth | 0.15 | |
| clock_sun_gear_coupler_2.stl |  | smooth | 0.20 | |
| clock_planet_carrier.stl |  | smooth | 0.20 | |
| clock_sun_gear.stl |  | smooth | 0.20 | |
| clock_planet_gears.stl |  | smooth | 0.20 | |
| clock_minute_arm_mount.stl |  | smooth | 0.20 | |
| clock_gear_unit_clamp.stl |  | smooth | 0.20 | |
clock_minute_arms.stl clock_minute_arms_plus.stl |  | textured | 0.20 | the “plus” version has extra tolerance on th holes in the arms. |
| clock_hour_dial_pivot.stl | 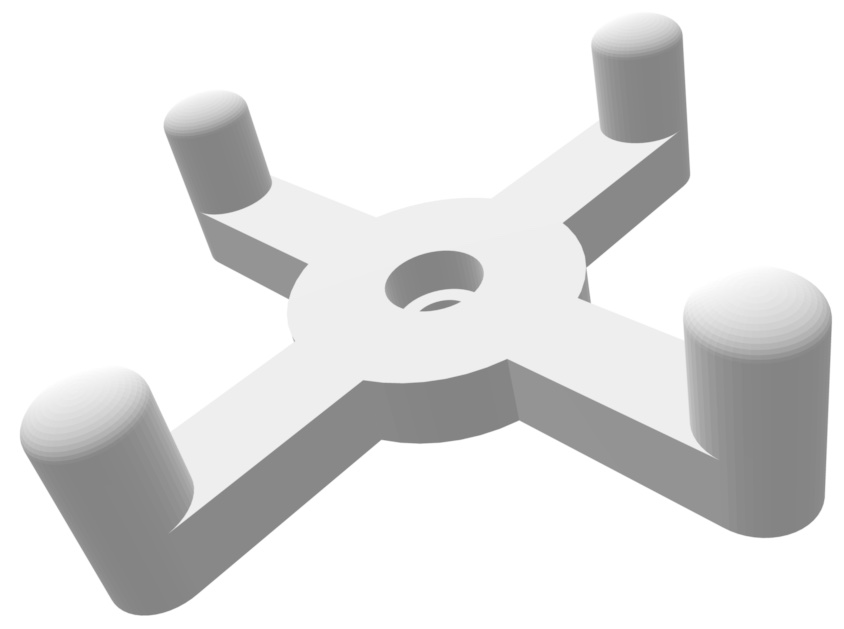 | smooth | 0.15 | You'll need to print three of these. |
| clock_hour_dials.stl |  | textured | 0.20 | |
| clock_minute_dial.stl |  | textured | 0.20 | I had some adhesion difficulties with this part, but got it to work by using a brim and reducing the speed to 75% from the default speed. |
| movement_socket.stl | 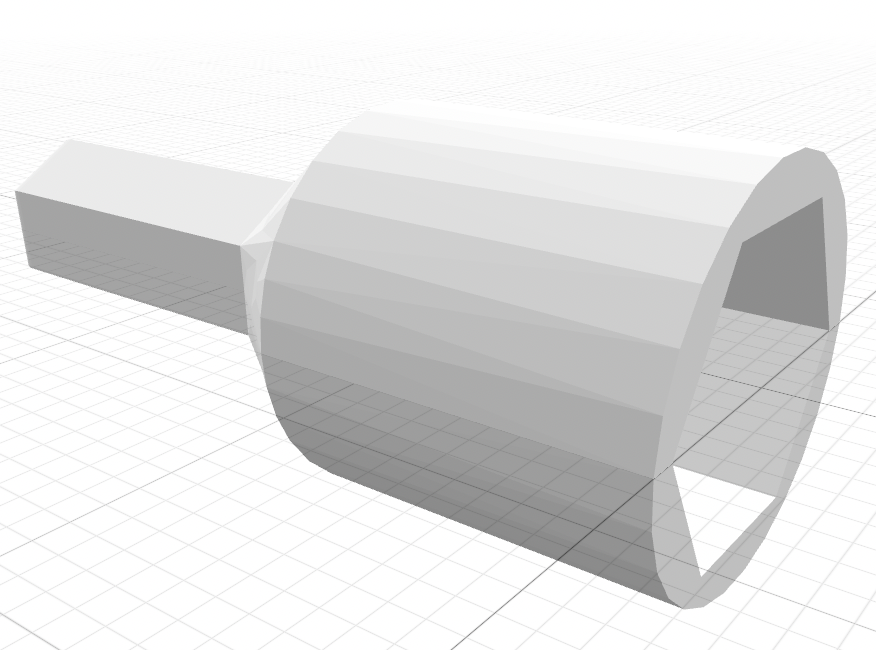 | smooth | 0.20 | #Walleye kindly provided this socket wrench for tightening the movement nut into the holder. |
Assembly
The video below shows the complete assembly of the clock. It's not rocket science, just make sure the hour dials have the correct orientation.
Conclusion
This was only my third design since I got my printer in May and I learned a lot in the process. For my first two designs I used Freecad, but I got a bit annoyed by my designs getting corrupted and then having to start over again. For this design I used OpenSCAD and experienced no such issues, it “just worked”. I also learned a lot about gears and friction and that these “high torque” quartz movements are far from power houses. I learned about mechanical designs for conversion linear in to rotary motion and last but not least I learned about the importance of tolerances and I hope those work out for anybody printing this. If not I will also post the OpenSCAD files soon, after I've cleaned them up!