
DIY Tensegrity Stand
We calculate the final price from your selected file. You review and accept it before payment.
Saved on this device.

DIY tensegrity stand with easy to tune tension. No supports, measuring, or knots. Includes directions with pictures.
- Rating
- 5 / 5
- Likes
- 13
- Downloads
- 50
- Makes
- 1
- Views
- 428
- Reviews
- 1
Updated at source:
Model information
- Source
- Printables
- Category
- Physics & Astronomy
- License
- Creative Commons — Attribution — Noncommercial — Share Alike
This tensegrity stand utilizes tension and compression for a visually stunning structure! My designs make a fun science demo or unique desk organizer.
I centered the design around #6 ball chain and a set of shims for the middle brace. The end result is perfect tension that is simple to tune without the need to carefully measure or tie knots.
Supplies
This is a printed project that requires assembly and fasteners. You will need:
- Around 103 links (42 cm or 17 in) of #6 ball chain
- (2) M3 square nuts (DIN 562)
- (2) M3x35 SHCS
- (2) M3x8 SHCS
- Superglue gel, or your favorite glue for plastics
- Tape to serve as an assembly aid
The middle braces have three methods of attaching the middle chain. Choose one:
- (4) M3x8 button head cap screws
- (4) M2x10 self tapping screws for plastic
- (4) 7mm lengths of filament and glue
If you are making the business card holder, you also need (4) M3x6 screws to attach the holder to the top.
Printing
Start with the test print in order to double check tolerances. A lot of the small pieces will benefit from enabling z-hop, and using a print bed with extra adhesive.
Slicing and printing is focused on one objective: stiffness. Select a stiff material for the top and base. If you notice warping use a brim and gyroid infill. Use extra perimeters on the middle braces, base, and top for added stiffness.
Assembly
Fully detailed instructions with pictures and a parts checklist are available to download as a pdf file.
The pieces for a tensegrity stand do not fully lock together until all of the chains are tensioned, so have some patience. Resist the urge to glue pieces together during assembly because you may need some disassembly to fine tune the tension. After the stand is self-supporting, glue the covers and extra pieces into place with superglue gel.
Adjusting Tension
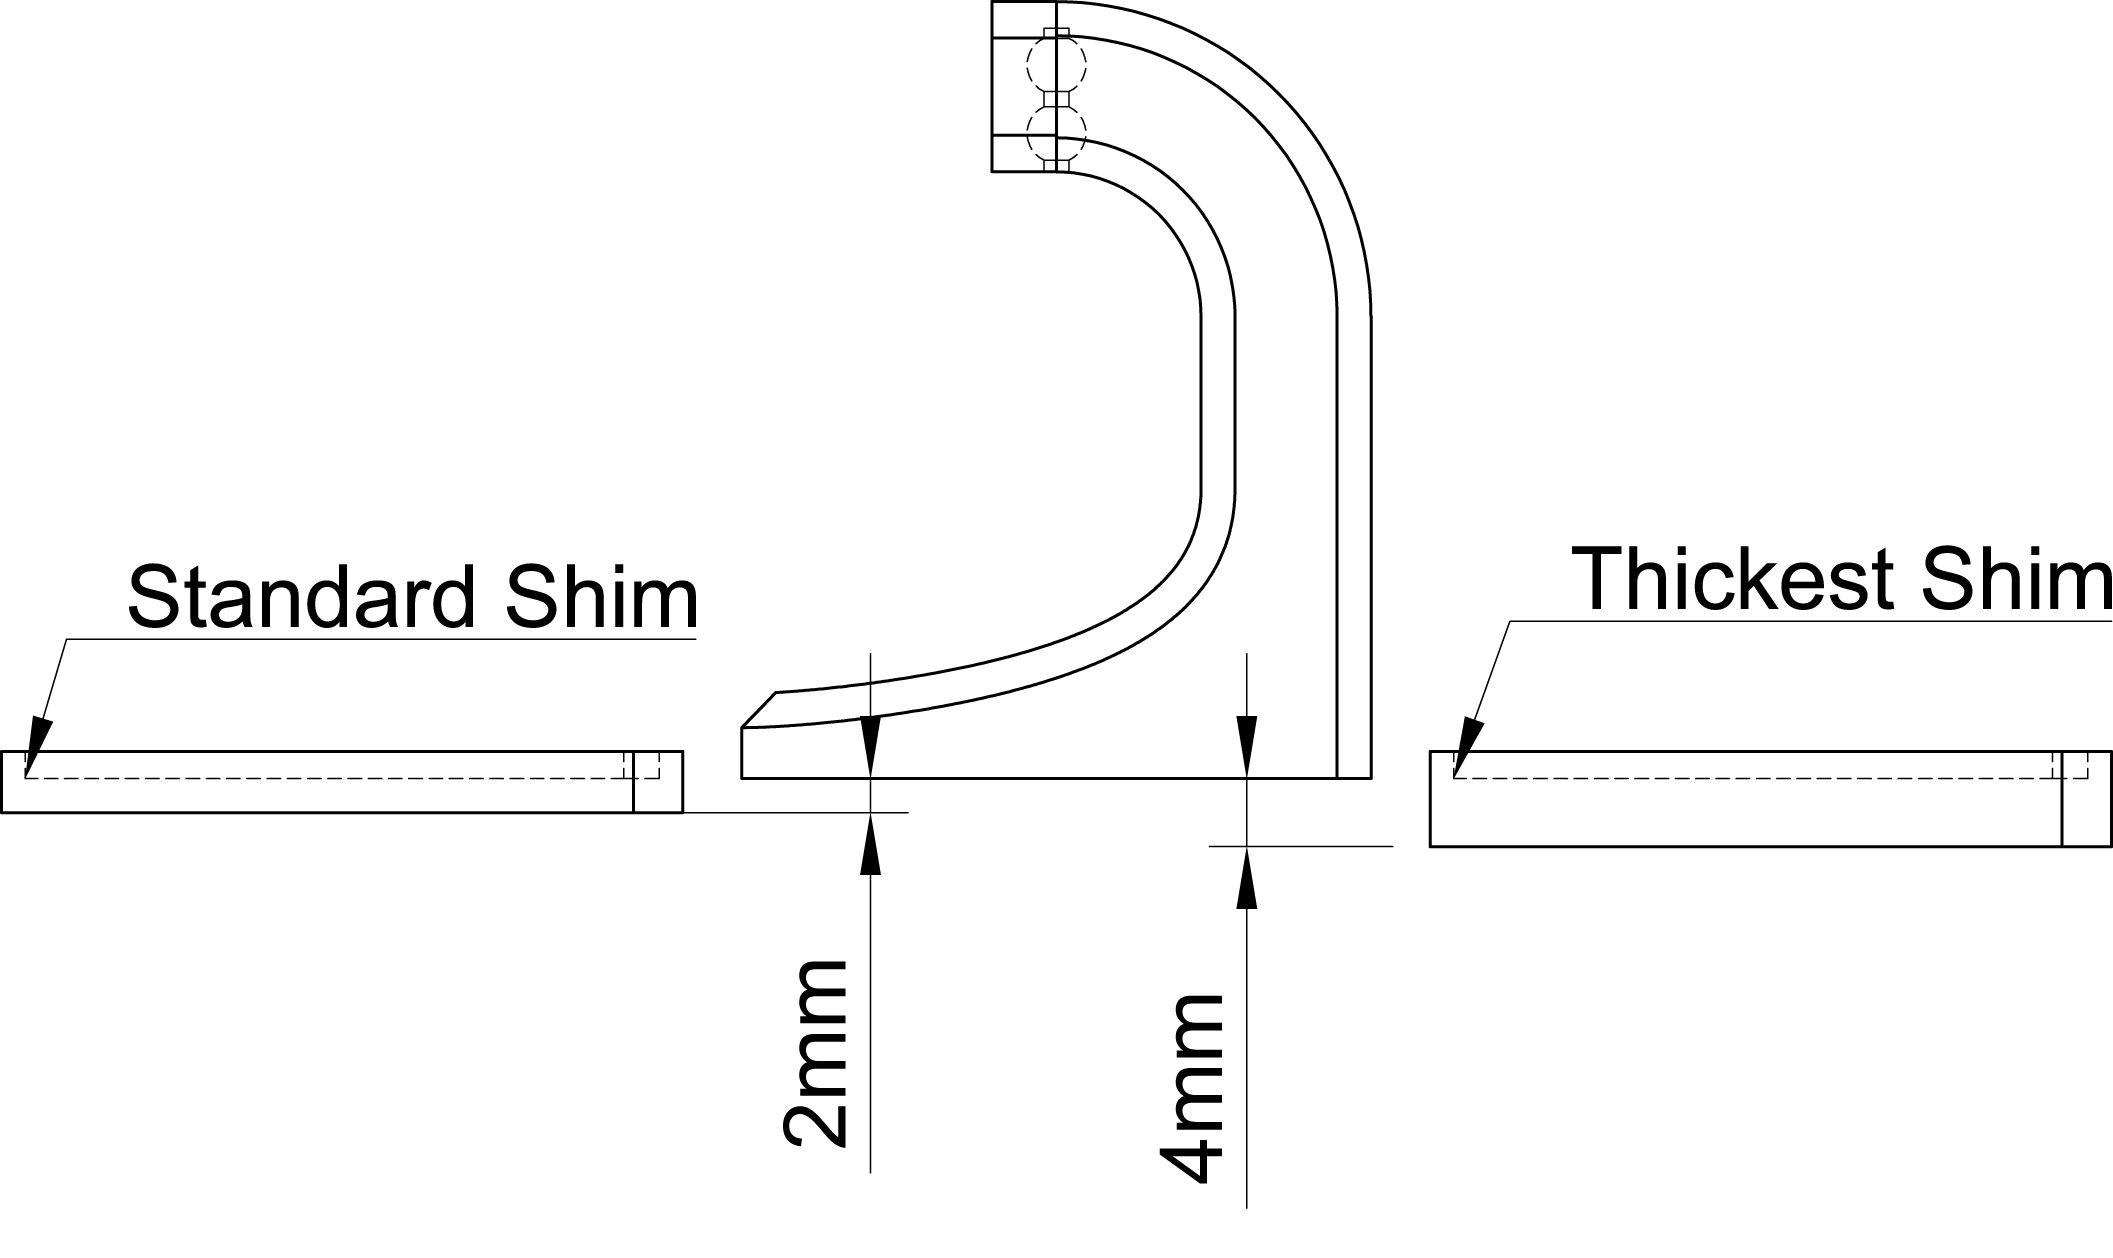
Differences between brands of chain and printing tolerances mean that it is not possible to predict exact values for shim thickness and chain length. Tension is tuned with the middle brace by swapping out shims of varying thickness. One shim can shift the middle brace height by a maximum of +/- 2 mm. (Leave out a shim for a -2 mm adjustment.)
Thanks for supporting me, and enjoy!
Minor edit: Updated pictures.