
Apple wireless keyboard wired conversion dc power adapter A1314 - parametric
We calculate the final price from your selected file. You review and accept it before payment.
Saved on this device.

This DC wired conversion adapter replaces the AA batteries in your A1314 Apple keyboard.
- Rating
- 0 / 5
- Likes
- 4
- Downloads
- 30
- Makes
- 0
- Views
- 778
- Reviews
- 0
Updated at source:
Model information
- Source
- Printables
- Category
- Computers
- License
- Creative Commons — Attribution — Share Alike
This DC wired conversion adapter replaces the AA batteries in your A1314 Apple keyboard.
What you will need:
- An M2.5 screw ≥ 5 mm long
- An M2.5 nut ≤ 8 mm thick
- A 2-conductor cable to supply DC power. The diameter of the outer sheathing ≤ 3.85 mm
- An electrical tape
- (optional) Hot glue
- (optional) A ring terminal connector for the M2.5 screw
Feel free to change the attached f3d file if your parts don't fit.
Printing instructions

Battery Shaft
- Print in a cup-down orientation
- Use support along the length of the shaft except where the M2.5 nut will be installed. You can leverage a support blocker like in the screenshot above.
Knob
- Do not use support
- 3 wall loops for extra strength
Assembly instructions
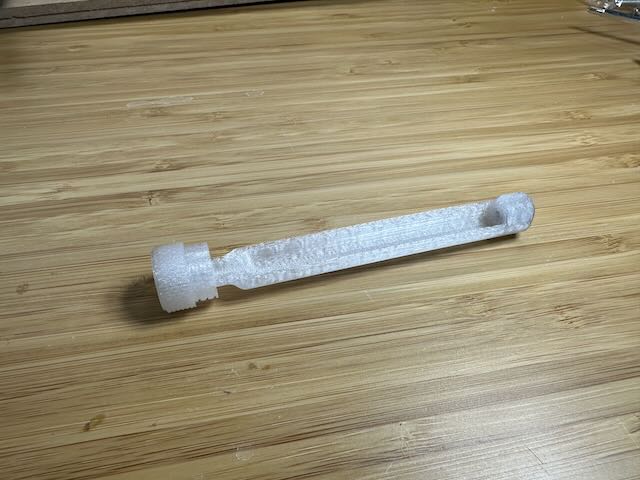
Insert battery shaft into the half-circle shaped slot of the knob. You can glue the two parts, if you want, but it wouldn't be necessary because it's a pretty snug fit to begin with and the spring inside the keyboard will hold things in place securely.
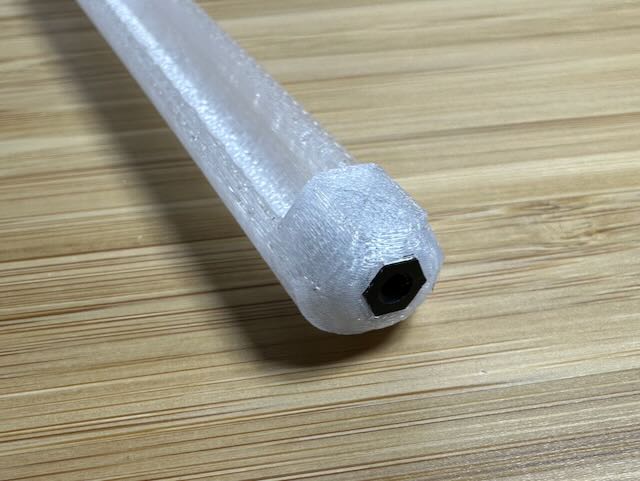
Insert the M2.5 nut into the slot. I've used an 8 mm nylon nut.
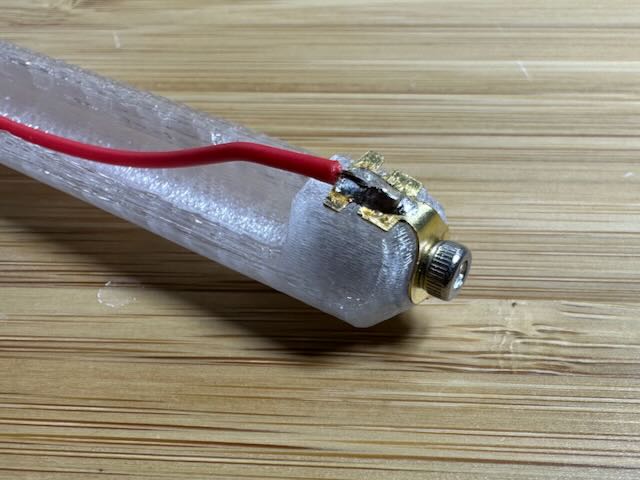
Feed the DC power cable through the hole in the knob and attach the positive wire to the far end of the battery shaft using a M2.5 screw. A ring terminal is going to be useful if you have one. The screw head is going to act like the positive terminal of a double-A battery.
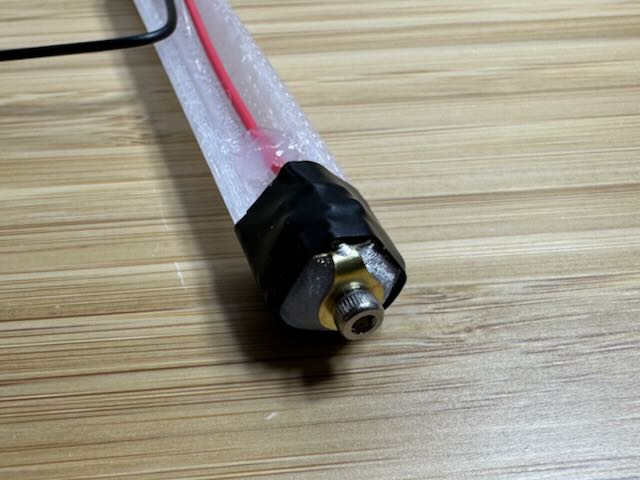
Note the entire keyboard's chassis is grounded, Use a piece of electrical tape so only the tip of the positive terminal is exposed and you don't accidentally short the circuit.
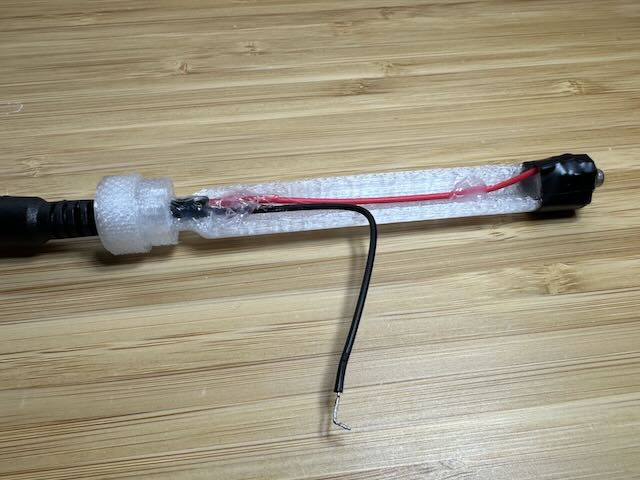
Apply hot glue where needed to secure things down.
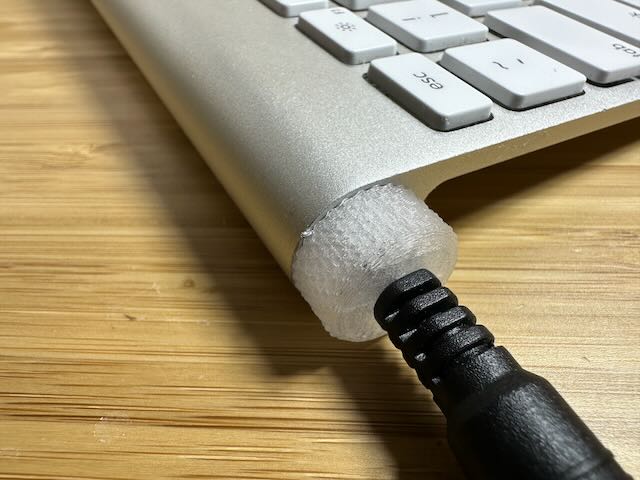
Here is perhaps the most challenging part of this project and that is to bend the ground (black) cable 180 degrees and “pinch” it between the chassis and the knob. It helps to pretin the wire to make it more rigid. I have not needed to use an electrical tape myself, but you might find it helpful.
If the end of the wire sticks out and you feel like it will hurt you, just use a flush cutter.
End Result
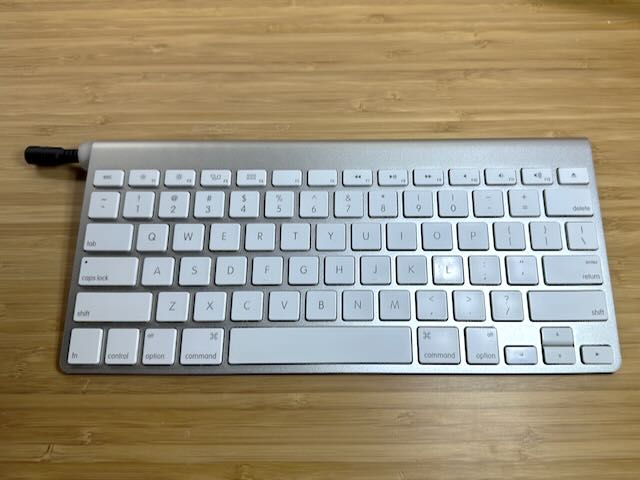
Connect the keyboard to your favourite 3V power supply.