
ESPHOME ultimate motion/presence detector
We calculate the final price from your selected file. You review and accept it before payment.
Saved on this device.

This is a fast motion/presence detector for home assistant. Very small case size ( 36mmx44mmx17mm) Ball and socket mount
- Rating
- 0 / 5
- Likes
- 9
- Downloads
- 49
- Makes
- 0
- Views
- 612
- Reviews
- 0
Updated at source:
Model information
- Source
- Printables
- Category
- Electronics
- License
- Creative Commons — Attribution — Noncommercial
update- 3-4-2024: revised yaml to address turn off of led.
This is a very fast responding radar motion detector with an adjustable hold time.
parts list:
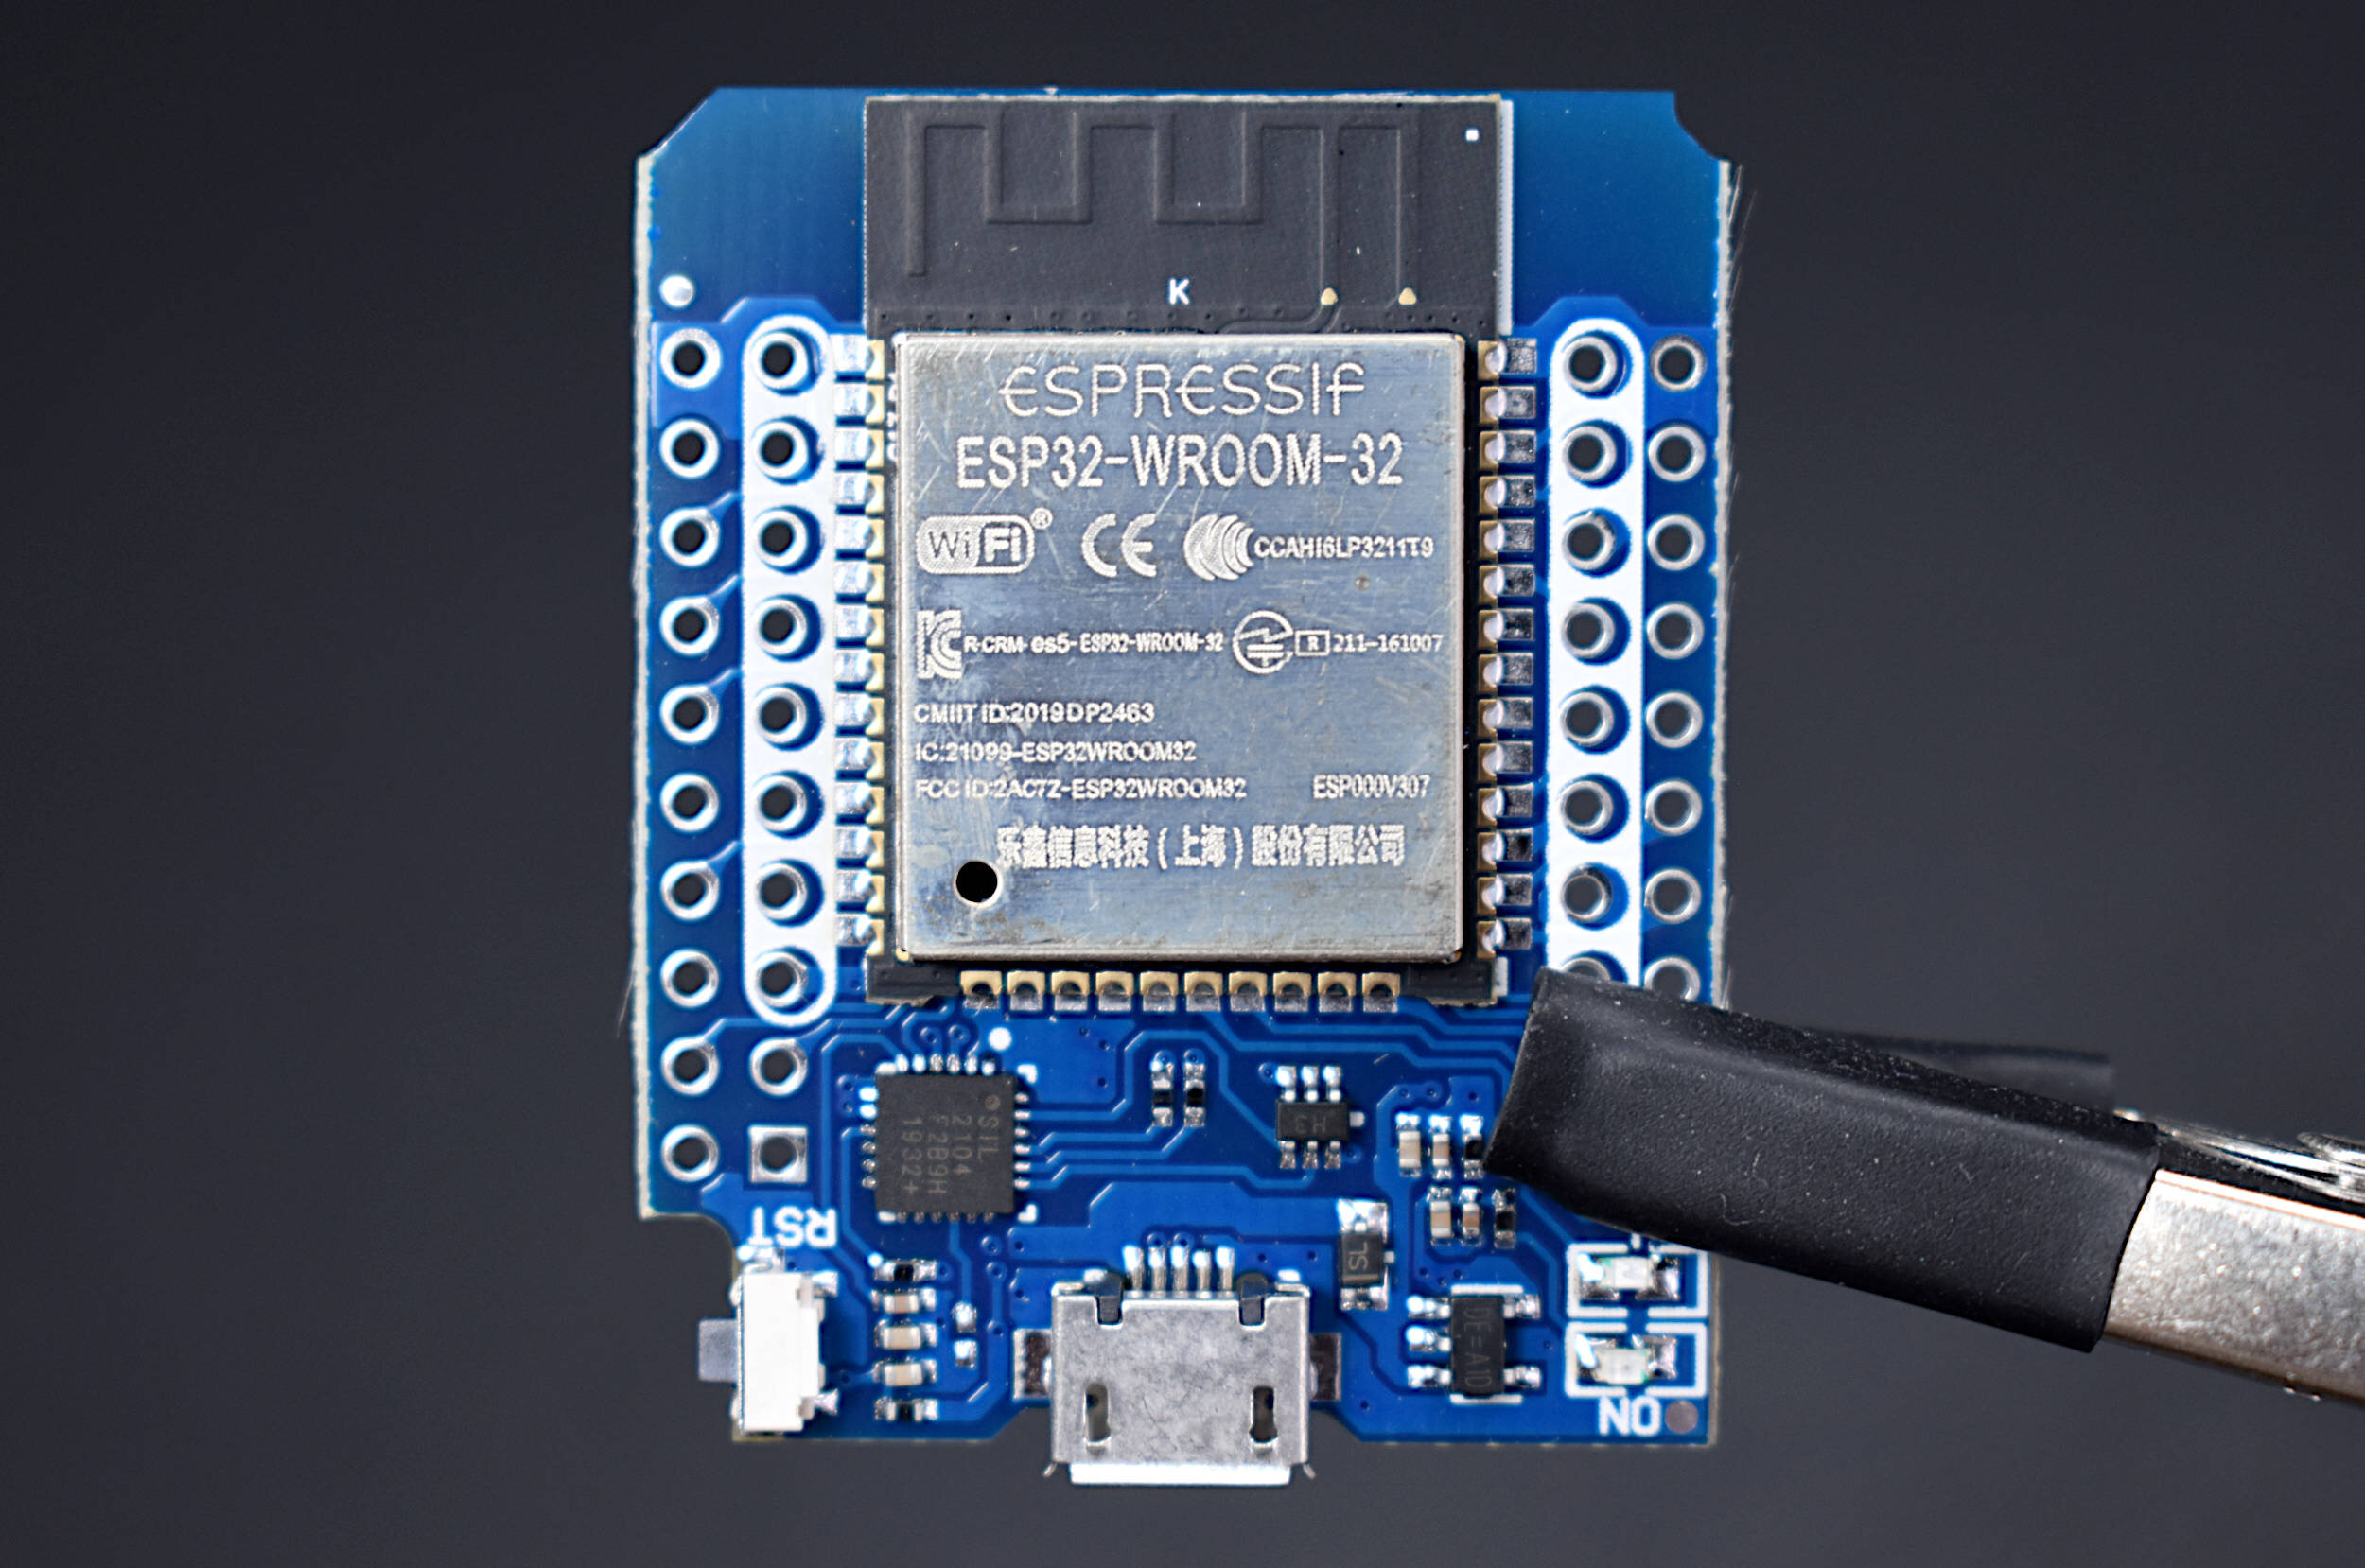
d1mini esp32:
Note: an esp32 device like this is recommended for the ld2410 radar Detector to avoid memory issues. A esp8266 device like a D1 mini will function in normal mode but can run out of memory in the 'engineering’ mode of the ld2410.
- ld2410c radar detector:

WS2812 led:

double sided tape:

30 gauge connection wire:
Assembly
- print the case and mounting parts for ball and socket from the included step files. Note that the 3mf file is for a bambu printer.


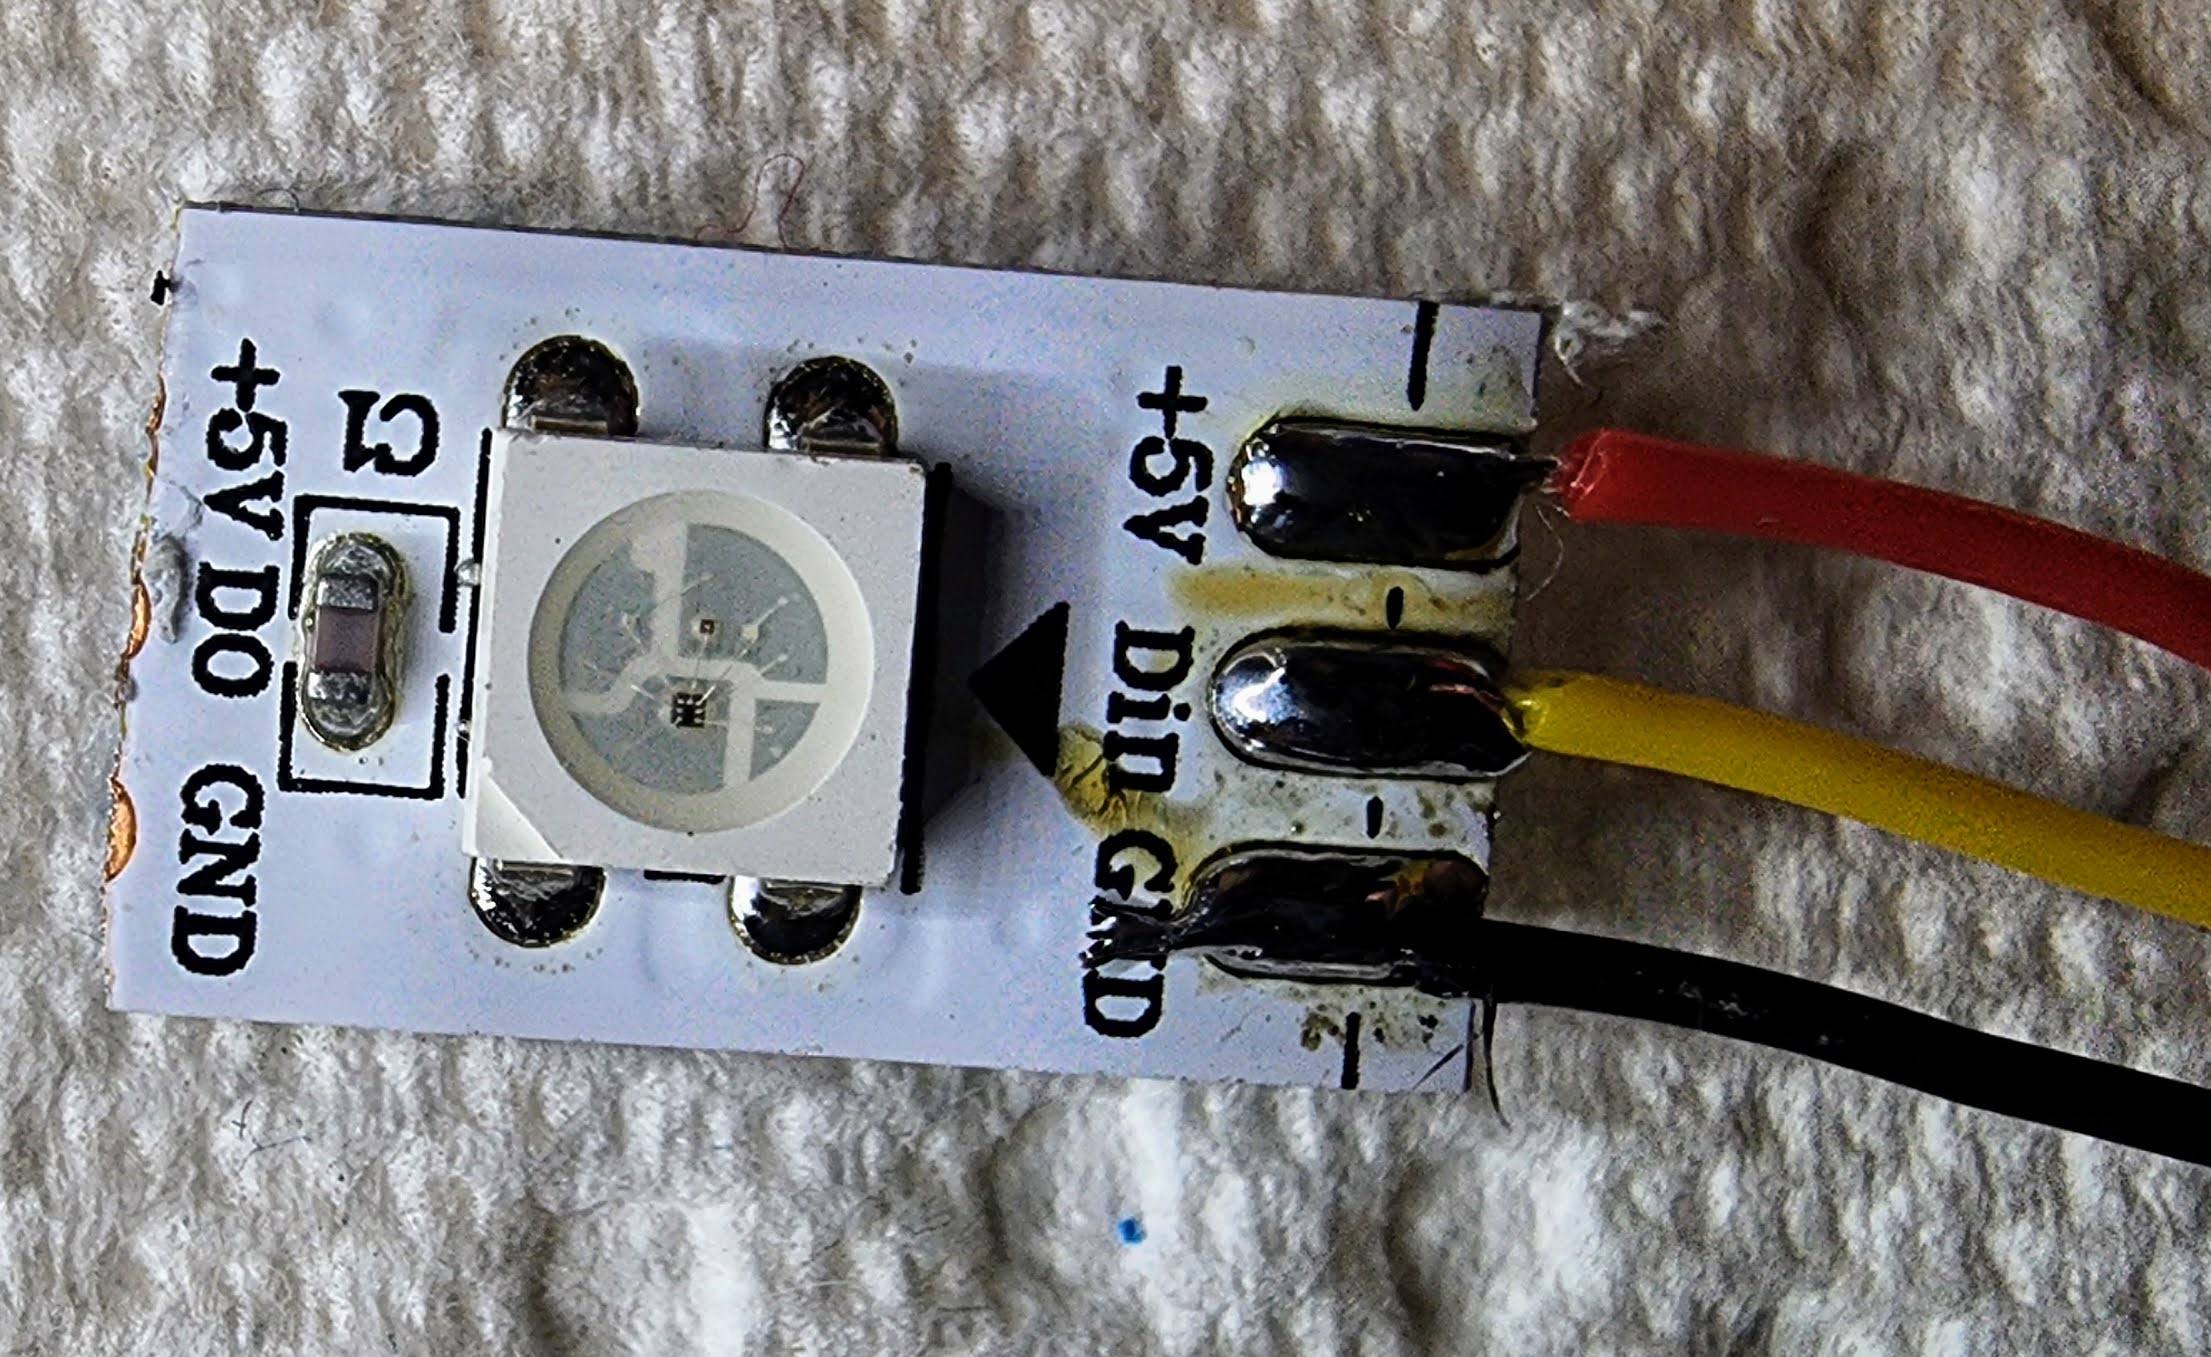
2. Solder 30AWG wire to a single ws2812b led:
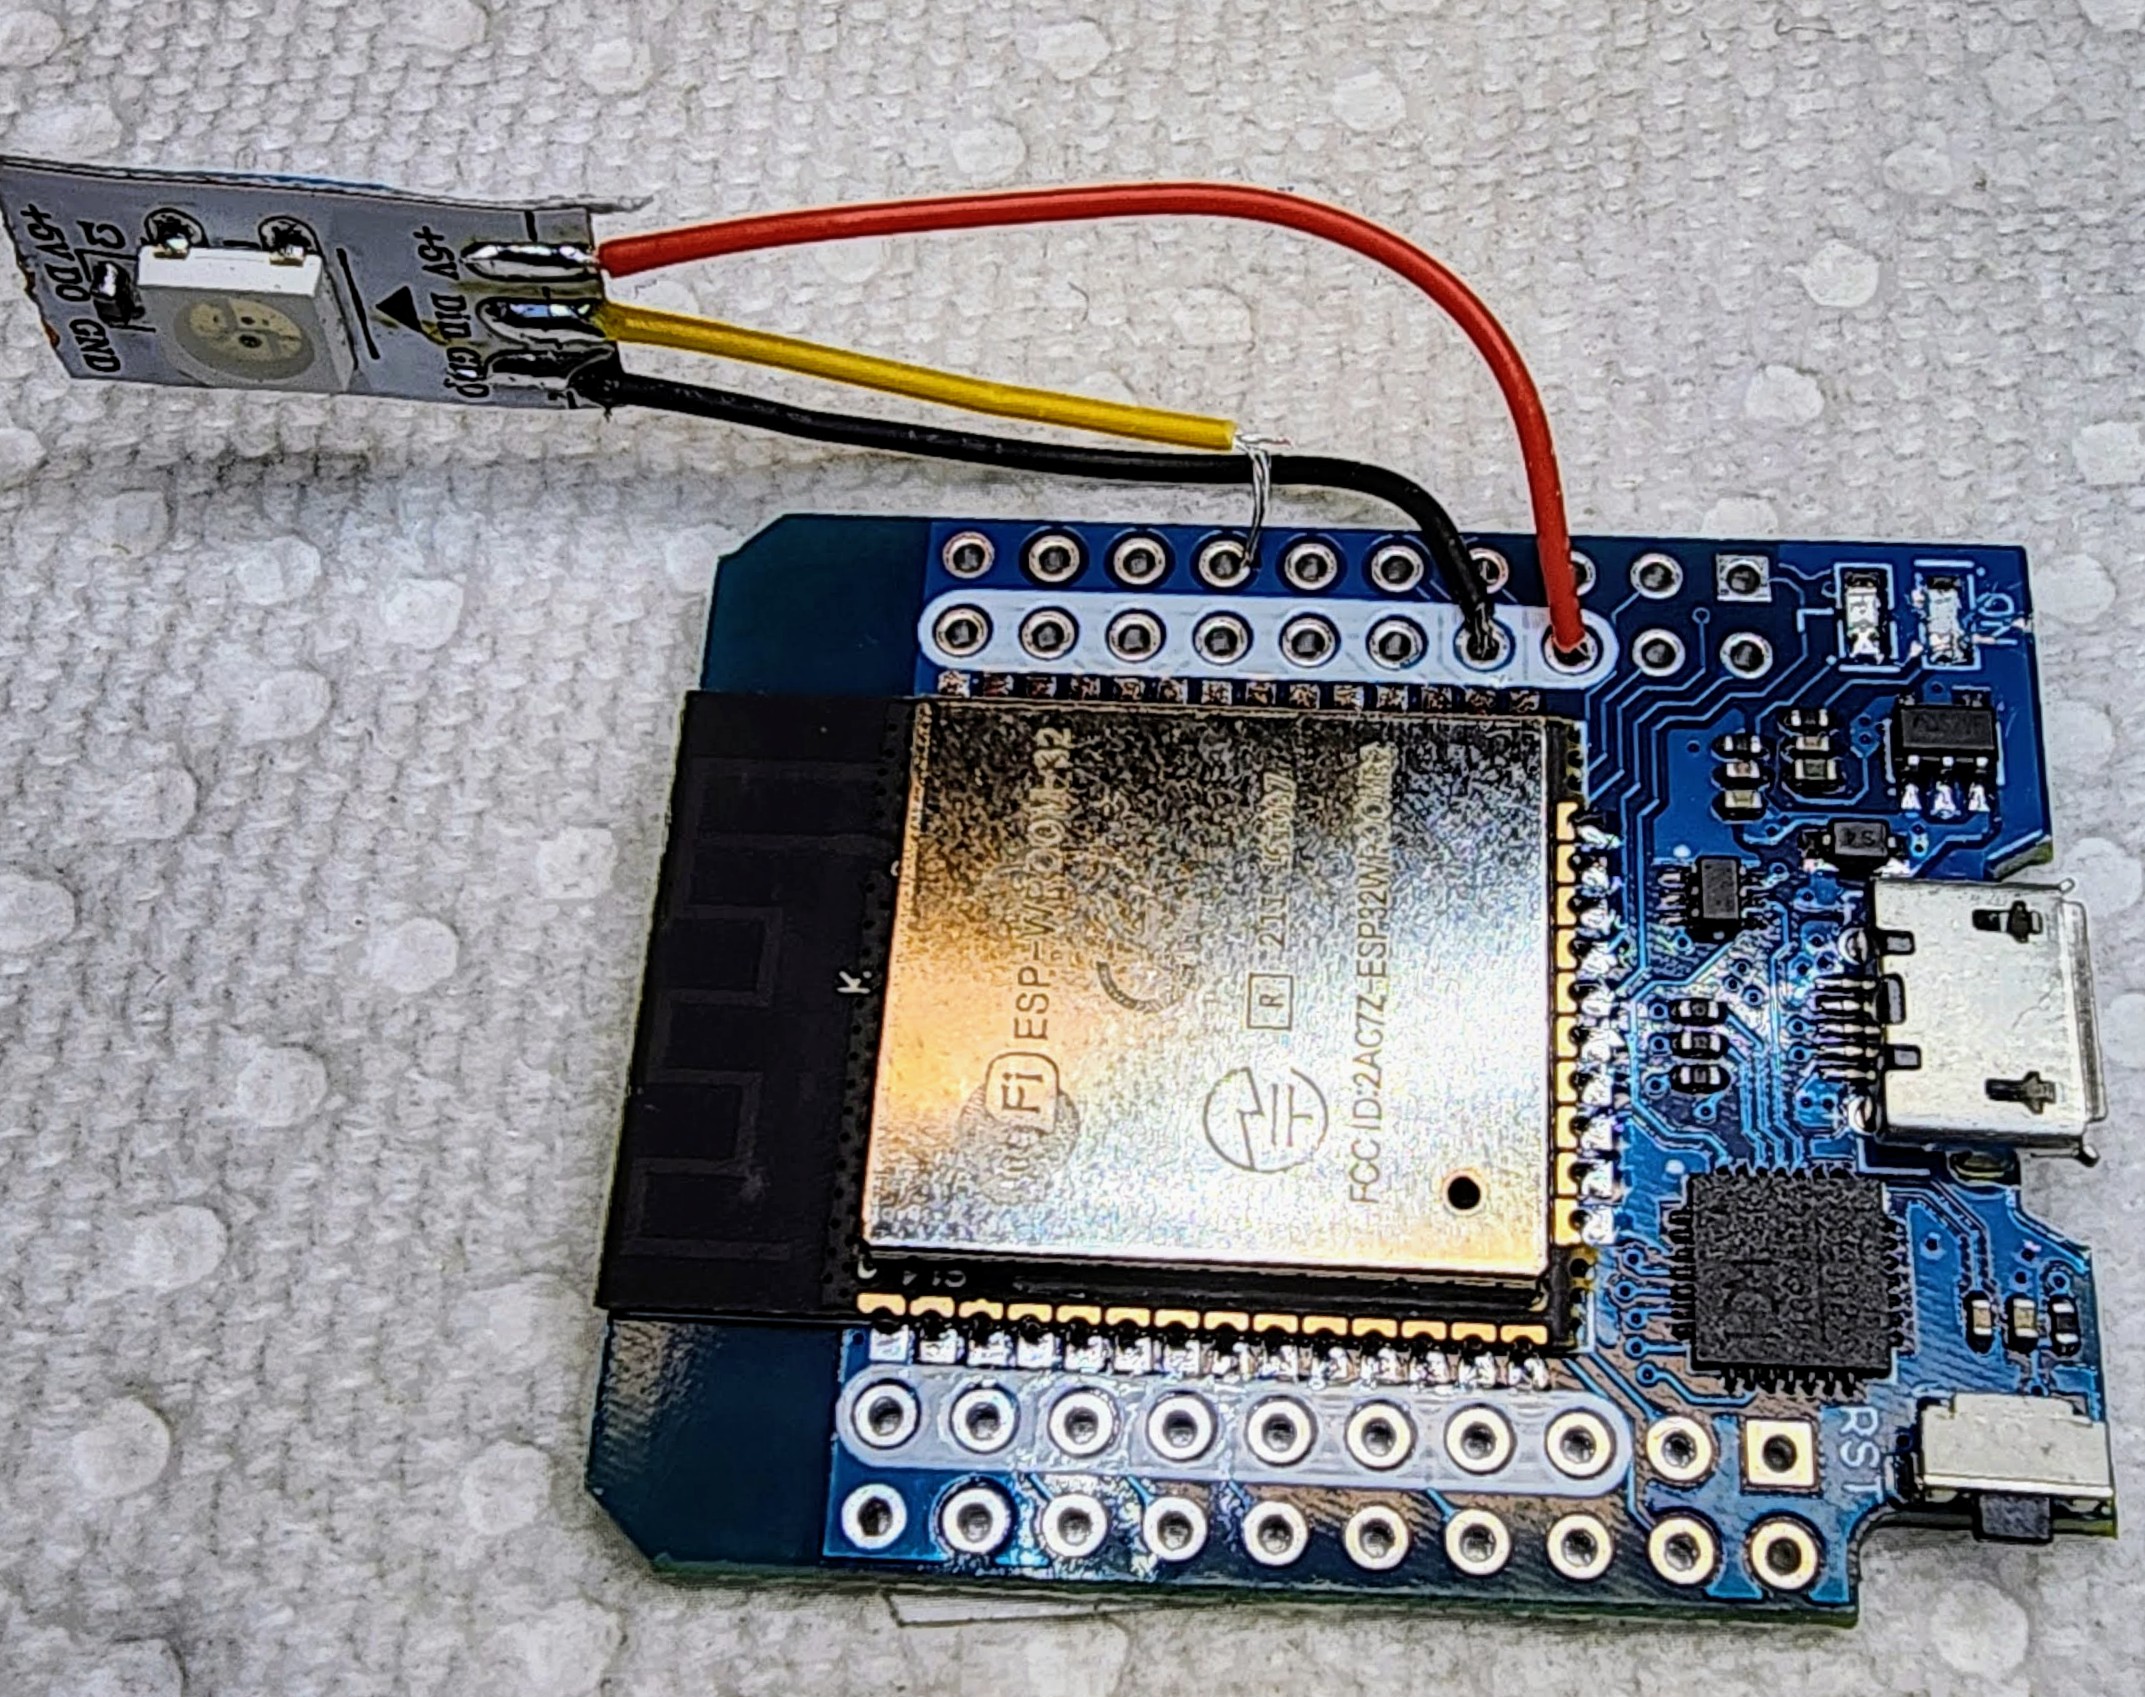
3. strip and feed the +5V and GND wires into the vcc and GND connections of the d1 mini esp32:
4. add a small piece of double sided tape to act as a spacer for the ld2410c radar detector

5: (optional) cut the always on d1 min1 esp32 red led identified as ON below. Use a sharp wire cutter to break the led connection. This will prevent red light bleeding into the case.

6: insert the ld2410 radar detector into the d1min esp32 with vcc to vcc as shown:

7. Solder the DIN wire of the led to gpio27 of the d1mini esp32, and solder ld2410c connections:


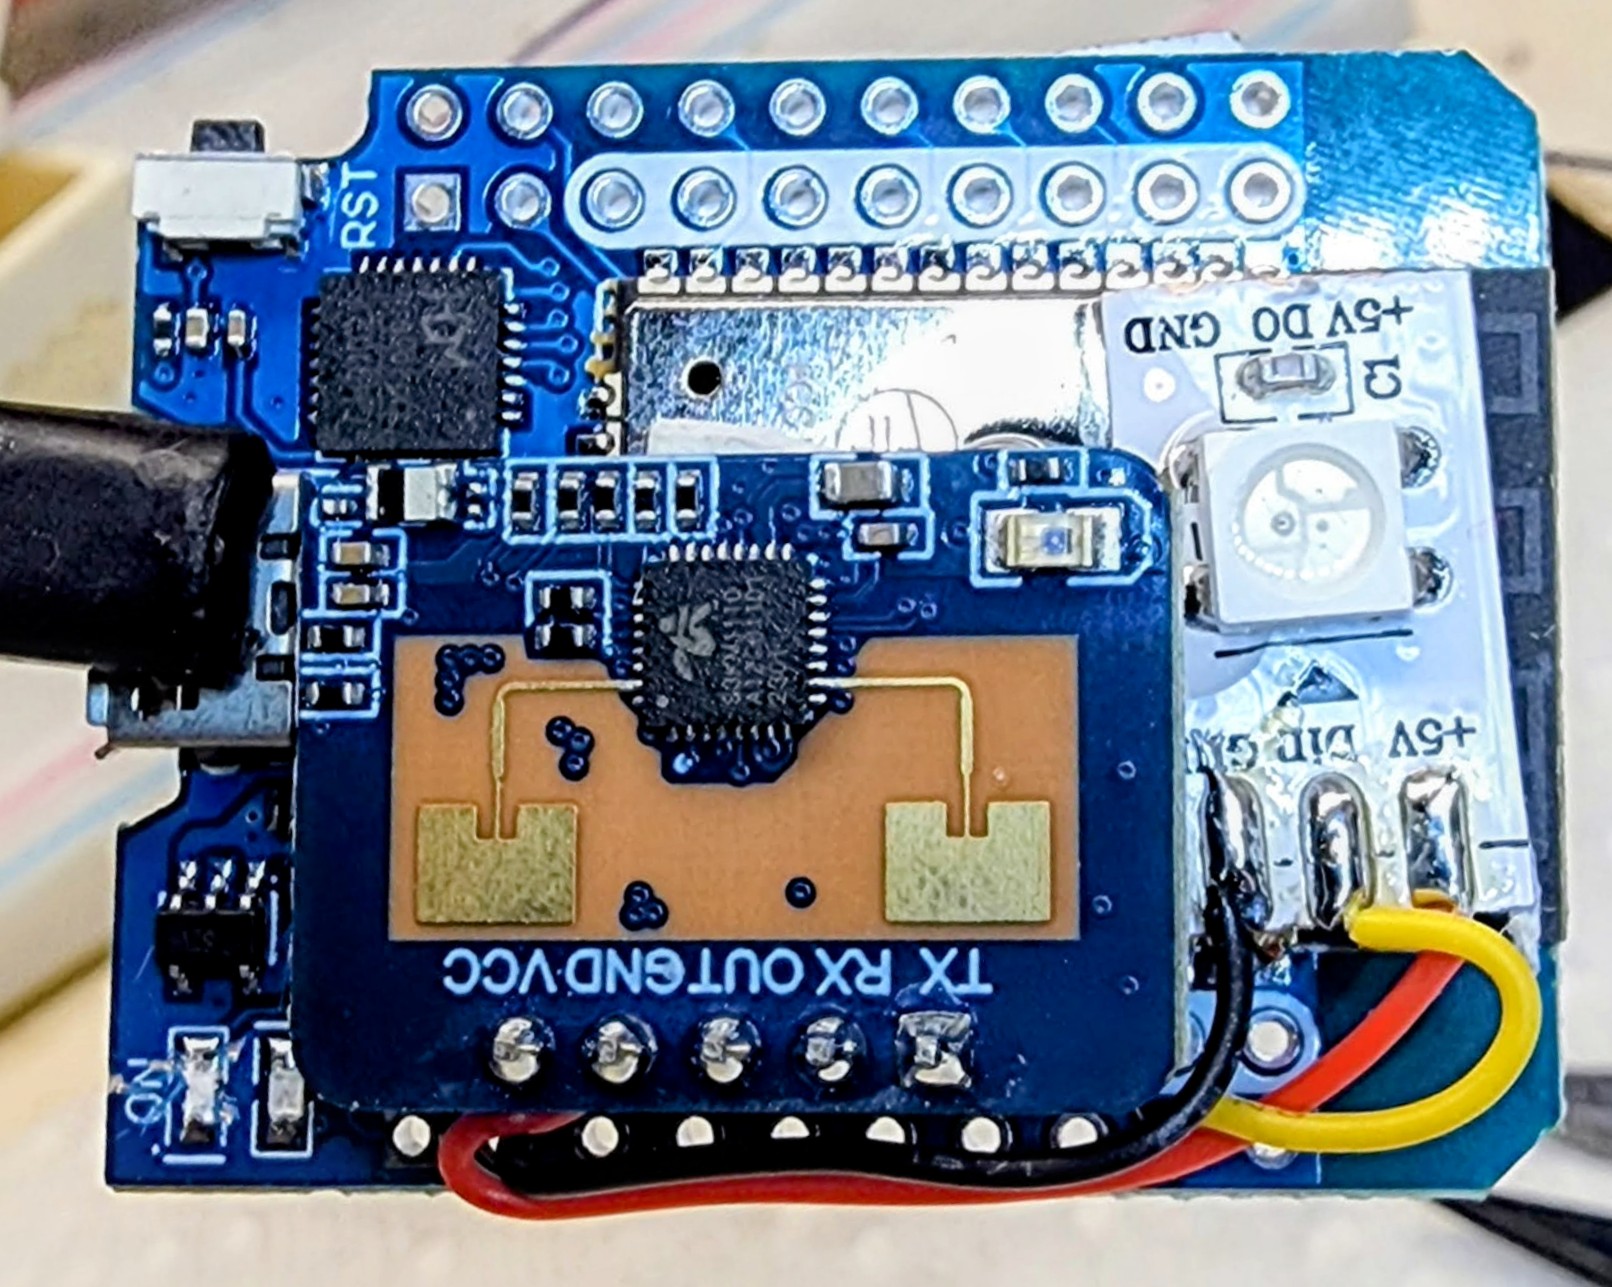
8. remove the sticky tape of the back to the led and stick to the d1mini esp32. A small drop of super glue can help ensure the led will not move:
9. Program the d1 mini in ESPHOME using the attached yaml code and test that the radar works as expected. Changes needed in the yaml:
- Change the ‘name’ and 'friendly name'
- Change the fixed ip in the wifi section for your device.
- Change the api encryption key
- Change the time options to turn the led indicator on/off in the time: section of the code.

10 add the device into the case:
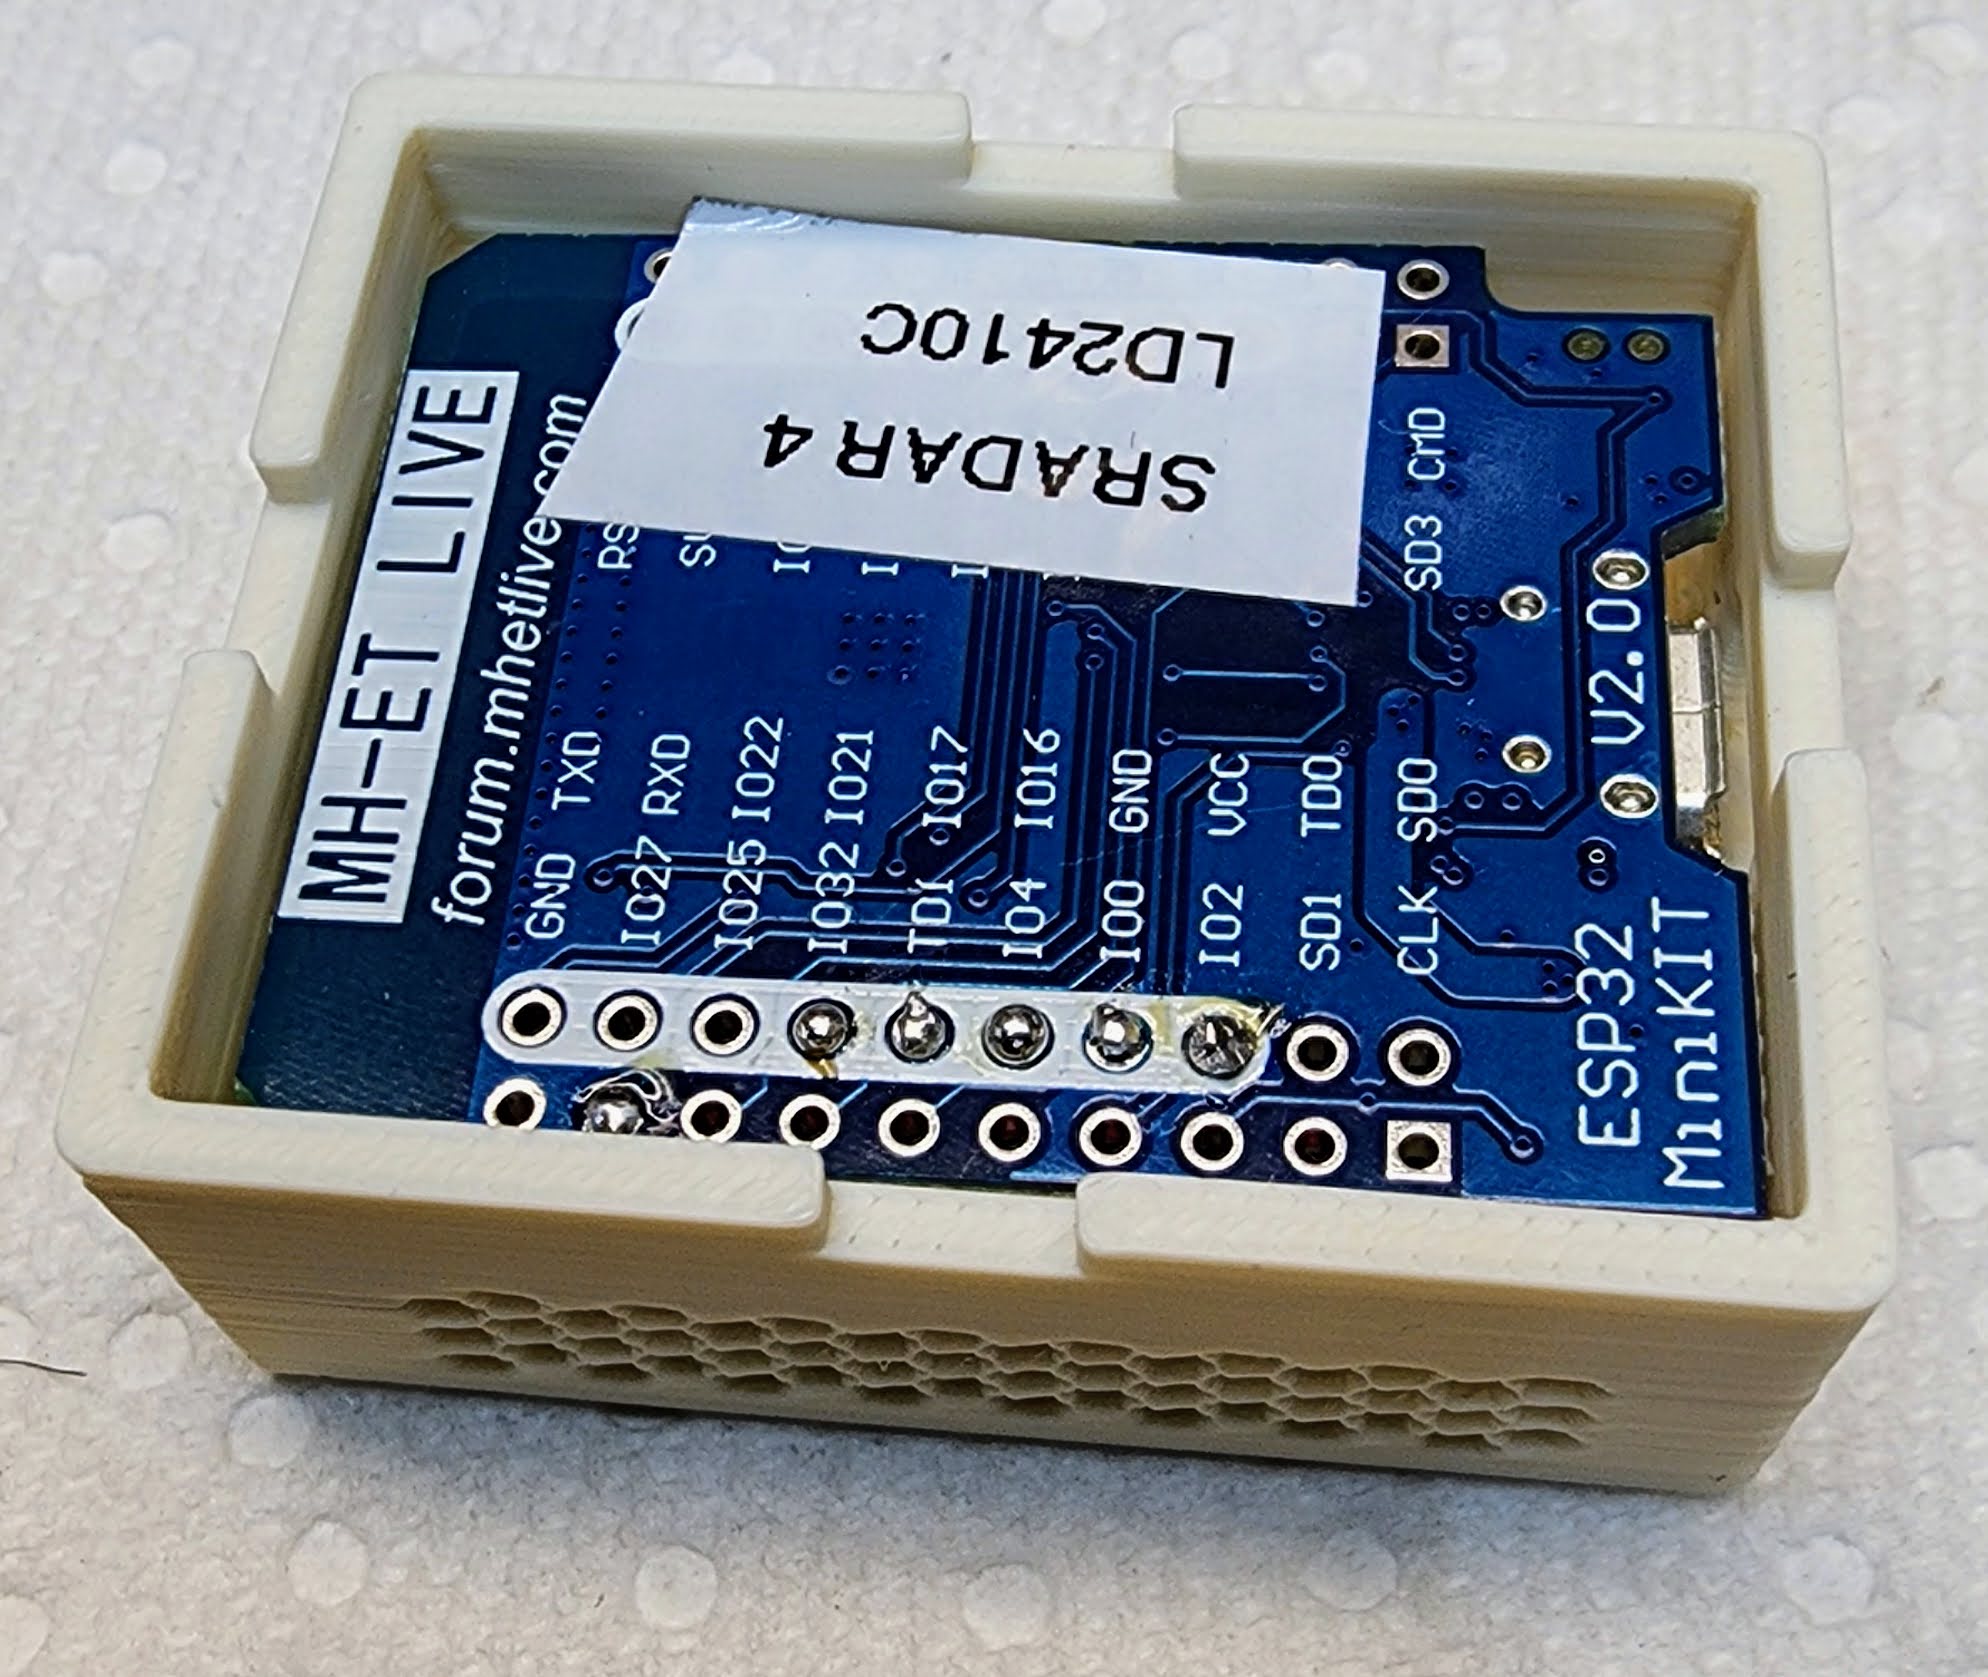
11. Using super glue, attach the back cover and ball & socket mounts:

12. test operation:

OPERATION:
the device has it's own web page located at it's ip address.

It can also be fully controlled from within home assistant:

engineering mode can be used to set up the sensitivity of the radar detector for the various distance gate. The values for the gates will be recorded by home assistant allowing you to determine which gate has tripped occupancy. Once the ld2410c has been setup turn off engineering mode to reduce overhead in home assistant.
The led brightness can be set from the variable RGB_BRIGHTNESS available in the web page or home assistant settings. If you do not want a led indicator showing simply set this variable to zero.
Three programmable distances can be set for red/green/blue distance indicators
A timeout can be set for motion detection. The ld2410C is excellent at determining still motion detection, making it a good device for fast motion detection along with ongoing presence detection for home assistant automations