
1 / 21
Easter train
Order a print of this model
We calculate the final price from your selected file. You review and accept it before payment.
Saved on this device.

Easter train
- Rating
- 5 / 5
- Likes
- 70
- Downloads
- 148
- Makes
- 3
- Views
- 1,169
- Reviews
- 3
Updated at source:
Model information
- Source
- Printables
- Category
- Spring & Easter
- License
- Creative Commons — Attribution — Noncommercial — Share Alike
I present to you my Easter train. I like this train very much. So let's start printing.
First the print details:
- Egg 1 - first change color row 12,2 mm or layer 61
- second change color row 24,4 mm or layer 122
- third change color row 30,6 mm or layer 153 - Egg 3 - first change color row 10,2 mm or layer 51
- Pilot - first change color row 2,2 mm or layer 11
- Chimney 1 - first change color row 14,0 mm or layer 70
- second change color row 18,0 mm or layer 90 - Filament PLA
- 0,2 mm layer height
- Files for printing where support is needed: Pilot, Glass for front light, Egg 2, Wagon base, Train base, Cabin
So let's start building Easter train:
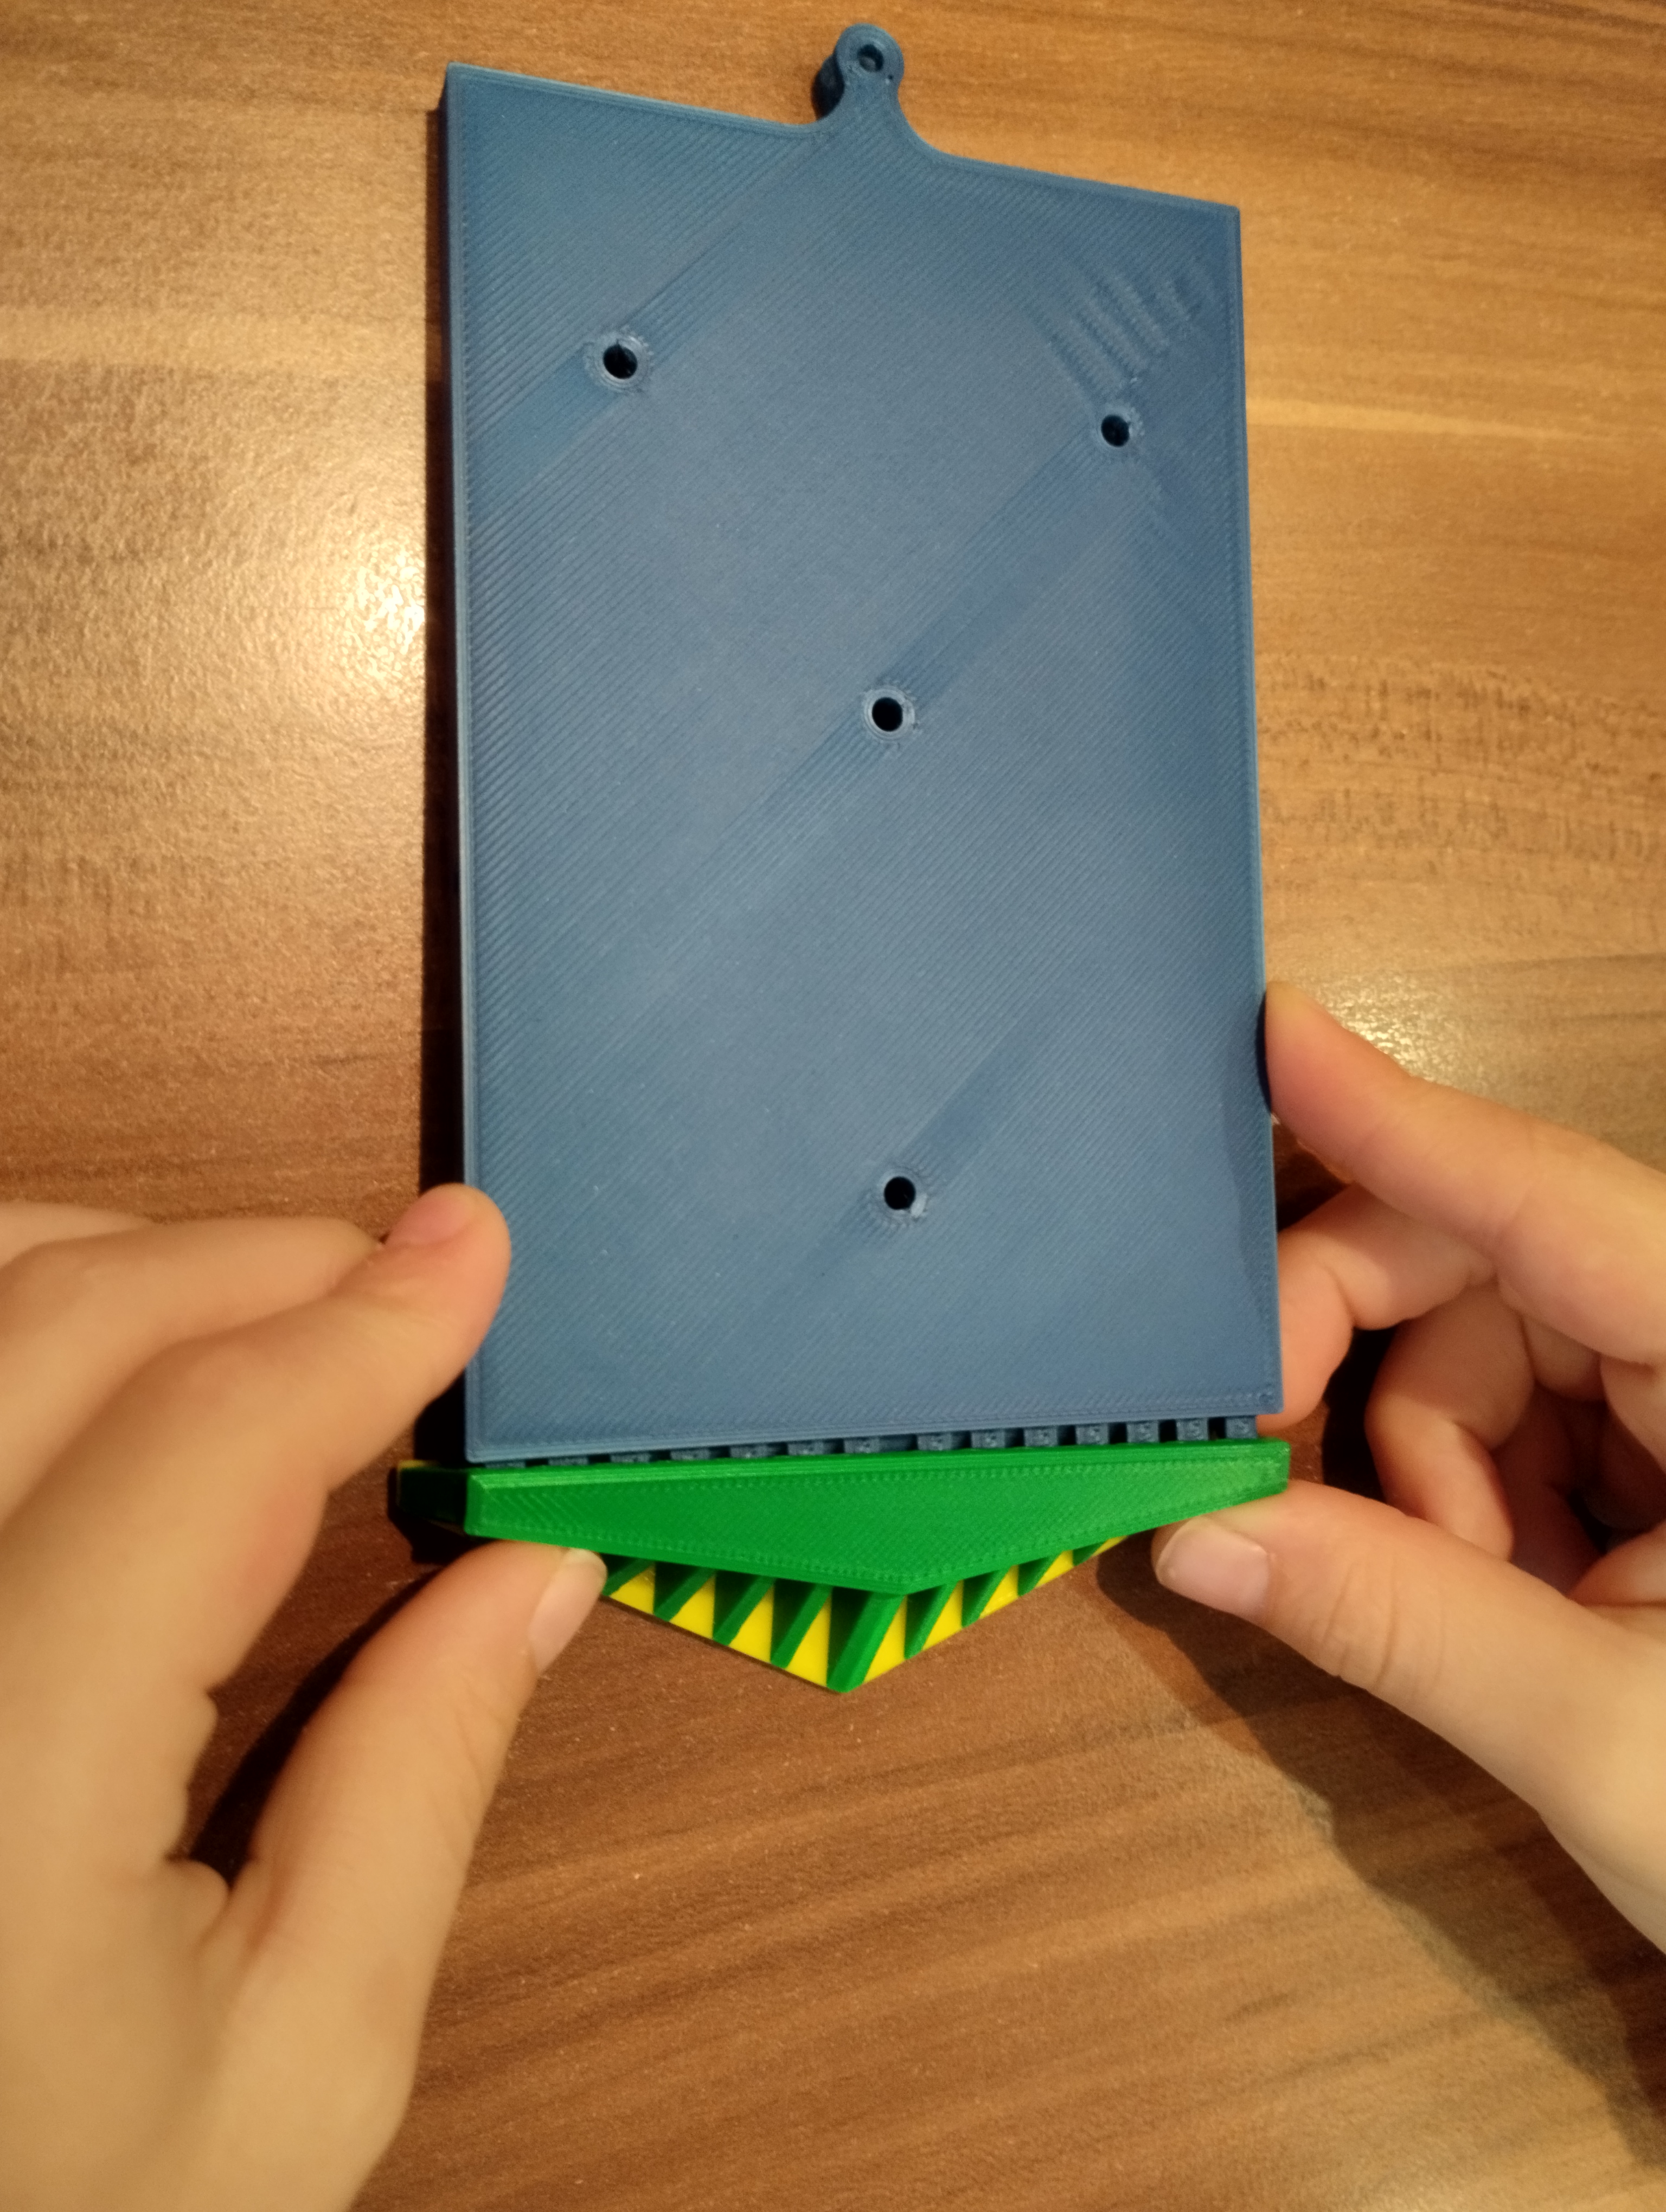
- Take the train base and attach pilot to it
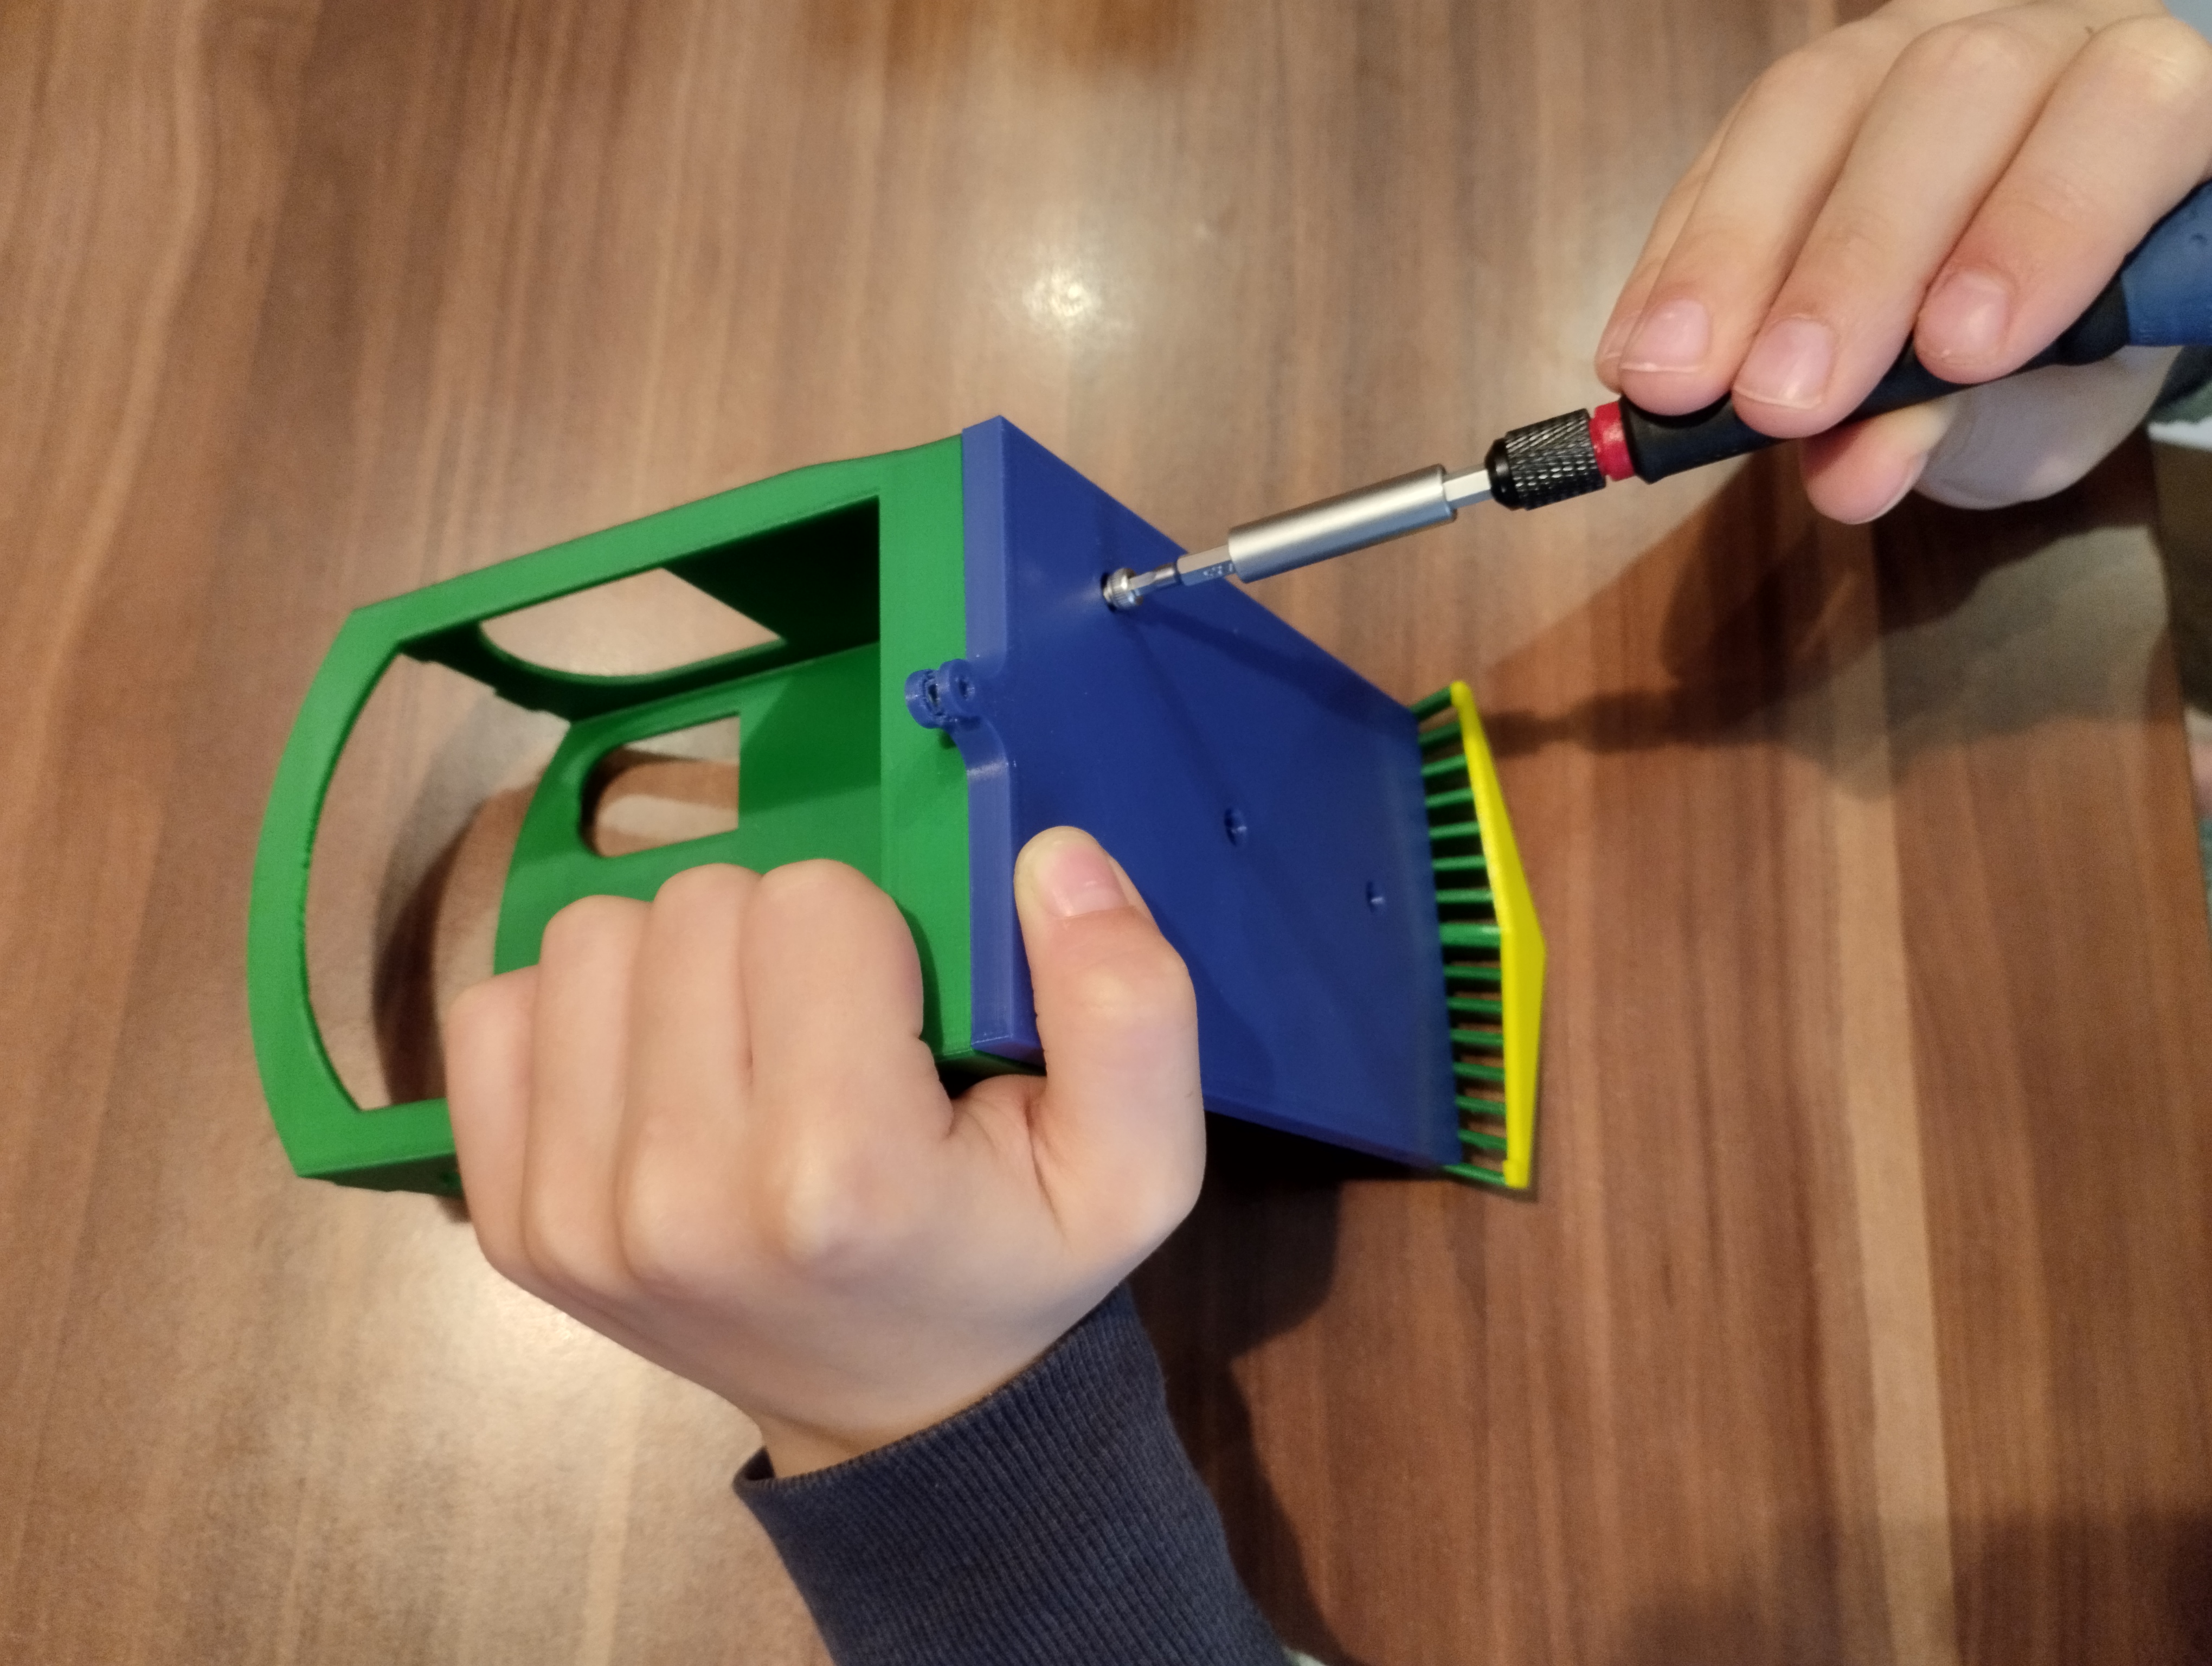
- Now we attach the cabin to the train base with M3x8 mm screws
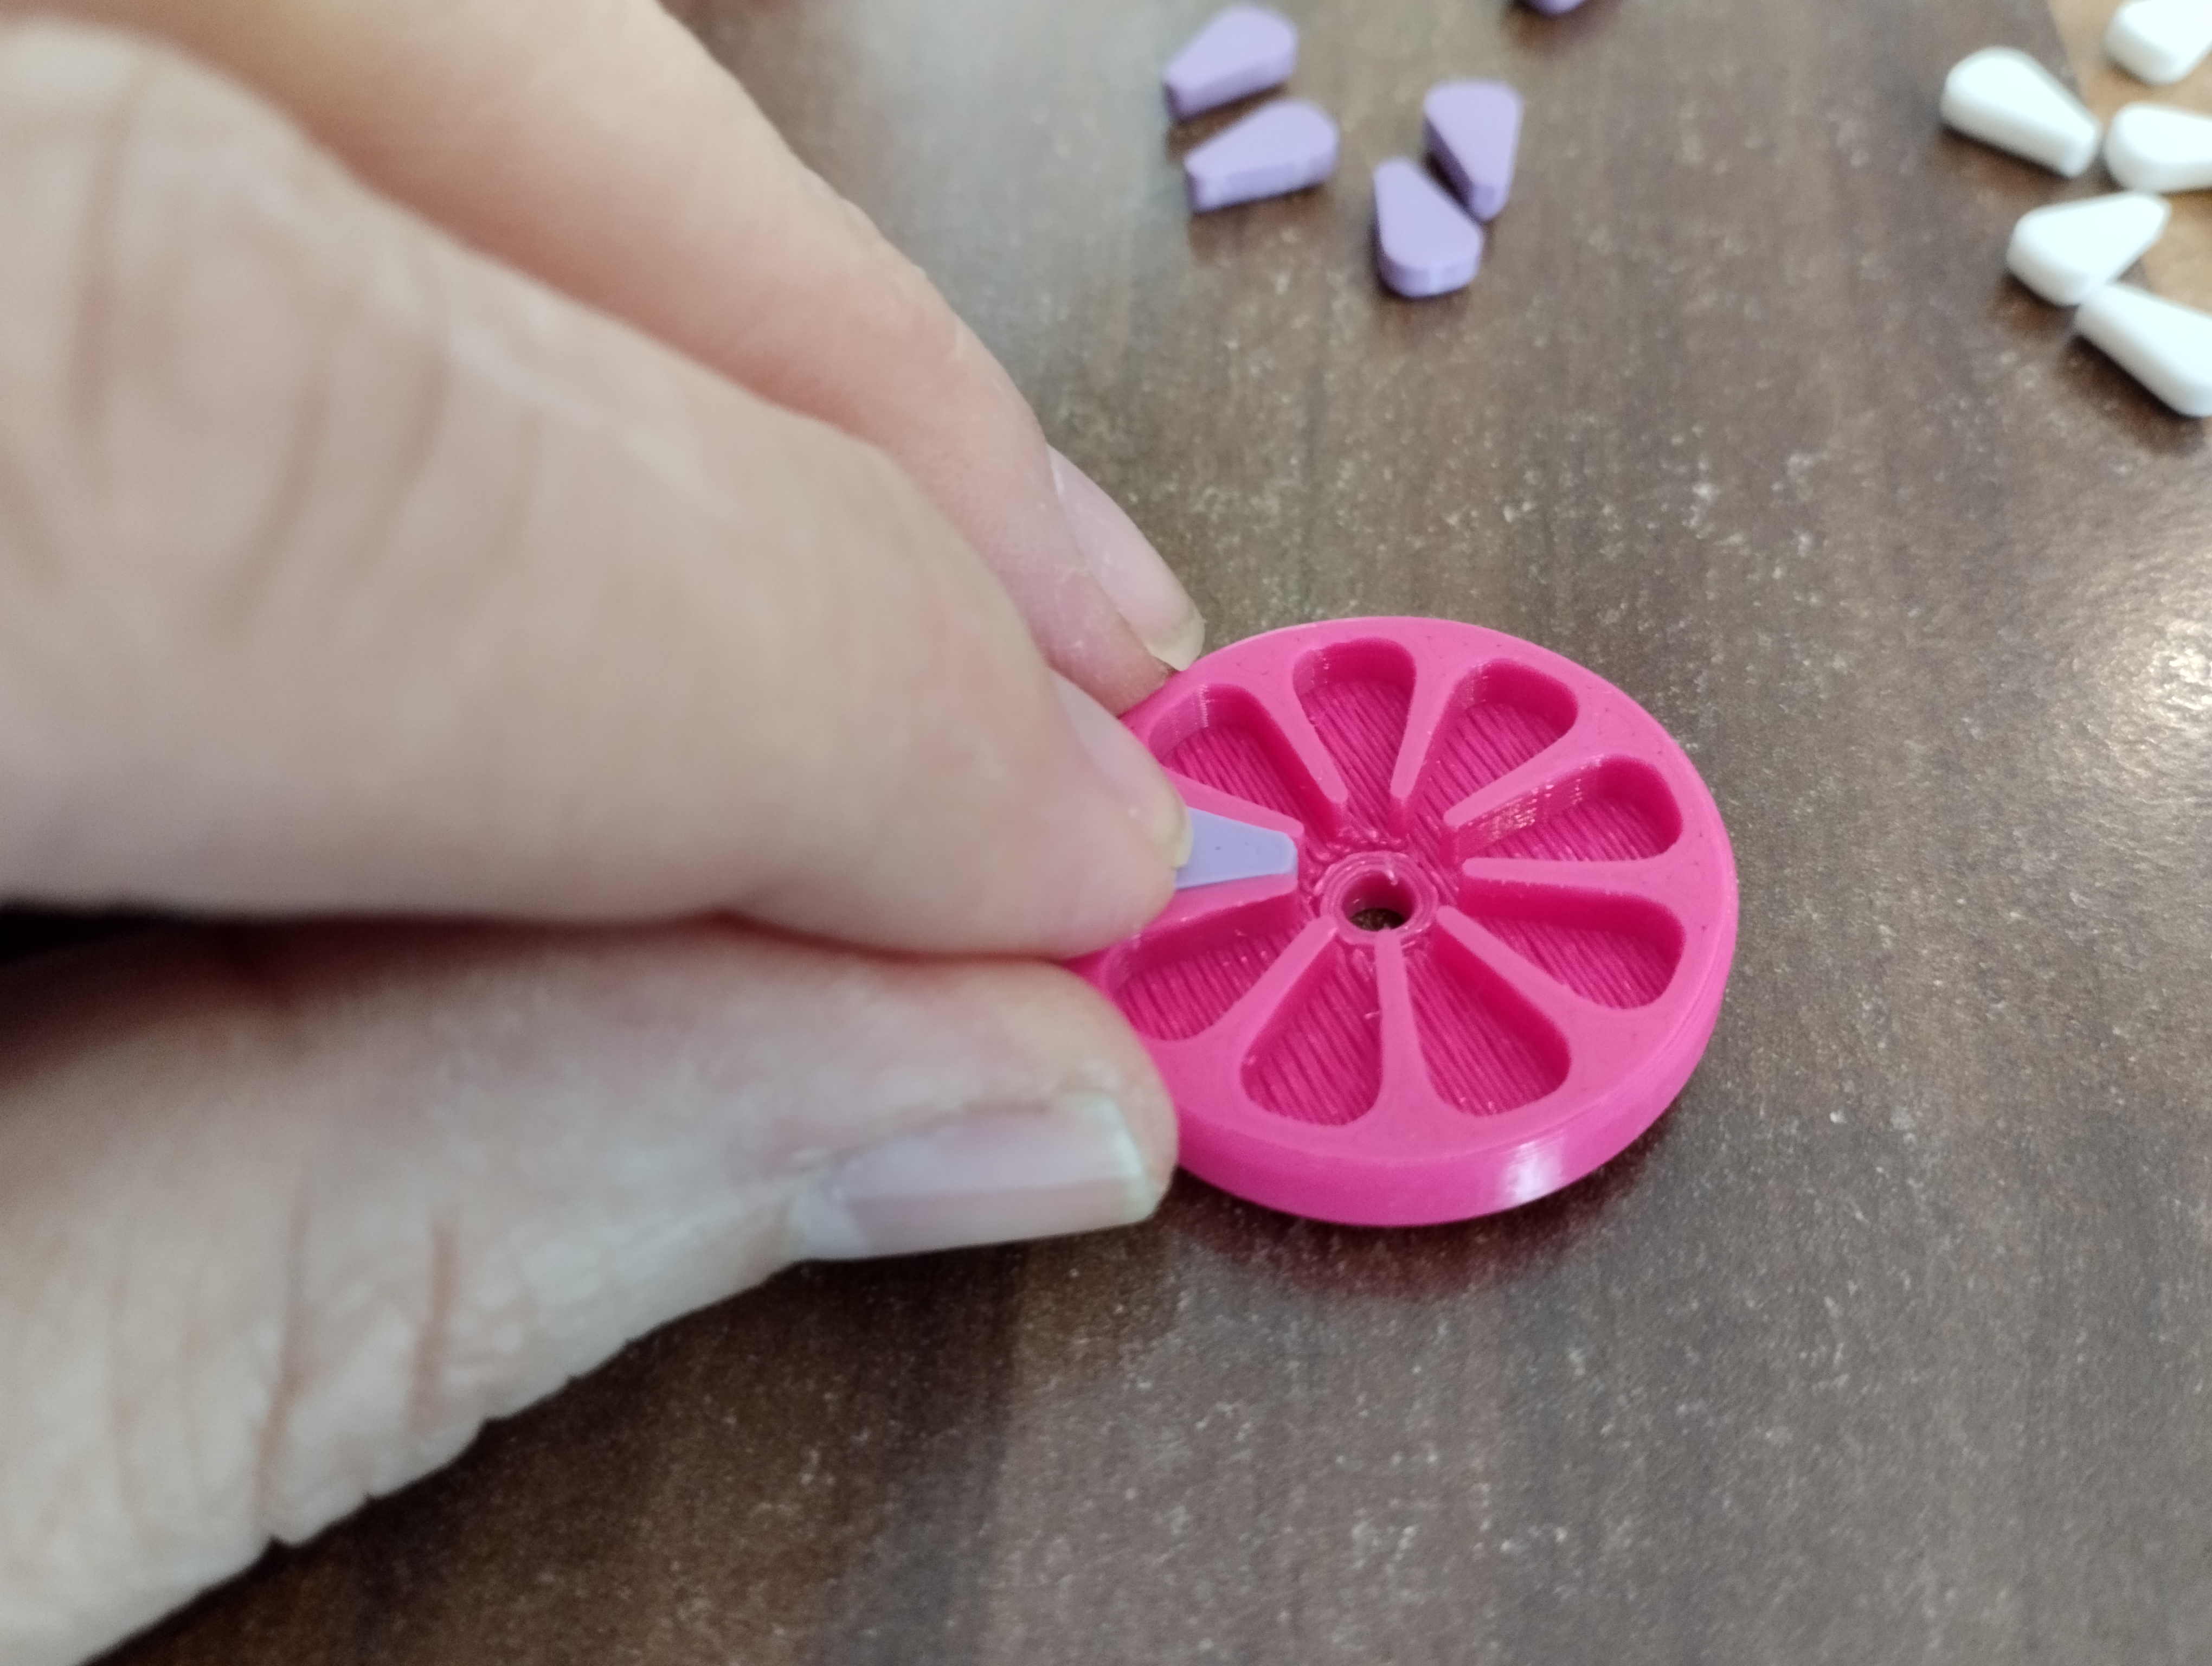
- Take a small wheel and insert small flowers into it
- Take a big wheel and insert big flowers into it
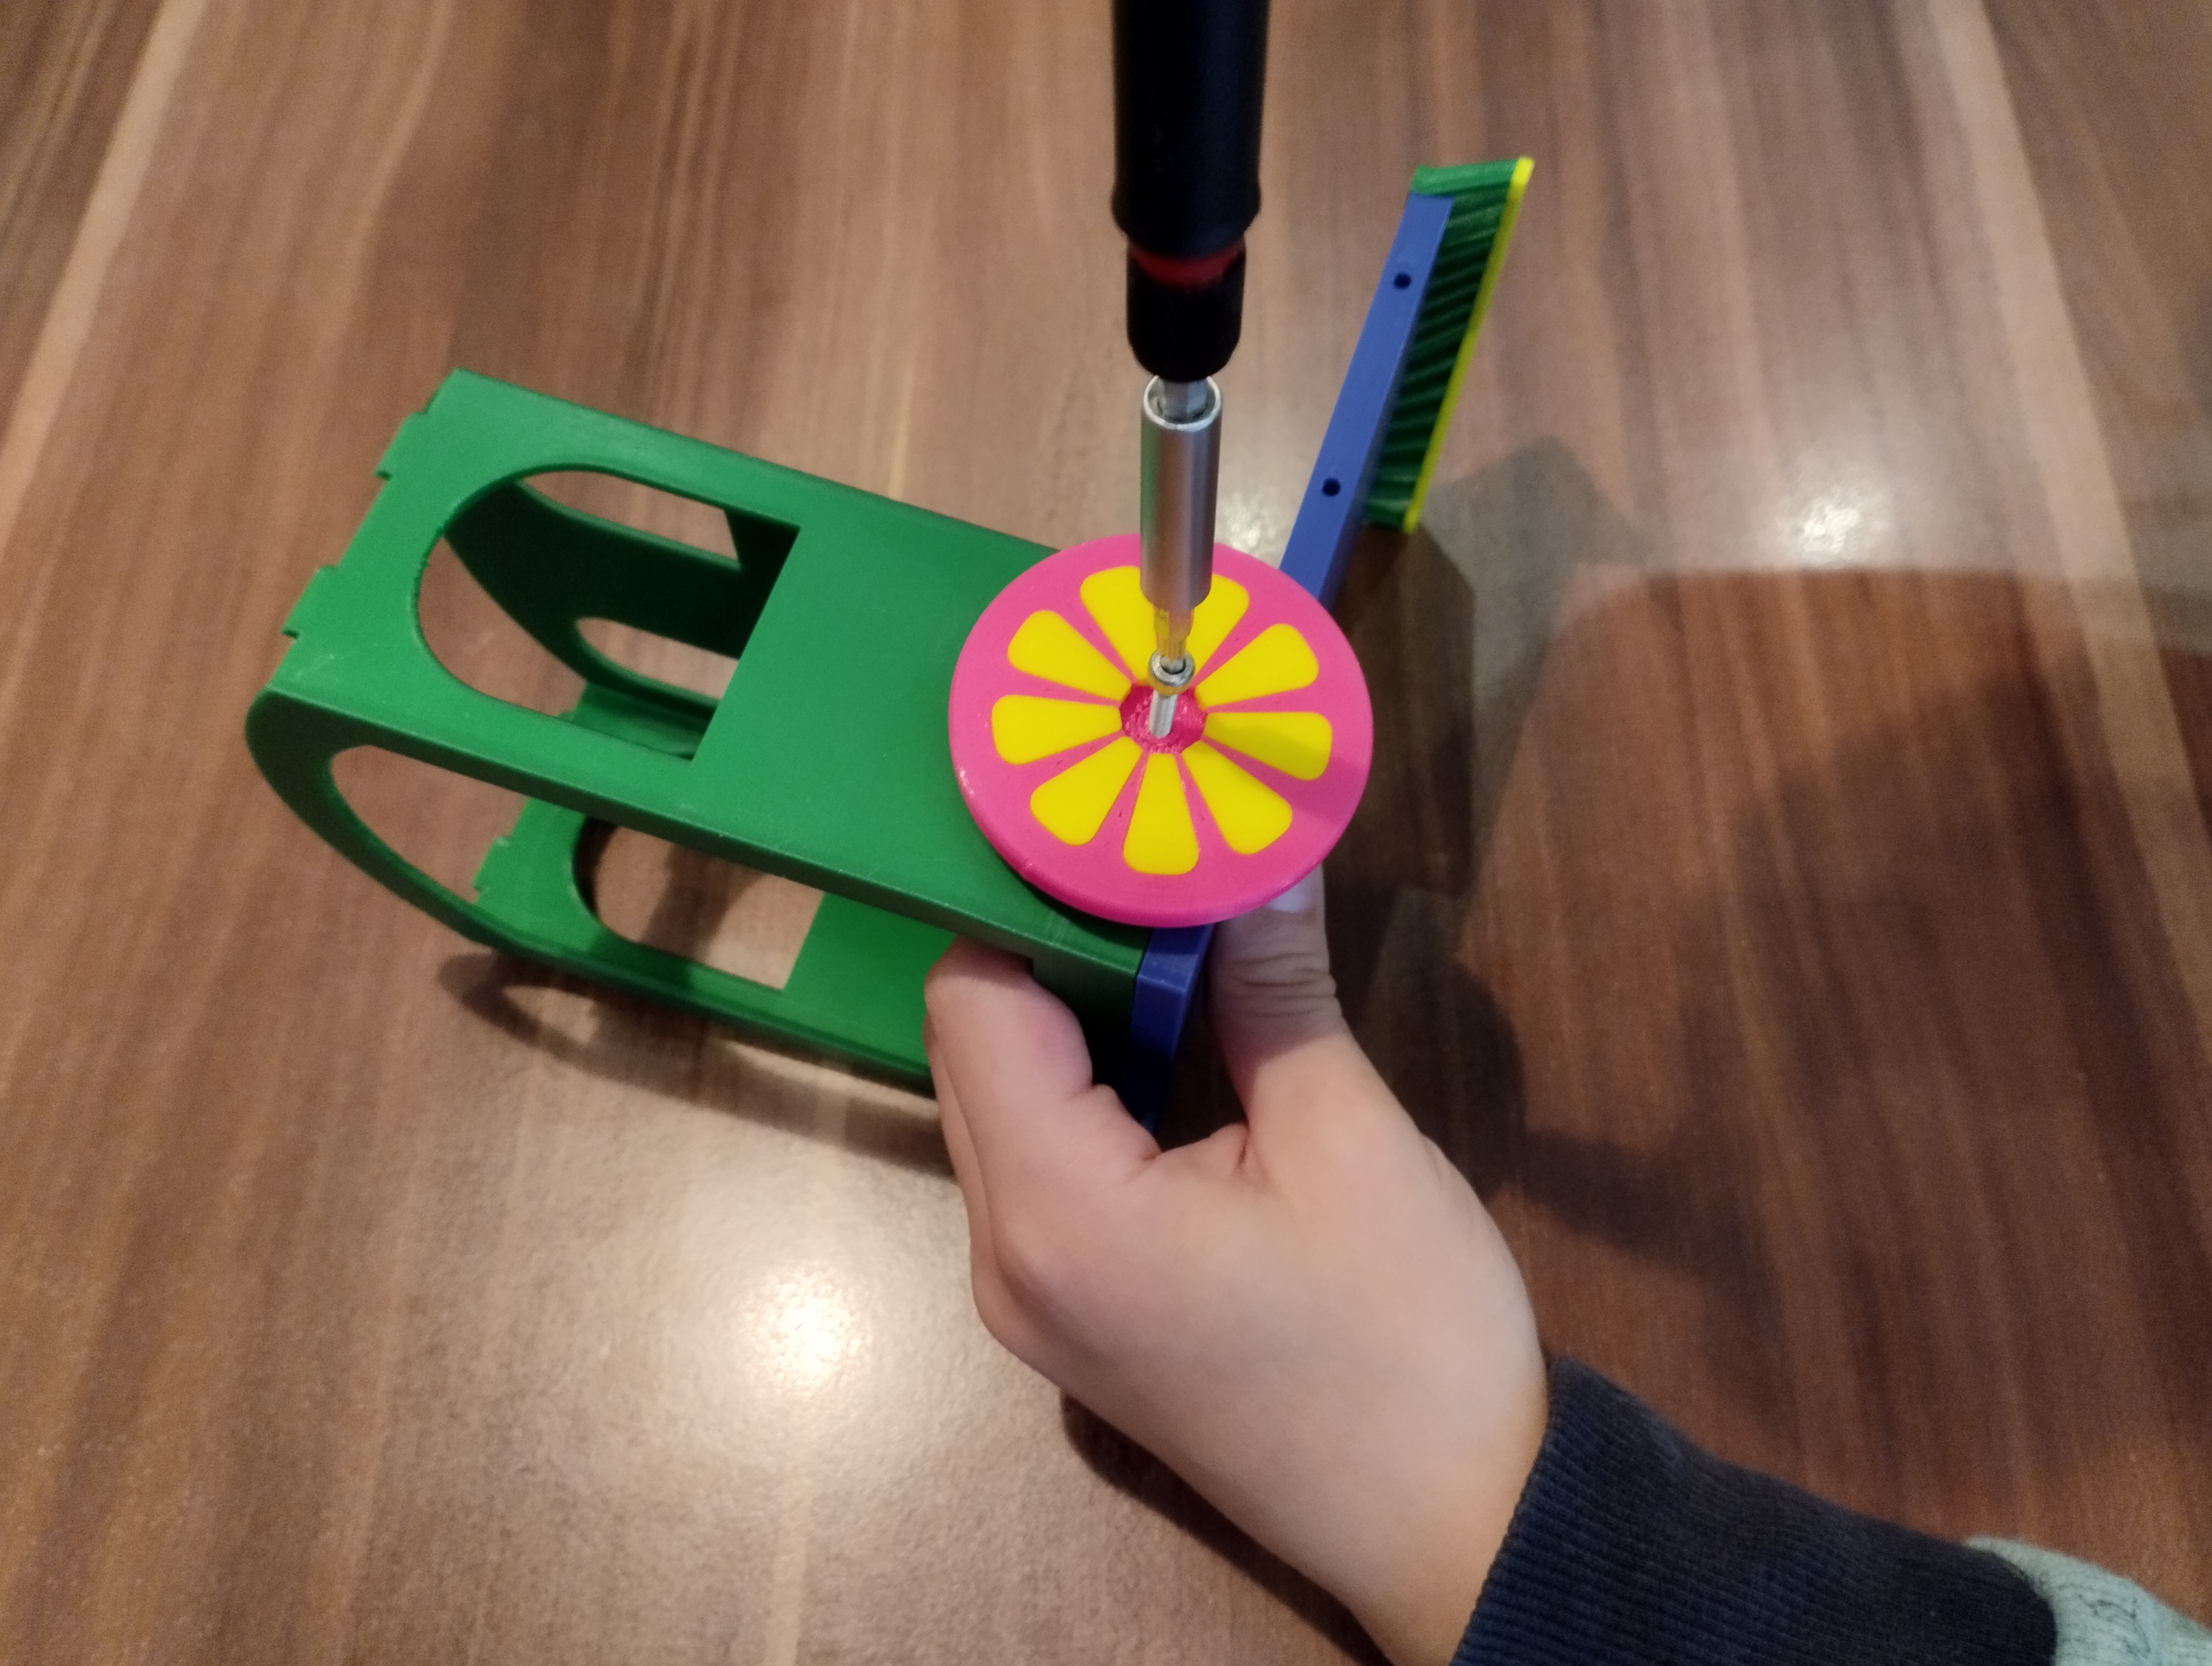
- Assembly the wheels on the train base using M3x18 mm screws. Tighten the screws so that the wheel rotates. Not to the end.
- Take chimney 1 and connect it with the chimney connecting rod. Then we connect chimney 2, chimney 3 and finally chimney 4 to it. We mount this assembly group on egg 2.
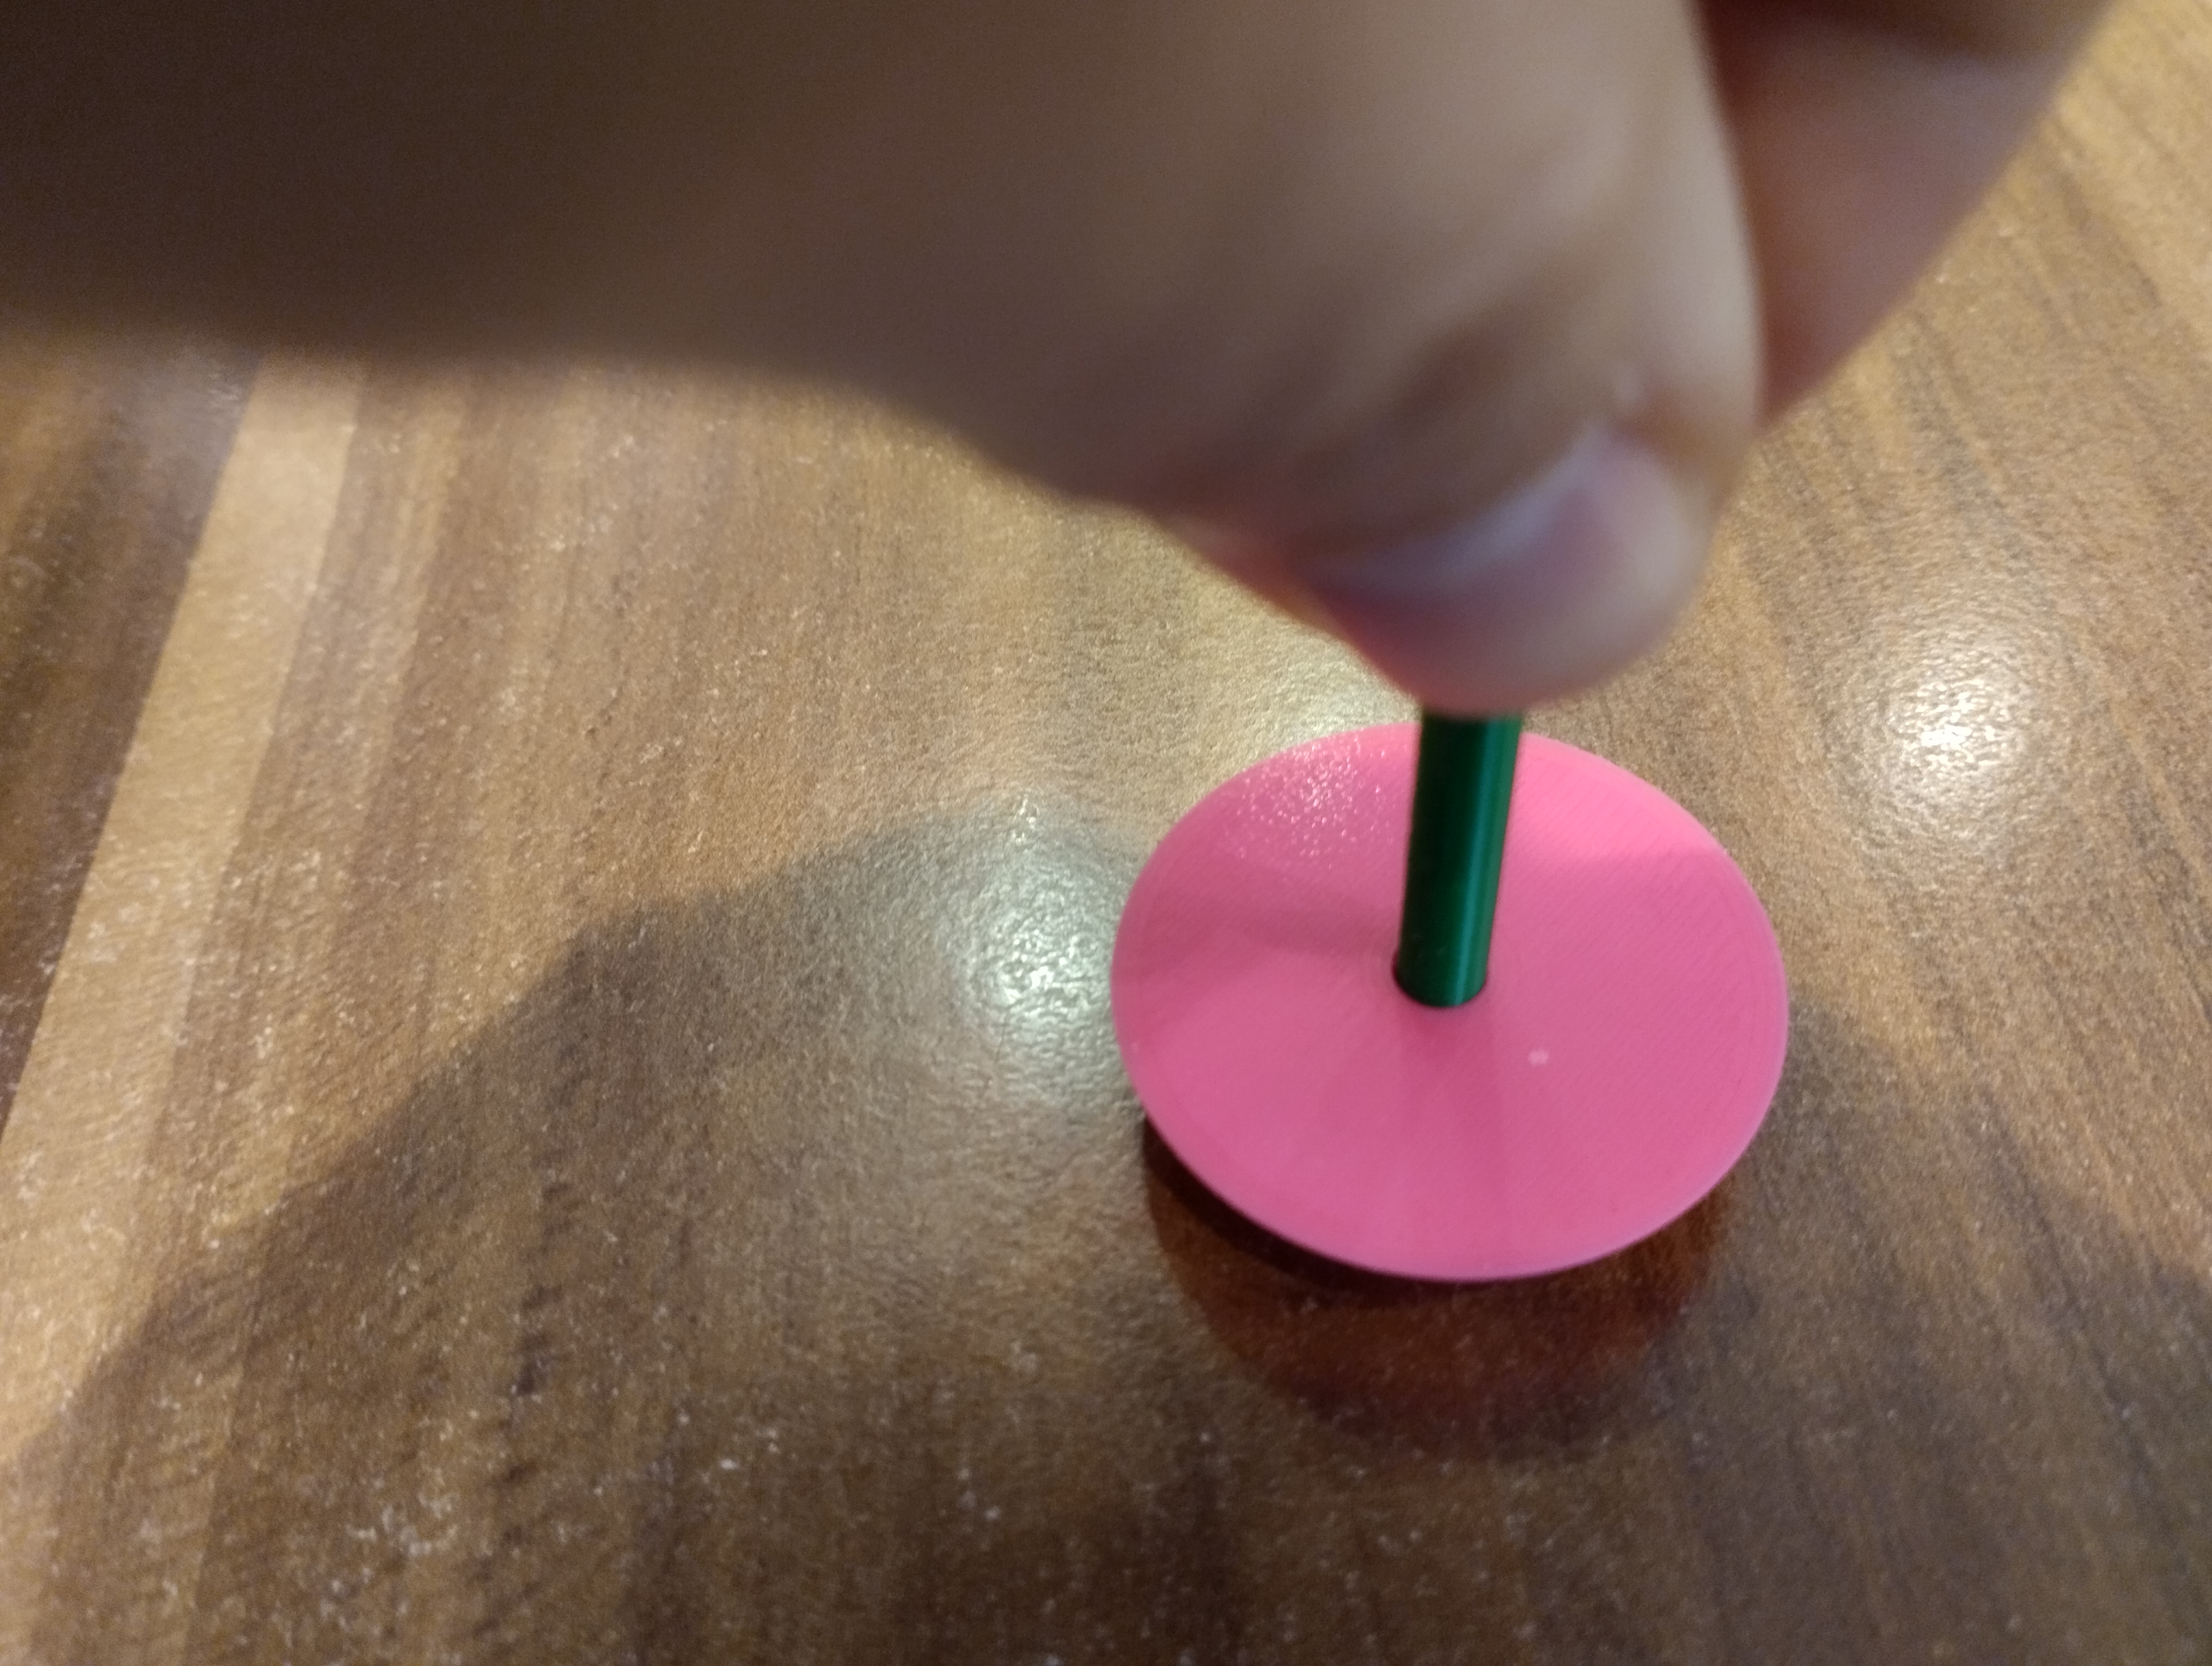
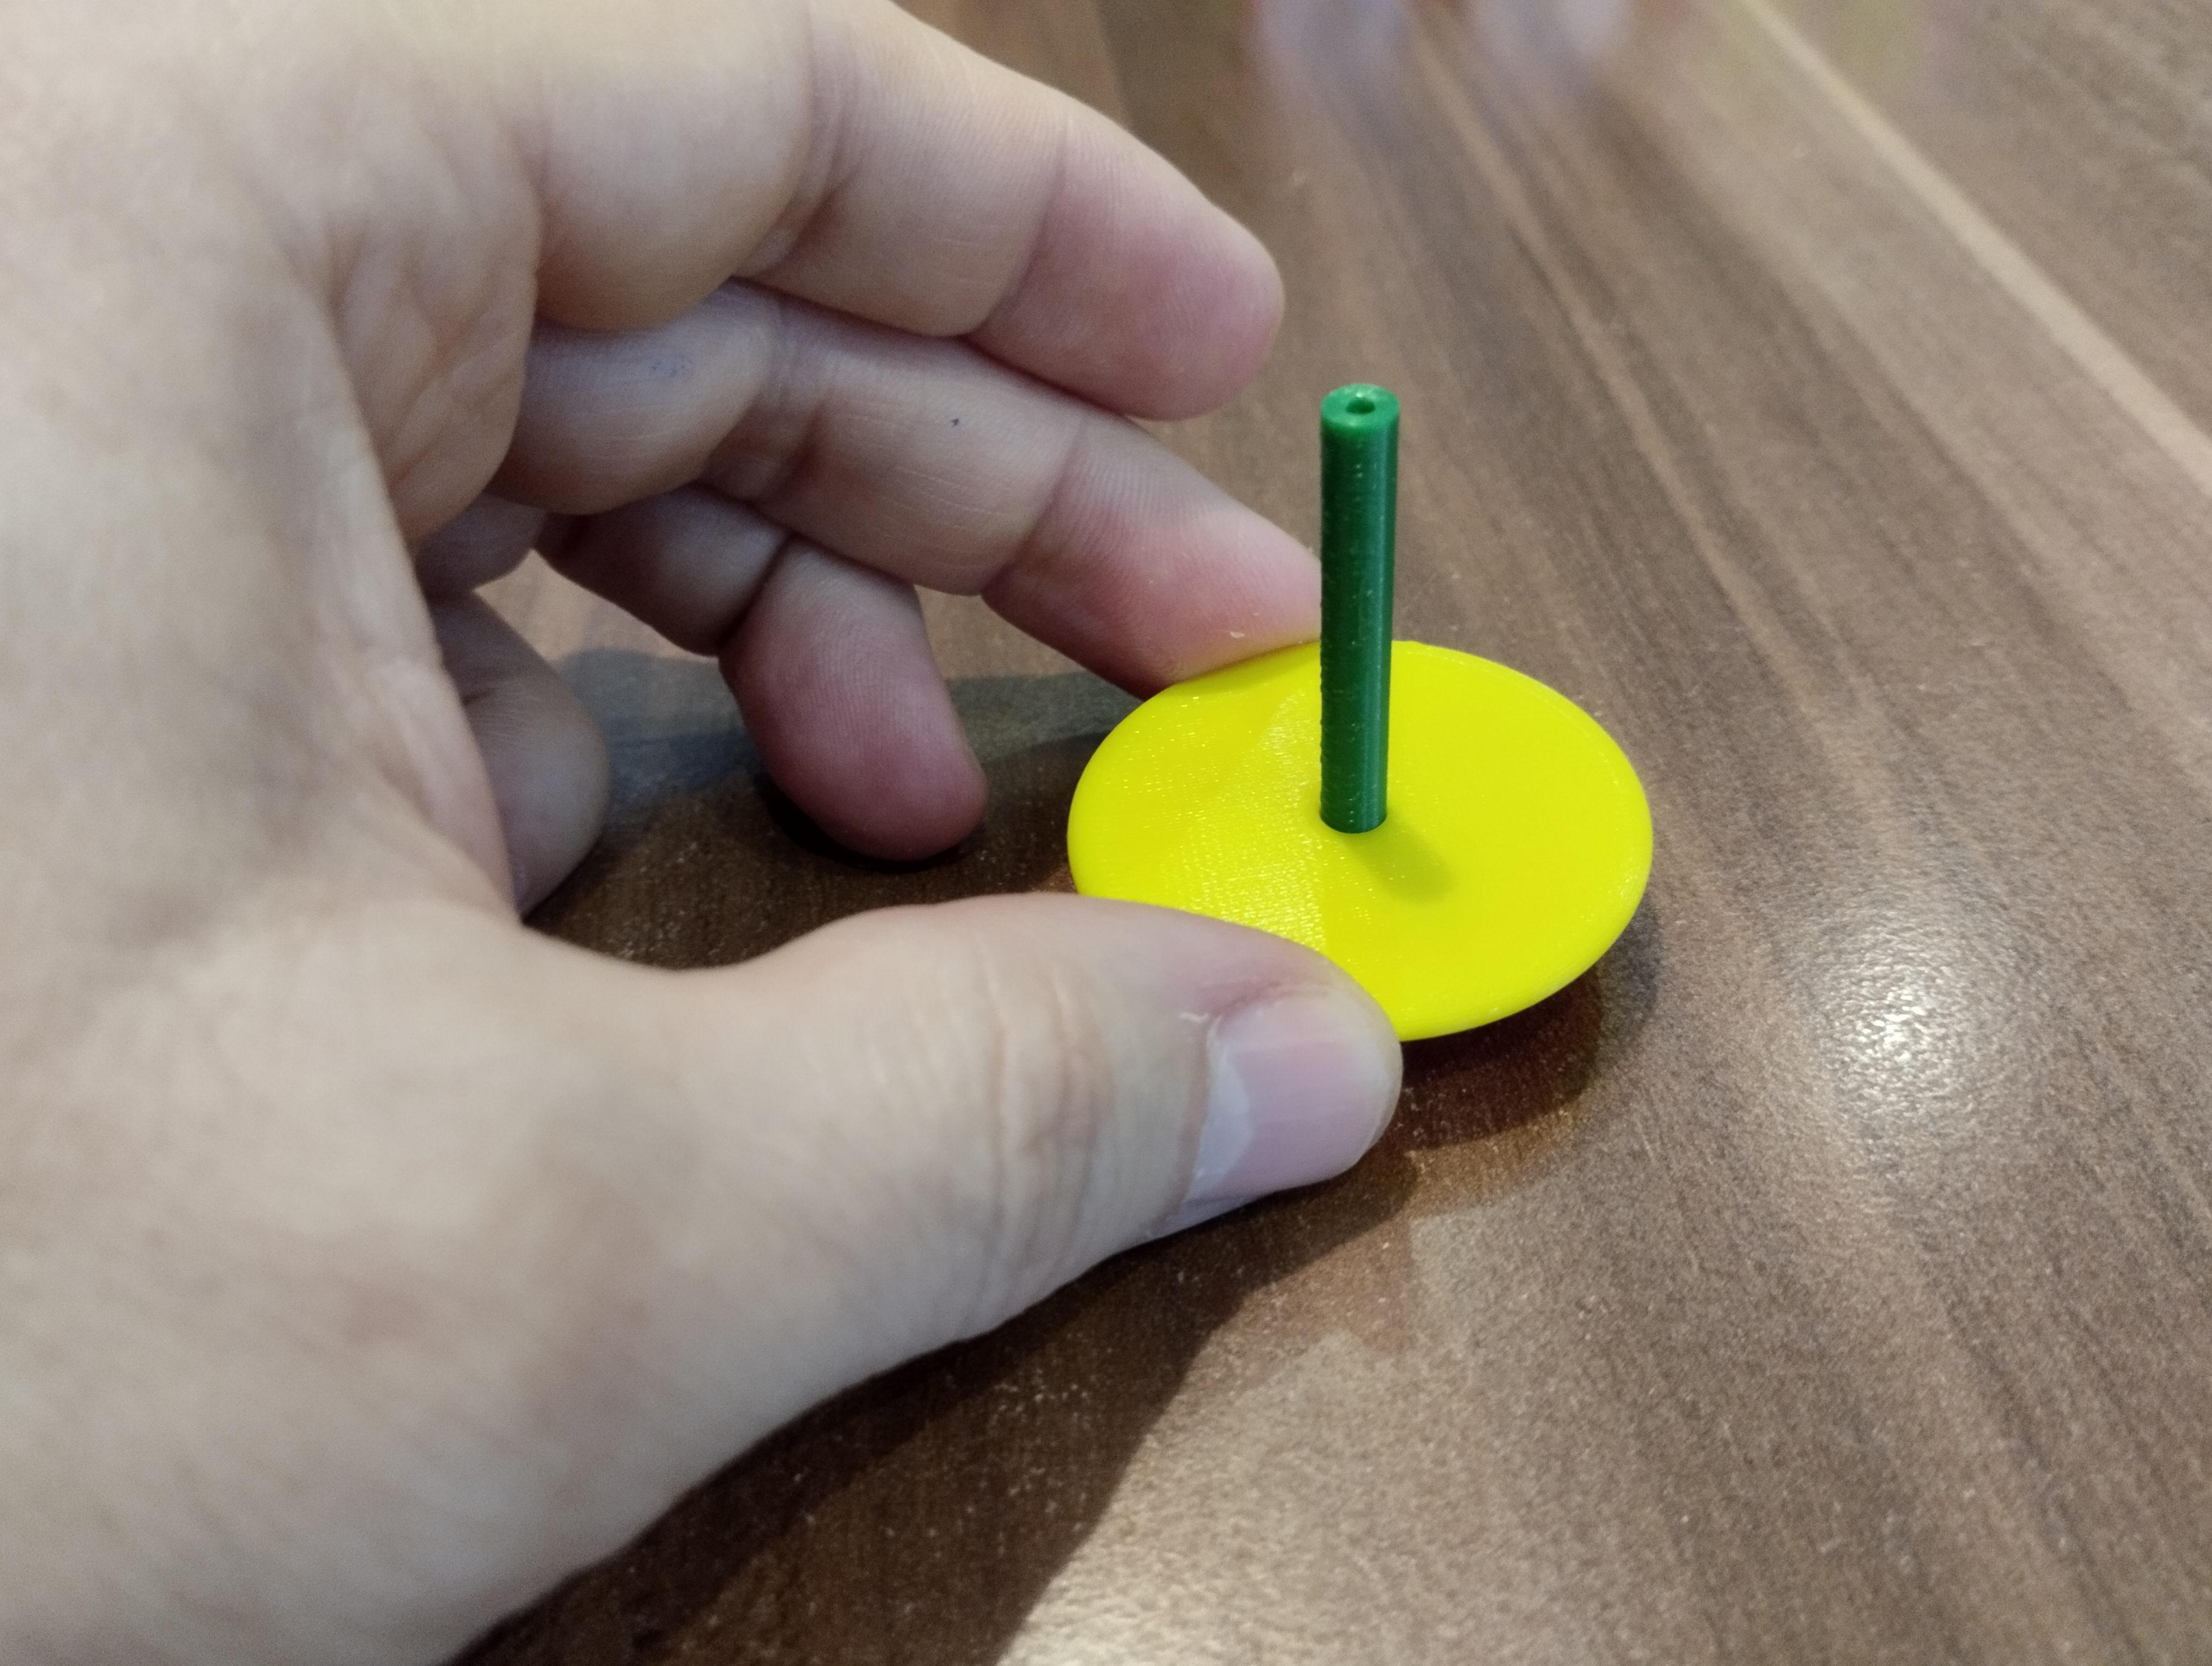
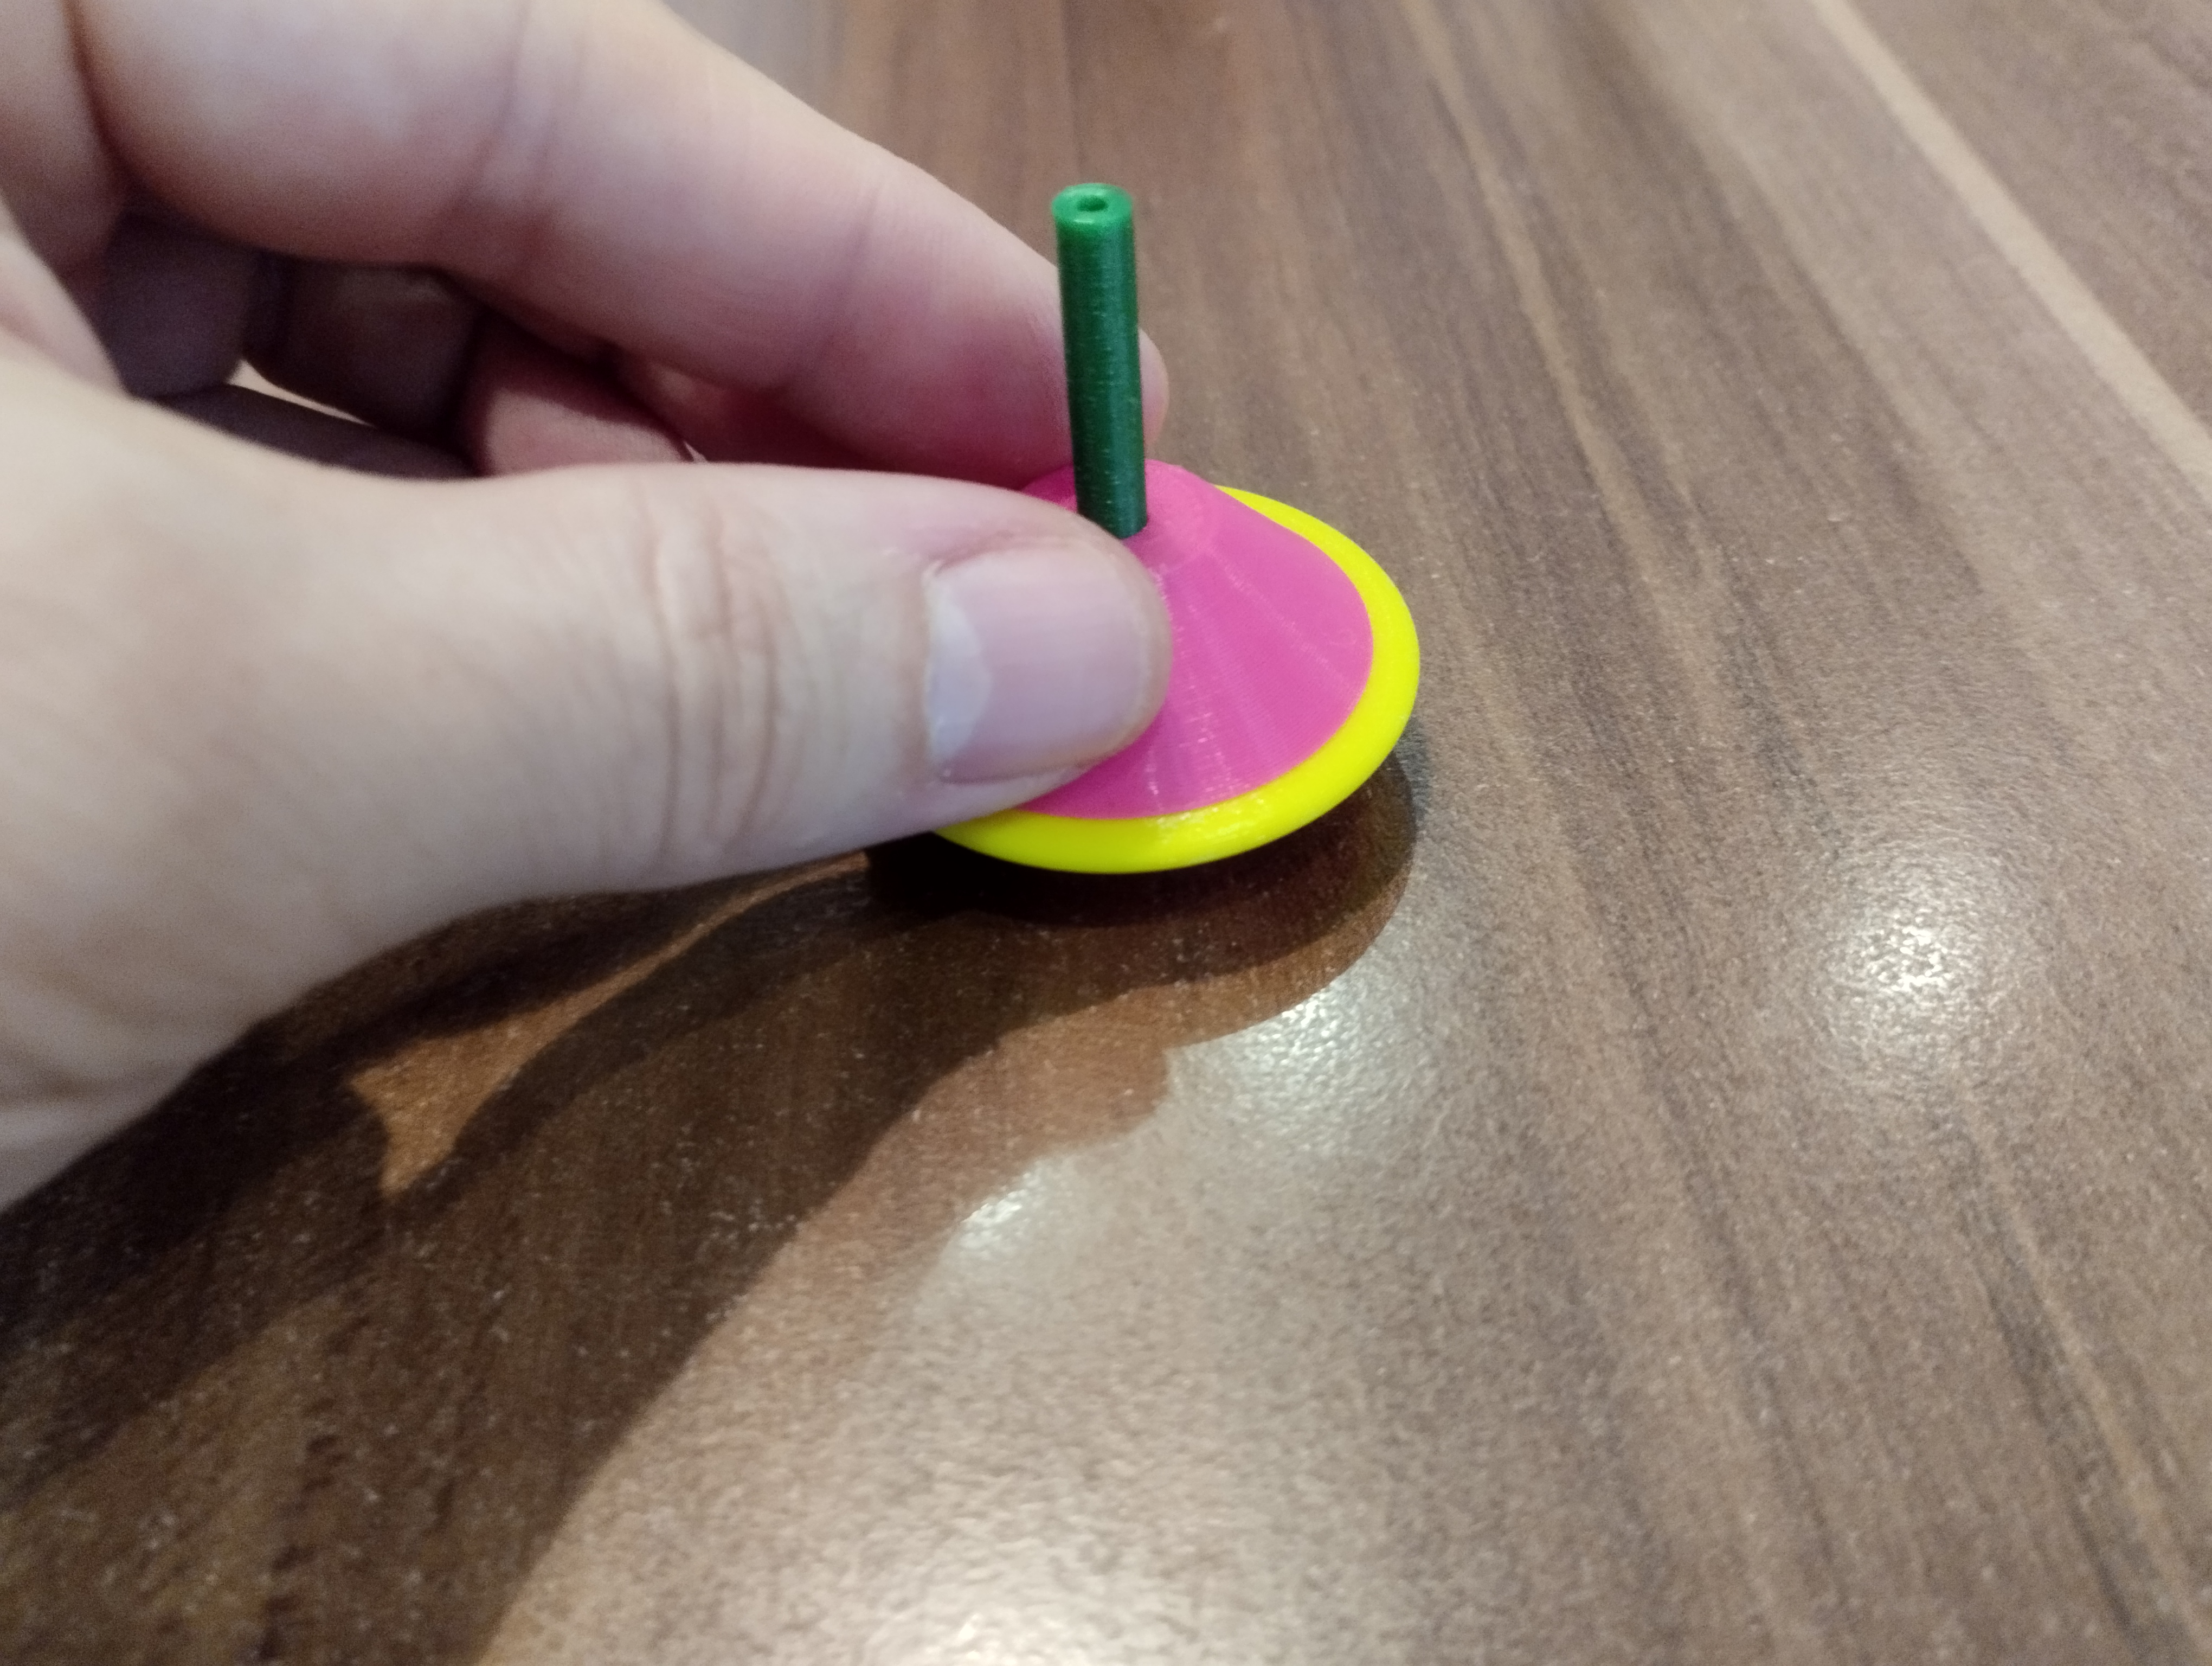
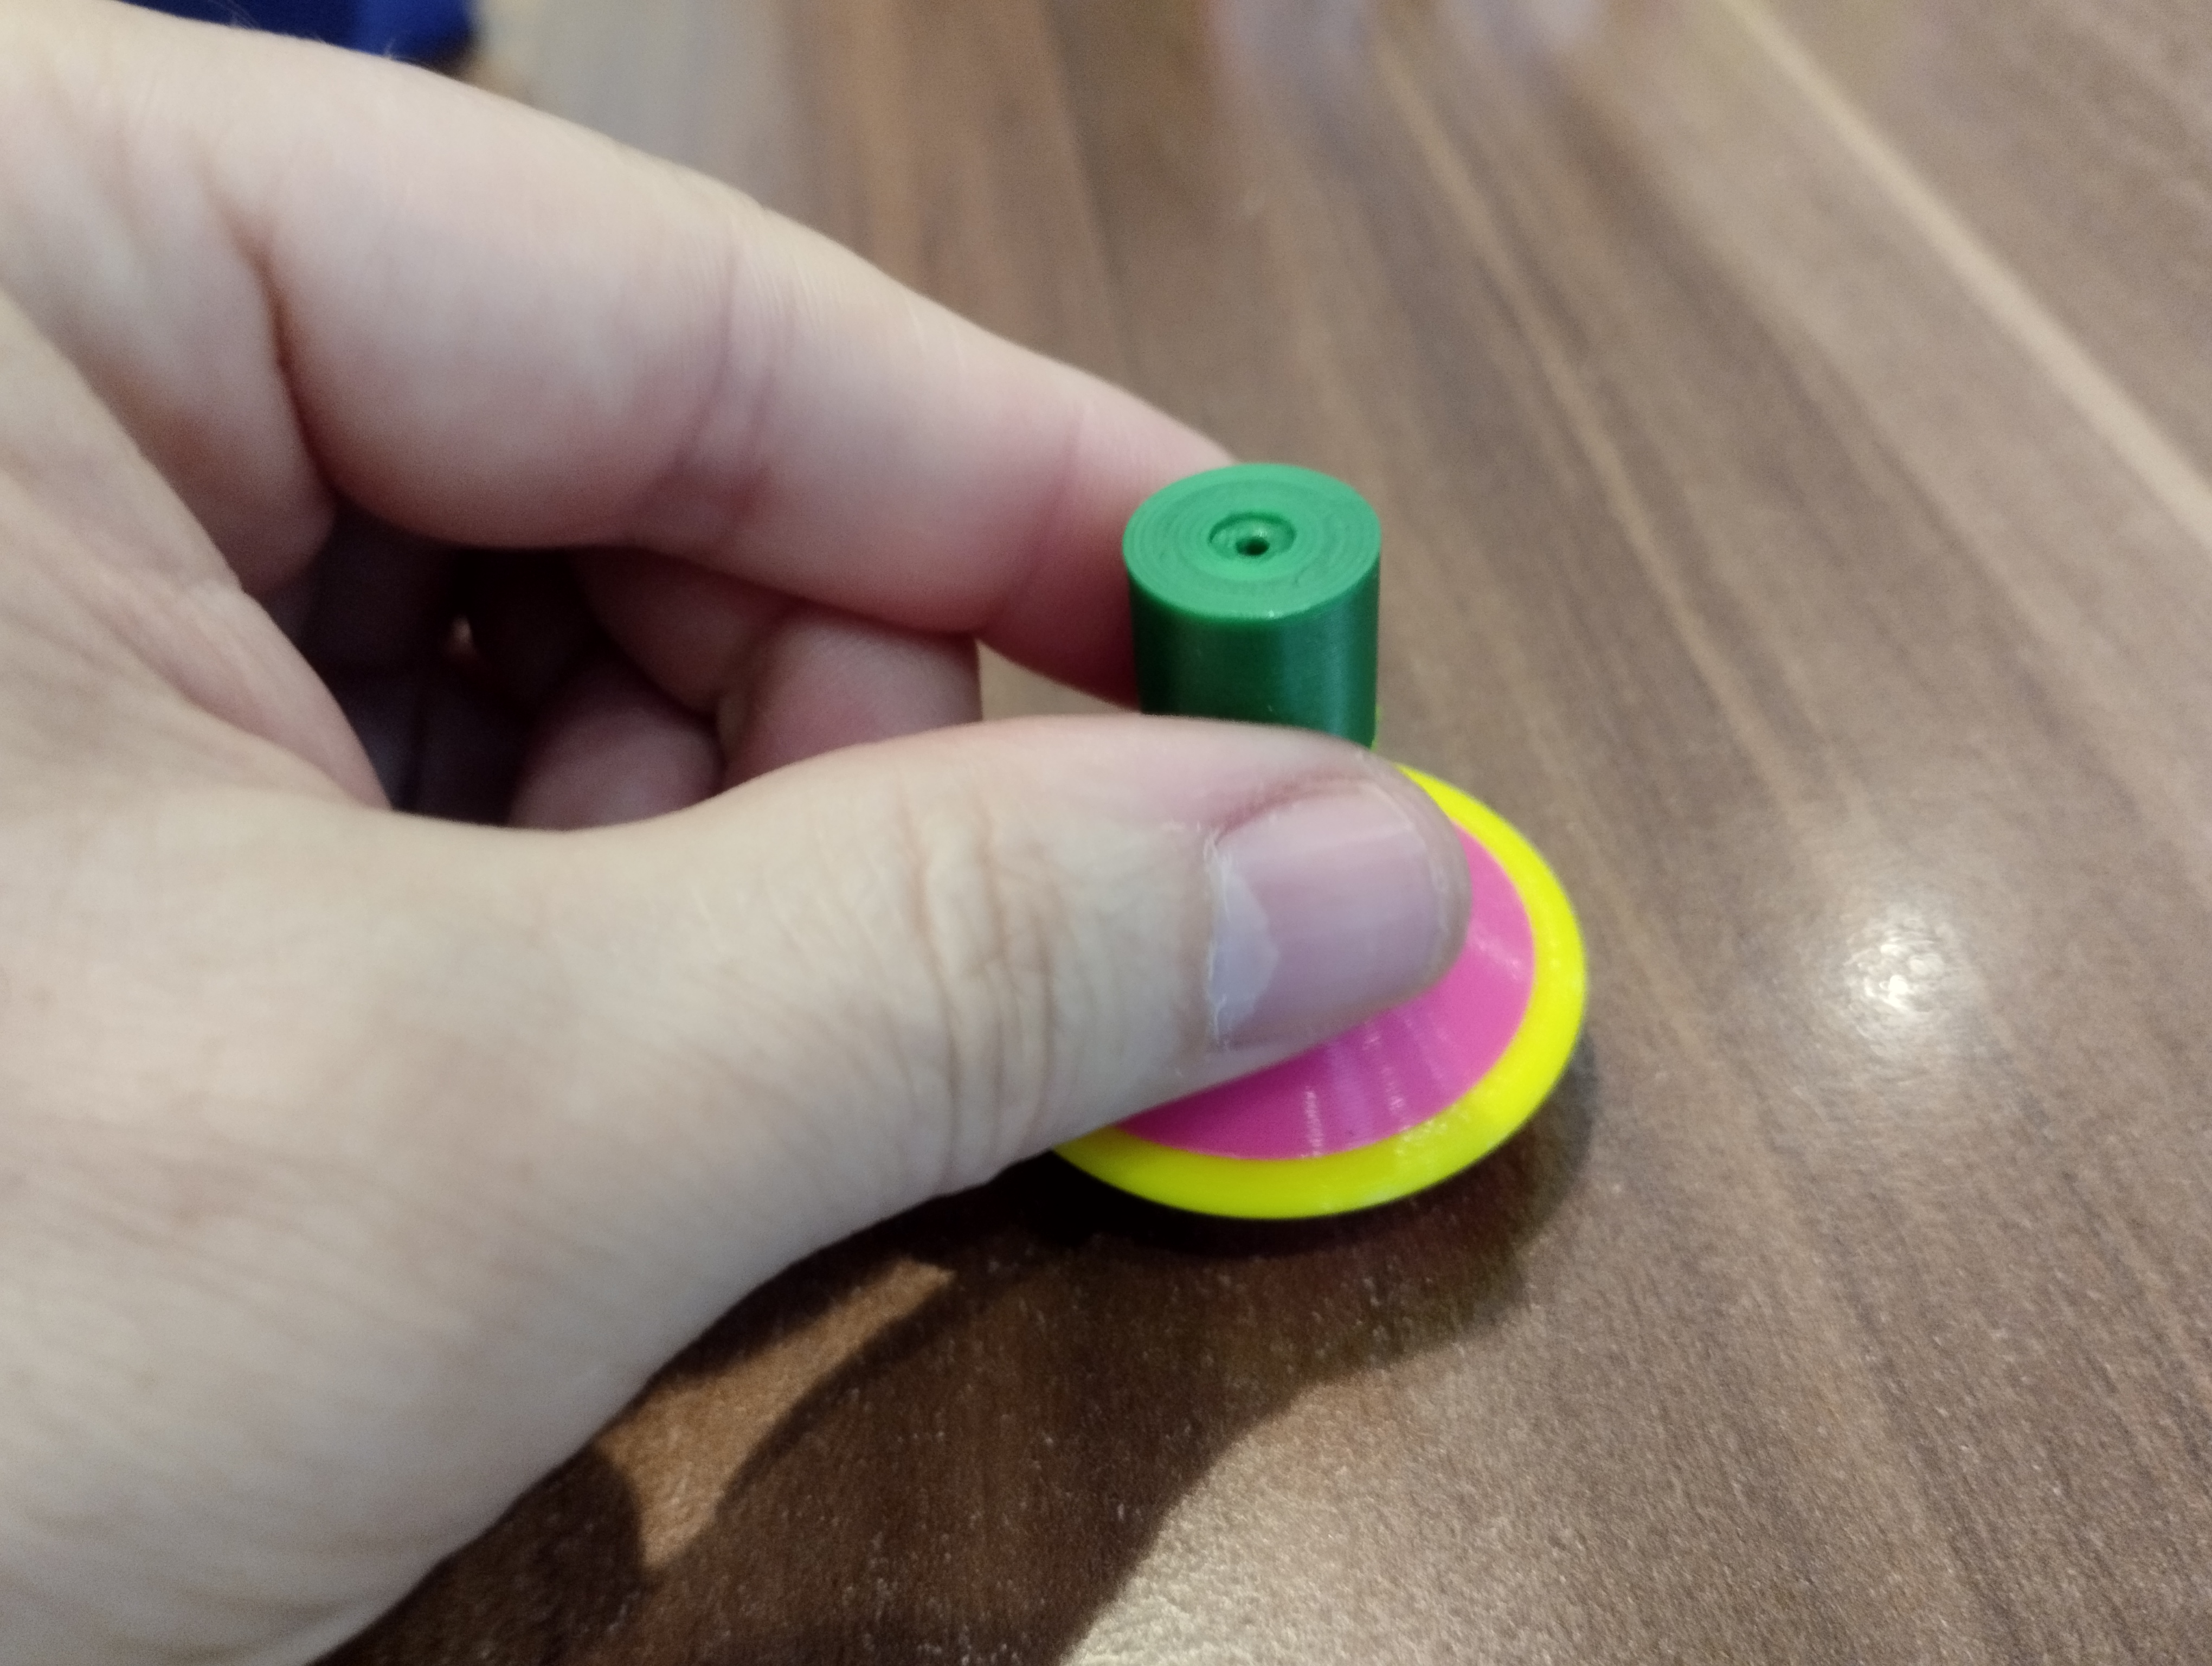
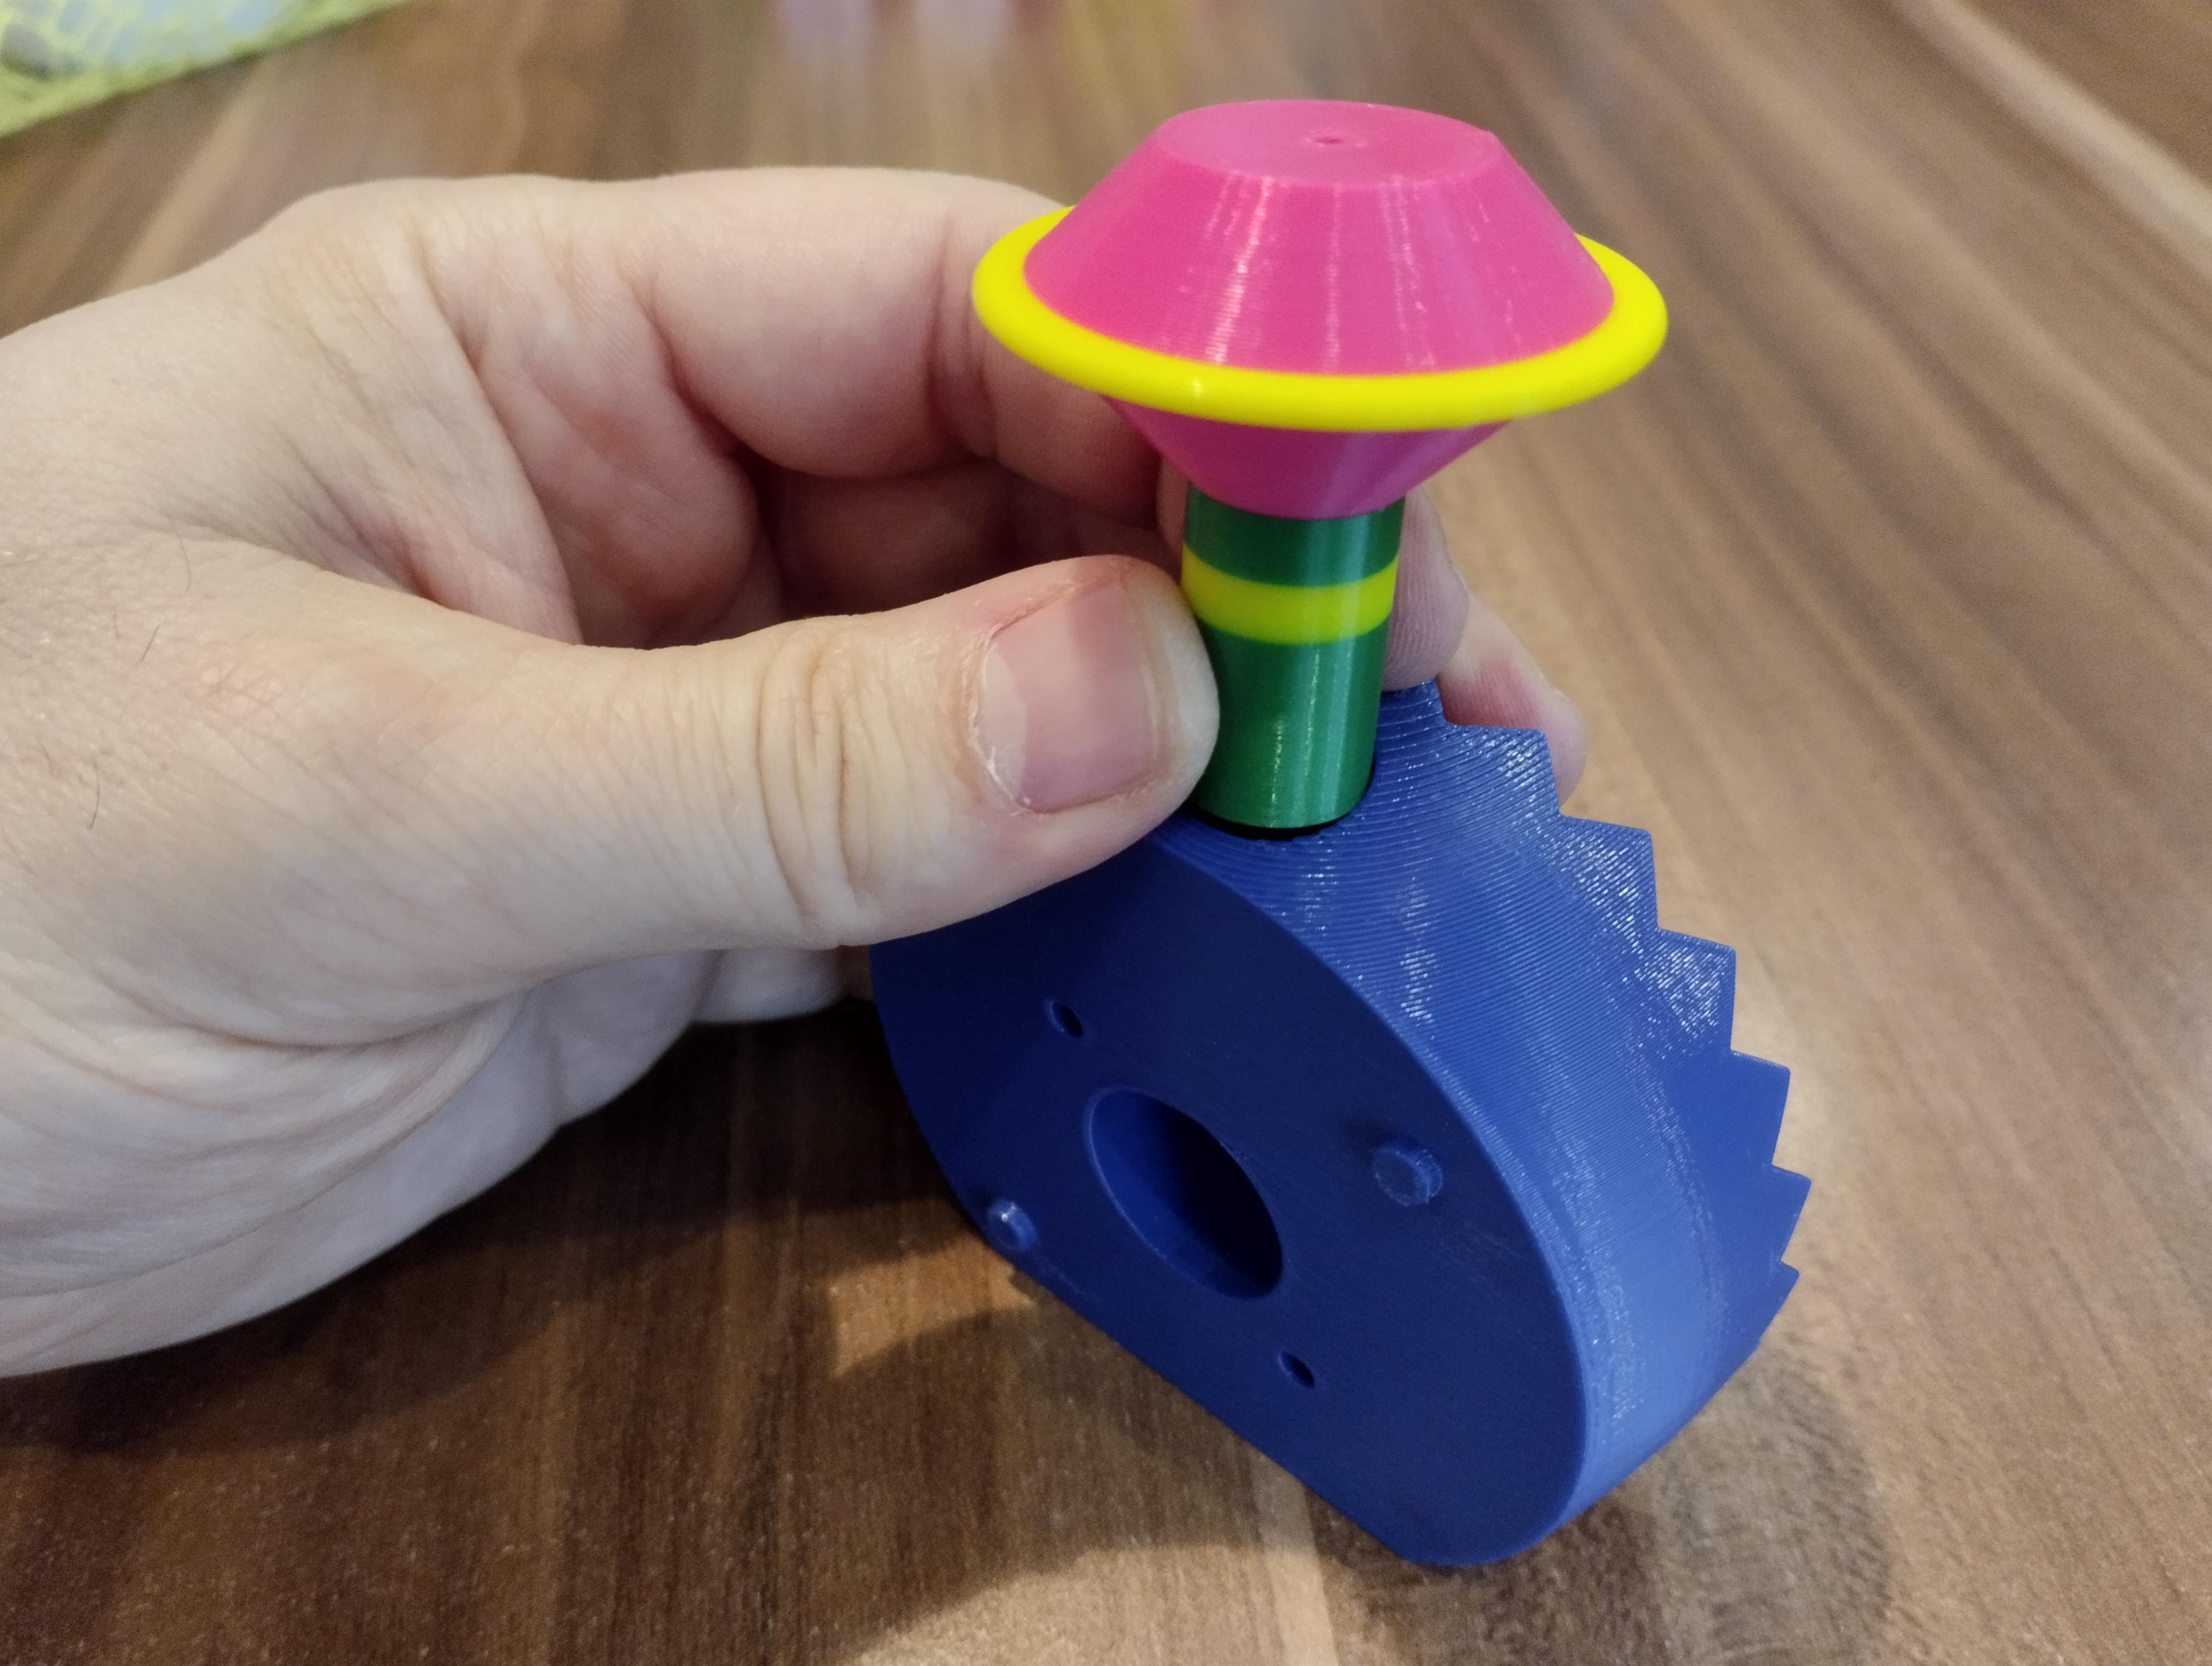
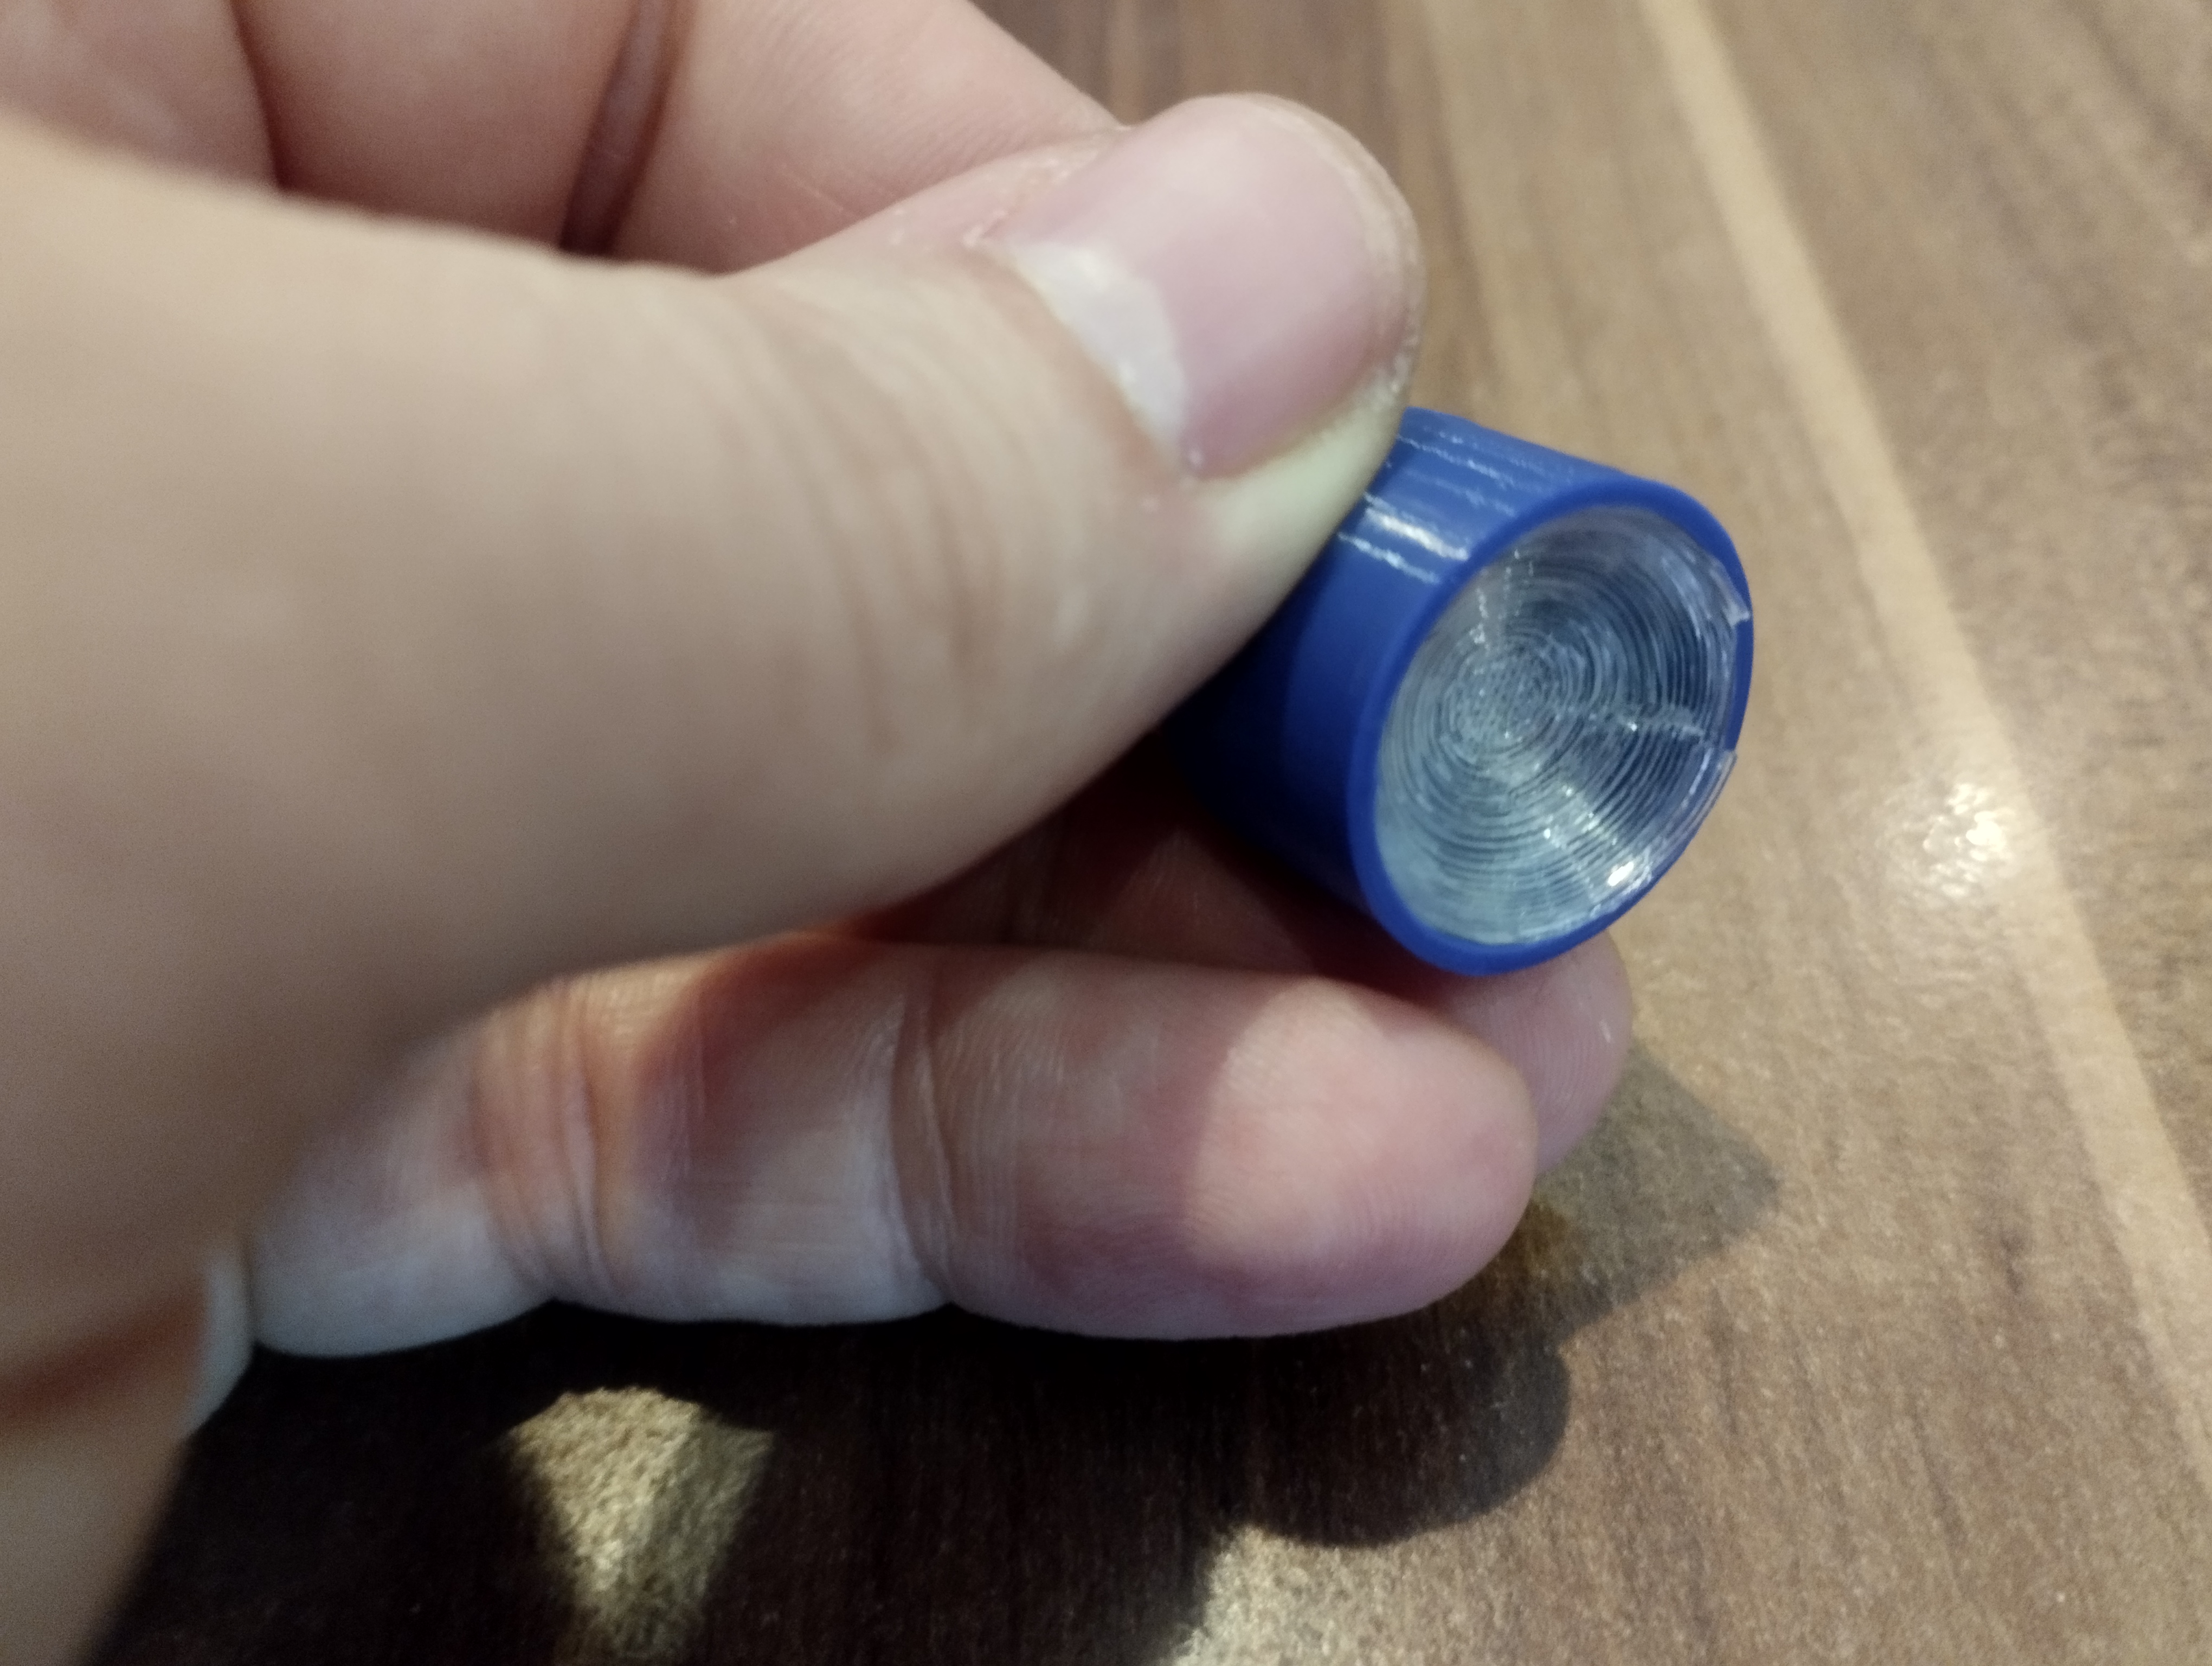
- We insert the front glass into the front light.
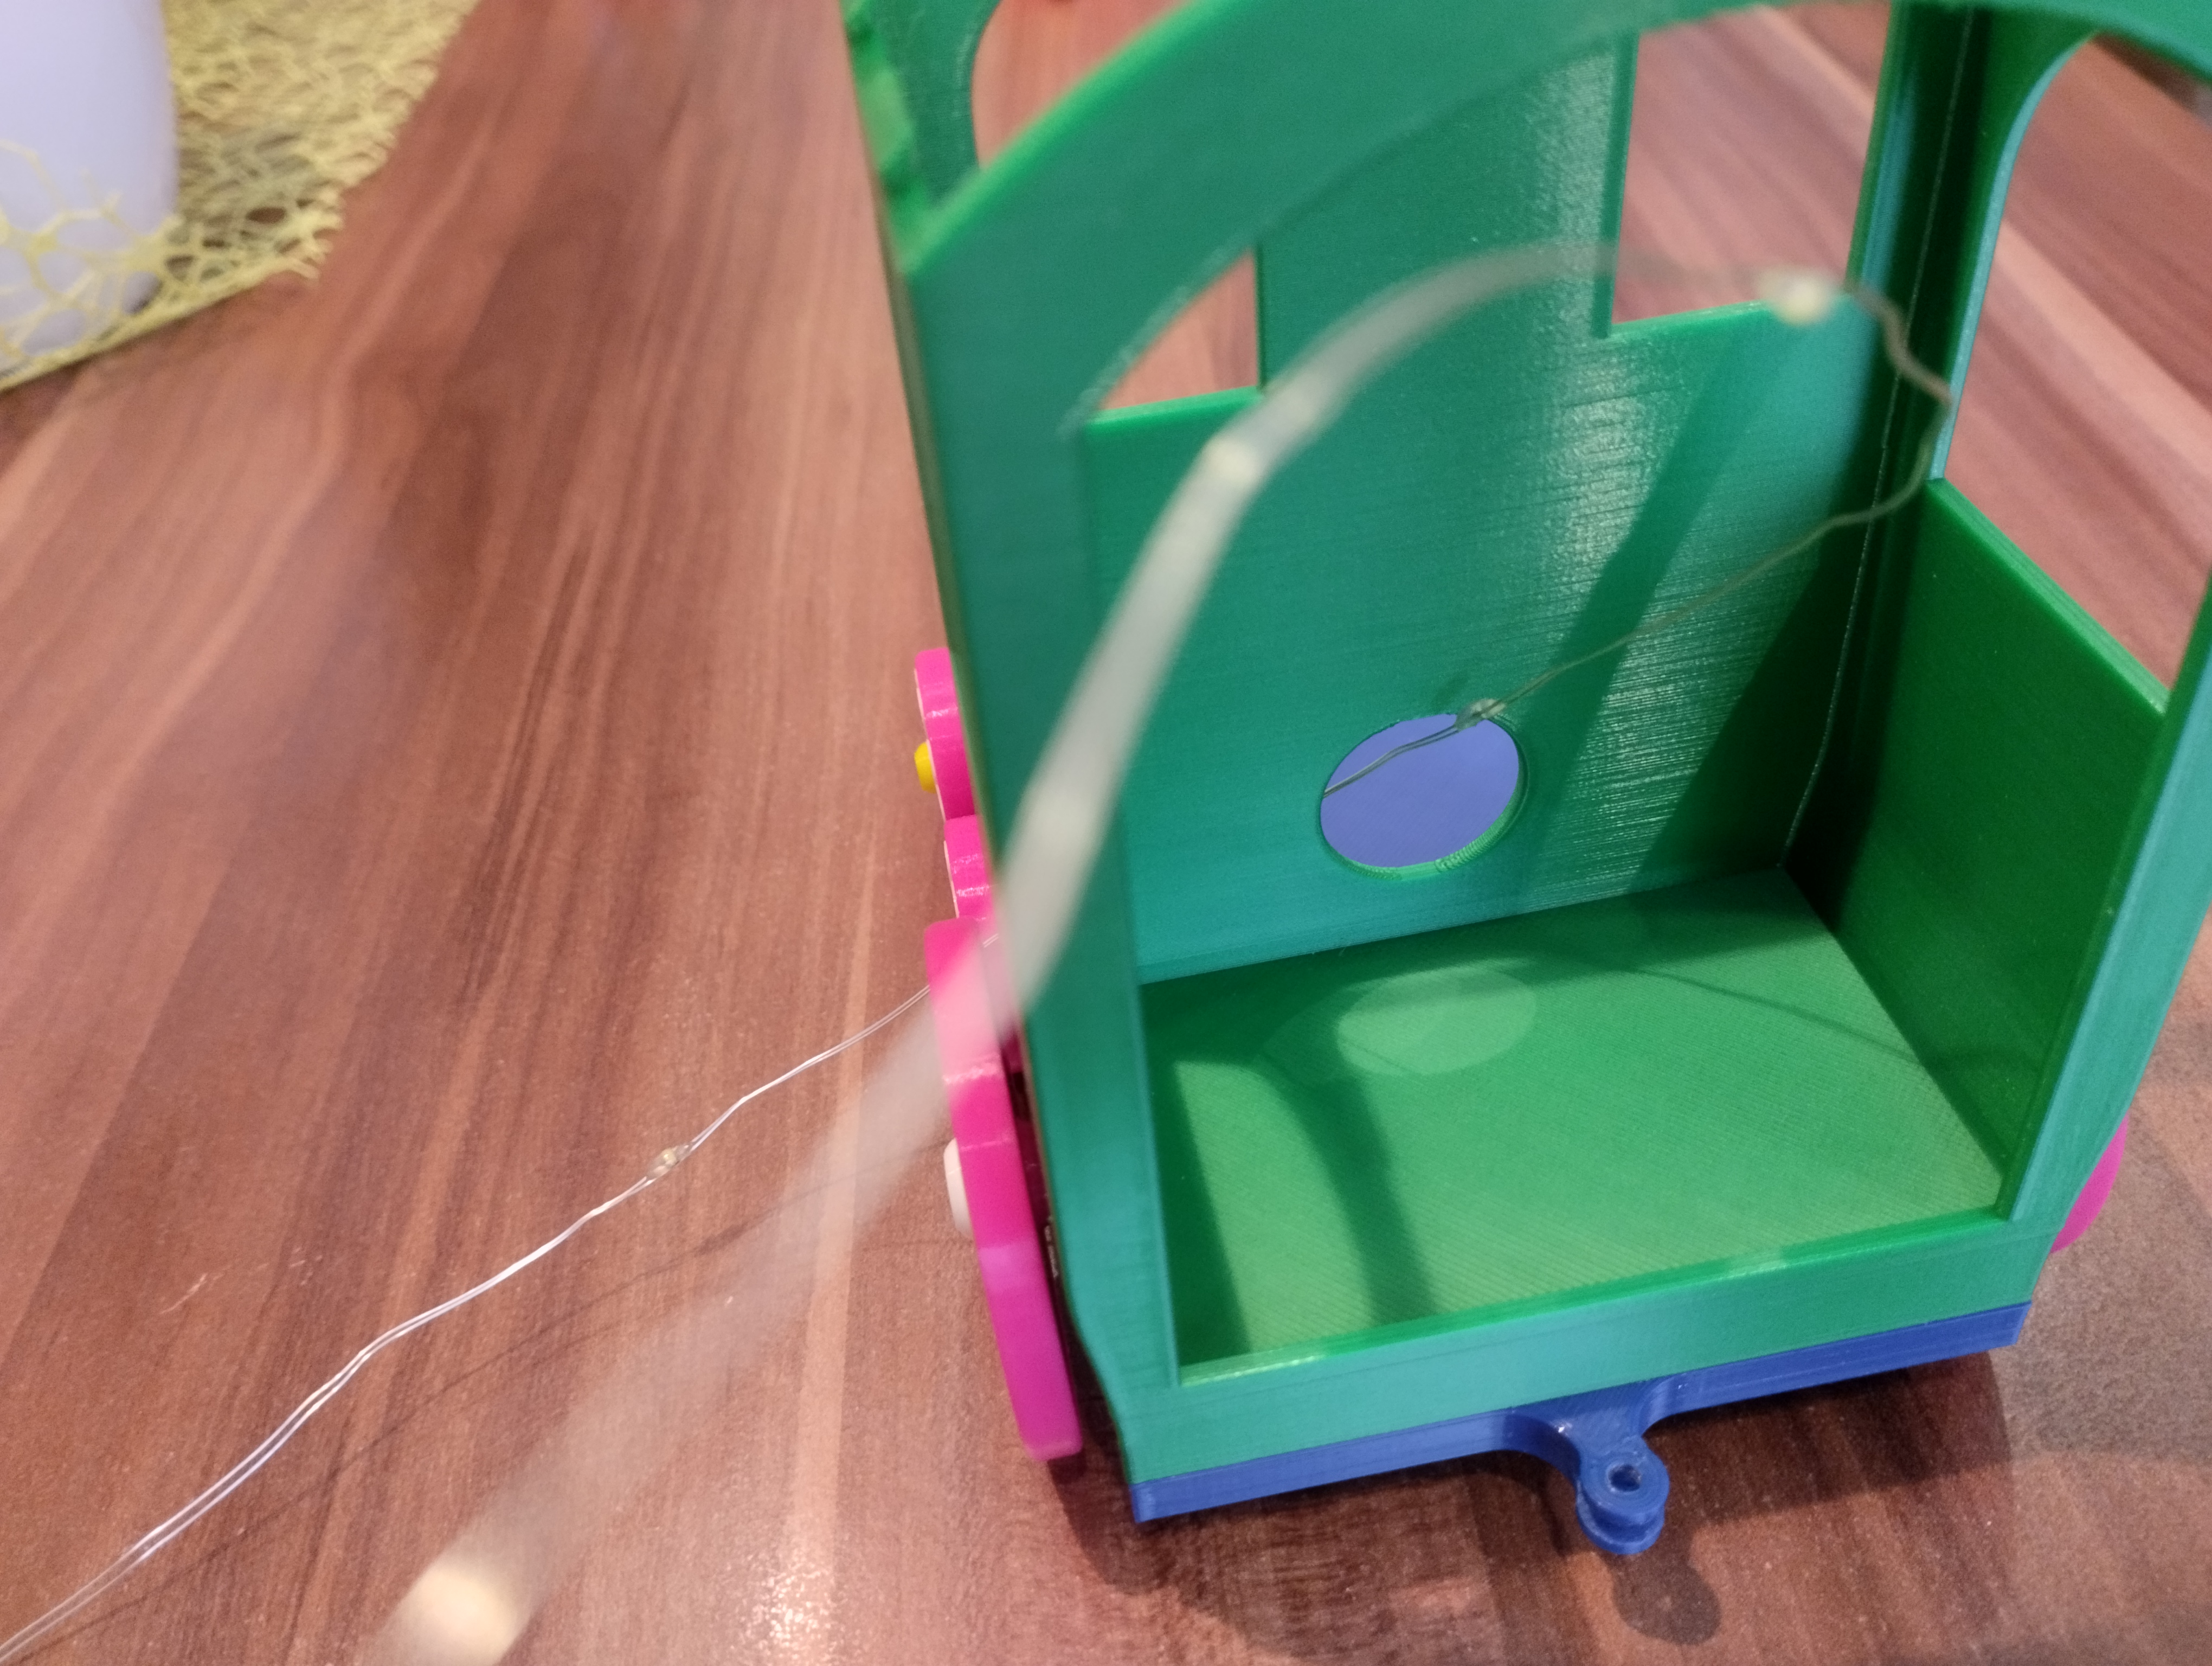
- We pass the led light through the hole in the cabin, then through egg 3, 2 and 1.
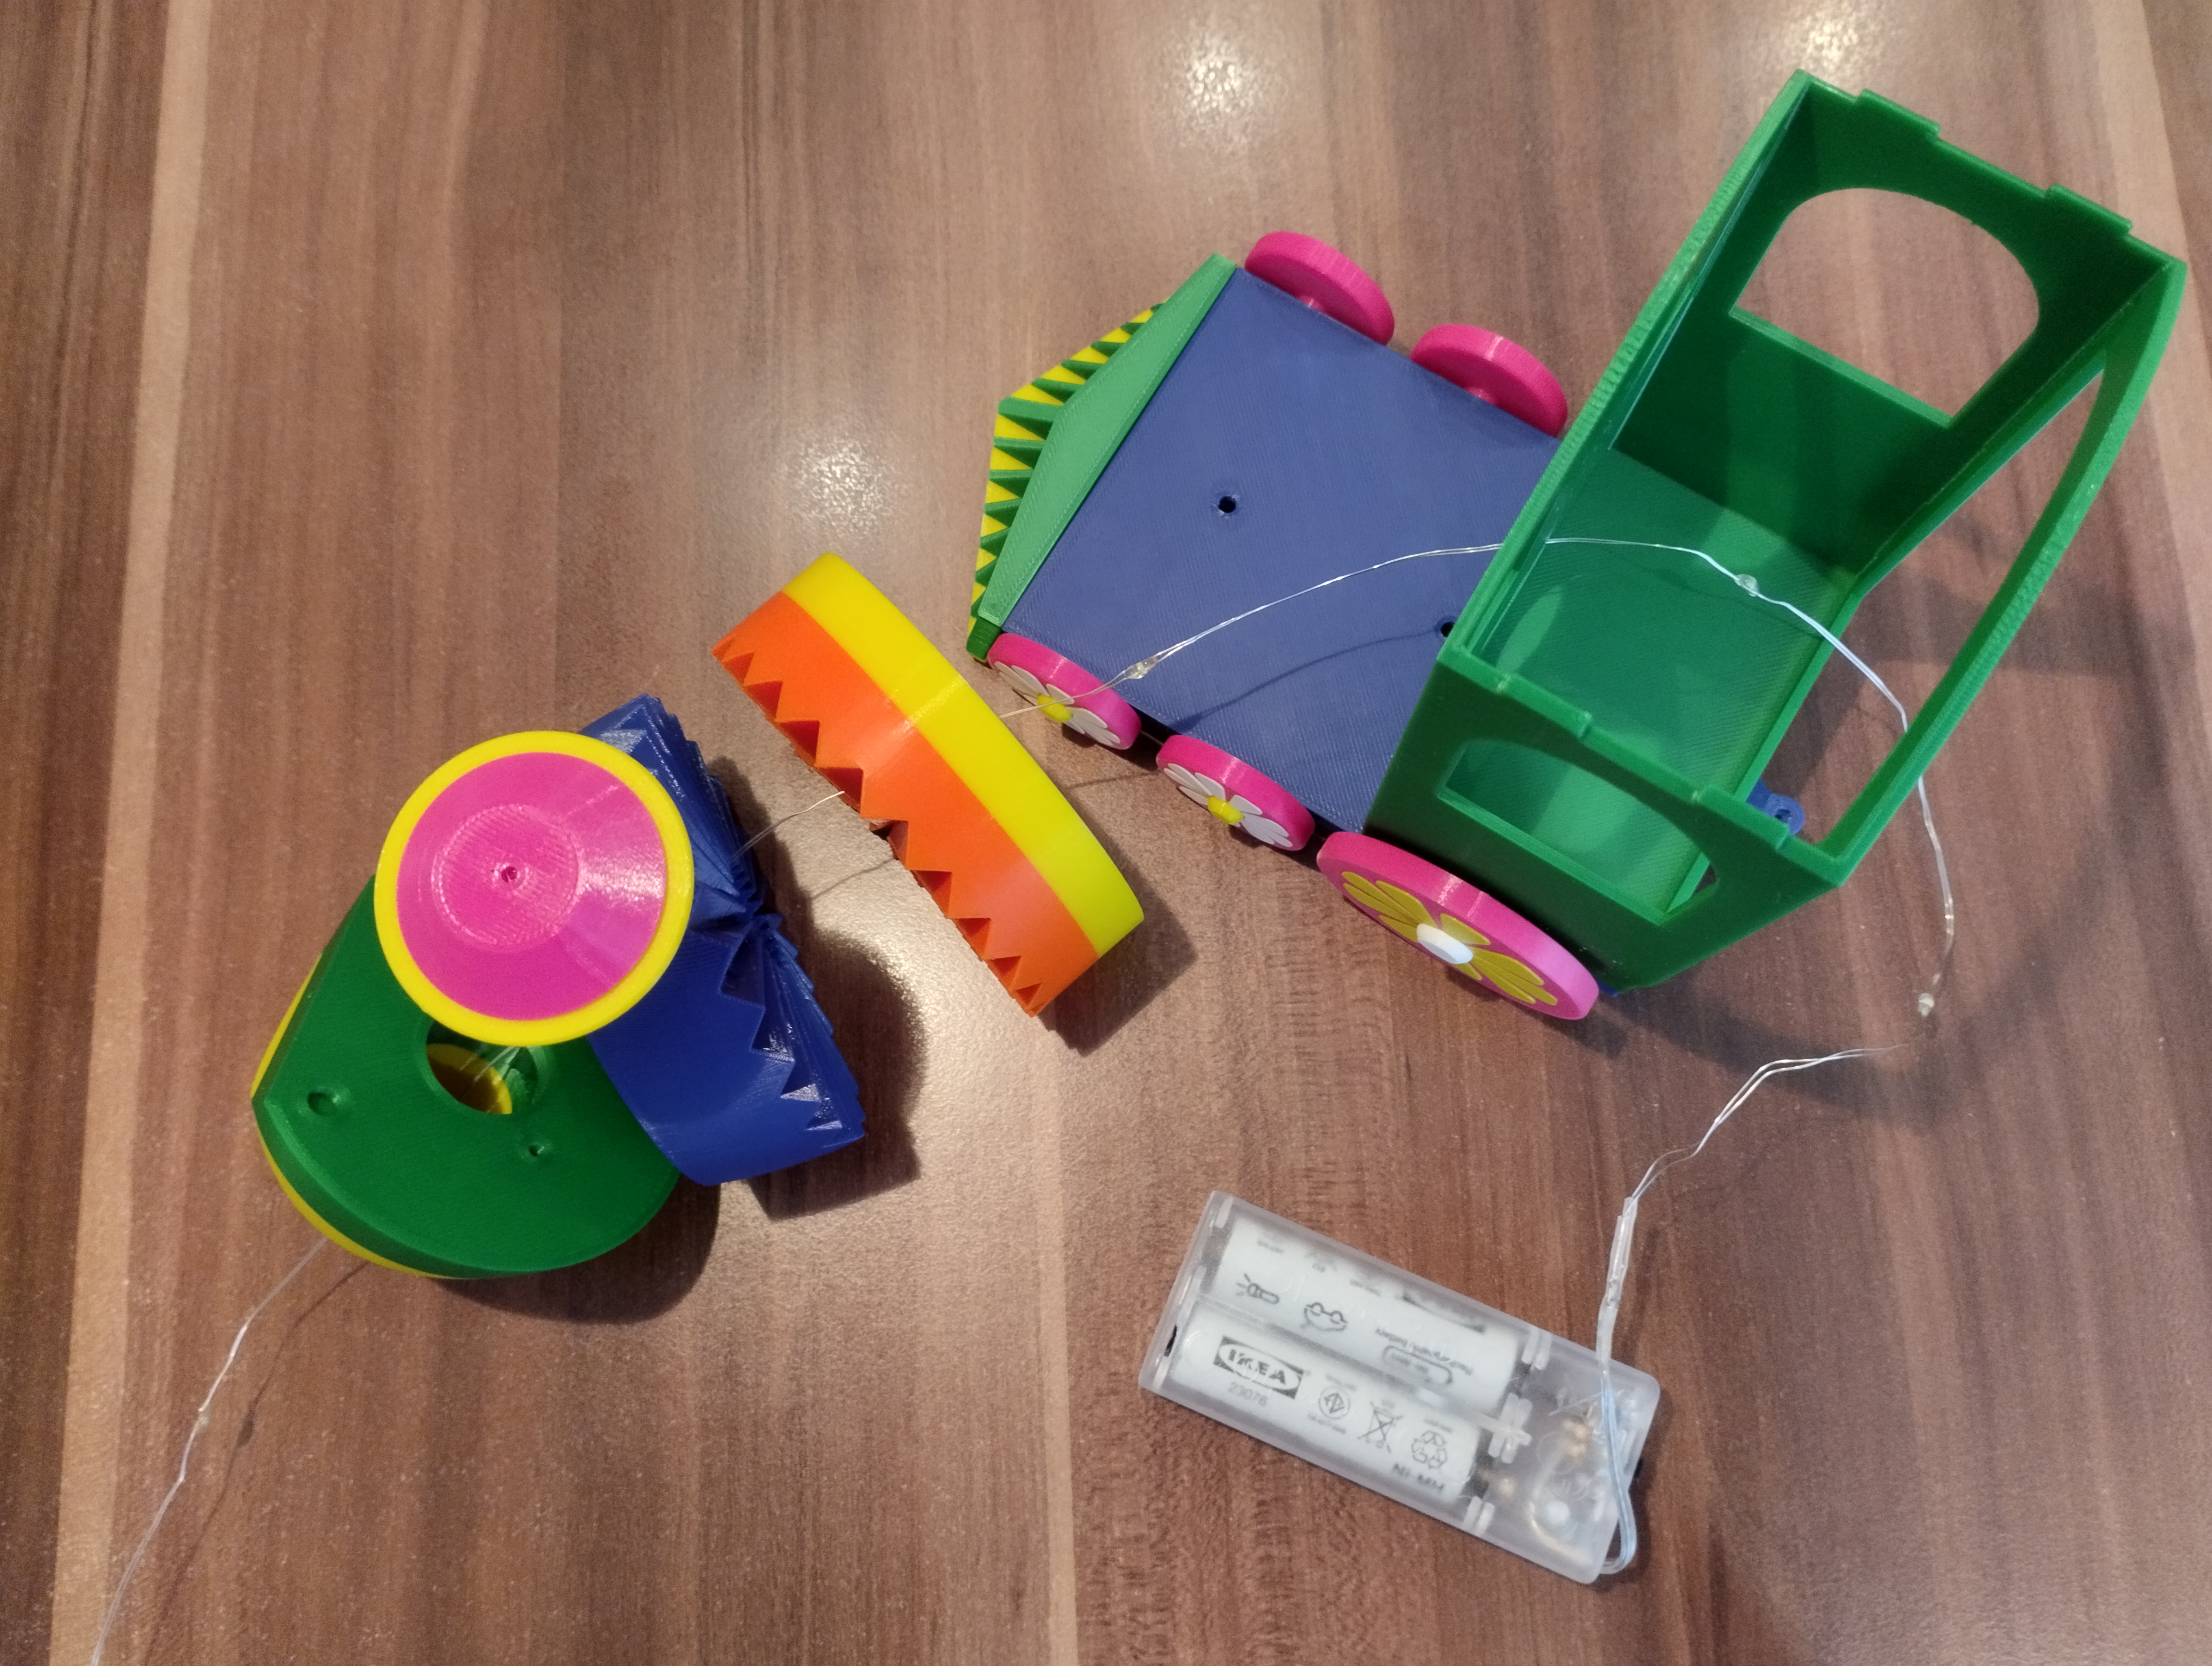
- We put the LED lights that I wound on a pencil into the front light and connect it to egg 1.
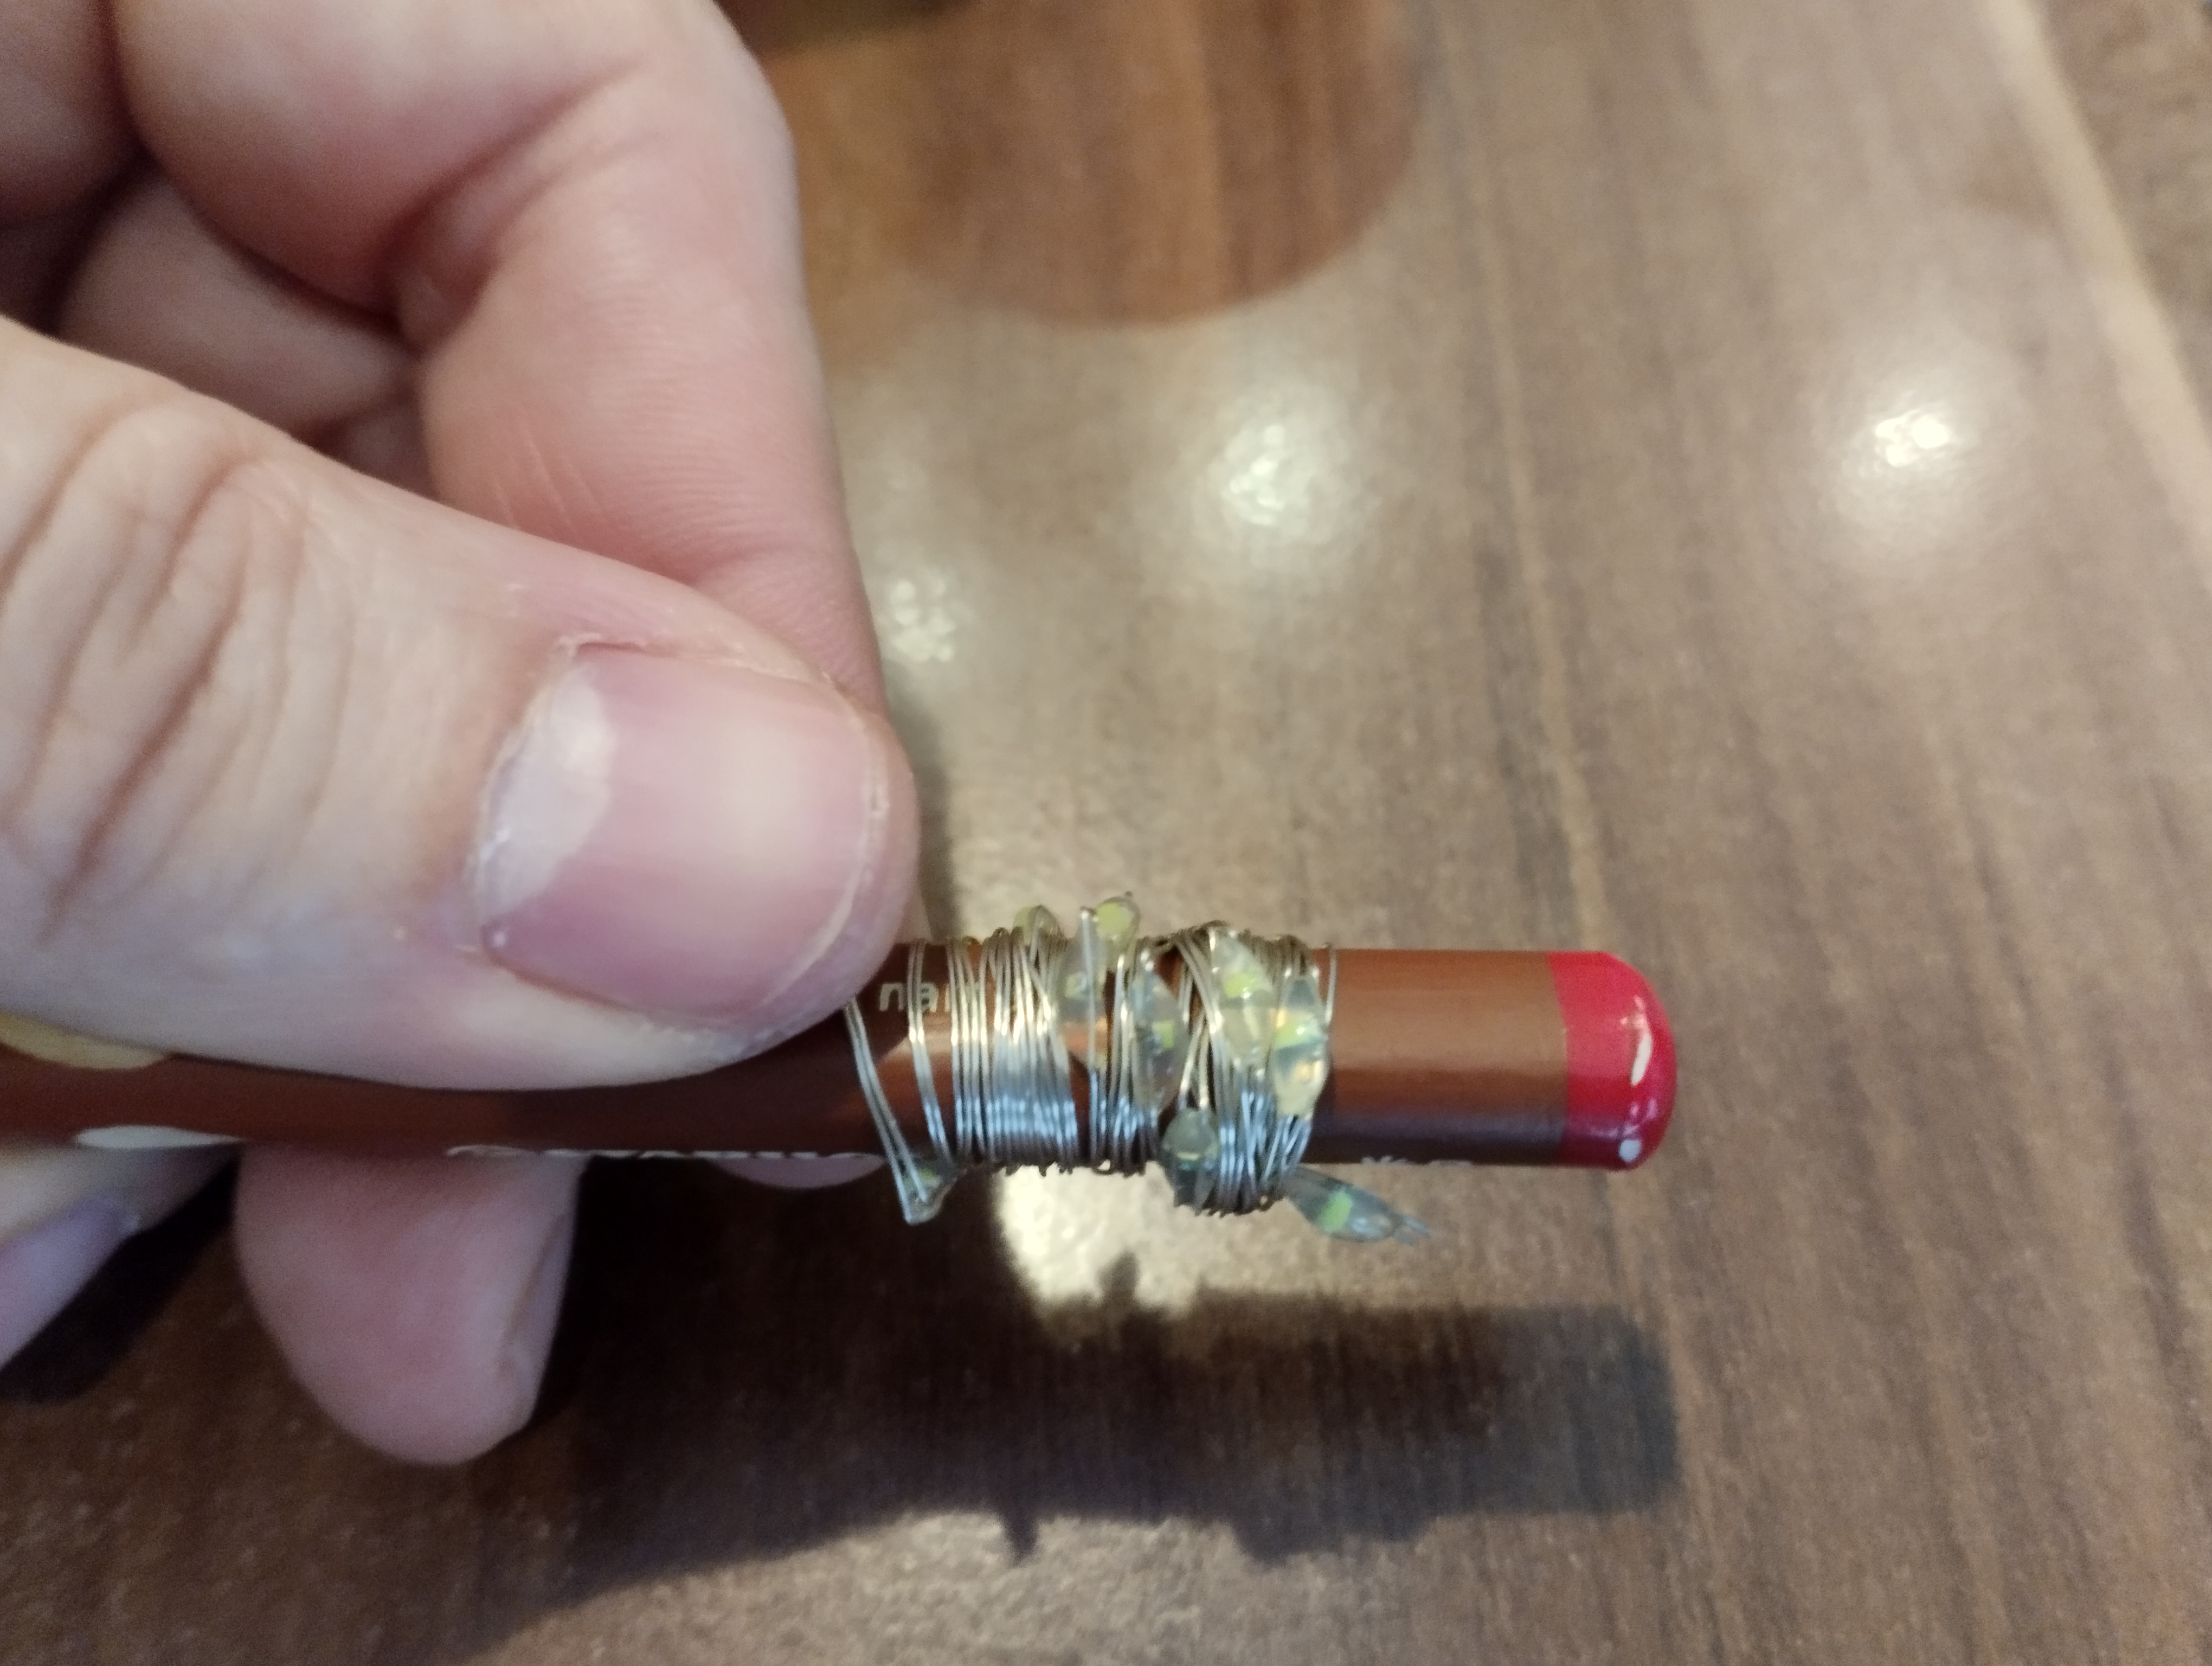
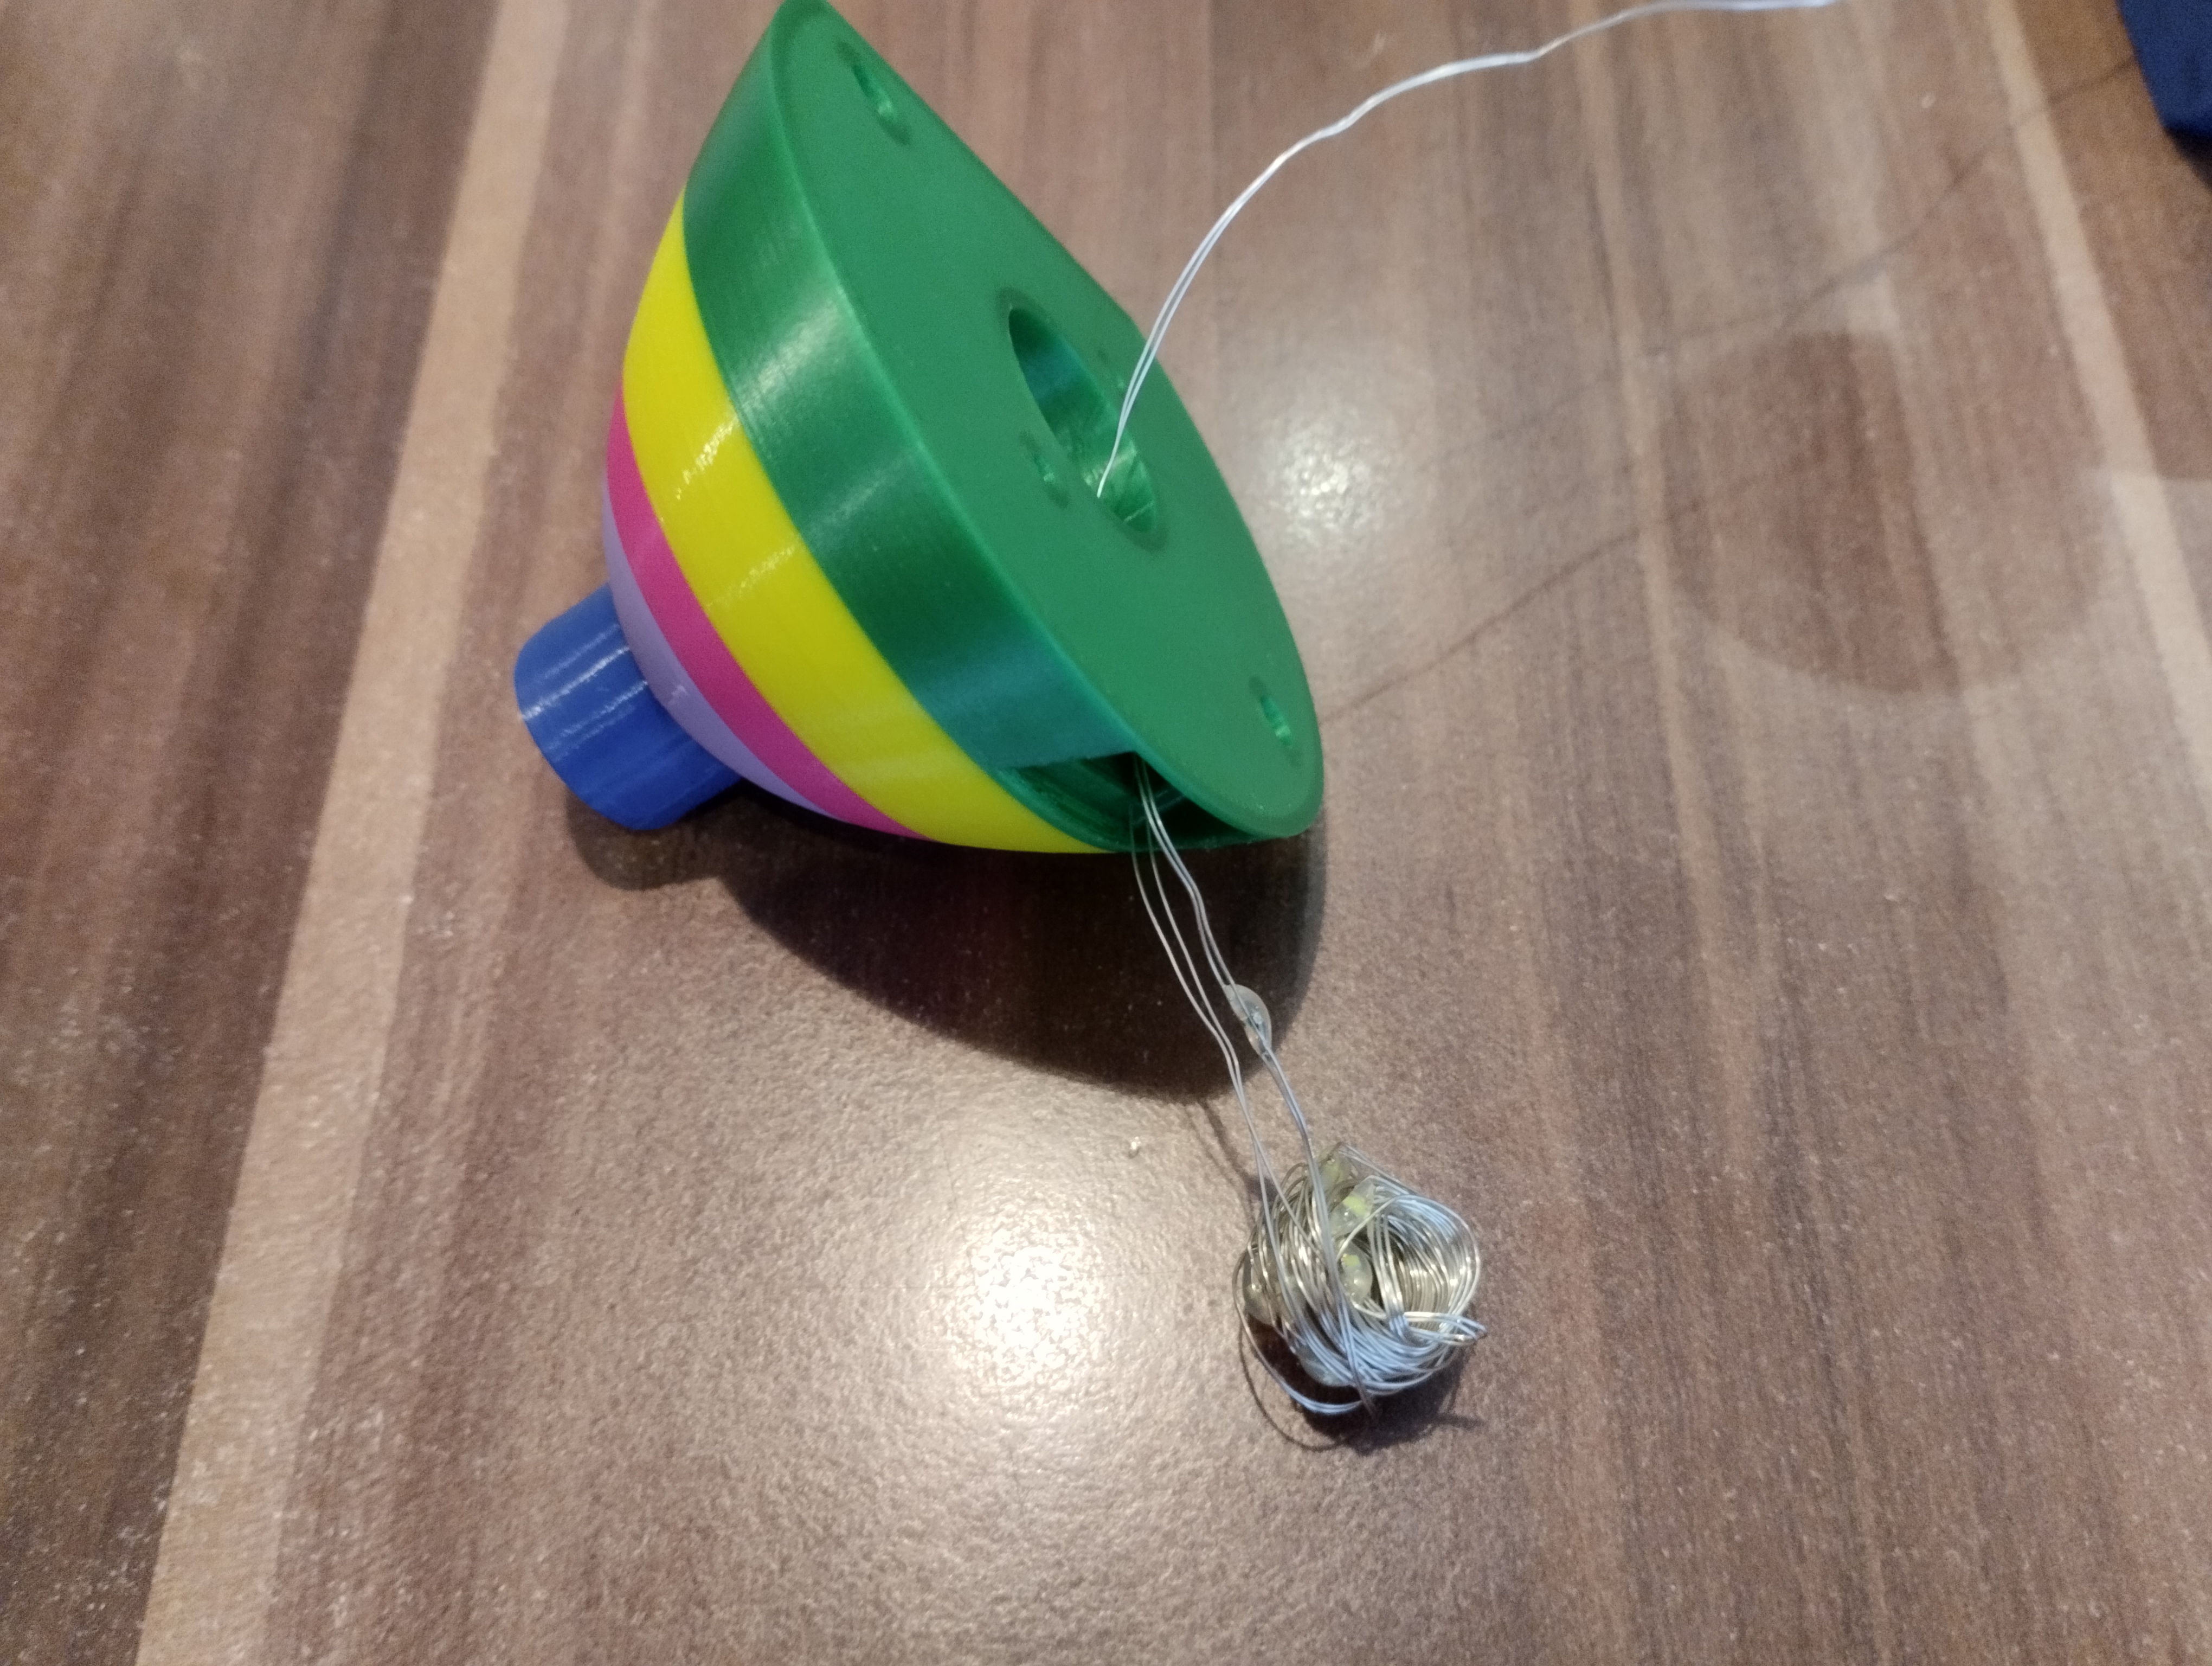
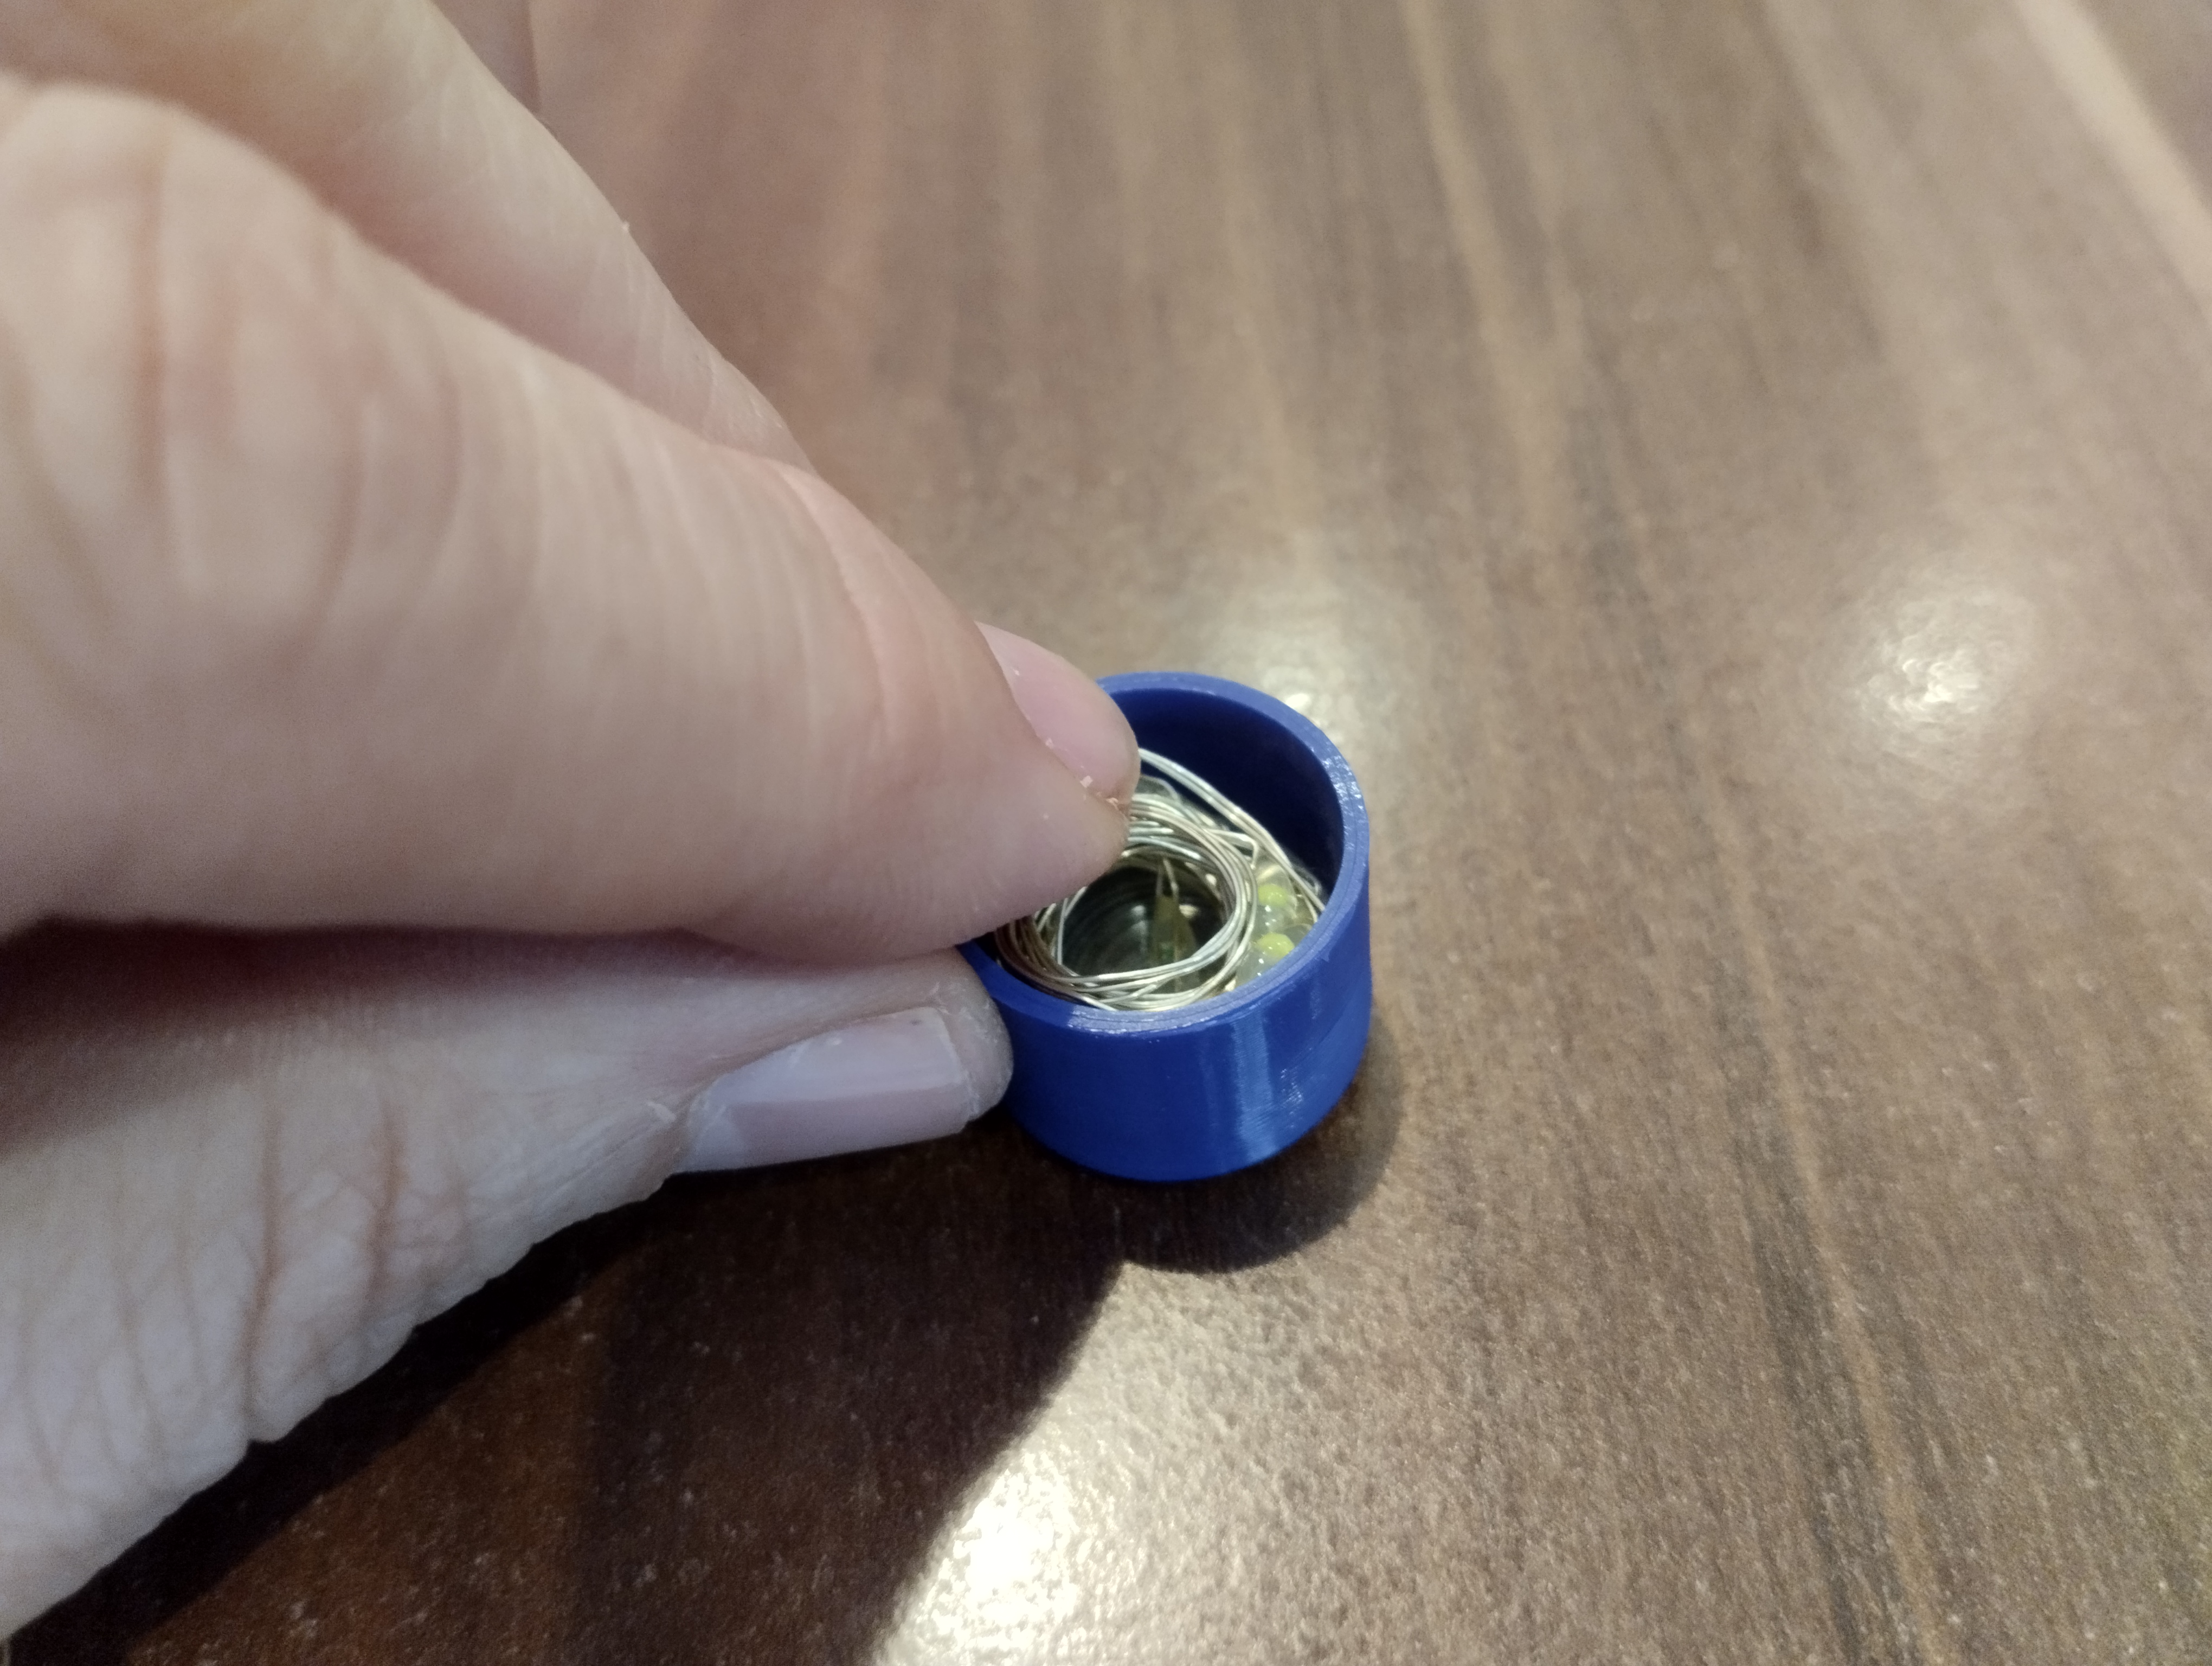
- We pull out the rest of the led lights through the hole on the top of egg 1. Then we wind it on a pencil and insert it into the rear light. Put the rear glass into the rear light. Insert the pre-assembled of rear light into egg 1.
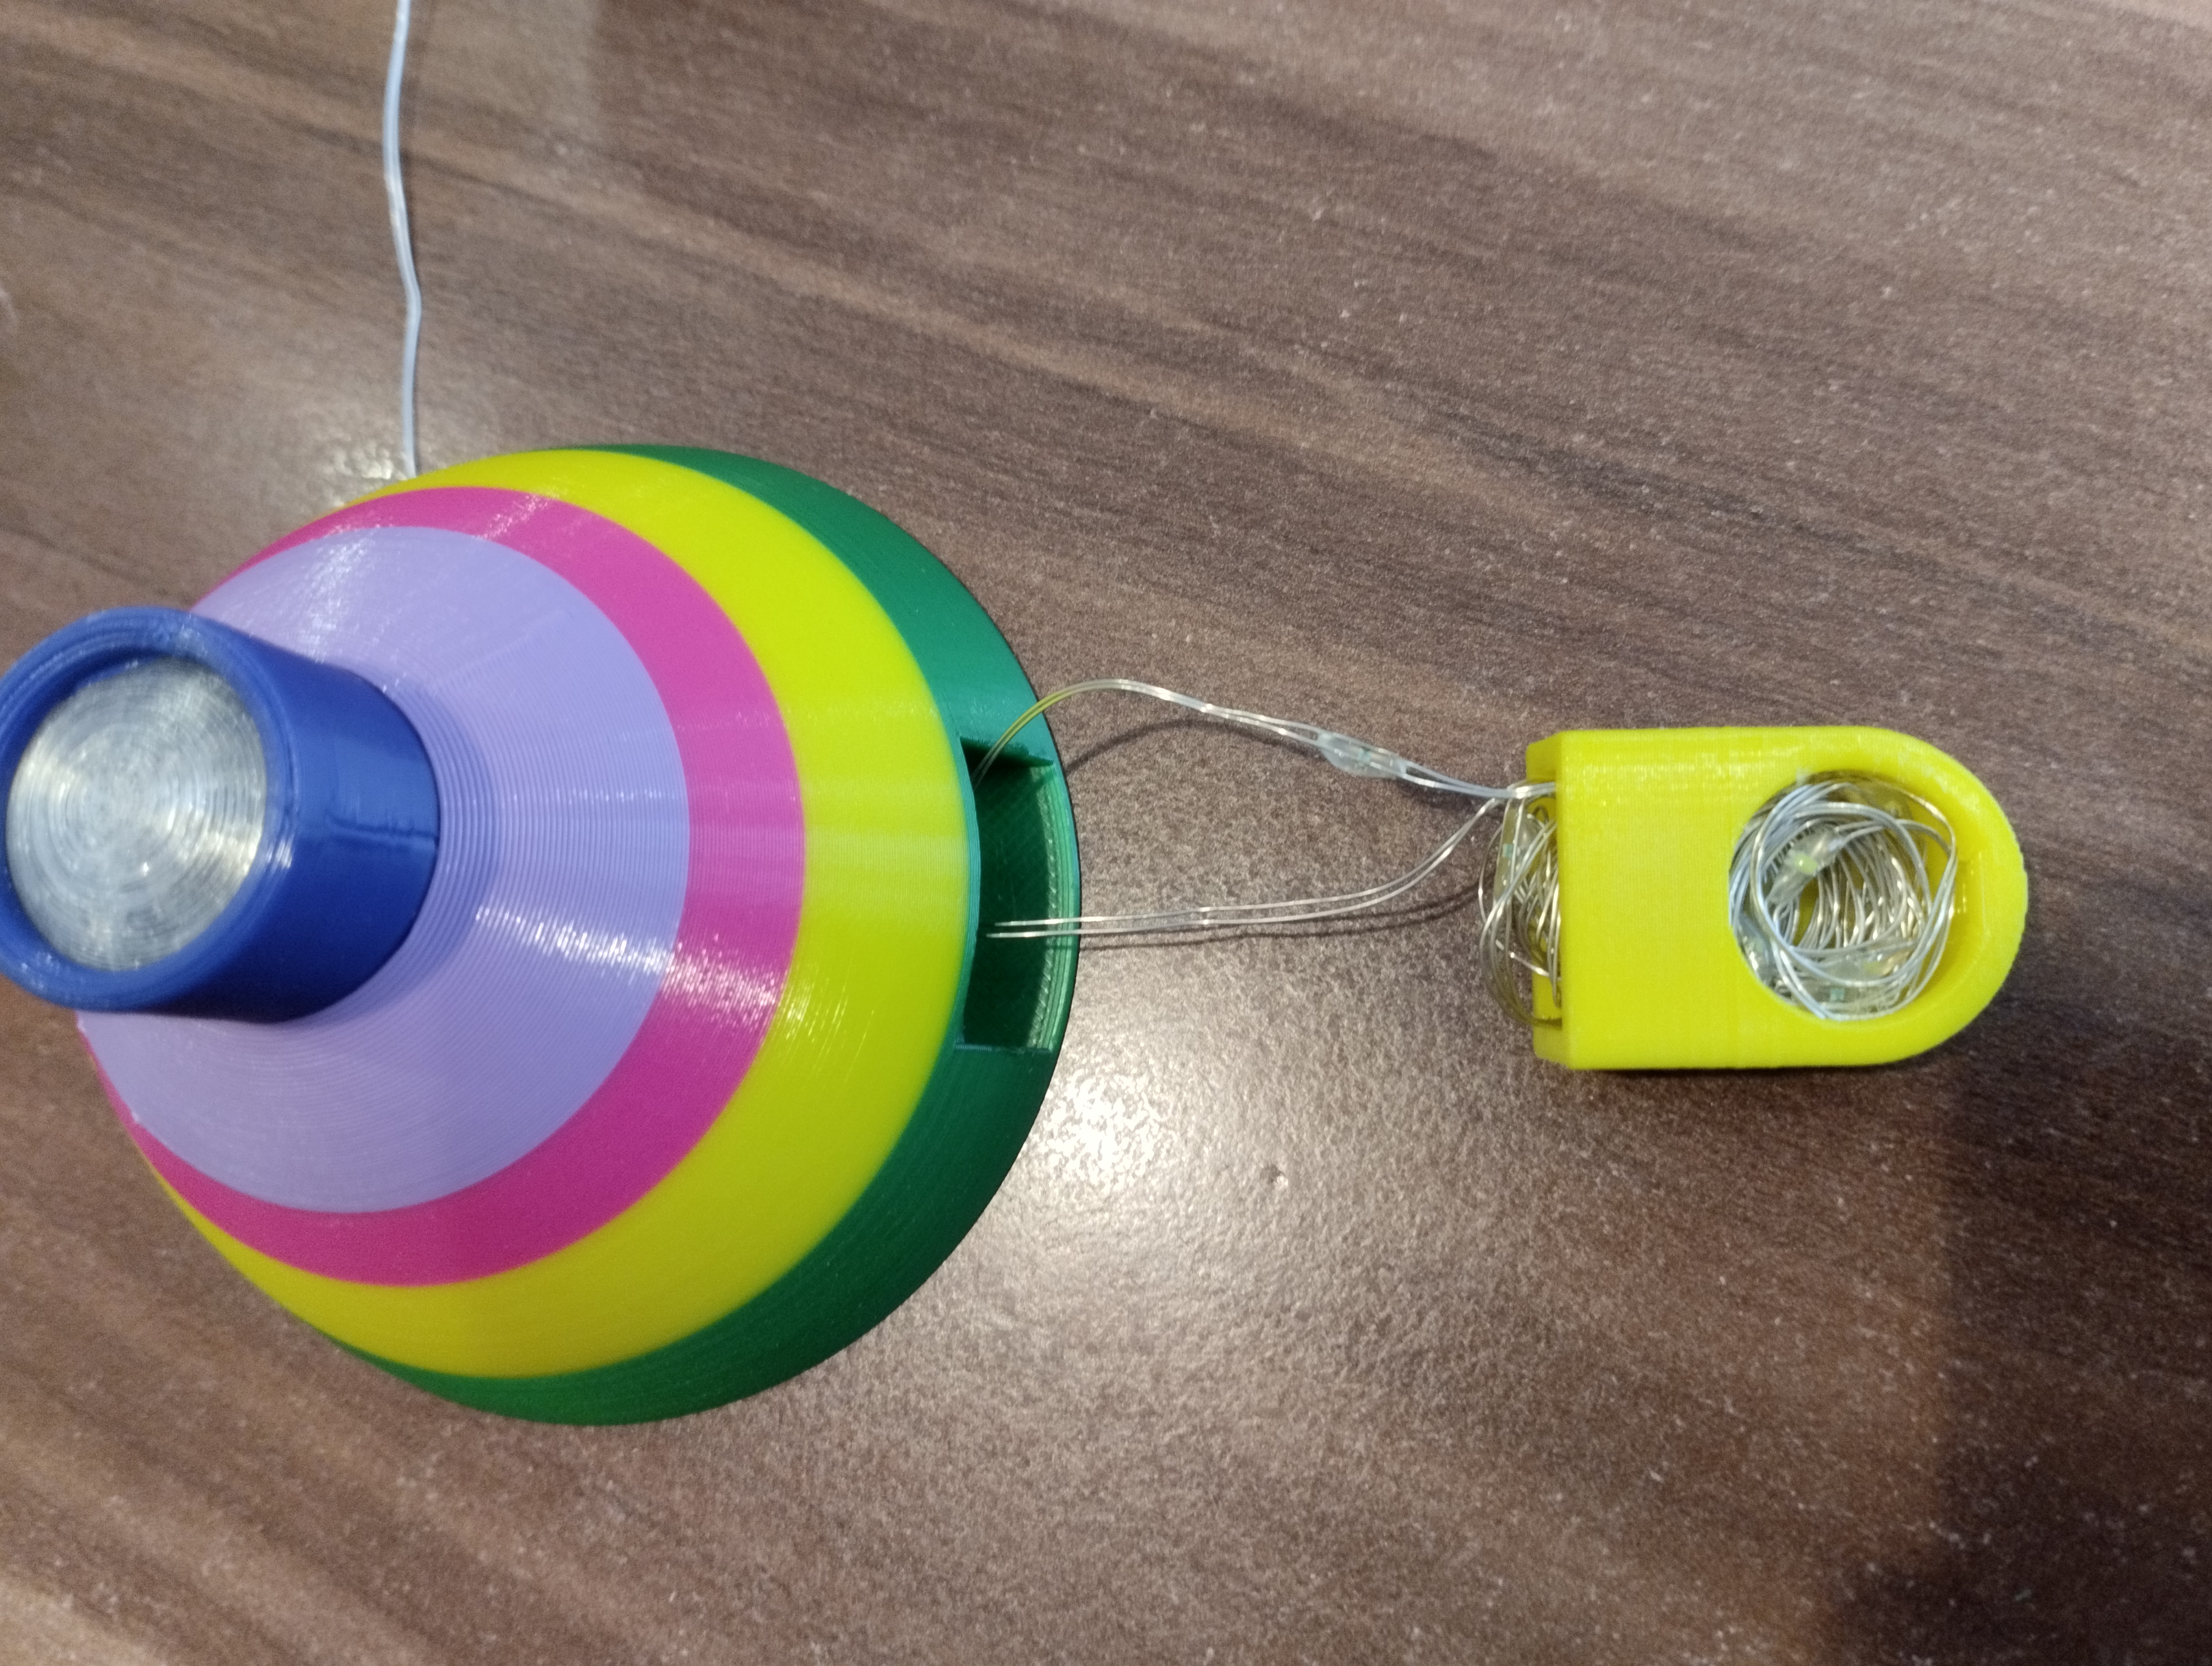
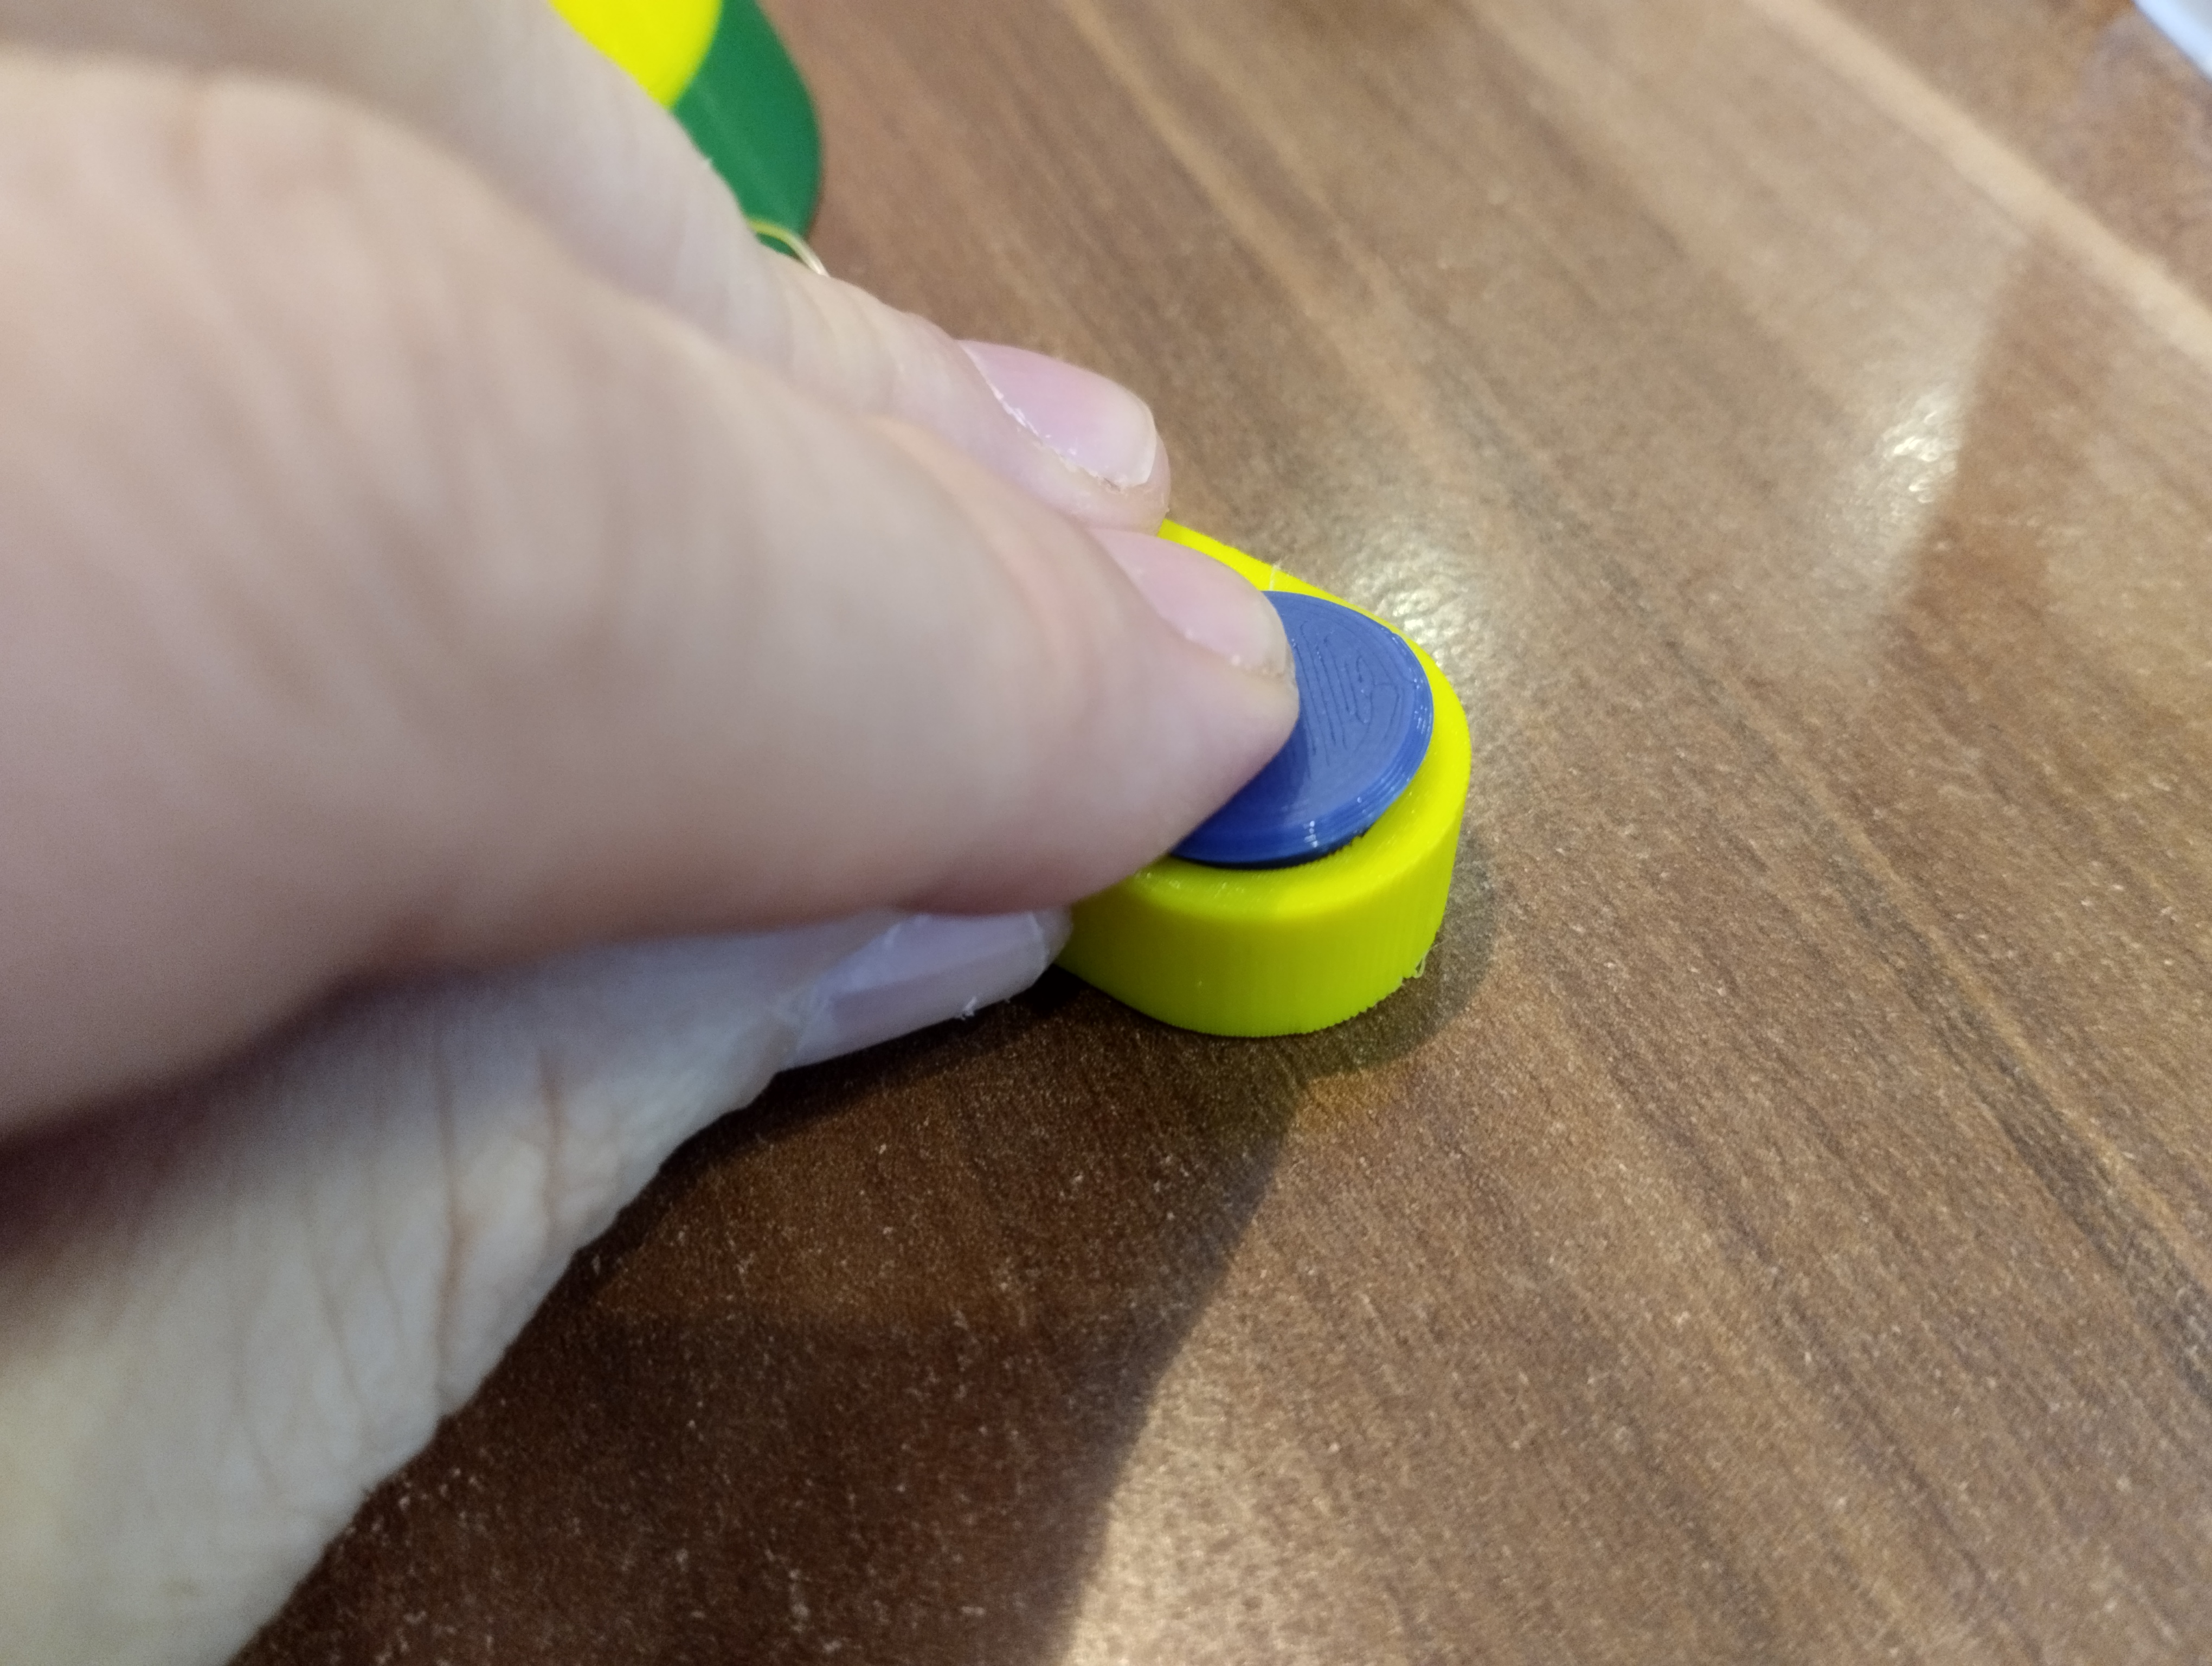
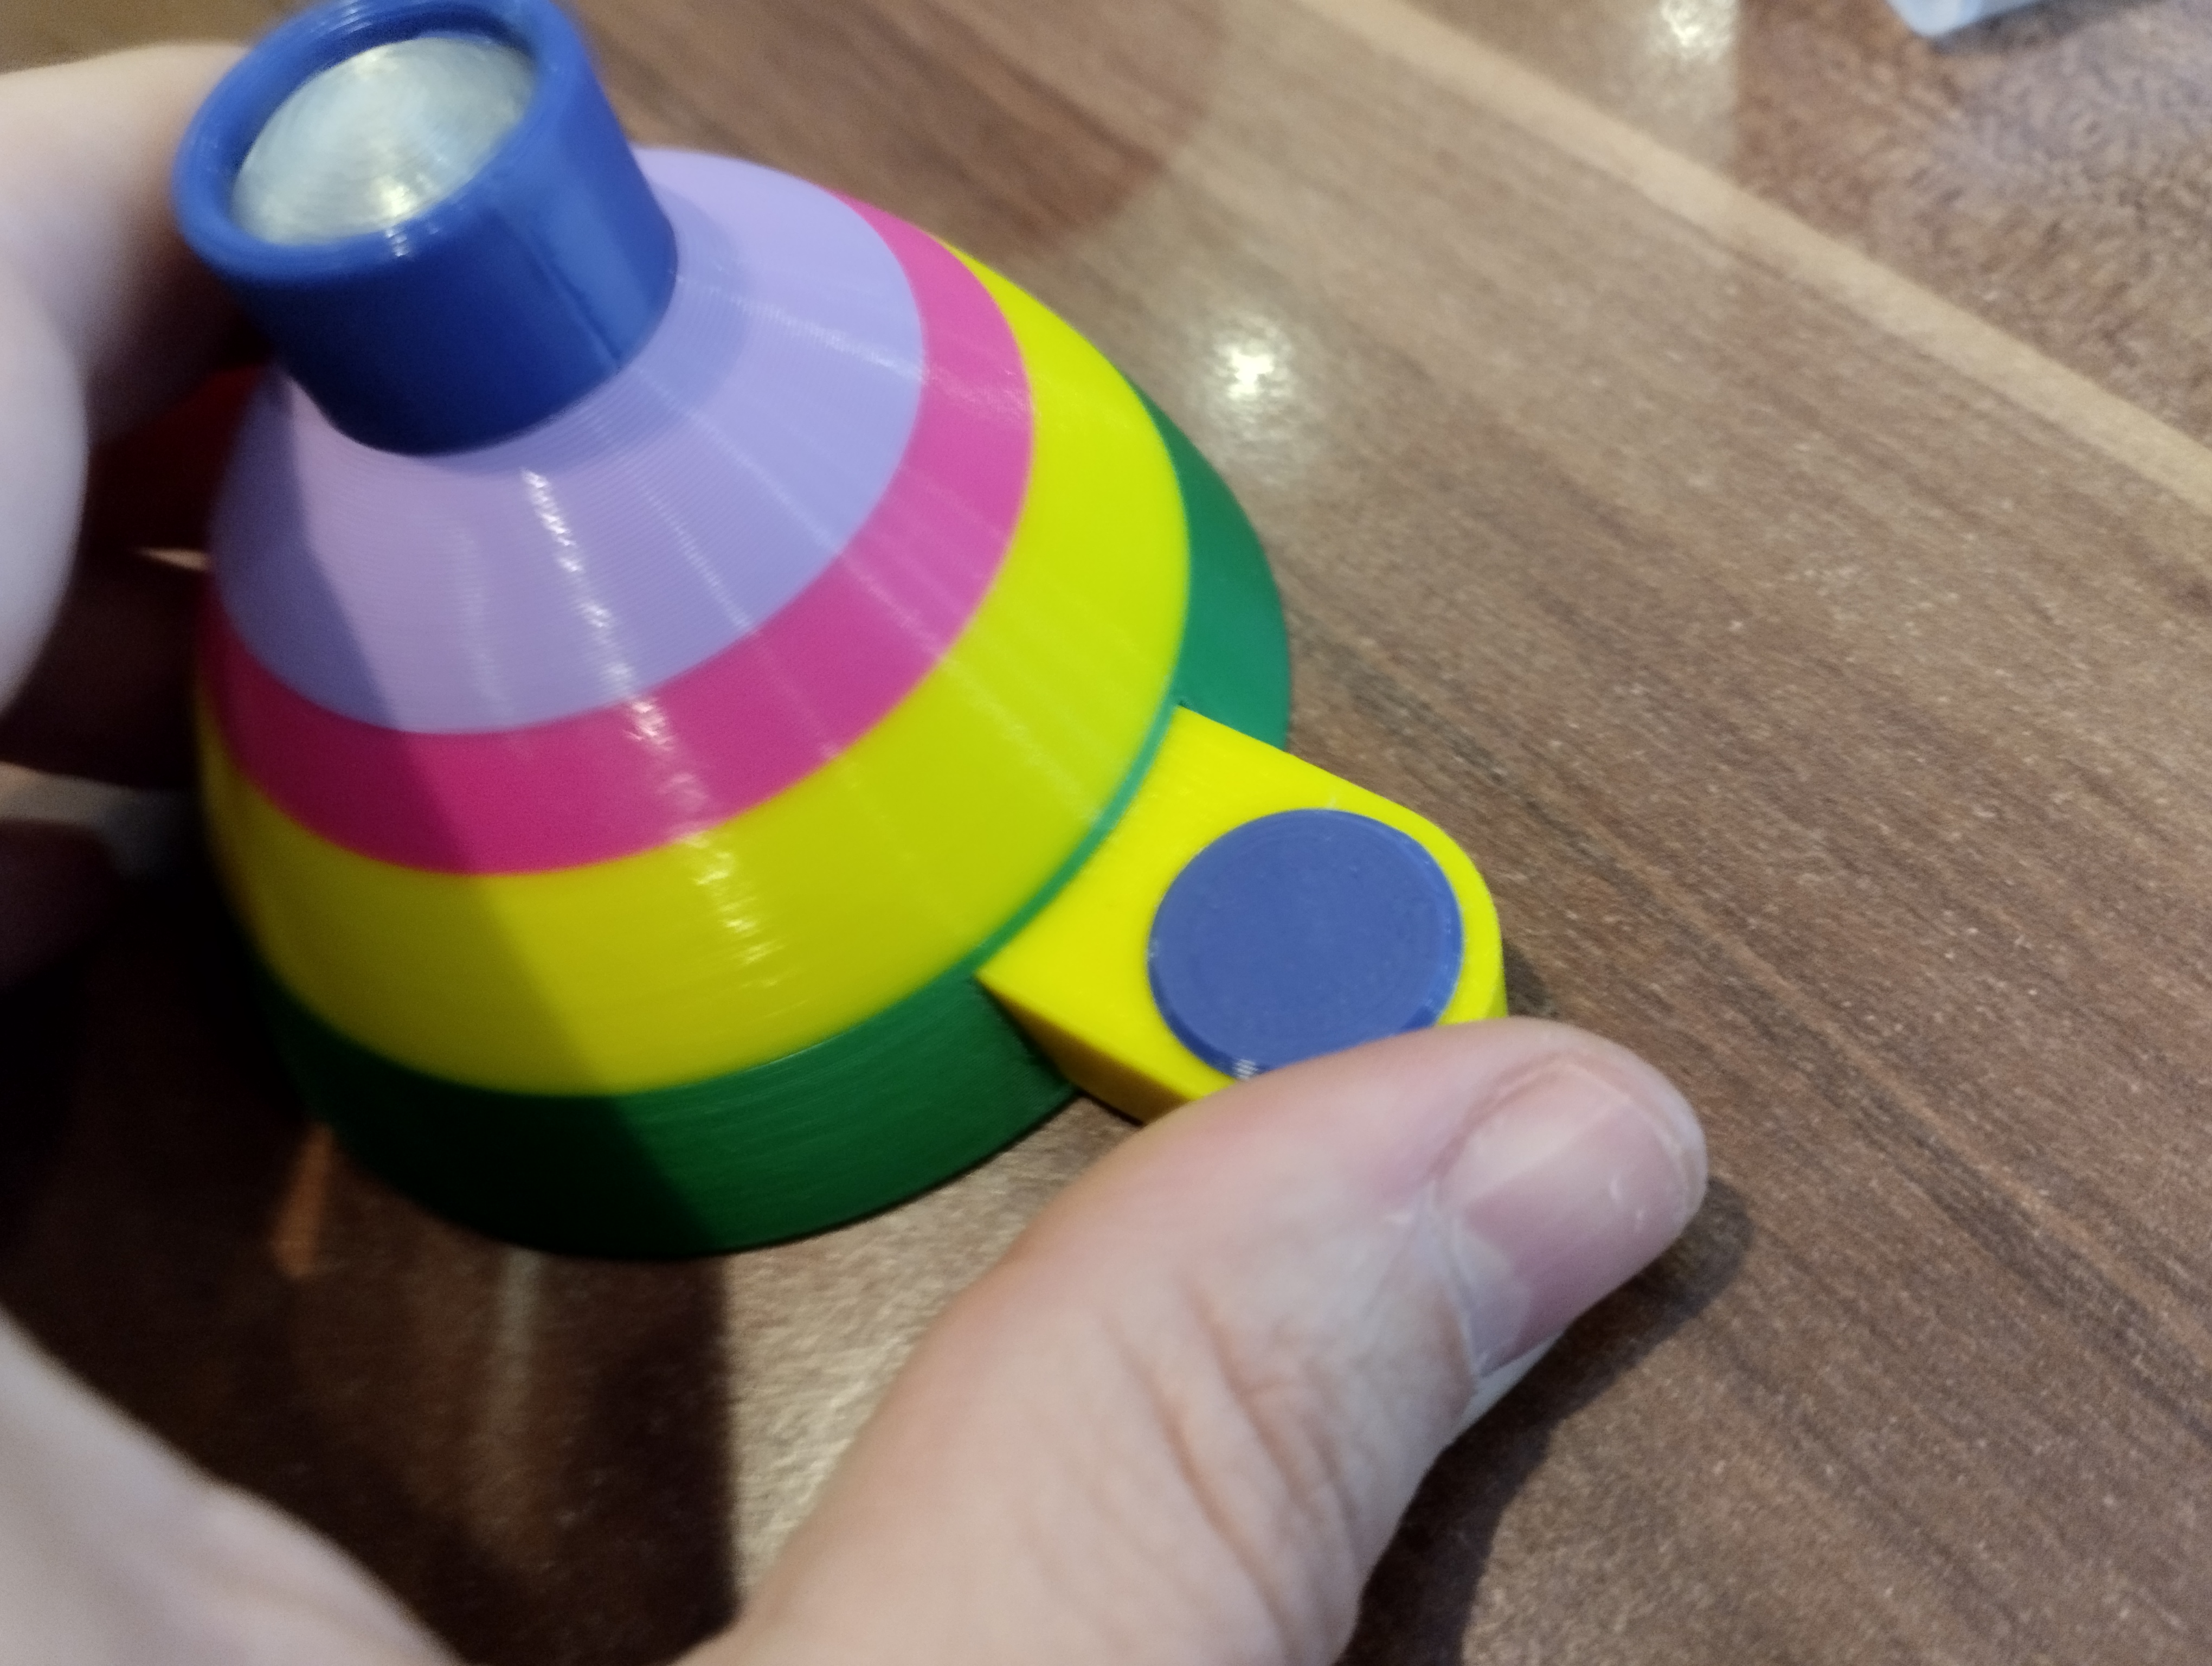
- We connect eggs 1 to 3 and screwing them with two M3x35mm screws.
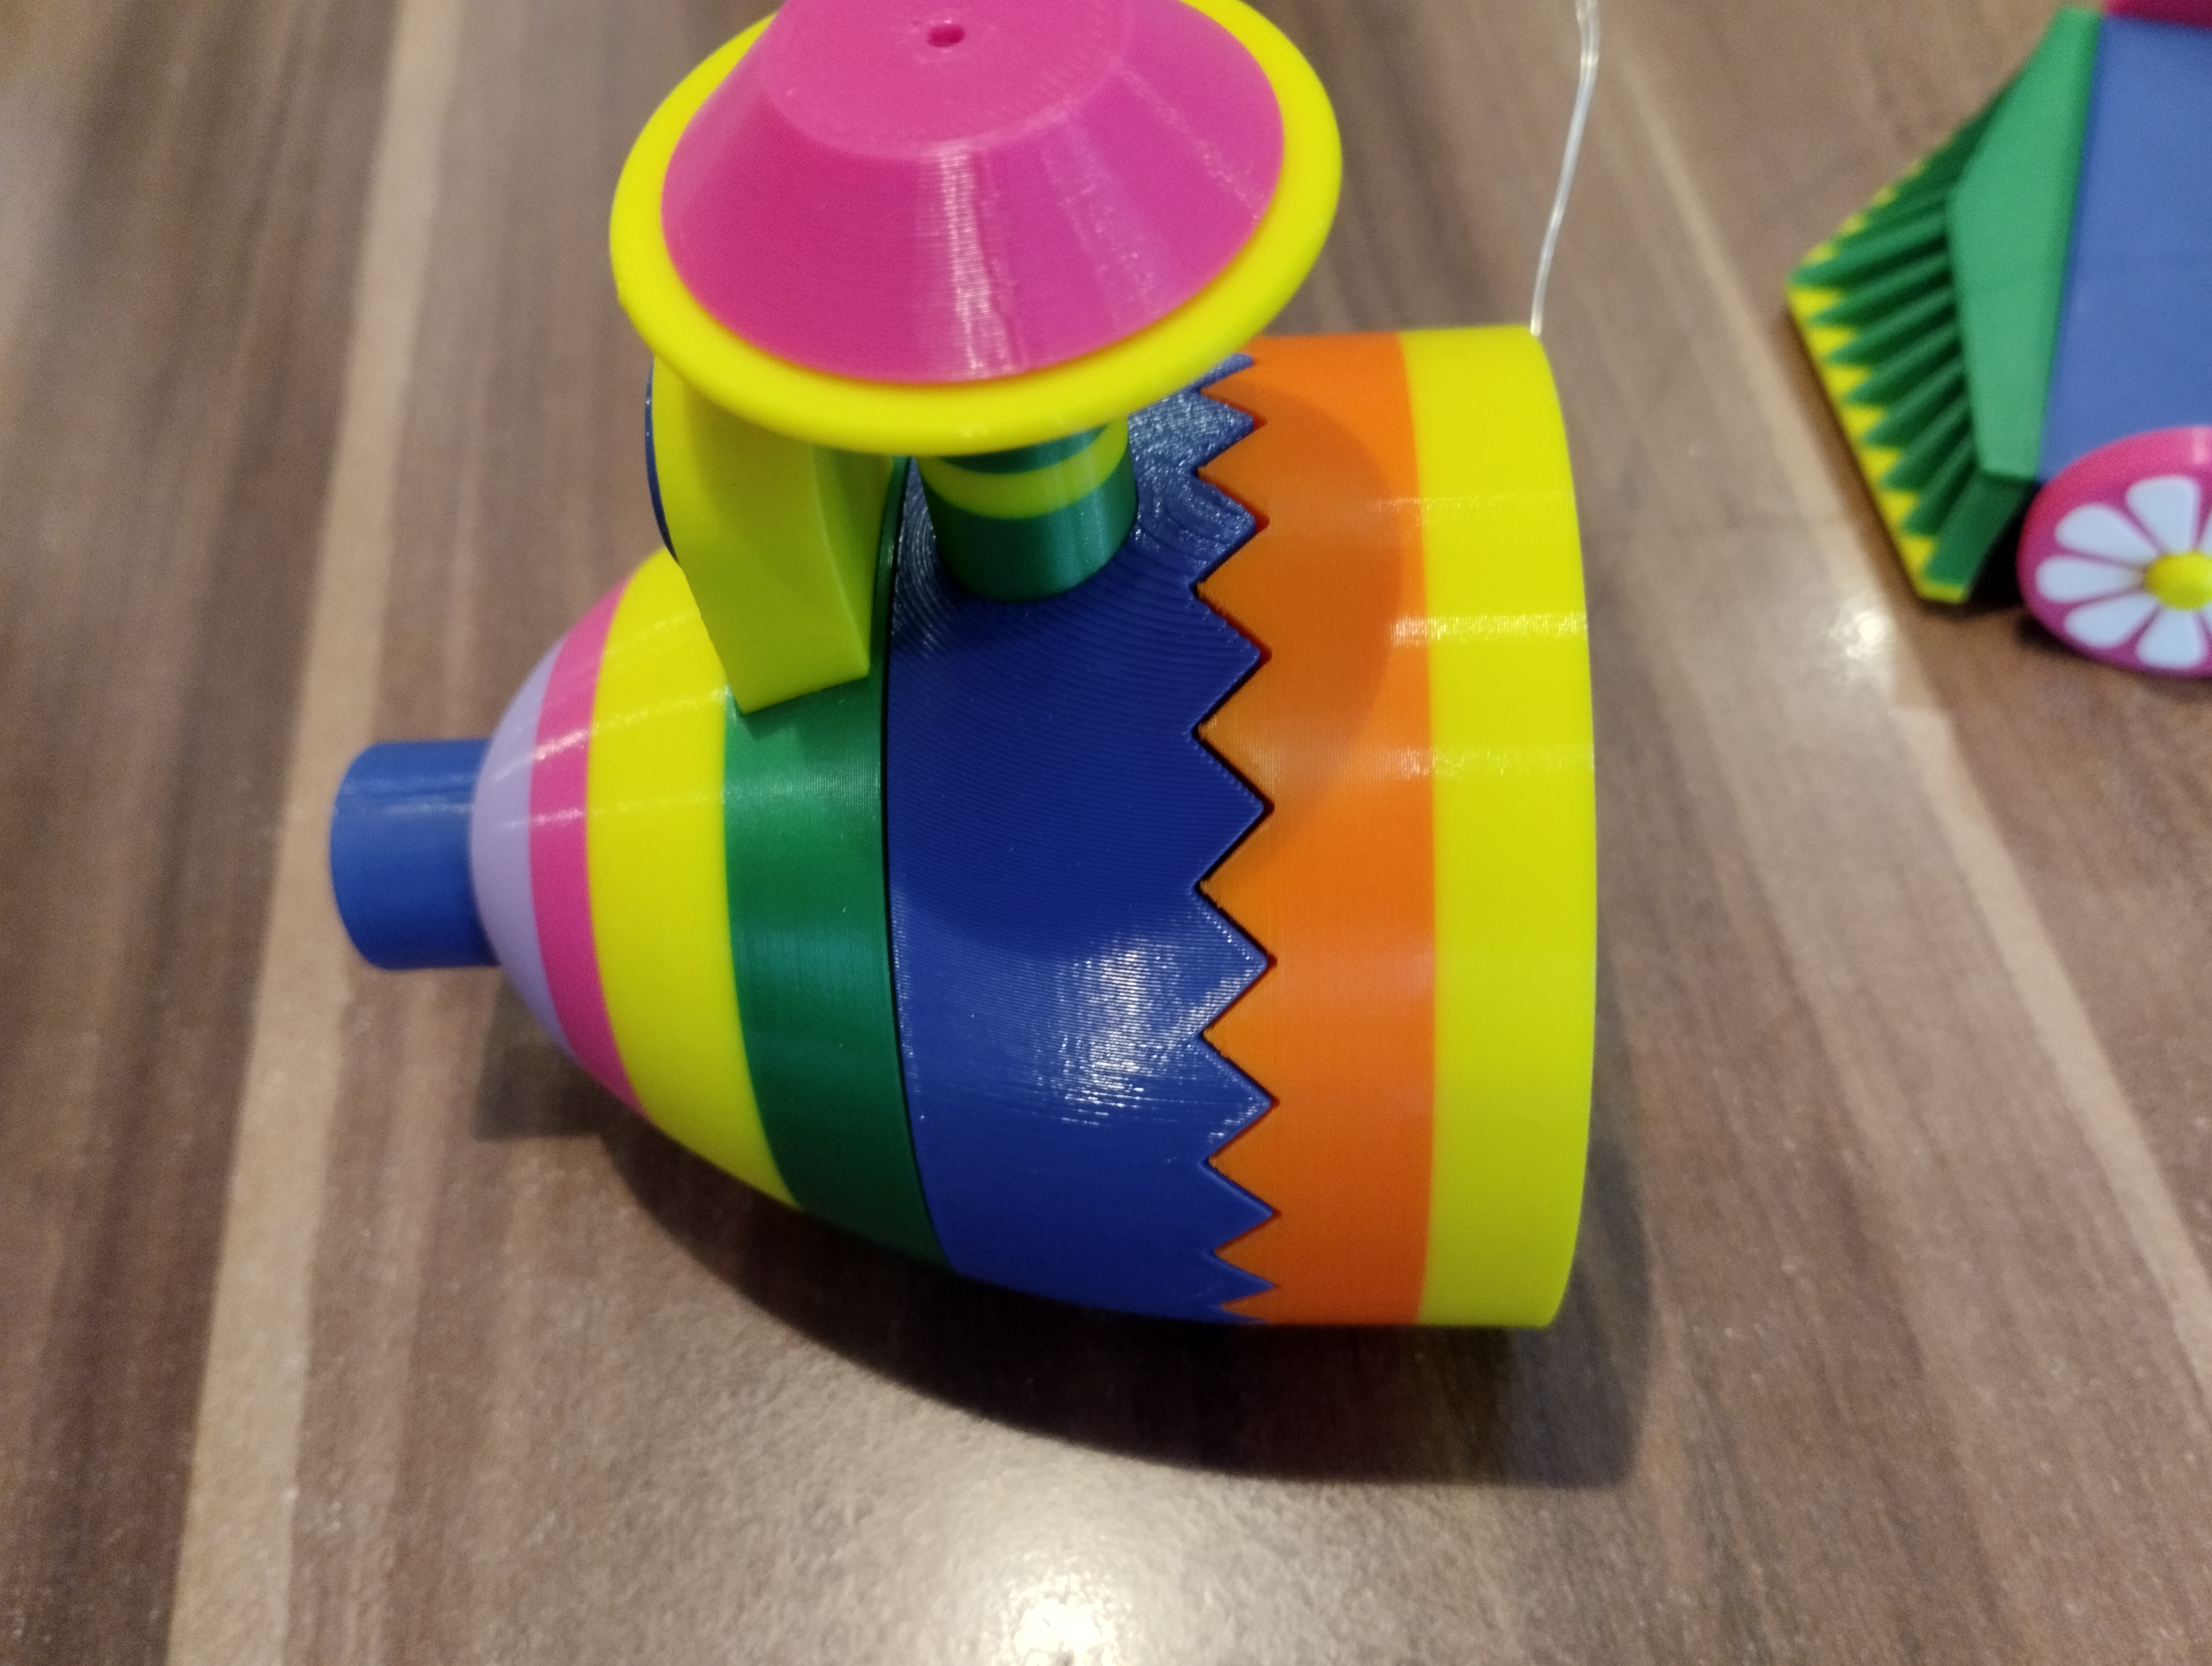
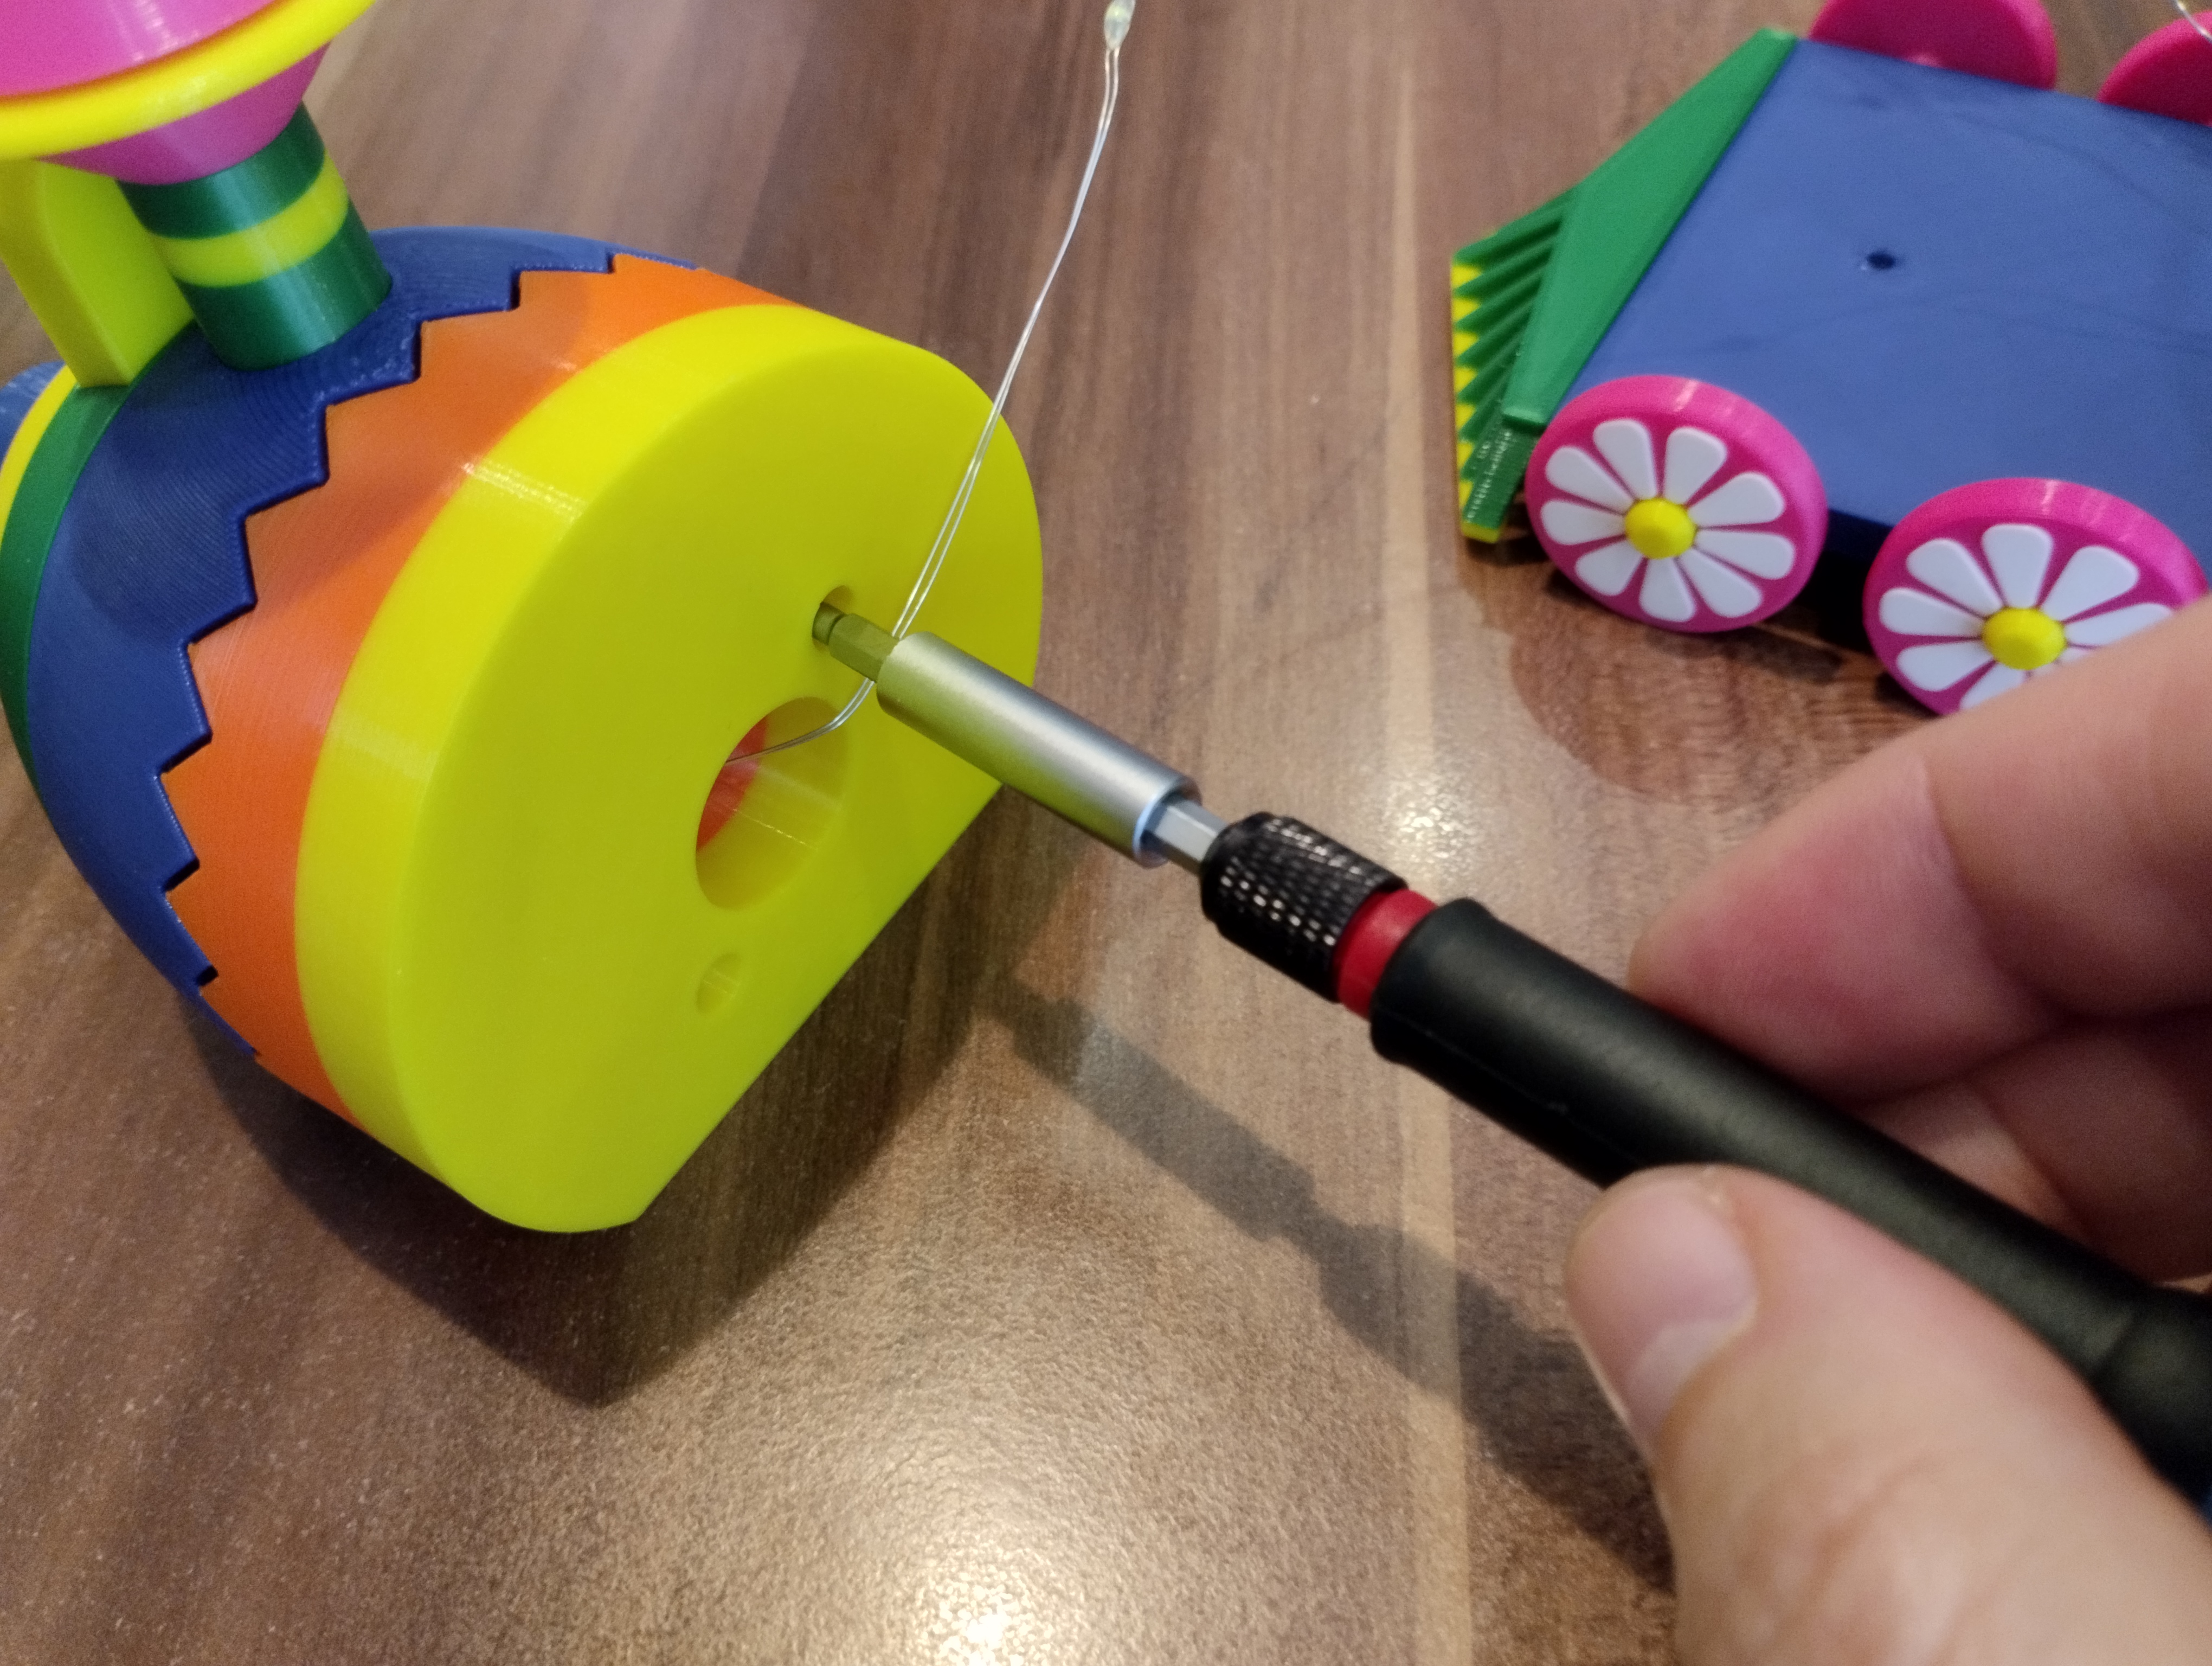
- We place the front part on the base and screwing it with two M3x18mm screws.
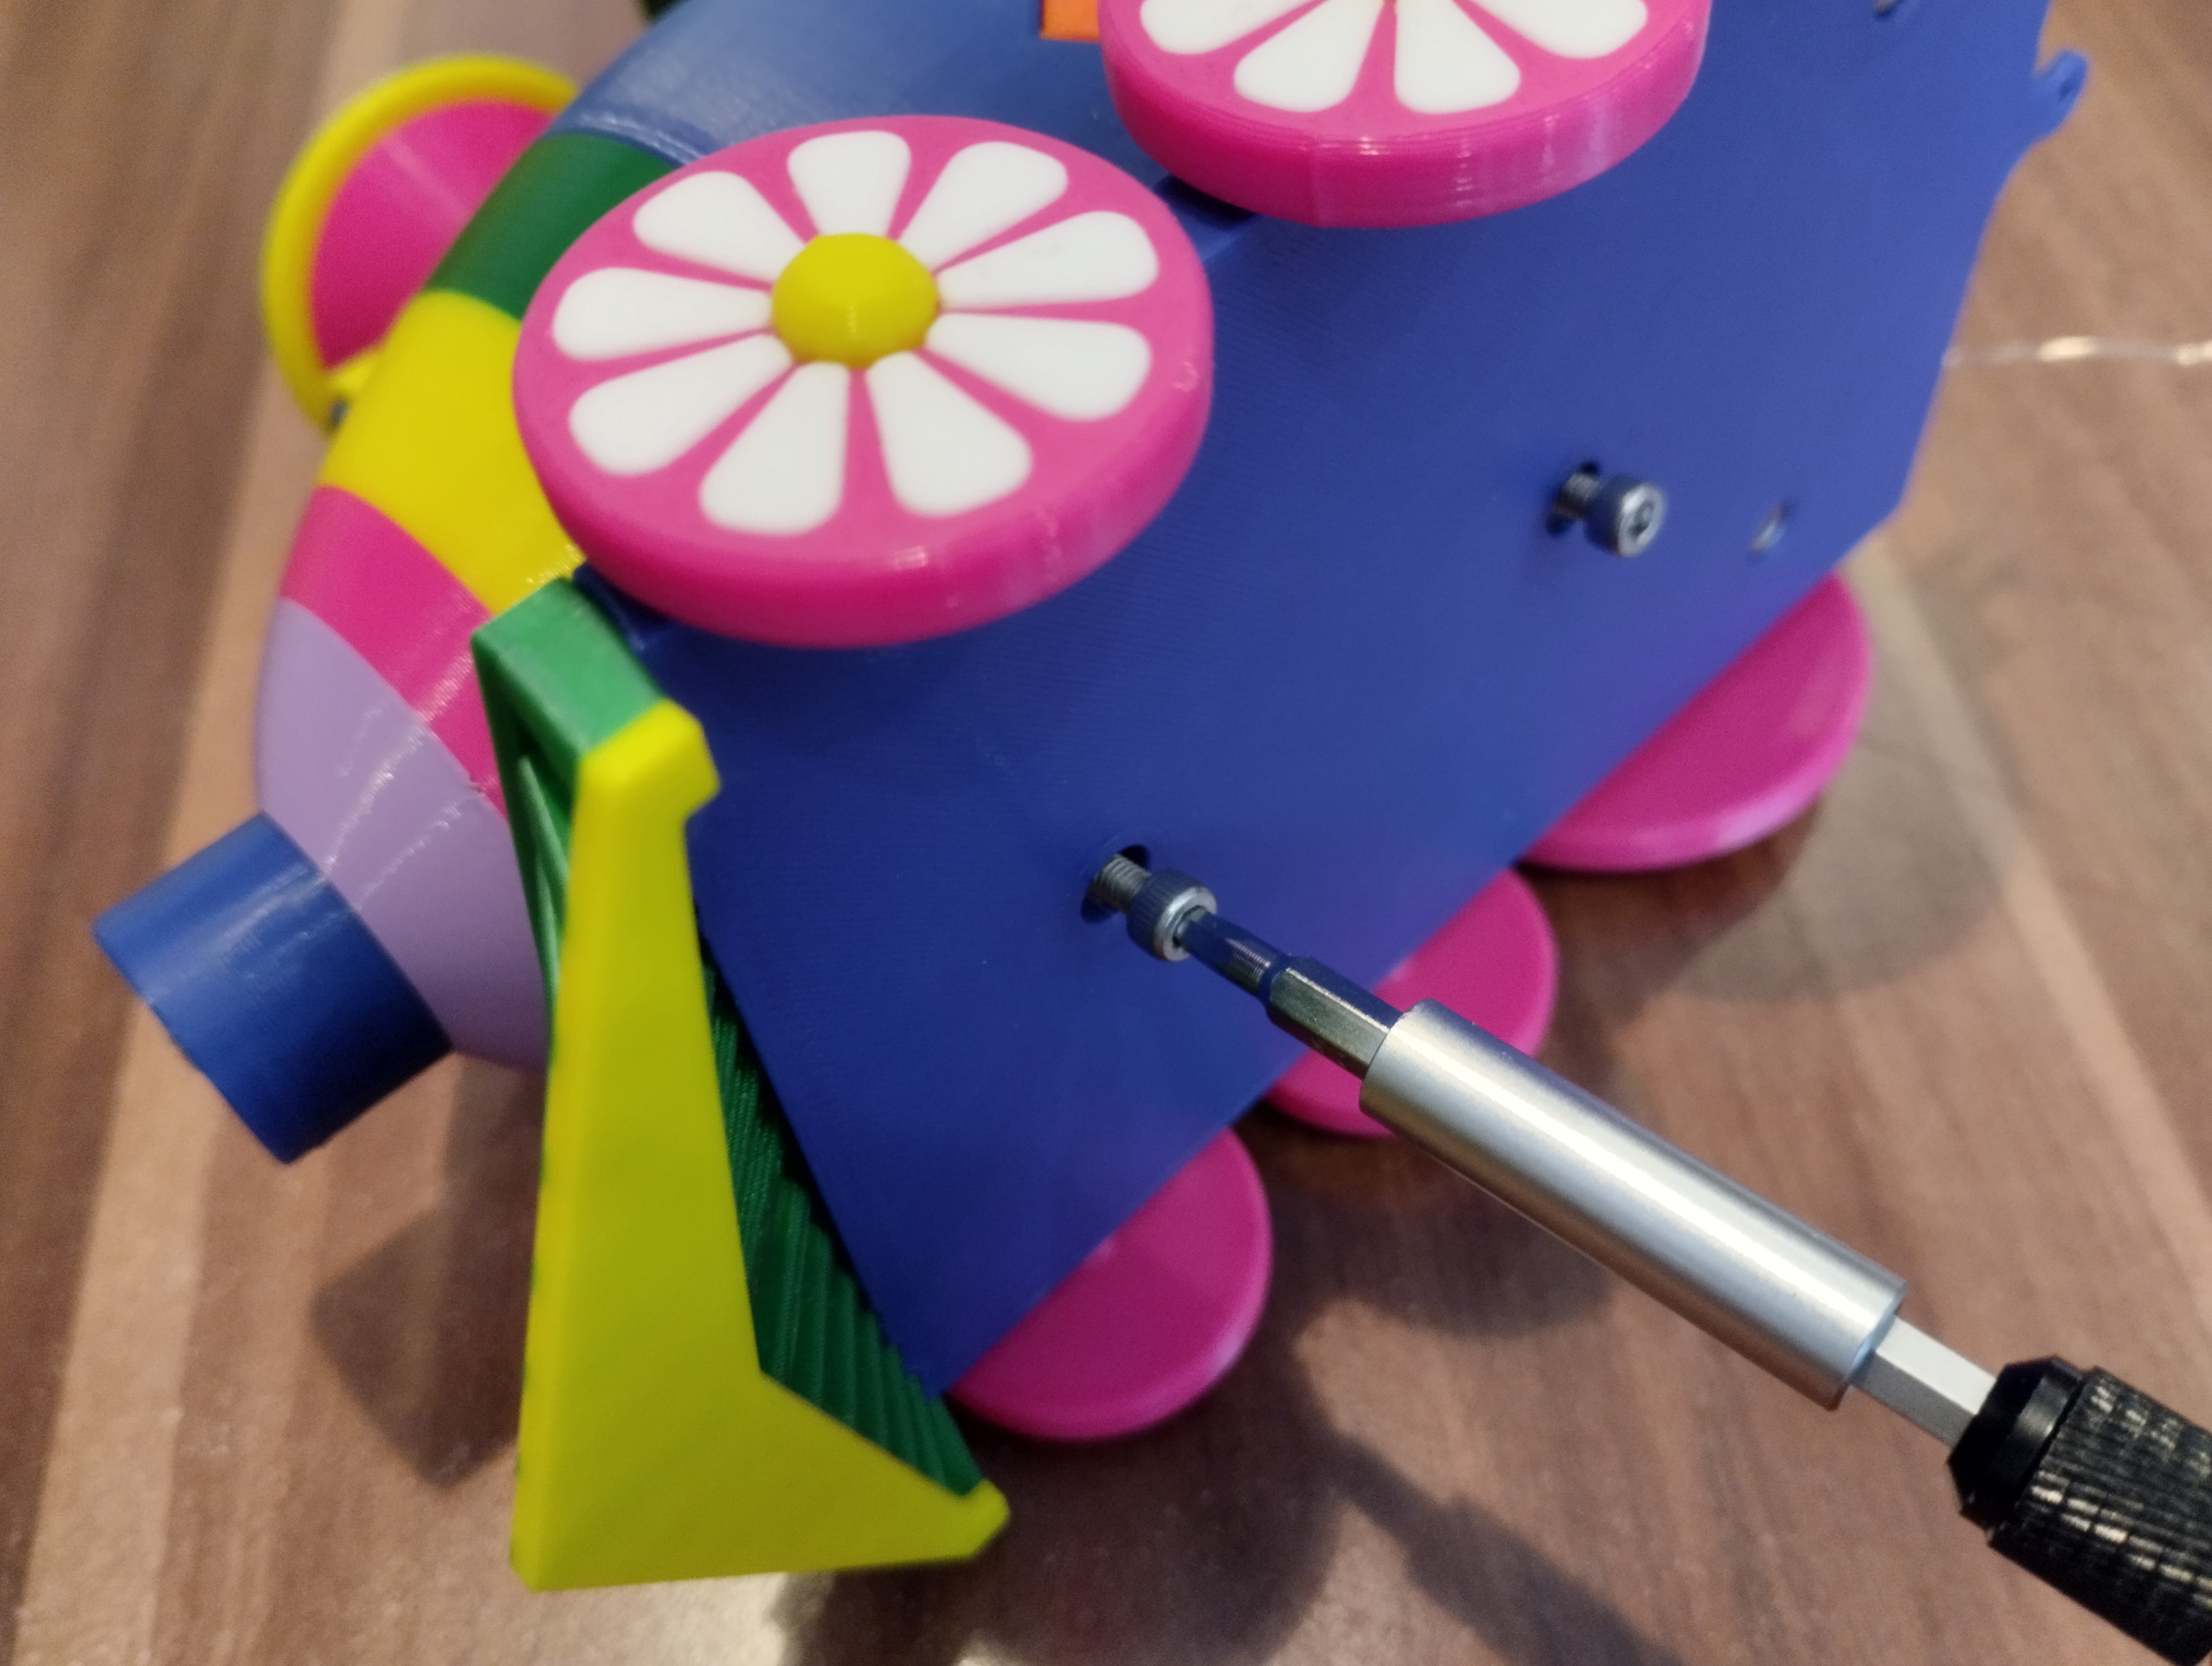
- Put the roof on the top cabin.
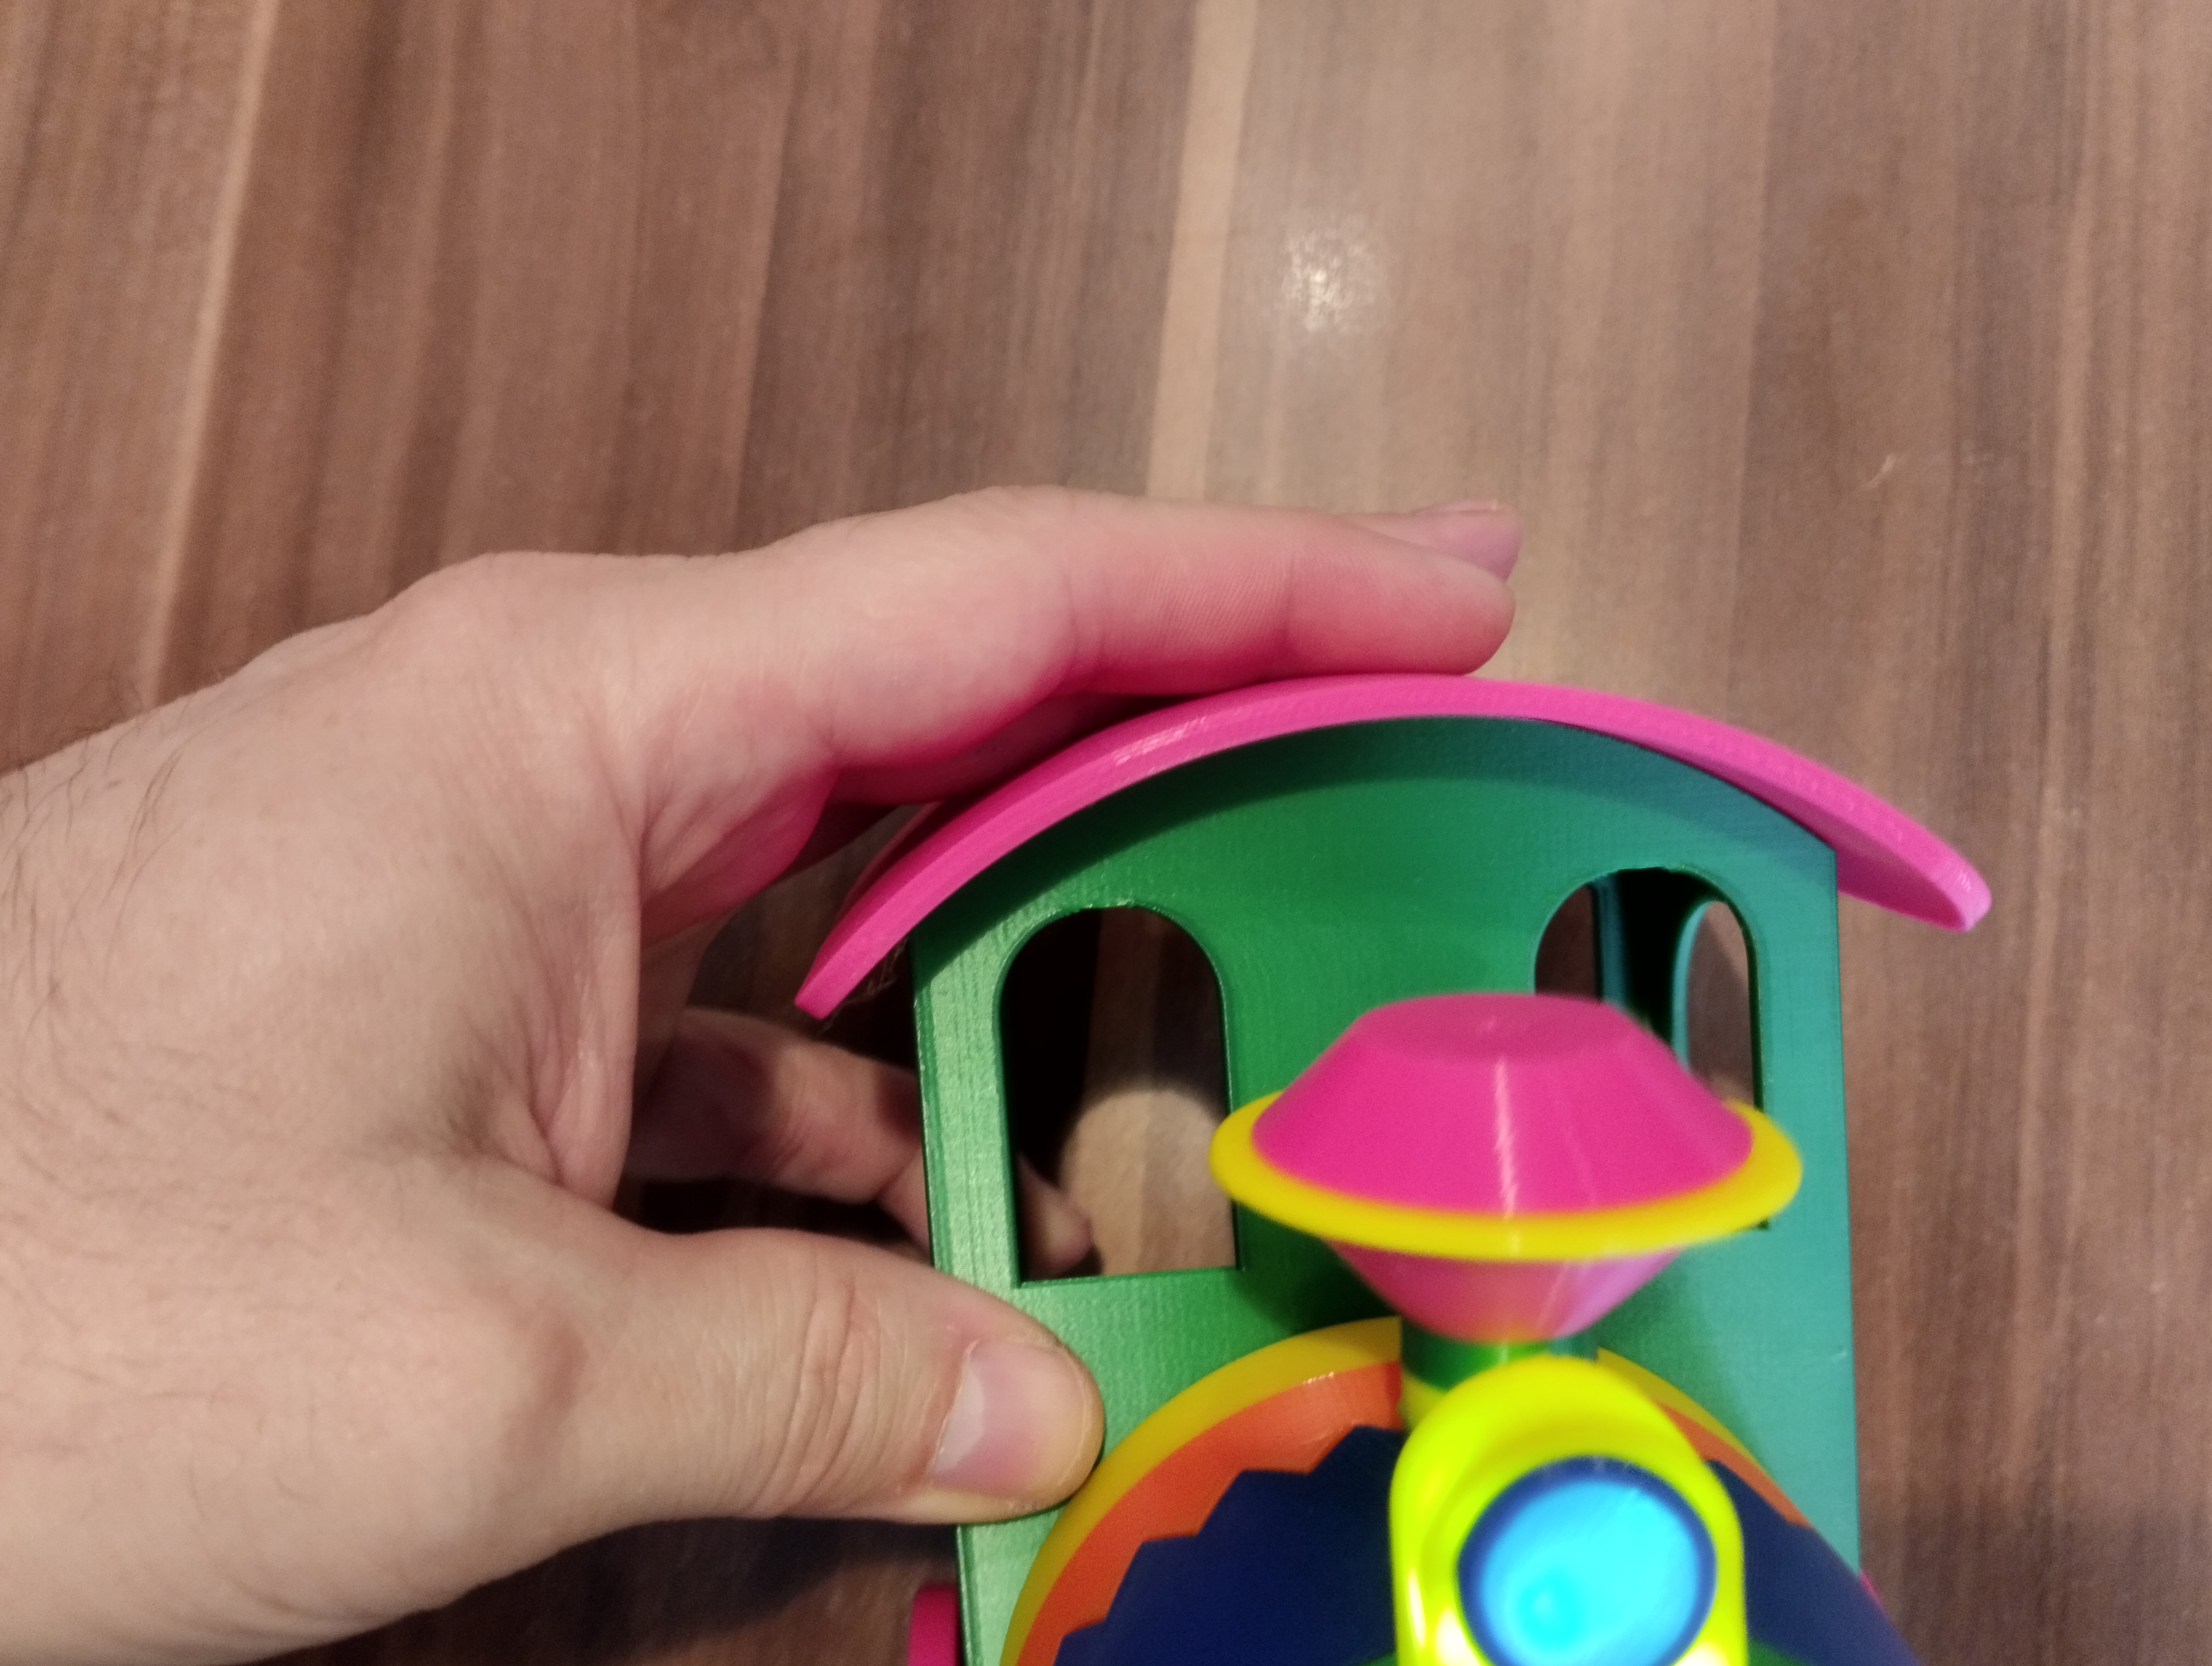
- The train is finished. Hooooooooray.
Building wagon:
- Take a small wheel and insert small flowers into it (picture in train step 3).
- Now we attach the wagon to the wagon base with M3x10 mm (Wagon 1) or M3x6 mm for wagon 2 screws.
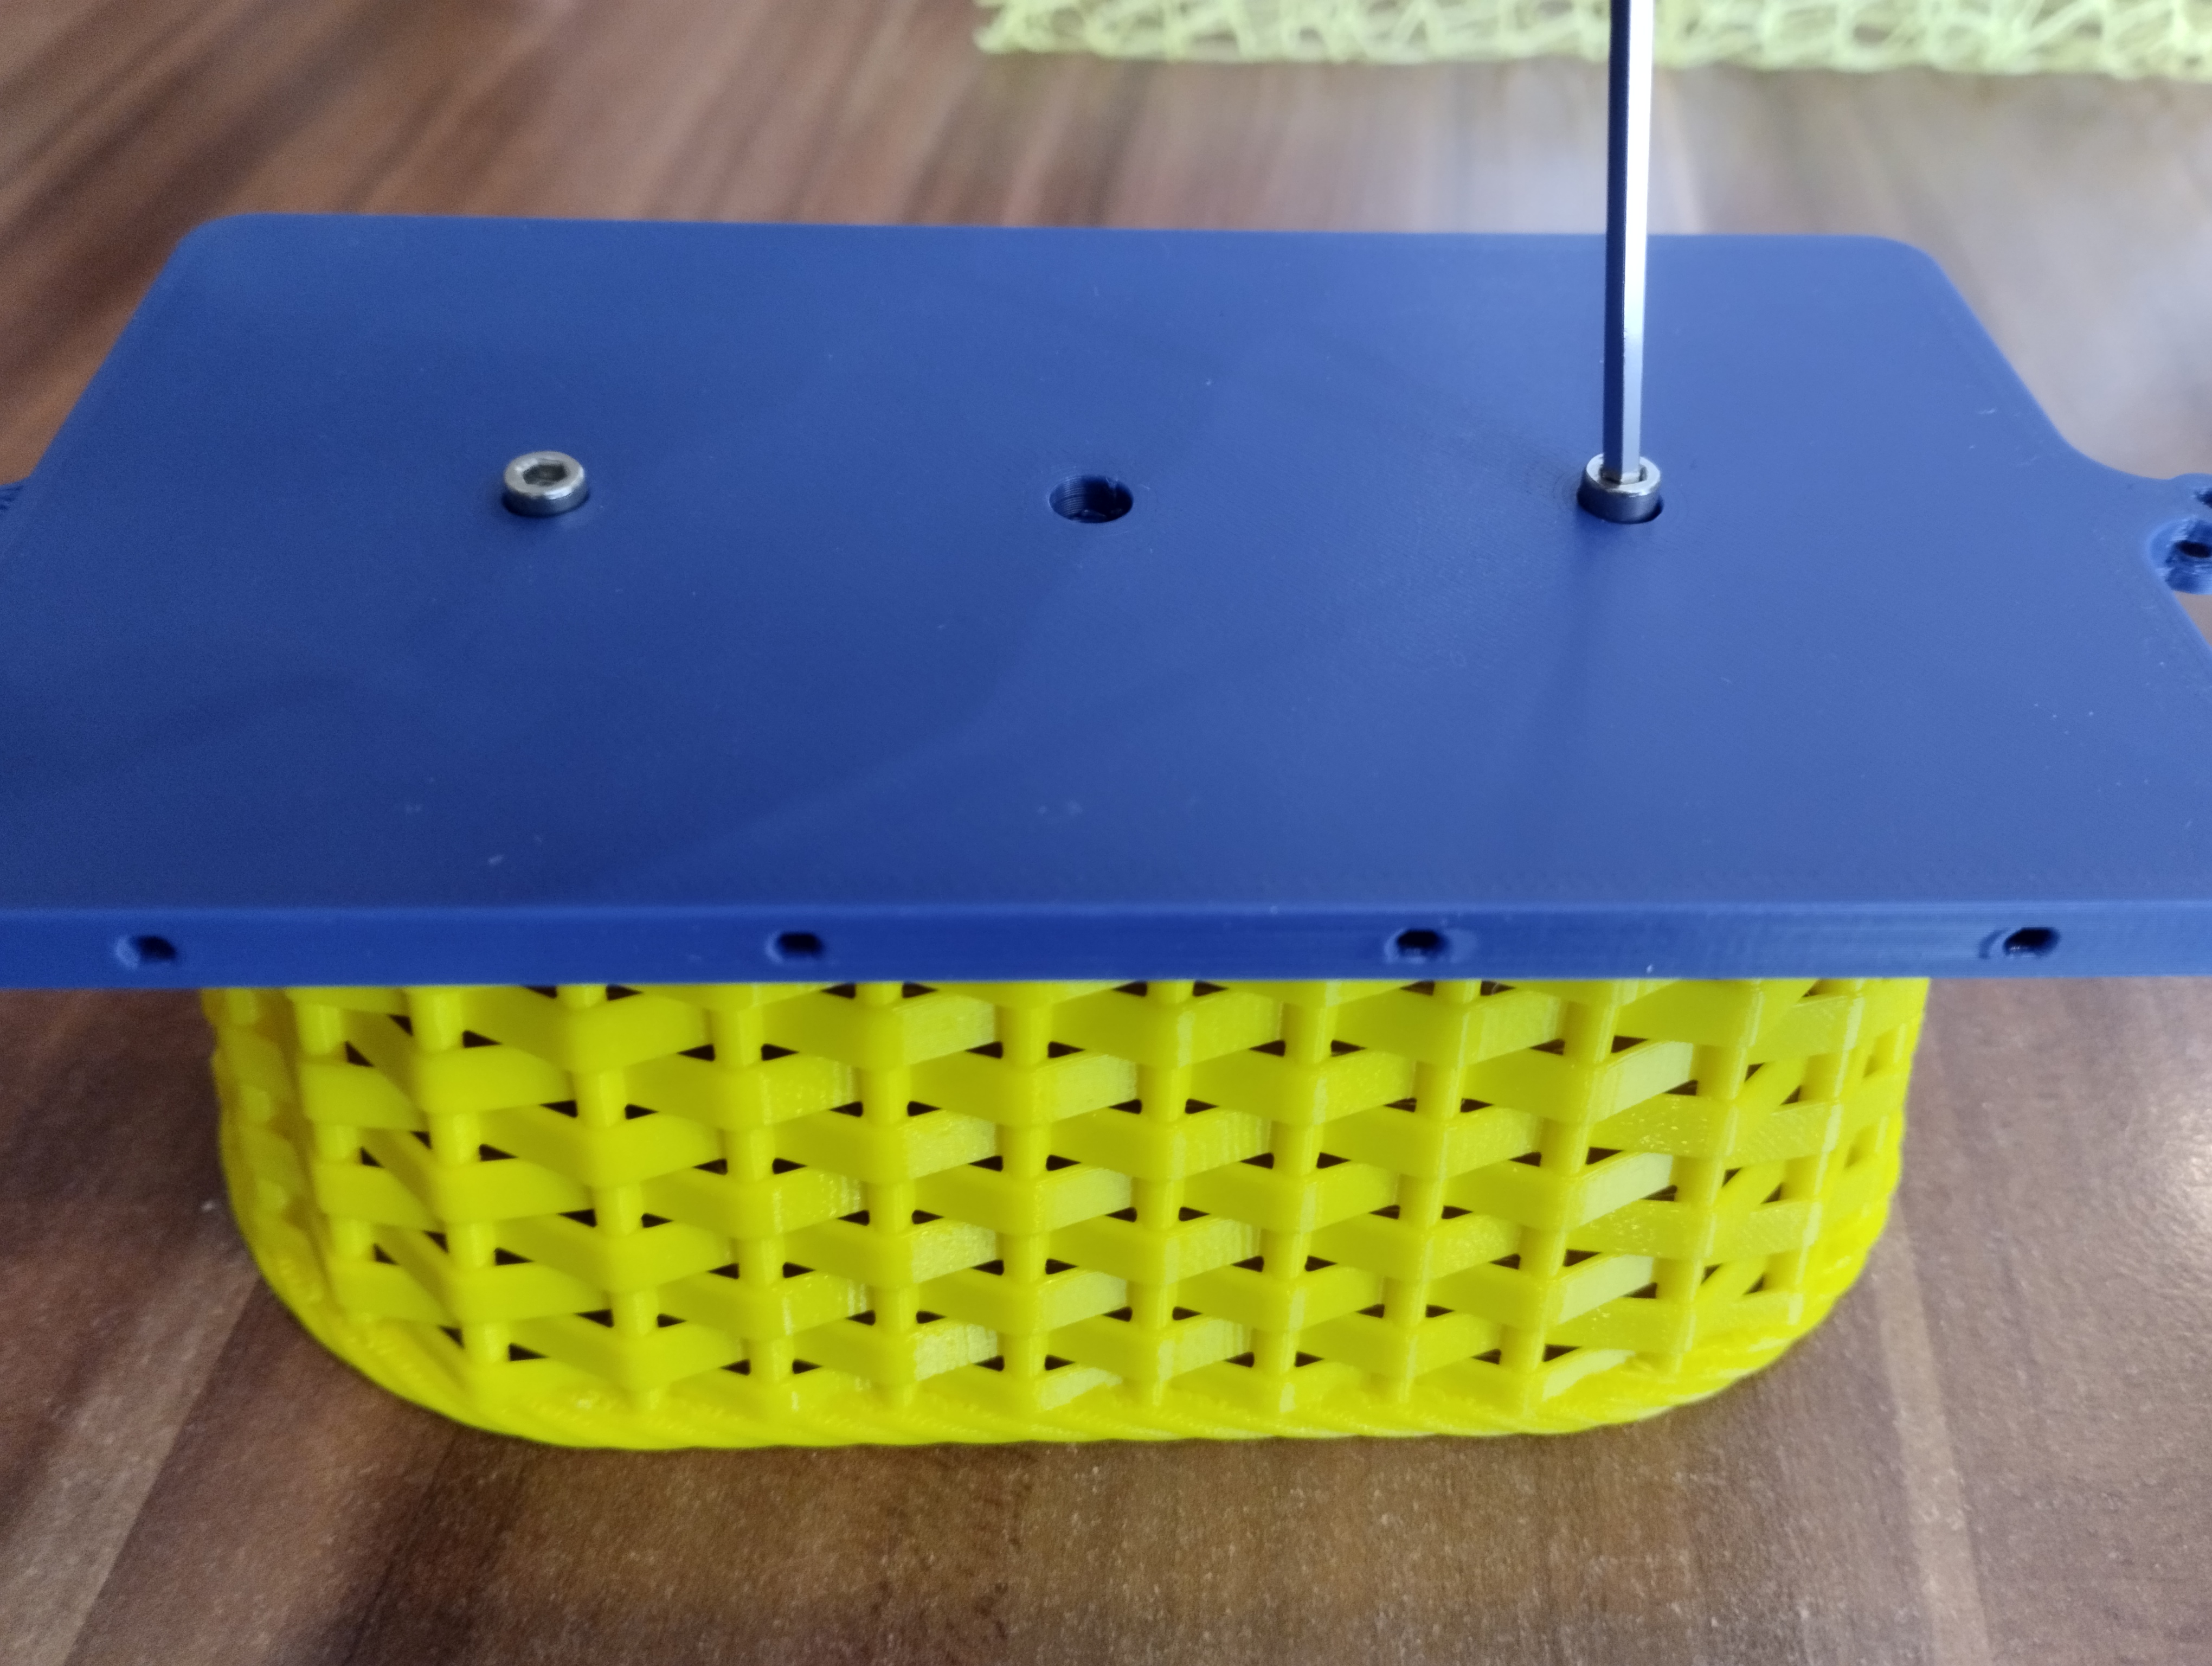
- Assembly the wheels on the train base using M3x18 mm screws. Tighten the screws so that the wheel rotates. Not to the end.
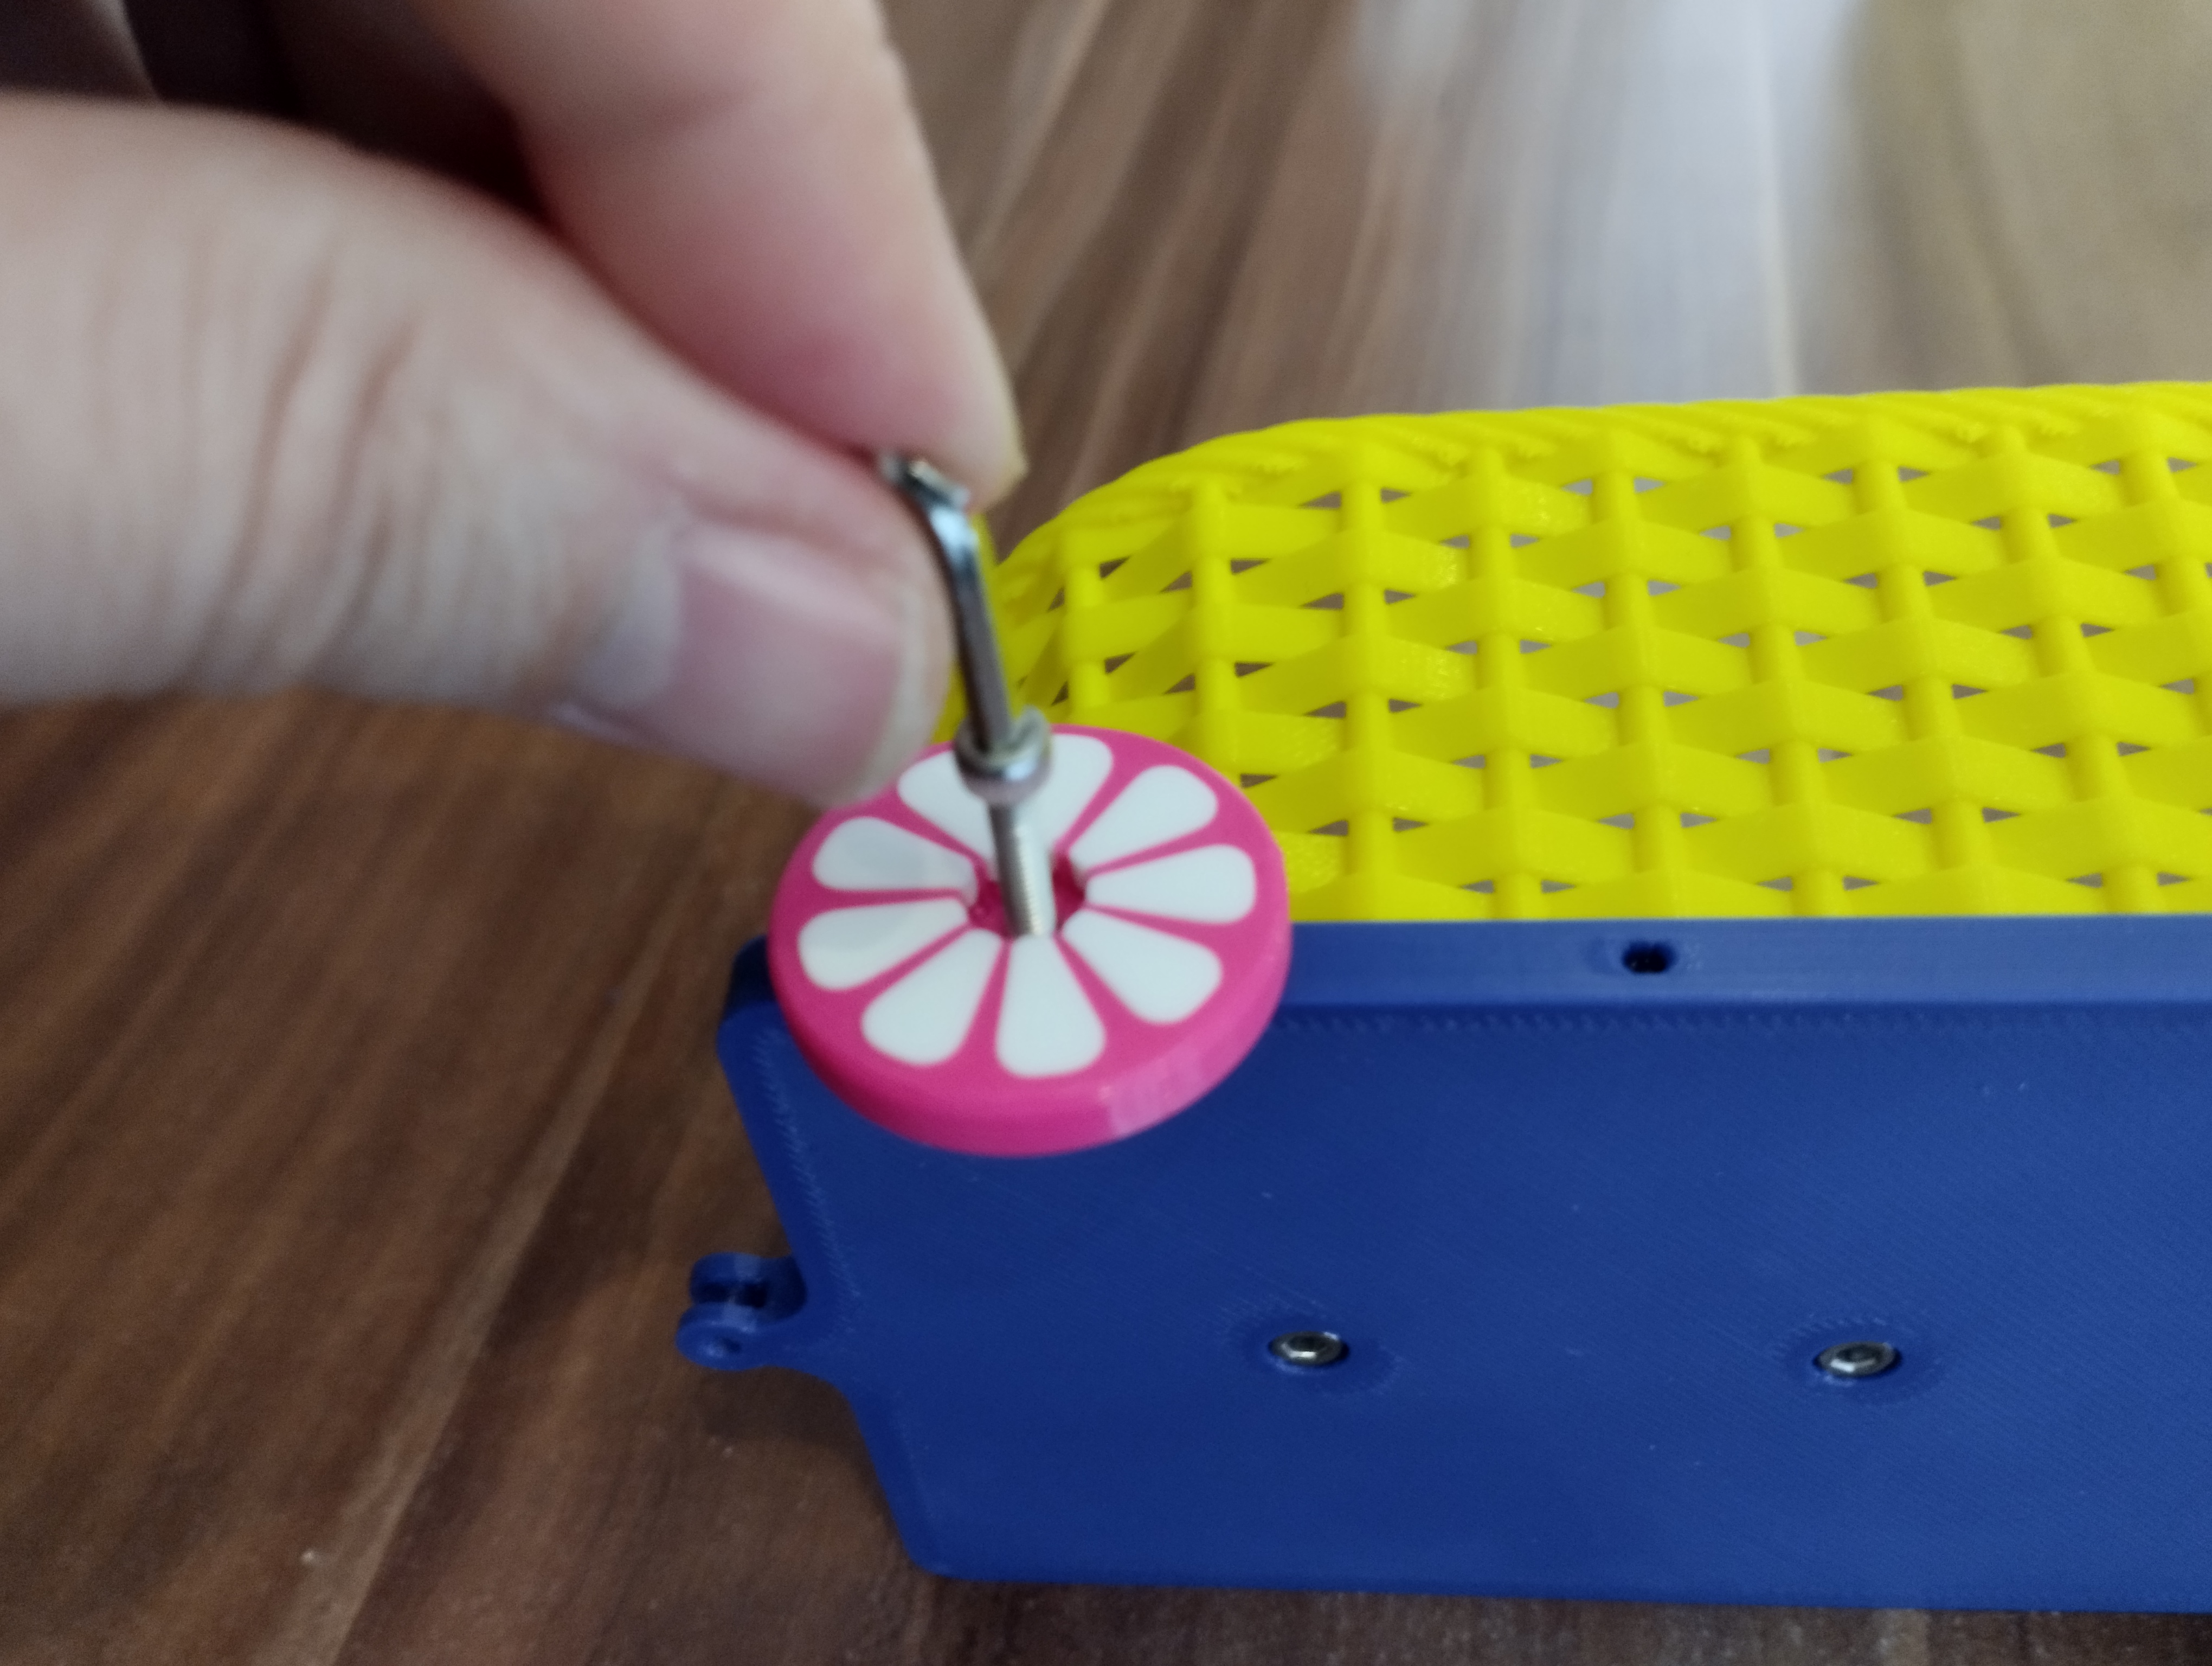
That is all. Enjoy the easter.
________________________________________________________________________________________________________________ If you want to support my other projects, you would contribute to filaments at PayPal. Thanks.