Dummy 13 costume - Superman
We calculate the final price from your selected file. You review and accept it before payment.
Saved on this device.

Superman variant of Dummy 13
- Rating
- 5 / 5
- Likes
- 692
- Downloads
- 2,605
- Makes
- 10
- Views
- 12,489
- Reviews
- 9
Updated at source:
Model information
- Source
- Printables
- Category
- Other Toys & Games
- License
- Creative Commons — Attribution — Noncommercial — Share Alike
The Man of Steel, now in plastic!
This is my Superman variant of the Dummy13 figure by soozafone
I used the 2x Muscled arm for dummy13 and the Hunky variant
This requires a well-calibrated printer and I printed at 150%. The hair has to be superglued on to the head and the logo has to be superglued into the chest.
Parts:
- Blue:
- Frame parts:
- 4x frame-knee-elbow
- 4x frame-hip-shoulder
- frame-abdomen
- frame-chest
- frame-hips
- frame-waist
- 2x frame-forearm
- 2x Hunky_clavicle_2mm_added_for_hip_armor
- 2x Hunky_longer_thigh
- 2x Hunky_longer_shin
- Armor parts:
- 4x armor-hip (2 for hips, 2 for hunky shoulders)
- 2x armor-knee
- 2x armor-thigh
- 2x armor-forearm
- armor-chest-lower
- Either 2x armor-upper-arm or 2x “New 2x uper arm dummy 13”
- SupermanAbs
- SupermanChest I used supports
- Frame parts:
- Yellow
- SupermanBelt
- SupermanLogo - Use supports and color change to red at the correct height
- Red
- Frame:
- 2x frame-ankle
- 2x frame-shin
- frame-hips
- Armor
- 2x armor-shin
- 2x armor-foot
- 2x armor-toe
- armor-crotch
- armor-waist
- SupermanCape
- Frame:
- Tan
- frame-head
- armor-head
- whichever hands you want
- either frame-neck and armor-neck OR Solid-neck
- Black
- SupermanHair needs supports. I printed with grid supports to make it easier to remove.
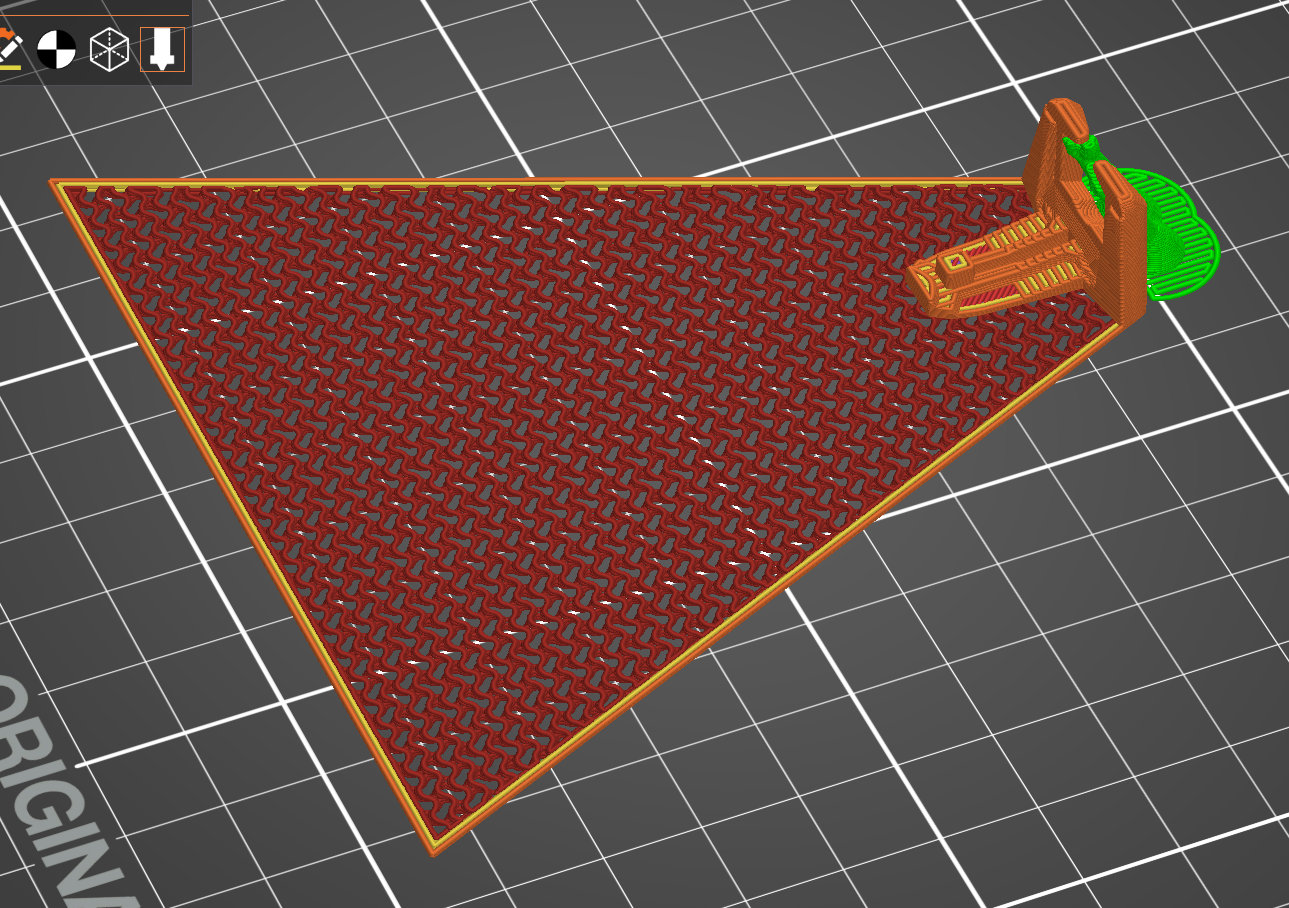
For the cape, I've done two different approaches. I printed with 45% Gyroid Infill, 1 top layer, and 1 bottom layer. Then I hit it with a heat gun to soften and wrinkled it while it was warm. This was the best approach. I printed in ASA, but you should be able to do the same with some trial and error in PLA.
Alternatively, you can use the approach laid out in multiuse flexible fabric. I used a height modifier to only enable top/bottom layers for the part of the model that clips onto the back.