Hexagonal Thinking Whiteboards
We calculate the final price from your selected file. You review and accept it before payment.
Saved on this device.
Model information
- Source
- Printables
- Category
- Organizers
- License
- Creative Commons — Attribution — Noncommercial
Summary
The problem statement was to make a set of reusable hexagons for writing on in “hexagonal thinking” assignments.
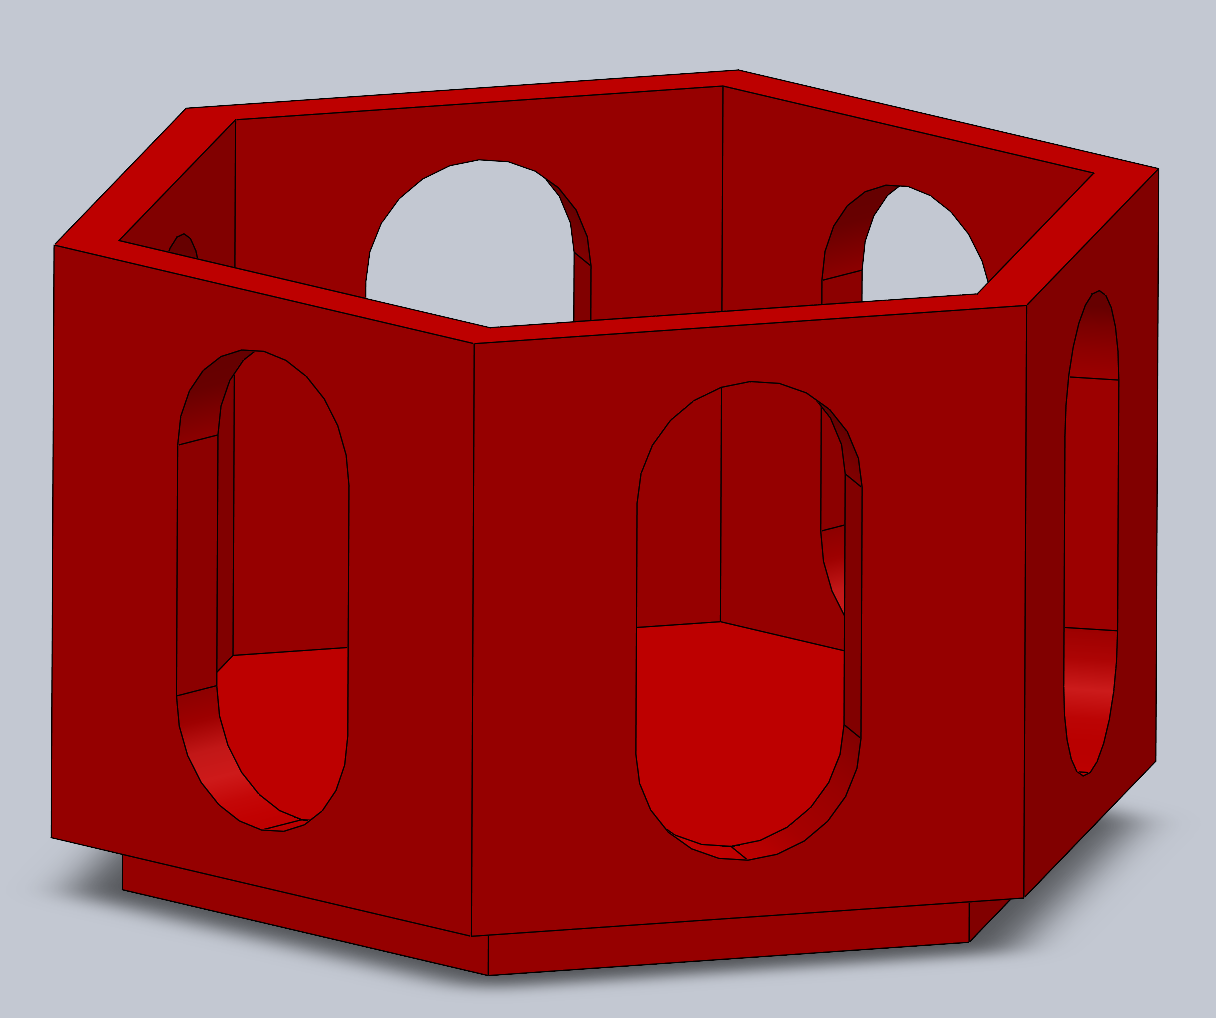
The final result is a collection of 5 sets of 7 hexagonal whiteboards for “Hexagonal Thinking,” each 8.3cm across and 45mm thick, and a whiteboard surface 7.6cm across. holder for each that measures 5.7cm tall by 8.5cm wide. Technically, you could do sets of 8, and it would still fit, but it wouldn’t make nice macro-hexagons. :( Each hexagon is made of a white dry-erasable face, pressed into a color-coded backing. Or y’know, whatever you wanna do. It’s your filament.
In order to make the hexagons dry-erase, you’ll need to wrap their faces in 3” packing tape, which you can get here:
This was a group project done in collaboration with Finn Roux. His Printables page can be found here:
Assembly Instructions
Each hexagon will consist of a face and a back.
First, you need to stick the face to the 3” packing tape, aligning 2 opposite tips parallel to the tape’s length and lining one side up with the edge of the tape.
After cutting the tape to the length of the hexagon, this will leave a length of tape 3/8ths of an inch wide on one side.
Trim this off. Now you will have 4 corners sticking off the edges of the hexagon. Fold these under so they’re flat on the other side.
Now, push out any air bubbles with a paint scraper.
Lastly, press the hexagon tape-side up into the backing. Depending on how your filament and printer handle the tolerances, you may have to use a mallet. Don’t use vice grips to press it, they’ll dent and scar the soft plastic.
All done!
Design
Finn was tasked with creating hexagons that could be reused when doing hexagonal thinking activities. The teacher requested that each side of the hexagon be about 1.5 inches. He created a hexagon with these dimensions, and put clear packing tape over the top so it became a dry-erase surface.

However the tape was just folded over with the edges stuck to the bottom, which could become an issue as it could easily come undone. So, he created a thin “shell” that the original hexagons would fit inside of snugly, whilst only leaving one side exposed (the writing side).
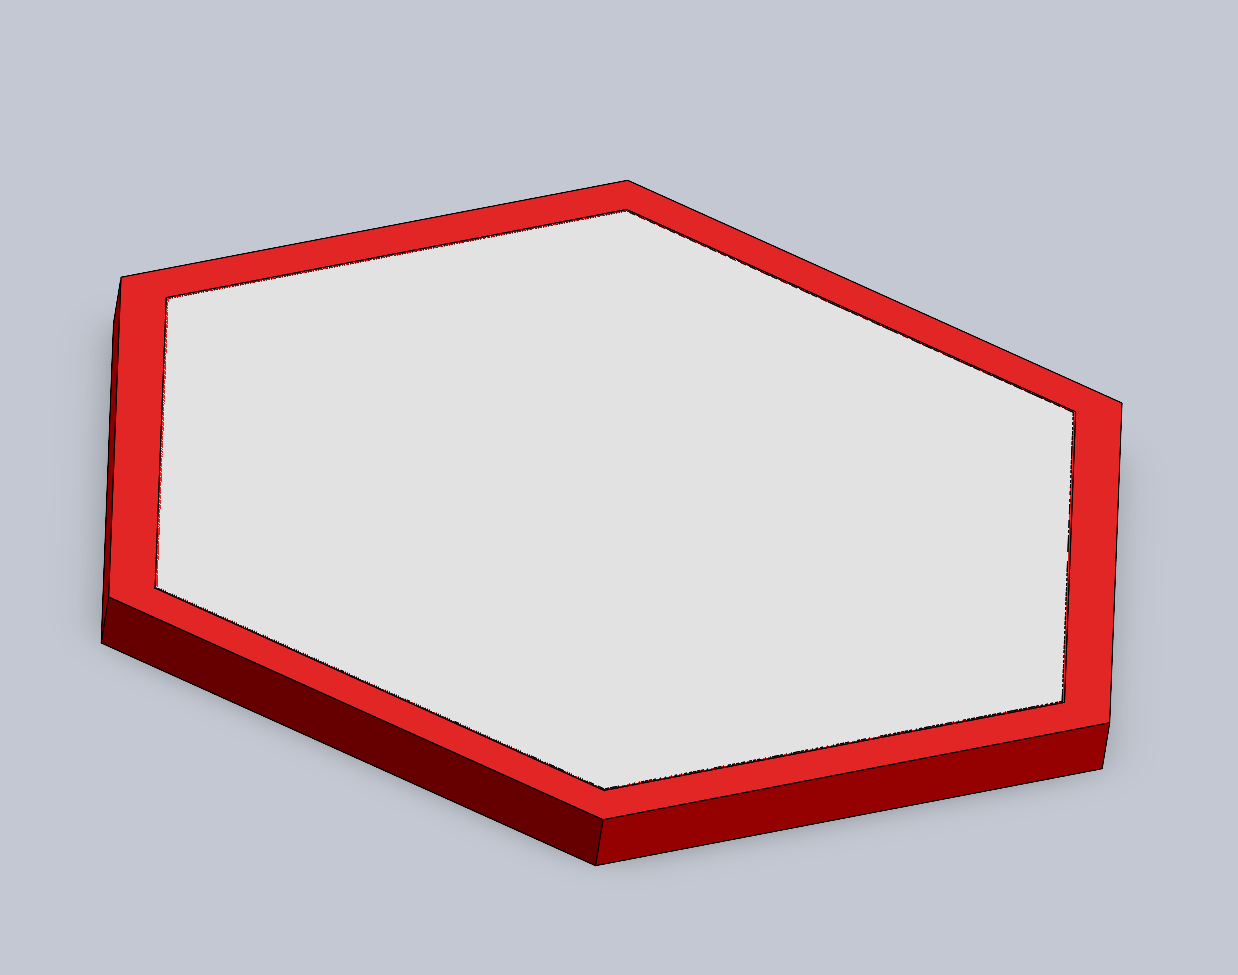
The shell was the same hexagonal shape (so it still worked for the activity), but enclosed the sides and bottom of the original hexagon, preventing the tape from coming undone.
Juke coordinated with the teacher to also create holders for each set of hexagons. She made each holder the same hexagonal shape, but larger so that the hexagons fit inside loosely.
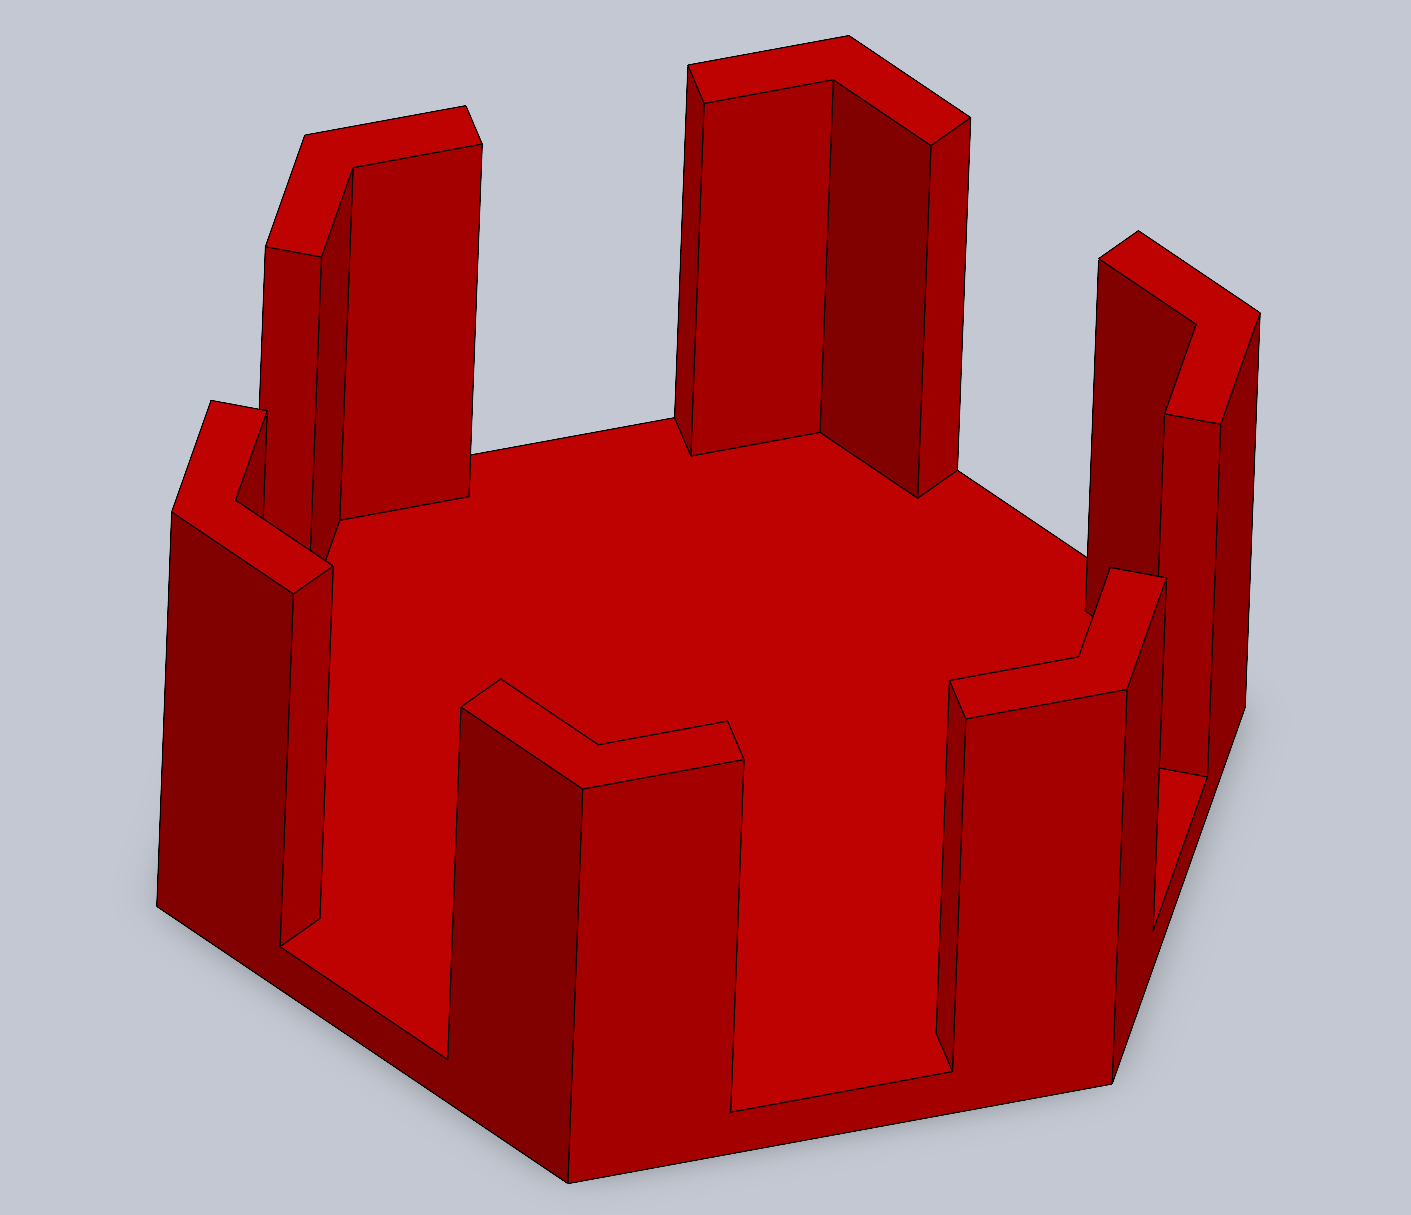
She also put a hexagon-shaped extrusion on the bottom so they could friction fit into each other and stack, and gaps on the sides so the hexagons could be removed without dumping out the entire holder.
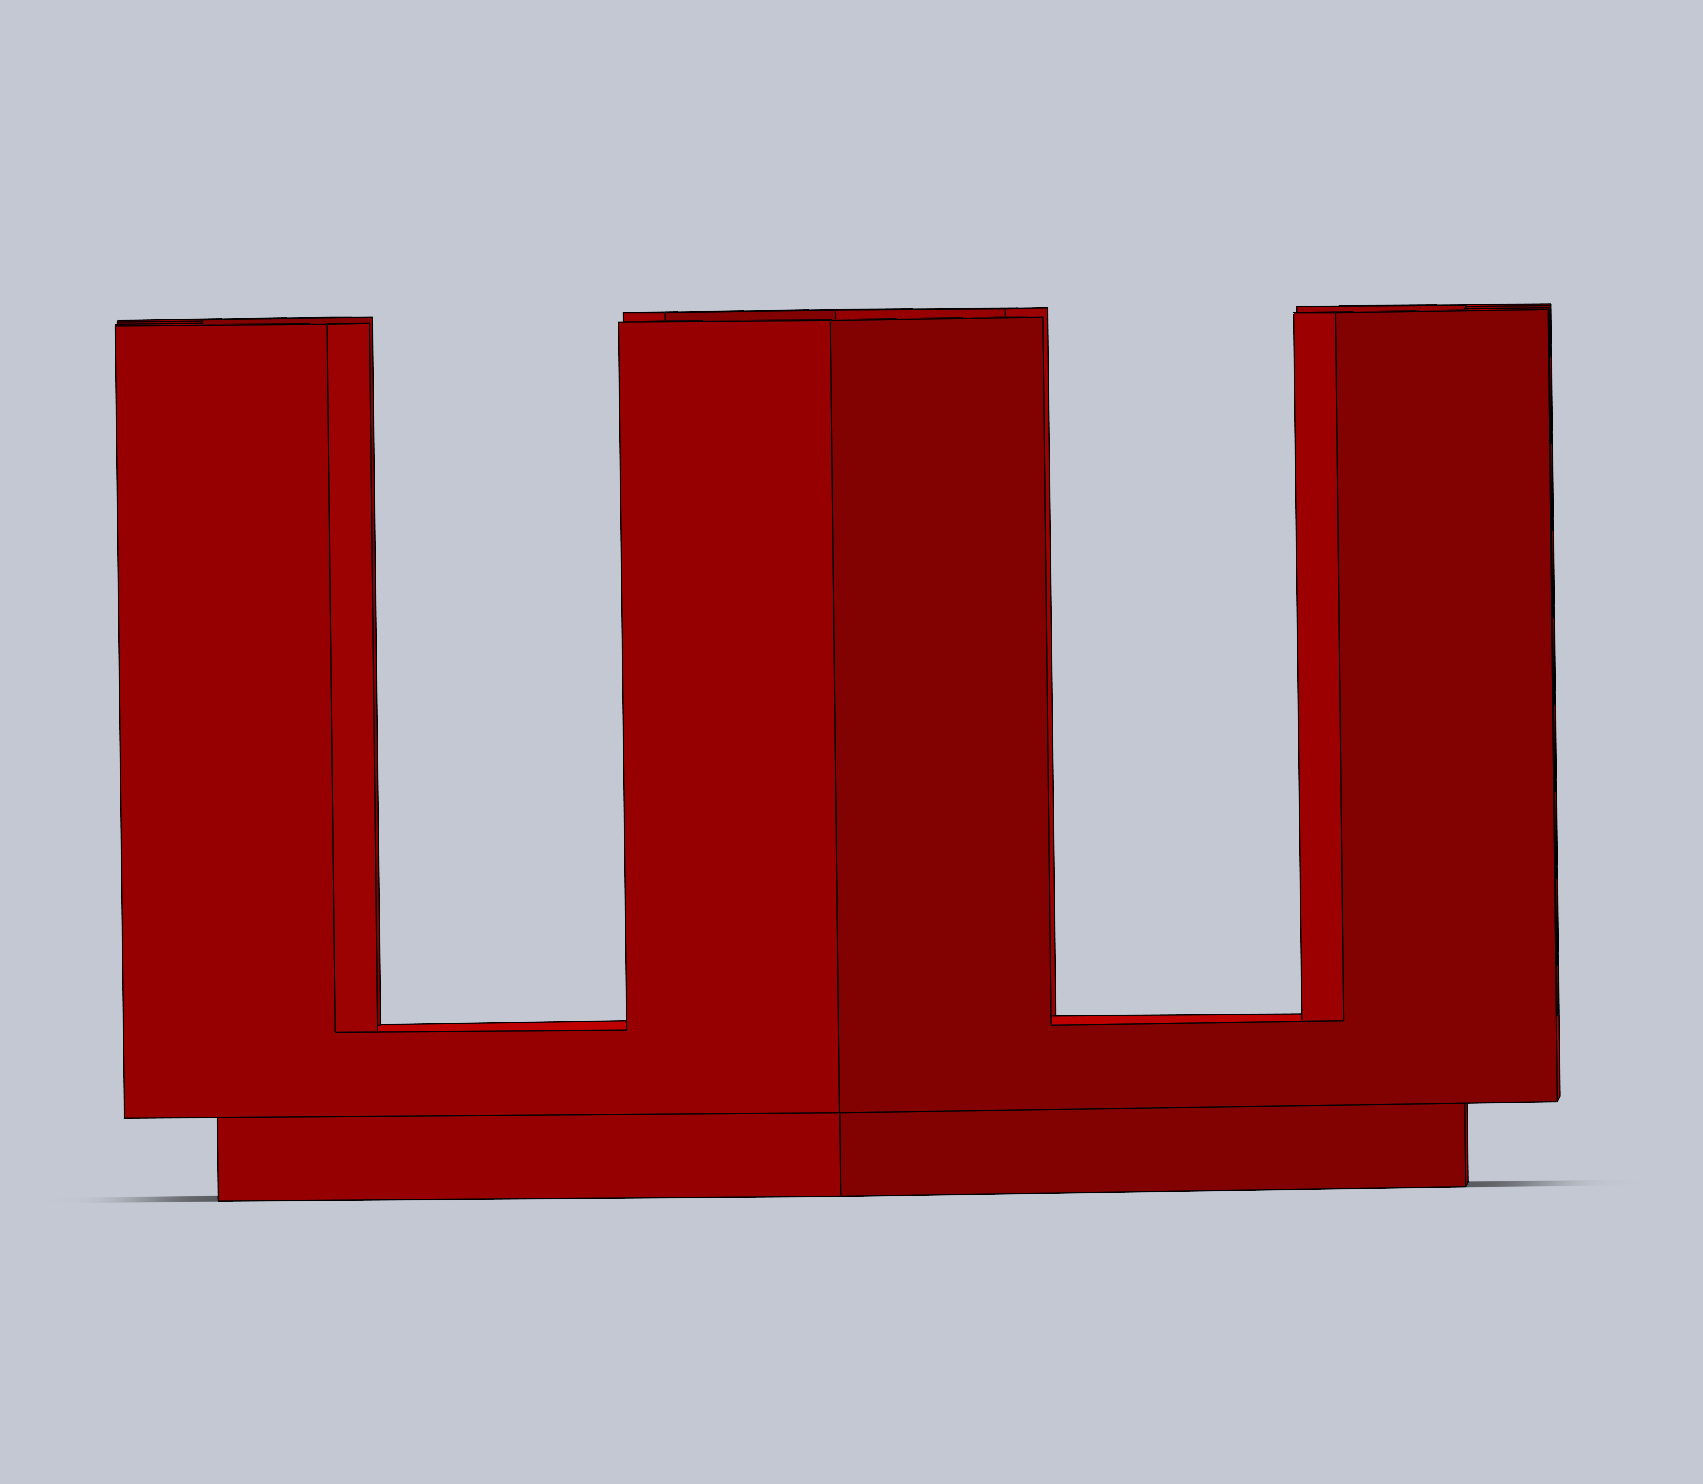
However, she ended up bridging the top of the gaps because the sections between may have otherwise been too fragile, being skinny, vertically 3D-printed towers. She also rounded the inside corners of these gaps to prevent cracks from forming.