
TPU Test Cube Prusa MK3S with Config for Ninjaflex
We calculate the final price from your selected file. You review and accept it before payment.
Saved on this device.
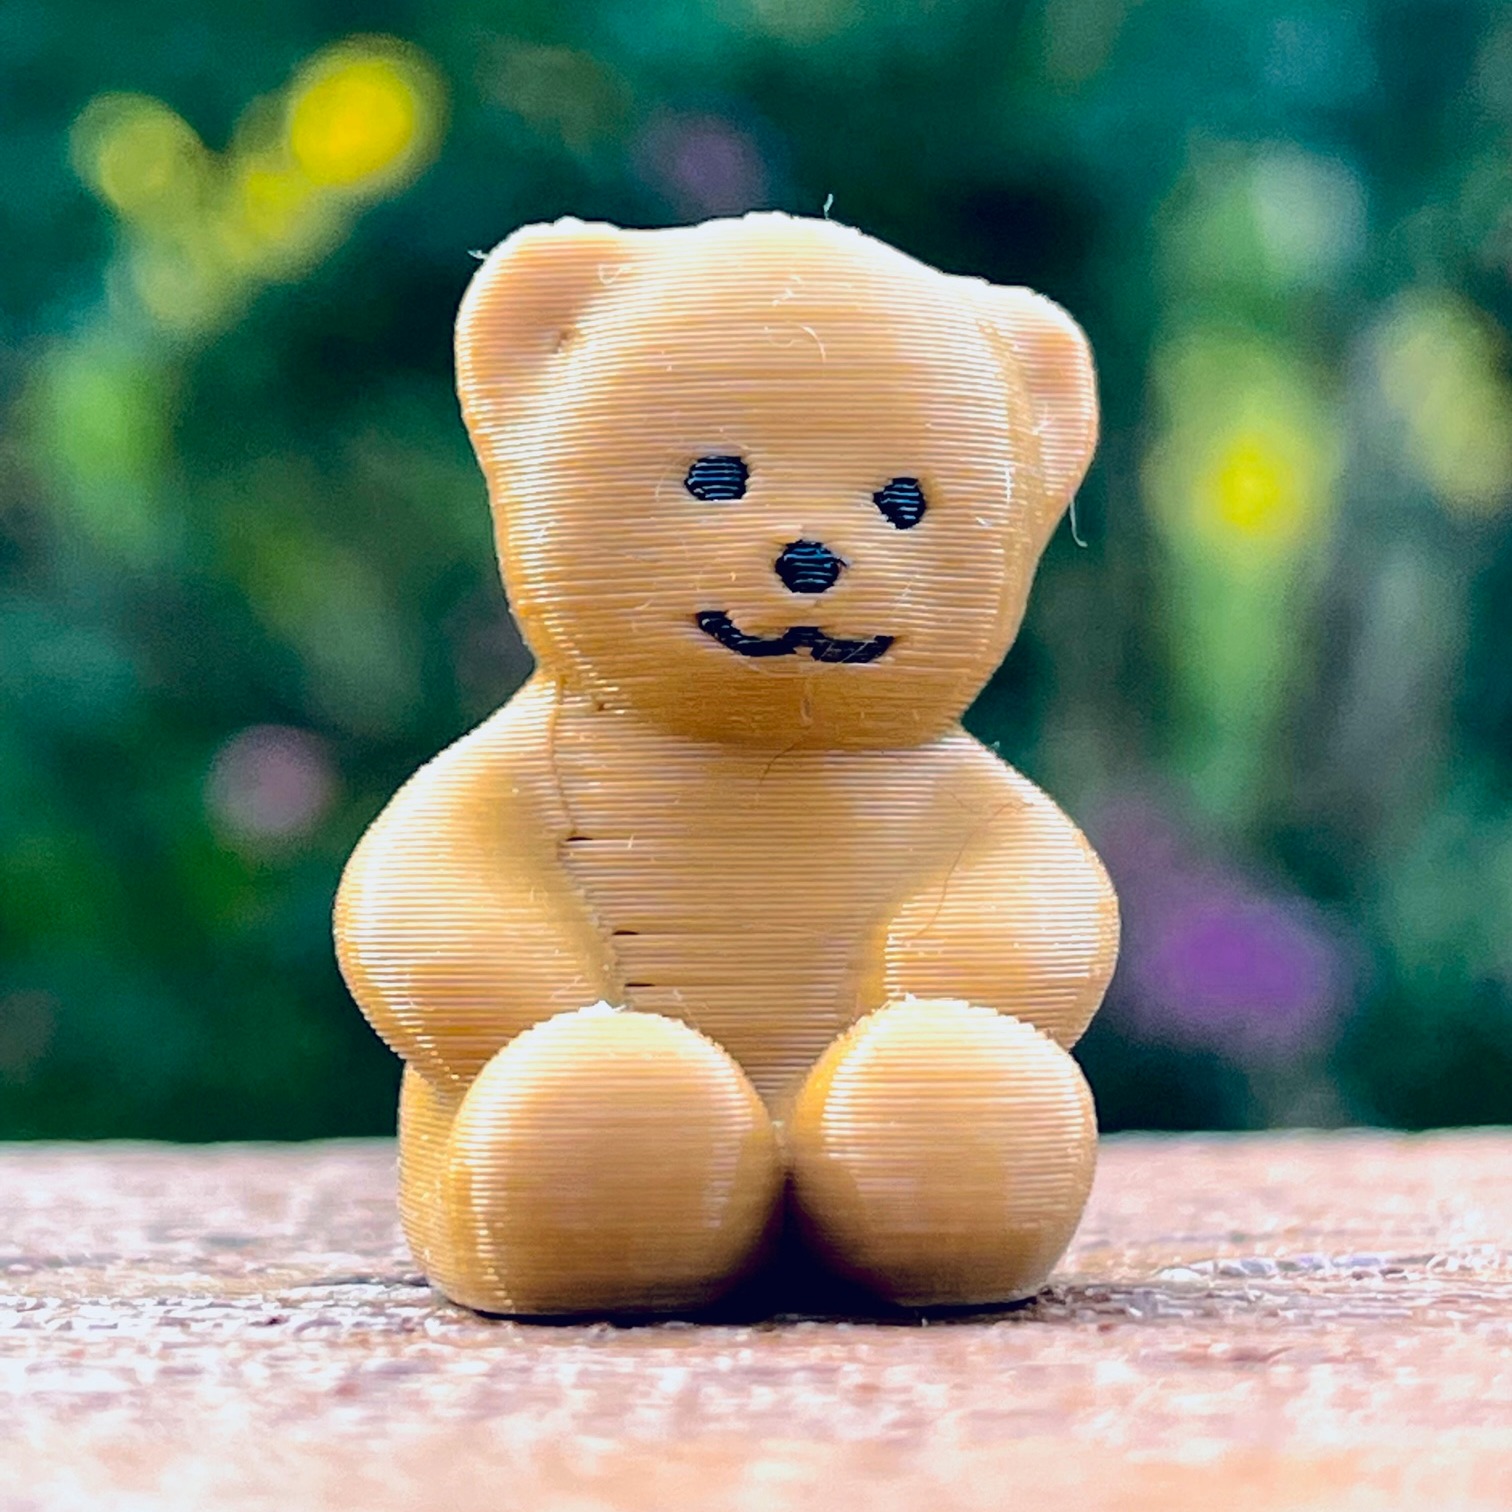
This is simple test cube of 20mm dimensions with a 10mm hole. Printing steps are included to help you as well.
- Rating
- 4.857 / 5
- Likes
- 38
- Downloads
- 1,257
- Makes
- 8
- Views
- 4,245
- Reviews
- 7
Updated at source:
Model information
- Source
- Printables
- Category
- Test Models
- License
- Creative Commons — Attribution — Share Alike
This is simple test cube of 20mm dimensions with a 10mm hole. The Fusion 360 file is included as well.
I had a lot of trouble getting TPU to print and wanted to share how I did it. For adhesion issues on the MK3s I used blue tape on the PEI sheet per the recommendations on the Ninjatek site for Ninjaflex site - https://ninjatek.com/printing-guidelines/
I then loosened the bondtech screw till it didn't catch the nut and then screwed it in only a half turn or so as soon as it caught the nut, so it is basically as loose as possible. I read this was important to prevent the TPU from winding around the bond tech gears.
For the temp for this filament from the link above it says 225-235 so I wanted to make sure it melted because in previous runs it was too gummy so used 247 on the first layer and 240 on the rest in my config.
I changed all the speeds to the lowest recommended, such as 10mm for the first layer. There are a few other settings that I got from the config file here which I started with - https://forum.prusaprinters.org/forum/original-prusa-i3-mk3s-mk3-how-do-i-print-this-printing-help/please-help-with-tpu-settings/ and then changed the following:
retraction length = 2.5
lift z = 0
retraction speed = 75
deretraction seed 35
first layer temp = 247
other layer temp = 240
print setting speed (15: all perimeters, support material interface, 20: infiill, solid infill, support material, gap fill, 10: top solid infill, 100: travel, 10: first layer speed)
I included the .ini settings config file for the Prusaslicer for the MK3s and the generated gcode as well. Good luck!
Note pics are of a version I made before I had the hole centered properly which is fixed now.
Category: 3D Printing Tests